manuals.online logo
Brands
  1. Home
  2. •
  3. Brands
  4. •
  5. Mountz
  6. •
  7. Power Tools
  8. •
  9. Mountz K250 User manual

Mountz K250 User manual

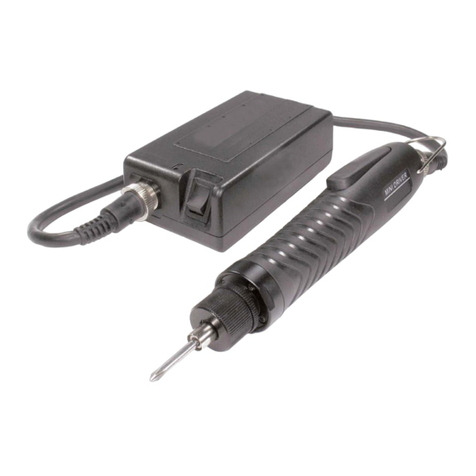
K-Series (K250, K350 & K450) Operating Instructions
Corporate Headquarters: 1080 North 11th Street, San Jose, CA 95112 Phone: (408) 292-2214 Fax: (408) 292-2733
www.mountztorque.com
Rev 3.1 (3/28/14)
Plug for Cable
Torque Adjustment Nut
Bit Collar
Lever
Carbon
Brush Cap
K-Series (K250, K350 & K450) Operating Instructions
Corporate Headquarters: 1080 North 11th Street, San Jose, CA 95112 Phone: (408) 292-2214 Fax: (408) 292-2733
www.mountztorque.com
Operating the Tool
1. Attach power tool cable to the K-Series screwdriver and the transformer. Make sure notch at the cable end aligns with the
notch on the driver connector. Tighten knurled ground ring.
2. Plug in power cord to the back of the transformer and power outlet. Flip power switch to “ON” position located on the back
of transformer.
3. Select a bit. Slide the bit collar forward. Insert the bit and release the collar. To avoid damaging fasteners, make sure the
proper bit is suitable for the head of the fastener.
4. The torque limit is determined by the tension of the coil spring housed in the tool. The tighter the coil spring is wound the
higher the torque limit is raised. See Torque Charts on pages 4 & 5 to determine the appropriate torque adjustment setting.
5. Rotate the torque adjustment nut to set the torque limit. Turn clockwise to increase torque and counter clockwise to
decrease torque. The scale adjacent to the Torque Adjustment Nut is a reference guide. The torque output from the driver
can change depending on various fastening factors like friction, type of joint, and the type material being used like a
washer. Verify torque setting with a torque testing system.
7. Turn driver on and check for proper rotation. FOR-clockwise, REV-counterclockwise.
8. To apply torque, squeeze the lever (Push-to-Start models - place light downward pressure on the nose of the driver).
The driver will automatically stop when the preset torque has been reached.
9. To remove the screw, turn the FOR/REV switch to REV position.
CARE
1. The K-Series screwdrivers are a precision torque control instrument and should be handled with care at all times.
2. Only use the transformers listed in the Mountz catalog for appropriate K driver model (If you have any questions
regarding the appropriate transformer set-up, contact Mountz Customer Service Department).
3. Operate under safe conditions. Do not place in operation where such objects as hair, strings, clothing, etc. can become
tangled in the rotating bit.
4. Keep away from moisture. Never use in high humid, moist or damp environment.
HOW TO REPLACE THE CARBON BRUSH
WARNING: When replacing the carbon brushes, detach the power tool cable from the K screwdriver or unplug the
transformer from the power outlet.
1. The carbon brush piece is 1/3" long when new. Change the pair when they are worn to about half the original length.
2. Insert a flat tip screwdriver into the slot in the carbon brush cap and unscrew the cap.
3. Replace the worn brushes with new pair. The contact surface of the brush is concave. Insert the brush so that the concave
end properly aligns with rounded surface of motor comutator.
Torque Cover
(K-Series models only)
Item # 145615
Protects the K-Series from
incidental or operator tam-
pering of torque setting.
Corporate Headquarters: 1080 North 11th Street, San Jose, CA 95112 Phone: (408) 292-2214 Fax: (408) 292-2733
www.mountztorque.com
K-Series (K250, K350 & K450) Operating Instructions
Torque Reference Charts
These charts are meant to be used as guidelines for setting the torque on the K-Series electric screwdrivers. The drivers
have a torque scale on the torque adjustment nut showing reference numbers. These numbers determine the approximate
torque setting. Refer to the charts to determine the reference number setting for your torque requirement.
How to Read the Torque Charts
Torque ranges (lbf.in) approximate tightening torque, operated with no load at maximum speed. Verify torque setting with a
torque testing system.
1 2 3 4 5 6
Torque Scale
2
4
6
8
10
12
14
16
lbf.in
7 8
18
20
22 S (Silver)
Torque Range
3.5 - 21.7 lbf.in
Z (Bronze)
Torque Range
2.6 - 14.7 lbf.in
K250 & K250P
1 2 3 4 5 6
Torque Scale
5
10
15
20
25
30
35
lbf.in
7 8
S (Silver)
Torque Range
10.4 - 30.4 lbf.in
Z (Bronze)
Torque Range
3.5 - 21.7 lbf.in
K350P
1 2 3 4 5 6
Torque Scale
5
10
15
20
25
30
35
lbf.in
7 8
G (Gold)
Torque Range
10.4 - 30.4 lbf.in
S (Silver)
Torque Range
3.5 - 21.7 lbf.in
K350
Corporate Headquarters: 1080 North 11th Street, San Jose, CA 95112 Phone: (408) 292-2214 Fax: (408) 292-2733
www.mountztorque.com
K-Series (K250, K350 & K450) Operating Instructions
Torque Reference Charts
These charts are meant to be used as guidelines for setting the torque on the K-Series electric screwdrivers. The drivers
have a torque scale on the torque adjustment nut showing reference numbers. These numbers determine the approximate
torque setting. Refer to the charts to determine the reference number setting for your torque requirement.
How to Read the Torque Charts
Torque ranges (lbf.in) approximate tightening torque, operated with no load at maximum speed. Verify torque setting with a
torque testing system.
1 2 3 4 5 6
Torque Scale
5
10
15
20
25
30
35
lbf.in
7 8
S (Silver)
Torque Range
4.3 - 21.7 lbf.in
G (Gold)
Torque Range
10.4 - 39 lbf.in
40
K450P
1 2 3 4 5 6
Torque Scale
5
10
15
20
25
30
35
lbf.in
7 8
G (Gold)
Torque Range
10.4 - 30.4 lbf.in
S (Silver)
Torque Range
4.3 - 21.7 lbf.in
K (Black)
Torque Range
14.7 - 39 lbf.in
40
K450
Corporate Headquarters: 1080 North 11th Street, San Jose, CA 95112 Phone: (408) 292-2214 Fax: (408) 292-2733
www.mountztorque.com
Maintenance Intervals:
The number of cycle shown on the table below should be used as a guideline for effective maintenance in order to reduce
unexpected down time. Maintenance intervals may be determined by the several approaches: number of cycles in use,
number of hours in use, type of joint, torque and calender time. All these factors should be considered for the best
preventative maintenance. The following inspection and replacement intervals will vary depending on tightening load and
cycle-on time.
Parts Descriptions Inspection Replacement
1. Carbon Brush 200,000 cycle 500,000 cycle
2. Motor 1,000,000 cycle 2,000,000 cycle
3. Slide Switch Assembly 1,000,000 cycle 2,000,000 cycle
4. Gear Case 1,000,000 cycle 3,000,000 cycle
5. Clutch Assembly 1,000,000 cycle 3,000,000 cycle
6. Cable 400,000 cycle 1,000,000 cycle
Testing Power Tools:
1. Application Method: Use a torque tester in “Peak Mode” with a rotary torque sensor between the power tool and the
actual fastening joint application. This is the best way to test since you are using the actual joint as the test station. You
will see the actual torque applied to the fastener. Caution: Variances in tool performance may occur do to the addition of
the rotary torque sensor.
2. Simulated Method: Always use a quality joint rate simulator (run down adapter) with a torque tester when testing power
tools in a simulated application. Use Joint rate and Breakaway methods
to obtain most accurate torque readings in a simulated rundown.
Service
Mountz Inc. features an experienced calibration and repair staff. Our trained
technicians can calibrate and repair most any tool. Mountz provides rapid
service with quality that you can trust as we offer two state-of-the-art calibra-
tion lab and repair facilities that can calibrate up to 20,000 lbf.ft.
With over 45 years of experience, Mountz’s in-depth knowledge of torque is
reflected in our tool’s craftsmanship and our ability to provide solutions to
both common and uncommon torque applications. We perform calibrations in
accordance with ANSI/NCSL-Z540. Mountz is dedicated solely to the manu-
facturing, marketing and servicing of high quality torque tools.
Mountz is an ISO 9001 certified and ISO 17025 accredited company.
Tool Service & Repair Capability
Torque Wrenches: Click, Dial, Beam, Cam-Over & Break-Over
Torque Screwdrivers: Dial, Micrometer, Preset & Adjustable
Torque Analyzers/Sensors: All brands
Electric Screwdrivers: All brands
Air Tools: All brands
Impact Wrenches, Drills, Pulse Tools, Grinders, Percussive Tools,
Air Screwdrivers, Nutrunners, DC Controlled Nutrunners
Torque Multipliers: All brands
K-Series (K250, K350 & K450) Operating Instructions
Mountz Service Locations
Eastern Service Center
19051 Underwood Rd.
Foley, AL 36535
Phone: (251) 943-4125
Fax: (251) 943-4979
Western Service Center
1080 N.11th Street
San Jose, CA 95112
Phone: (408) 292-2214
Fax: (408) 292-2733
www.mountztorque.com
[email protected]
Twitter: @mountztorque
Download a “Service Form” and include a copy
when you send the tools in to be serviced.
Looking for fasteners?
www.mrmetric.com
This manual suits for next models

2

Other Mountz Power Tools manuals

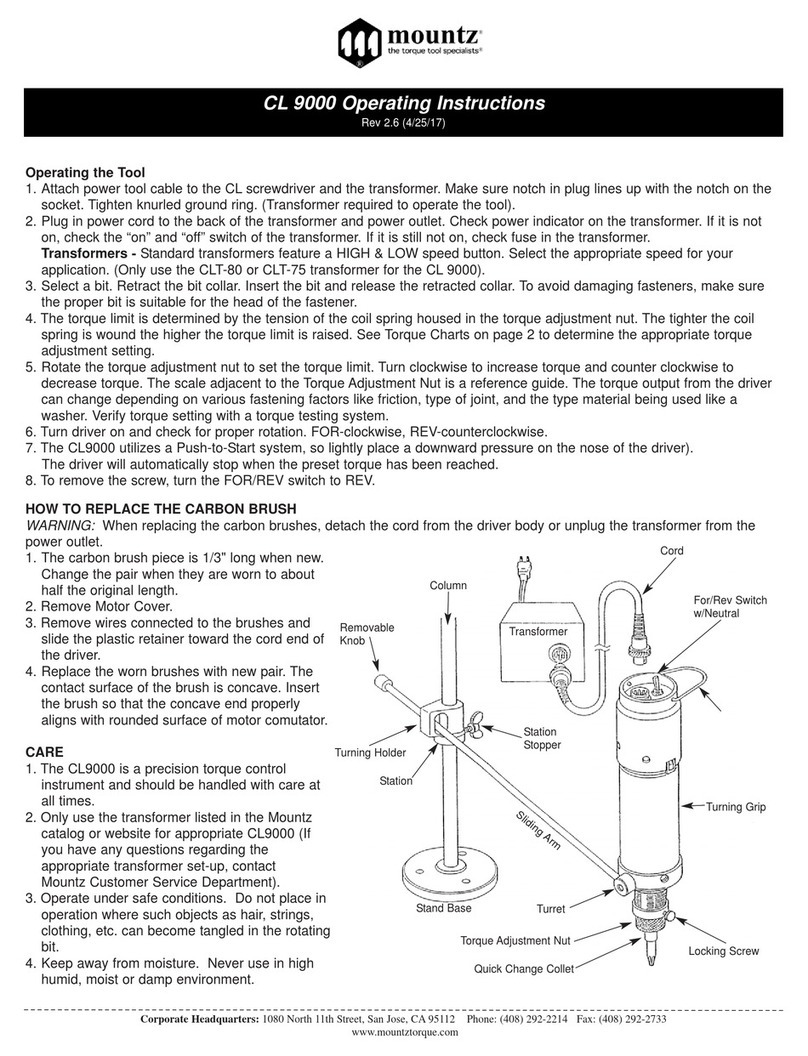
Mountz CL 9000 User manual

Mountz

Mountz CL 9000 User manual

Mountz MMTB User manual

Mountz

Mountz MMTB User manual

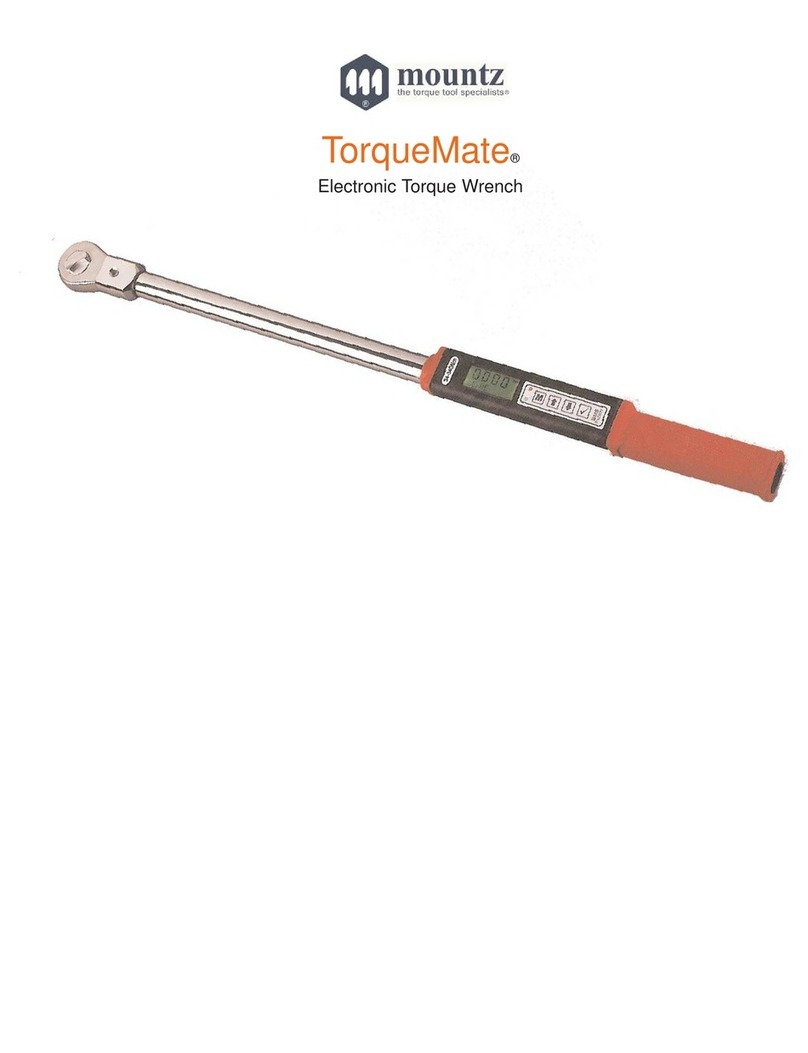
Mountz TorqueMate User manual

Mountz

Mountz TorqueMate User manual

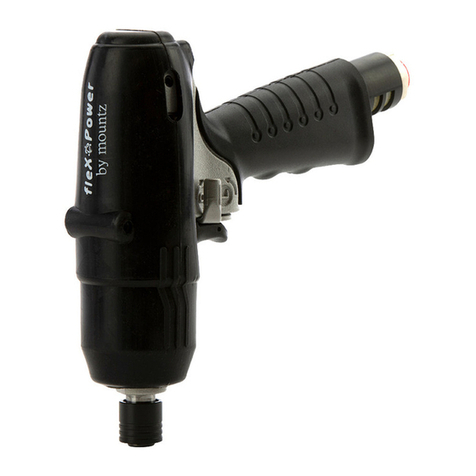
Mountz Flex Power FLEXS-70PX Guide

Mountz

Mountz Flex Power FLEXS-70PX Guide

Mountz HM-27 User manual

Mountz

Mountz HM-27 User manual

Mountz EDTW User manual

Mountz

Mountz EDTW User manual

Mountz ADS - S User manual

Mountz

Mountz ADS - S User manual

Mountz FLEX-30P Guide

Mountz

Mountz FLEX-30P Guide

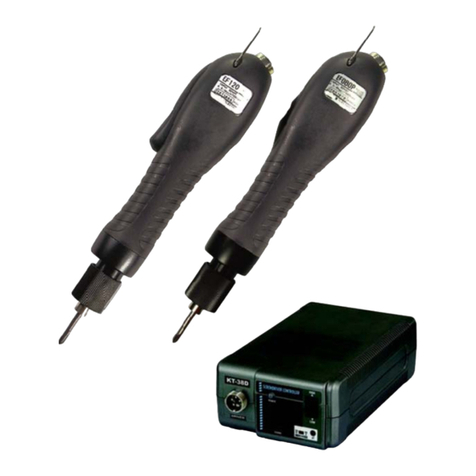
Mountz EF Series User manual

Mountz

Mountz EF Series User manual

Mountz BF035 User manual

Mountz

Mountz BF035 User manual

Mountz Mini EF Series User manual

Mountz

Mountz Mini EF Series User manual

Mountz VB series User manual

Mountz

Mountz VB series User manual

Mountz DM series User manual

Mountz

Mountz DM series User manual

Mountz HF-Series Technical manual

Mountz

Mountz HF-Series Technical manual

Mountz MTWD User manual

Mountz

Mountz MTWD User manual

Mountz 500204 User manual

Mountz

Mountz 500204 User manual

Mountz BFA060 User manual

Mountz

Mountz BFA060 User manual

Popular Power Tools manuals by other brands

Makita XUX02 instruction manual

Makita

Makita XUX02 instruction manual

Joto XSTM-40 Operator's manual

Joto

Joto XSTM-40 Operator's manual

Hitachi CE 16SA Handling instructions

Hitachi

Hitachi CE 16SA Handling instructions

Evolution RAGE 5 Original instructions

Evolution

Evolution RAGE 5 Original instructions

Silverline 372673 Original instructions

Silverline

Silverline 372673 Original instructions

Bostitch BTC440 instruction manual

Bostitch

Bostitch BTC440 instruction manual

Sperry instrument GMC-3000 Crimp-n-Test operating instructions

Sperry instrument

Sperry instrument GMC-3000 Crimp-n-Test operating instructions

Ryobi ERK24100VK Owner's operating manual

Ryobi

Ryobi ERK24100VK Owner's operating manual

Festool Trion PS 300 EQ Original instructions

Festool

Festool Trion PS 300 EQ Original instructions

Sealey SX272.V2 quick start guide

Sealey

Sealey SX272.V2 quick start guide

Anderson ES 1300 user manual

Anderson

Anderson ES 1300 user manual

Makita N1923B instruction manual

Makita

Makita N1923B instruction manual

Max SuperRoofer CN445R3 Operating and maintenance manual

Max

Max SuperRoofer CN445R3 Operating and maintenance manual

Makita M4302 instruction manual

Makita

Makita M4302 instruction manual

Steel City 20130VS user manual

Steel City

Steel City 20130VS user manual

Sealey VS0204B.V2 instructions

Sealey

Sealey VS0204B.V2 instructions

Milwaukee M18 CHX user manual

Milwaukee

Milwaukee M18 CHX user manual

Bosch PMF 220 CE Original instructions

Bosch

Bosch PMF 220 CE Original instructions

manuals.online logo
manuals.online logoBrands
  • About & Mission
  • Contact us
  • Privacy Policy
  • Terms and Conditions

Copyright 2025 Manuals.Online. All Rights Reserved.