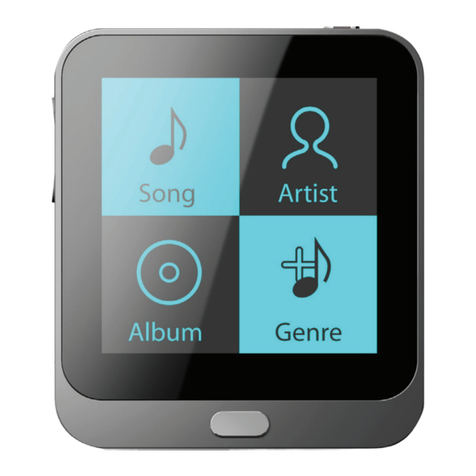
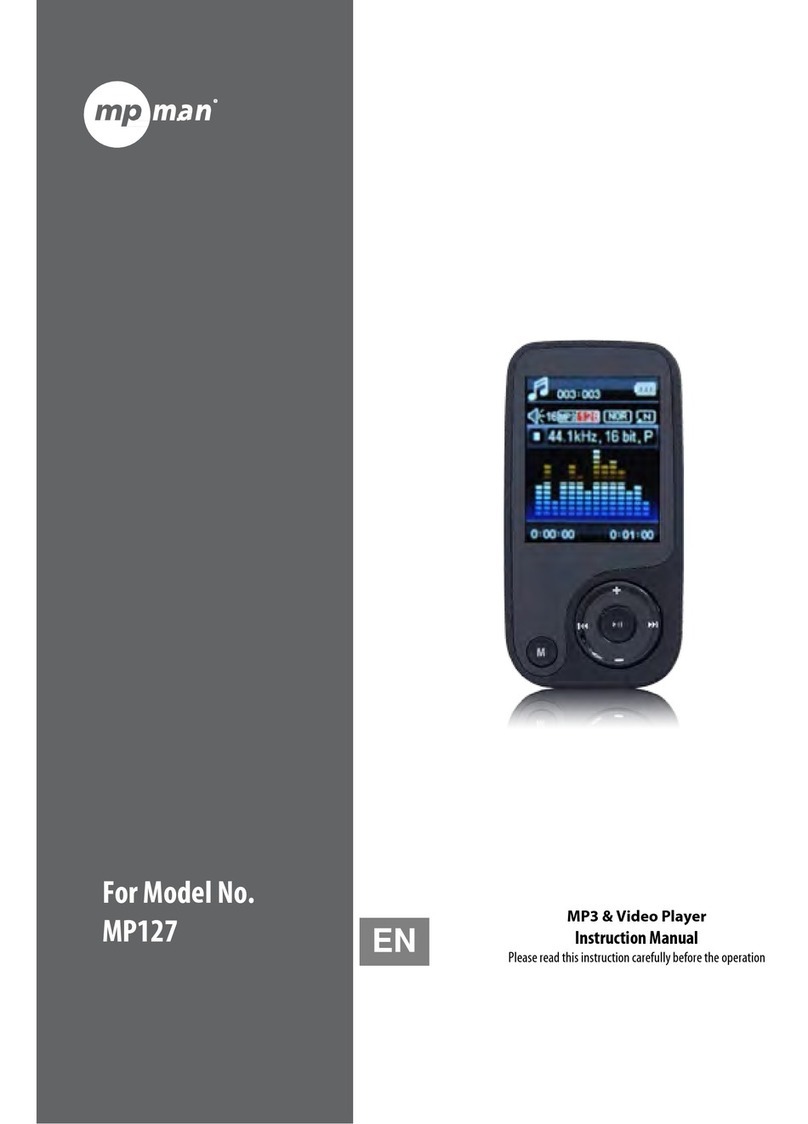
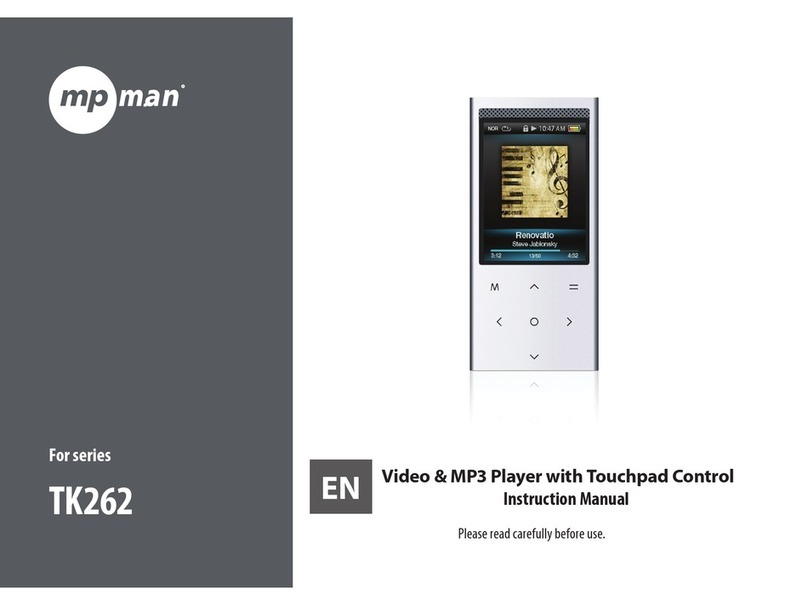
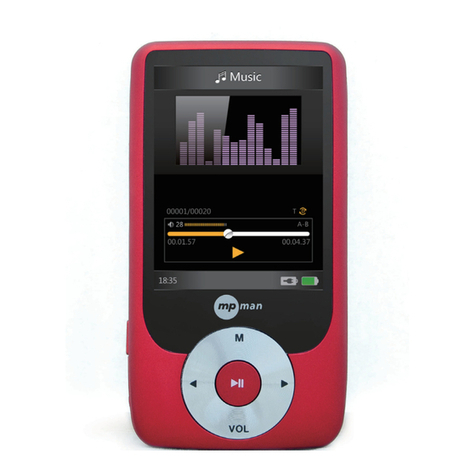
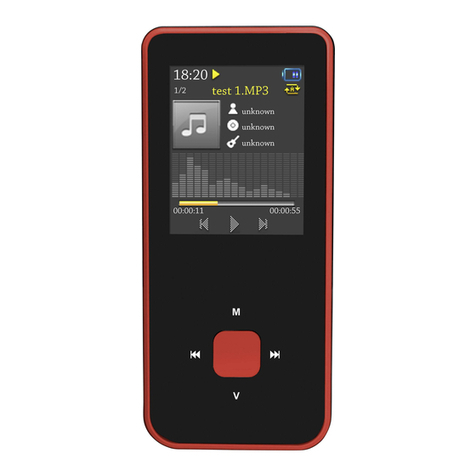
MP-Man TK1 User manual

TK1
MP3/MP4/FM player
Instruction manual
www.mpmaneurope.com

Always Keep a Copy of YourOriginal Data
Before you deliveryourproduct forwarranty services please backup all
data, including all software programs. Youwill be responsible for
reinstalling all data. Data recoveryis not included in the warranty
service and ourcompanyis not responsible fordata that may be lost or
damaged during transit ora repair.
Safety Instructions
* Donot expose toextreme temperatures.
* Donot allow any liquid forminto the device.
* Donot apply orsubject the playerto excessive pressure.
* Donot expose todirect sunlight orheat sources.
* Donot try to disassemble and repairthe deviceyourself.
* Donot expose device to chemicals such as benzene orthinner.
* Donot storedevice in dusty ordamp area.
* ourcompany will claimno responsibility forany damage on data loss due
to breakdown, repairorothercauses.
Contents
Important Notice................................................................................ ..1
Before Using the Player.......................................................................5
Key & Function...................................................................................8
Main Menu Display.............................................................................9
Charging the Battery..........................................................................11
Get Started..............................................................................................17
PowerON / PowerOFF......................................................................20
Set Key Lock........................................................................................20
Music Playback....................................................................................21
Video Playback....................................................................................25
FM Mode..............................................................................................27
Photo Mode..........................................................................................31
Text Mode.............................................................................................33
Record Mode........................................................................................38
ExplorerMode.....................................................................................39
Game Mode..........................................................................................40
Settings Mode.......................................................................................41
Using theAVI ConverterSoftware.....................................................48
Troubleshooting....................................................................................53
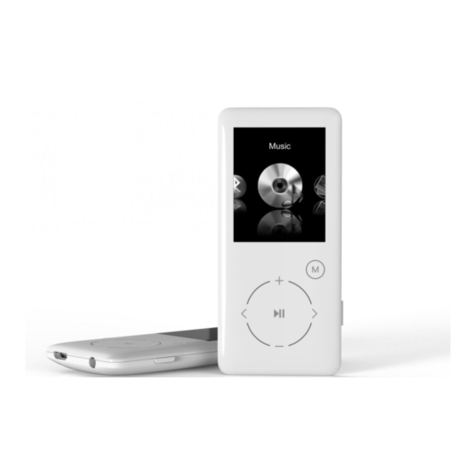
Before Using the Player
Product Features
* Sleekand lightweight design.
* 1.8'' TFT262K ColorLCD display(128x160).
* Graphic userinterface.
* PlaybackMP3, WMAandWAVaudio format.
* SupportsAVI videoformat (comes withAVI ConverterSoftware)
* Built-In FM radio tunerwith stations preset and FM recording in
WAVformat.
* Supports photo browsing in JPEGformat.
* Digital voice recording.
*Text viewerin TXT format with bookmarkfunction.
* Synchronous lyrics display in LRC format.
* Personal data file storage.
* USB 2.0.
* Built-in rechargeable li-polymerbattery.
-Audio Playback(Maximumup 8 hours).
-Video Playback(Maximumup 4 hours).
* Supports Windows 2000 /XP/ VISTA.
Package Contents
TK1player
AC PowerAdapter
(Optional)

FRONT VIEW
Main Menu Display

NO
FunctionNO
Function
1Song Title & ID3 Display 7Equalizer/ Song Lyrics Display
2Playback Timer 8TrackDuration
3PlaybackMode 9Battery Indicator
4Play / Pause Status 10 A-B Repeat
5PlaybackSetting 11Current TrackNumber
6Volume Level 12 Total Track
Charging the Battery
*Always charge up batteryfully before initial use. (Approximately 8
hours).
* Switch on yourplayerbefore startingthe charging mode
* If the battery level is low,please charge it immediately. Otherwise
the playerwill shut down automatically orunable to powerON.
*The battery life varies dependingon the music volume level
settings and backlight display.
* In orderto protect the battery condition, we recommend that you
charge it every 4months if you arenot using it fora very long time.
*You may charge the playervia AC PowerAdapter(Optional) orvia
USB cable connection with the computer.

Charging the Battery Using Computer
* Connect one end of the supplied mini USB cable to the player.
* Connect the otherend of the mini USB cable to the computer.
* Chargingprocess begins automatically.
*To view battery charging process on the player, stop the USB
device in the computersystemtray by using the Safely Remove
Hardware”procedure. (Please referto Disconnectingthe USB
Diskfromthe computer”).
*When it is fully charged,the battery indicatorturns green colorand
chargingstops automatically.
* Fully charged time: Approximately up to 4 hours.
Charging the Battery UsingAC PowerAdapter(Optional)
* Connect one end of theAC PowerAdapter(mini USB) to the
playervia the supplied USB cable.
* Connect the otherend of the AC PowerAdapterto the wall outlet
and turn onthe powersupply.

* Chargingprocess begins automatically.
*The battery indicatoron the playerwill start flashing during
chargingprocess.
*When it is fully charged,the battery indicatorturns green colorand
chargingstops automatically.
* Fully charged time: Approximately up to 3 hours.
Note
Please use ONLYthe original AC PowerAdapter(optional) orUSB cable
supplied. DO NOTuseanythird-partyAC PowerAdapteras it might cause
severe damage to the player.
MinimumSystemRequirements
* Intel Pentiumprocessor200MHz and above.
*Windows2000andWindows XP.
* 32MB ofRAM (128MB recommended)
* Up to 100MB of availablehard-diskspace
* StandardUSB Port
Note:
1. Log in the computerasAdministratoraccount to performany software
installation orfirmware upgrade (if any). Otherwise the installation process
might not be completed successful.
Get Started
Connecting the USBDiskto the computer
* Connect one end of the supplied mini USB cable to the player.
* Connect the otherend of the mini USB cable to the computer.

*When the connectionis successful, the playerwill display the
connection icon. Beginto transferany audio and videofiles into
the playervia the computer.
Disconnecting the USB Diskfromthe computer
For Windows 2000 or Windows XP, please followthe Safe Remove
Hardware”procedureon the computer.A Safely Remove Hardware”
icon will be displayed in the computer’s systemtray as shown in
diagrambelow.
- Move the mouse overthe icon, the Safely Remove Hardware”
prompt appears.
- Double clickon Safely Remove Hardware”iconand the Safely
Remove Hardware”windows will be displayed. Selectthe device to be
disconnected and clickon Stop”button to endthe connection between
the computerandthe device.

- Next, The USB Mass Storage Device can now be safely removed
fromthe system”will be displayed.
- Finally, disconnect and safely unplug the device fromthe USB port on
yourcomputer.
PowerON / Power OFF
-Turn PowerON/OFFswitch to ON position, press & hold / key to
powerON.
- In any mode, press & hold / key to powerOFF.
- Press to start orpause playback.
Set Key Lock
- Press & hold VOL+”key and VOL– key (for2 seconds) at the same
time to set Key Lock.
Note:All keys on the playerwill be locked.
- In Lockmode, press & hold VOL+”key and VOL– key (for2
seconds) at the same time again to unlock.
Note:All keys on the playerwill be unlocked.

Music Playback
- In Main menu, select Music menu and press ∩∩ ”key to enterMusic
mode.
- Music playbackbegins automatically.
- During Music playback,press ∩∩ ”key to enterMusic playlist.
Note: If a folderis displayed, press key to return to the previous menu
- Press ”or ” key to select a Music file.
- Press ∩∩ ”key and Music playbackbegins automatically.
- During Music playback,press key to pause.
-While in Pausemode, press key again to resume playback.
Note: During Music playback, press ”or ”key to skip to the previous
ornext Music file. Press & hold ”or ”key to rewind orfast forward
playback.
Music Playbackin a Folder
- During Music playback,press ∩∩ ”key to entersubmenu.
Note: If a folderis displayed, press key to return to the previous menu
- Press ”or ”key to select a folderora Music file.
-When a folderis selected, press ∩∩ ”key to enterfolder.
-When a Music file is selected, press ∩∩ ”key and playbackbegins
automatically.
Adjusting Volume
- During Music playback,press VOL+”key or VOL– key to adjust
volume level.

Note: Press & hold VOL+ key or VOL– key can also make adjustment to
volume level (value settingsfrom00 to 40).
Skipping to Previous / Next Music File
- During Music playback,press ? ”or ? ”key to skip to Previous or
Next track.
Deleting a Music File
- During Music playback,press ∩∩ ”key to entersubmenu.
- Press ”or ”key to select a folderora Music file.
-When a folderis selected, press ∩∩ ”key to enterfolder.
-When a Music file is selected, press VOL –” key to delete.
-At the Delete File”prompt YES / NO”,scroll to YES”option and
press ∩∩ ”key to confirmdeletion.
-When the file is deleted, the playerreturns to previous submenu
options.
Note: Press & hold ∩∩ ”key orkey to return to Main menu.
A-B Repeat
- During Music playback,press & hold ∩∩ ”key.
- A-B Repeat”indicatordisplays A”.
- Press & hold ∩∩ ”key again, A-B”is displayed.
- Music will now repeat A-B”playbackin a loop.
-To cancel A-B”repeat playback, press & hold ∩∩ ”key to resume.
Synchronous Song Lyrics Display
When a Music file in theplayerhas asong lyrics file with same file
name, song lyrics will bedisplayed automatically during Music
playback.
Note: The playersupports song lyrics file in .LRC format.
Both the Music file (MP3 or WMA) name and song Lyrics file (LRC) name
must both be identical. (Example: LoveSong.MP3 + LoveSong.LRC).
To Return to Main Menu
- During Music playback,press ∩∩ ”key to entersubmenu.
- Press & hold ∩∩ ”key to return to Main menu.

Video Playback
- In Main menu, select Video menu andpress ∩∩ ”key to enter Video
mode.
-When Video playlist is displayed, press ” or ”key to select a
Video file.
-When a folderis selected, press ∩∩ ”key to enterfolder.
-When a Videofile is selected, press ∩∩ ”key and playbackbegins
automatically.
Rewinding / Fast Forwarding aVideo file
- DuringVideo playback, press & hold ” or ”key to RewindorFast
Forwardplayback.
Adjusting Volume
- DuringVideo playback, press VOL+”key or VOL– key to adjust
volume level.
Note: Press & hold VOL+”key or VOL– key can also make adjustment to
volume level (value settingsfrom00 to 40).
To Return to Playlist
- DuringVideo playback, press ∩∩ ”key to return to playlist
Note: Press & hold ∩∩ ”key to return to Main menu.
Deleting aVideo File
- In Video submenu, press ”or ”key to select a folderora Video
file.
-When a folderis selected, press ∩∩ ”key to enterfolder.
-When a Videofile is selected, press VOL –” key to delete.
-At the Delete File”prompt YES / NO”,scroll to YES”option and
press ∩∩ ”key to confirmdeletion.
-When the file is deleted, the playerreturns to thesubmenu options.
Note: Press & hold ∩∩ ”key orkey to return to Main menu.

FM Mode
Beforewe begin, the earphone must be connected to the playerwhen using
FM mode. It acts as an antenna forradio frequency reception.
The FM rangegoes from87.5Mhz to 108Mhz.
- In Main menu, select FM menu and press ∩∩ ”key to enterFM mode.
Manual Search a Frequency
- In FM mode,press ∩∩ ”key to entersubmenu.
Note: Press ∩∩ ”key to return to FM mode orpress & hold ∩∩ ”key to
return to Main menu.
- Scroll to Manual”option and press ∩∩ ”key.
- Press ” or ”key to manually select a favorite frequency.
-To manually preset the selected frequency,press ∩∩ ”key and scroll
to MEM”option followed by ∩∩ ”.
-When the preset station list is displayed, press ? ”or ? ”key to
scroll to a desire station shownin red color,followedby ∩∩ ”key to
save the frequency.
-At the Save Channel”prompt, select YES”option and press ∩∩ ”
key to confirmchanges.
Note: The preset frequency will now be displayed in the preset station list (in
red color).
- Press ∩∩ ”key to return to FM mode.
Auto Search for a Frequency
- In FM mode,press ∩∩ ”key to entersubmenu.
- Scroll to Auto”option and press ∩∩ ”key.
-The playerwill automatically scan and saveanyavailable frequencies
in sequential order.

Playbacka Preset Frequency
- In FM mode,press ∩∩ ”key to entersubmenu.
- Scroll to Preset”option and press ∩∩ ”key to enterpreset mode.
- Press ”or ”key to scroll to the previous ornext preset frequency.
(Example: CH:01,CH02 ….)
- Press & hold ∩∩ ”key to return to Main menu.
Deleting a Preset Frequency
- In FM mode,press ∩∩ ”key to entersubmenu.
- Scroll to DEL”option followedby the ∩∩ ”key.
Note: The preset stationlist will be displayed.
- Press ” or ”key to select a preset frequency to be deleted
followed by ∩∩ ”key.
-At the Del Channel”prompt, select YES”option and press key to
confirmdeletion.
Note: The preset frequency that has just been deleted will now display
Empty”temporarily.The deleted preset frequency will bereplacedby the
next available preset frequency.Torefresh the preset list, press key exit
the preset list and enteragain to see the new preset play list.
FM Recording
- During FM playback, press & hold VOL+”key to enterFM recording
mode.
- Press key and recordingbegins automatically.
Note: During recording, press /key to pause.Press key again to
resume.
-To endandsave the recording, press & hold ∩∩ ”key.
Note:
-The FM recording will besaved as filename FM00001.WAV”in the player
root directory when connected to the computer.
- FM recording can be playbackin Music mode.
- In areas where the signal is weak, some channels may be unavailable, or
reception may be poor.
Photo Mode

- In Main menu, select Photo menu and press ∩∩ ”key to enterPhoto
mode.
-When Photo playlist is displayed, press ”or ”key to select a
Photo file.
-When a folderis selected, press ∩∩ ”key to enterfolder.
-When a Photo file is selected, press ∩∩ ”keyand Photoplayback
begins automatically.
- Press ”or ”key to viewprevious ornext photo file.
- During Photo playback, press ∩∩ ”key to return to Photo playlist or
press & hold ∩∩ ”key to return to Main menu.
Deleting a Photo File
- In Photo playlist, when aphoto file is selected, press VOL–” key to
delete.
-At the Delete File”prompt, select YES”option and press ∩∩ ”key to
confirmdeletion.
Text Mode
- In Main menu, select Textmenu and press ∩∩ ”key to enter Text
mode.
-When Text playlist is displayed, press ”or ” key to select a Text
file.
-When a folderis selected, press ∩∩ ”key to enterfolder.
-When a Text file is selected, press ∩∩ ”key and playbackbegins
automatically.

-Press ”or ”key to scroll backward orforward to viewtext.
- DuringText playback, press ∩∩ ”key to return to Text playlist orpress
& hold ∩∩ ”key to return to Main menu.
Deleting aText File
- In Text playlist, when a Text file is selected, press VOL–” key to
delete.
-At the Delete File”prompt, select YES”option and press ∩∩ ”key to
confirmdeletion.
To Bookmarka Page
The Text function supportsup to 3bookmarkpages forquicksearch
purpose.
- DuringText playback, press ” or ” key to scroll backward or
forward to viewText.
-At the desire page to create a bookmark, press keyand the 3
bookmark will be displayed.
Min - Scroll to any of the 3following bookmarks and press ∩∩ ”key to
confirmsettings.
ToViewa BookmarkPage

- DuringText playback, press VOL+ ”key to viewthe 3 bookmarks.
- Press ”or ”key to select a bookmarkfollowed by ∩∩ ”key and
the bookmarkpage will be displayed automatically.
Record Mode
- In Main menu, select Record menu and press ∩∩ ”key to enter
Record mode.
- In Record mode, press / key andrecording begins automatically.
- During recording, press key to pause recordingand press k
again to resume.
-To endrecording, press &hold ∩∩ ”key to save the recording a
return to Main menu.
Note: Recording files (WAVformat) can be playbackin Music menu.
- ExplorerMode
The Explorermode displays all the folders andfiles stored in the
player.
- In Main menu, select Explorermenu and press ∩∩ ”key to enter
Explorermode.
-When Explorerplaylist is displayed, press ” or ” key to select a
file.
-When a folderis selected, press ∩∩ ”key to enterfolder.
-When a file is selected, press ∩∩ ”key and playbackbegins
automatically.
Note: During playback, press & hold ∩∩ ”key to return toMain menu.
Deleting a File

- In Explorerplaylist, selected andpress VOL –”key to delete.
-At the Delete File”prompt, select YES”option and press ∩∩ ”key to
confirmdeletion.
Note: Deletion offolderis NOTsupported.
Game Mode
The playercomes with afree built-in BrickGame.
- In Main menu, select Gamemenu and press ∩∩ ”key to enterGame
mode.
Game Control Keys
-To begin / pause,press / key.
-To move to left orright, press ” or ”key.
-To rotate the Falling Brick”, press VOL+”key.
-To accelerate the FallingBrick”speed, press VOL–” key.
Note: In Game mode, press & hold ∩∩ ”key to return to Main me
*
Settings Mode
There are7 settings available in the Settings mode.
In Main menu, select Settings menu and press ∩∩ ”key to enterSettingsmode.
- In Settings mode, press ”or ”key to scroll to any of the 7
Game Control Keys options and press ∩∩ ”key to enterindividual submenu options.
- Press ”or ”key to select the desired settings in each options
-To begin / pause,press key.
and press ∩∩ ”key to confirmchanges.
-To move to left orright, press ”or ” key.
To rotate the Falling Brick”, press VOL+”key.
Note: In submenu options, press key to return to previous menu orpress
-To accelerate the Falling Brick”speed, press VOL–”key. & hold ∩∩ ”to return

to Main menu.
Music Settings
Repeat Mode
- Once: Toplay all the files once.
- Repeat 1: Torepeat one file.
- FolderOnce: To play all the files in thefolderonce.
- FolderRepeat: To repeat all files in the folder.
-All Once: To repeat all files once.
-All Repeat: To repeat allfiles.
- Intro: To play the first 10 seconds of each music file.
Play Mode
- Order: Music playbackin sequence.
- Shuffle: Music playbackrandomly.
EQ Select
- Normal / 3D / Rock/ Pop / Classic/ Bass / Jazz / UserEQ
(UserEQ must be customized in UserEQ Mode beforeyou use select option)
UserEQ Mode (Usercan customize theirfavorite EQ settings)
- In the UserEQ settings,press VOL+”or VOL –” key to
adjust on each individual frequencysegment. (60Hz、300 Hz、
1KHz、3KHz、6KHz)
- Frequency settings are adjusted in -6dB~+6dB interval.
- Press ” or ”key to skip to adjust thenext frequency
segment. (activated segmentwill be indicatedin red color)
- Press ” or ” key to skip to YES”optionand press ∩∩ ”
key to save changes and exit.
FM RadioSettings
Stereo SW: Set FM stereo mode ON/OFF
- ON
- OFF
FM Region: ConfigureFM foryourregion.
- China
- Europe
- Japan
- USA
Record Settings

REC Quality: Recordingquality & file size settings
- High Quality: Betterrecording quality with largerfile size.
- General Quality: Normal recording quality with smallerfile
size.
REC Volume: The highestsettings +5 will produce the loudest
recording quality.
- +1 / - +2 / - +3 / - +4 / - +5
Display Settings
Blight Time: To set the backlight ON timer(unit in seconds). This function will be disabled
when the time is set to Always On.
- 5s/ 10s / 15s / 20s / 30s / Always On
Lum:To set the backlight brightness. (1 is the brightest setting)
- 1 / 2 / 3 / 4 / 5
Blight Mode: When set to PowerSaver, thescreen will turn OFF
according to the Blight Time settings (Press any key to resume).
Normal / PowerSaver
SystemSettings
About: Todisplay information on firmware version, date and
memory status.
Upgrade: Forfirmware upgrade(if any).
Default Set: To restore theplayerto original default settings.
PowerOffTime Settings
Whenno key is pressed within the time set, playerwill be turned
OFF. (This function will bedisabled when time is set to OFF)
- OFF/10 Minutes/15 Minutes/30 Minutes/60 Minutes/120 Minutes
Languages Settings
To change the desire language settings on the player.
Using the AVI ConverterSoftware
This playersupports AVI format video files and can transformother
video formats to the supportedAVI format by using the bundledAVI
ConverterSoftware.
The softwarefully support fast speed video conversionof multi-video
Table of contents
Languages:
Other MP-Man MP3 Player manuals

MP-Man
MP-Man TS 302 User manual

MP-Man
MP-Man MPF405 User manual

MP-Man
MP-Man MP-CS100 User manual

MP-Man
MP-Man SPORTY 2 User manual

MP-Man
MP-Man MP-F75 User manual

MP-Man
MP-Man BT24 User manual

MP-Man
MP-Man MP-F400 User manual

MP-Man
MP-Man MPUB555 User manual

MP-Man
MP-Man MP-FOL10 Manual

MP-Man
MP-Man MP-FOL6 User manual

MP-Man
MP-Man MP-F56 Manual

MP-Man
MP-Man BT104WOM User manual

MP-Man
MP-Man MP-F80 User manual

MP-Man
MP-Man MP-F50 User manual

MP-Man
MP-Man MP-FOL10 User manual

MP-Man
MP-Man TS17 Series User manual

MP-Man
MP-Man MP145 PAK User manual

MP-Man
MP-Man MP135 User manual

MP-Man
MP-Man Sporty 5 User manual

MP-Man
MP-Man MP-F62 User manual