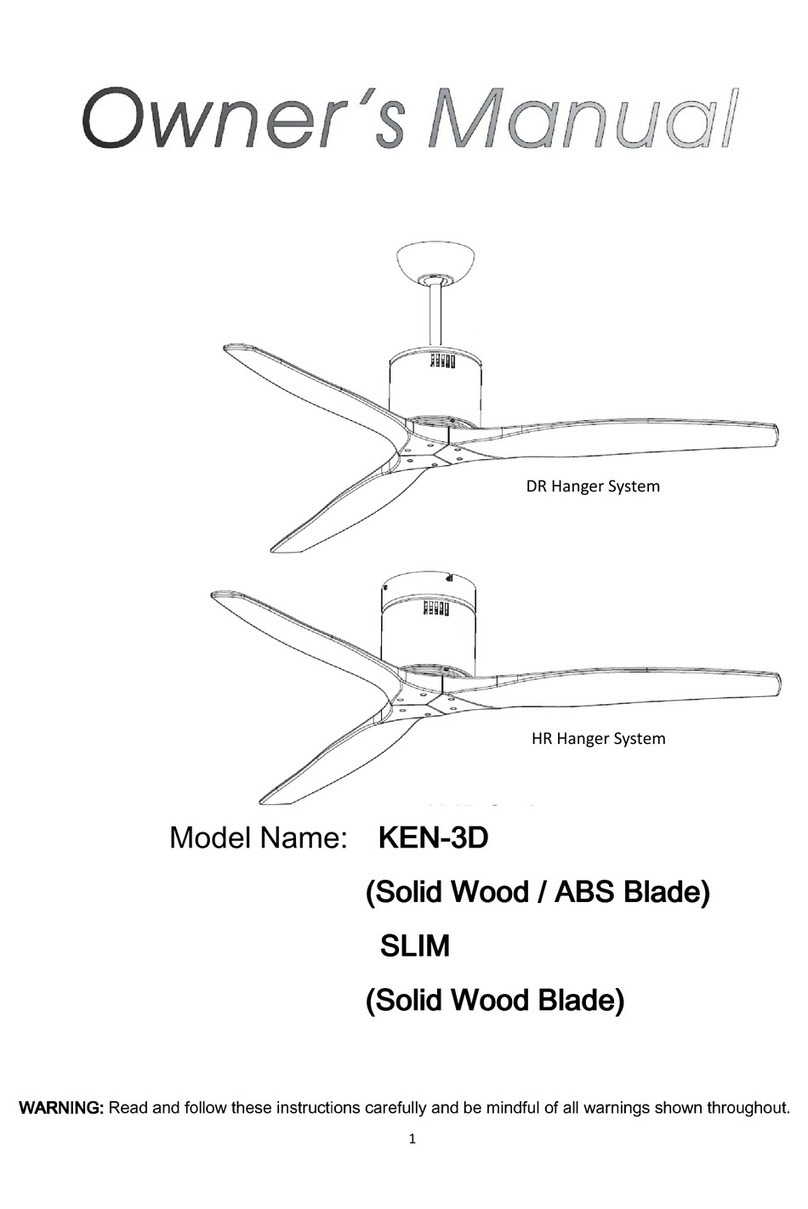
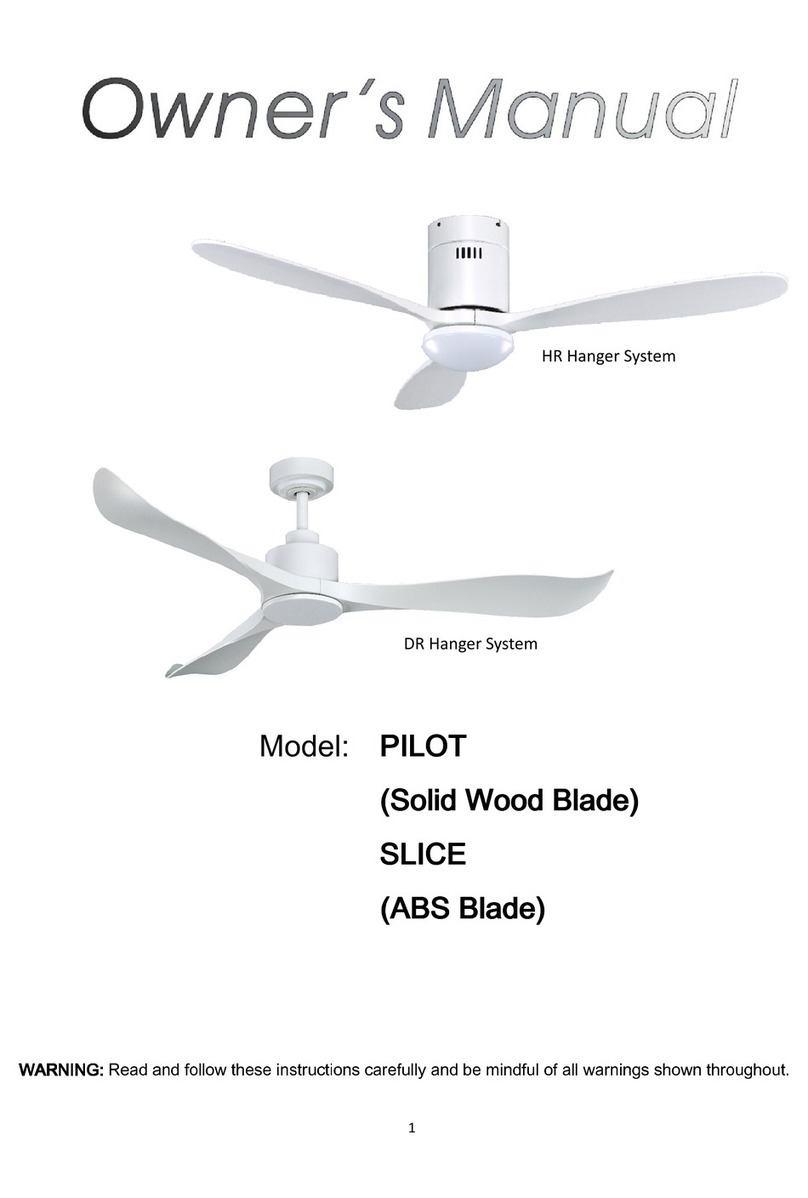
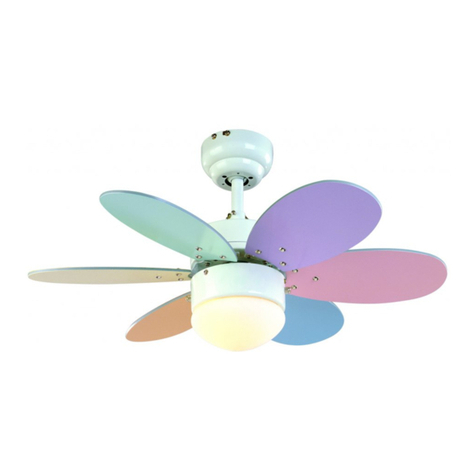
Mr.Ken Cassandra User manual


Please observe the following general safety precautions carefully before and during all phases of
handing, installation, removal, operation and maintenance of this appliance.
1. Read all instructions and safety information. Review assembly diagrams provided before installing
your new ceiling fan.
2. Make sure that all electrical connections comply with local codes, ordinances, or National electrical
codes. Hire a qualified electrician or consult a do-it-yourself writing hand book if you are unfamiliar
with installing electrical wiring.
3. This appliance is not intended for use by persons (including children) with reduced physical, sen-
sory or mental capabilities, or lack of experience and knowledge, unless they have been given
supervision or instruction concerning use of the appliance by a person responsible for their safety.
4. Young children should be supervised to ensure that they do not play with the appliance.
5. All electrical works must only be undertaken after disconnection of the power by removing fuses or
turning off the circuit breaker, to ensure all pole isolation of the electrical supply.
6. Do not use outdoors where it could be exposed to water or moisture.
7. This manual is not intended to instruct or assist untrained or unqualified persons to install this
ceiling fan.
8. It is the responsibility of qualified, licensed installer and user to apply common sense and care at
all times during installation and operation.
9. After you install the fan, make sure that all connections are secure to prevent the fan from falling.
10. Instruction for supply connection: conductor of a fan identified as grounded conductor to be
connected to a grounded conductor of power supply, conductor of a fan identified as ungrounded
conductor to be connected to an ungrounded conductor of power supply, conductor of a fan
identified for equipment rounding to be connected to an equipment-rounding conductor.
11. To reduce the risk of electric shock, do not use this fan with any solid-sate speed control device or
variable speed switch.
12. To reduce the risk of fire, electrical shock, or personal injury, do not bend the blade brackets
when installing the brackets, balancing the blades, or cleaning the fan. Do not insert foreign
objects between the rotating fan blades. Consult a qualified electrician if in doubt.
13. According to regulations and to provide a safe clearance from the floor, the lowest point on the
fan blade must be at least 2.3 meters from the floor.
14. The chosen location for the fan must not allow the rotating blades to come into contact with any
object.
15. Please check carefully and make sure that ceiling joists are strong enough and of adequate size
to support the weight of the fan.
16. To reduce the risk of fire, electrical shock or personal injury, please sure that the fan mounting
bracket is directly supported from the building structure.
17. The mounting bracket must be firmly screwed to a load bearing building structure e.g. a concrete
ceiling, steel structure, or a timber frame. If additional timber frames are to be added, those must
be securely nailed or screwed between the beams.
18. Attach fan blades after the fan motor housing is installed and properly secured. Keep the motor
and blades in the original package until it is ready to be installed.
19. Check and confirm, after the fan is completely installed, that all connections are proper and
secure to prevent the fan from failing or causing properly damages or personal injury.
20. Both the fan with light kit (accessory) and the handing bracket must be earthed.
21. Make sure electricity is turned off at the main power box before commencing work. Turn off the
power by removing fuse or turning off circuit breaker before installing the fan and replacing lamps.
2
3. SAFETY RULES – READ AND SAVE THESE INSTRUCTIONS

3
4. JUNCTION BOX MOUNTING
OPTIONS
Your new ceiling fan will require a grounded
electrical supply line of 220-240 volts AC,
50Hz circuit. The outlet box must be securely
anchored and capable of withstanding a load
of at least 50 lbs (22.7 kgs).
Figures 1,2 and 3 are examples of different
ways to mount the outlet box.
Note: You may need a longer down rod to
maintain proper blade clearance when
installing on a steep, sloped ceiling. (Fig. 3)
To hang your fan where there is an existing
fixture but no ceiling joist, you may need an
installation hanger bar as shown in Fig. 4.
Figure 1
Outlet box
Outlet box
Figure 2
Provide strong
support
Recessed
outlet box
Figure 3
Ceiling
hanger
bracket
ANGLED CEILING
MAXIMUM 20°ANGLE
Outlet box
Figure 4


5
Registration
slot
Figure 9
Figure 10
Figure 11
9. Now lift the motor assembly into position
and place the hanger ball into the hanger
bracket. Rotate down rod until the "Check
Tab" has dropped into the "Registration
Slot" and the down rod and ball assembly
seat firmly. The down rod and ball
assembly should not rotate if this is done
correctly. (Fig. 9)
10. Re-installing the two terminal blocks back
to the side of the hanger bracket. Be sure
to tighten two set screws.
6. MAKE THE ELECTRIC
CONNECTIONS
Warning: The power should have already
been disconnected. Follow the steps below to
connect the fan to your household wiring.
1. Connect the fan ground wire (green/yellow)
to the terminal block marked “ “. Connect the
household ground wire to the other side of
terminal block marked “ “. Secure the wires
with screwdriver. (Fig. 10 & 12)
2. Connect the fan blue wire (neutral) to the
terminal block marked “N”, Connect the
household neutral wire to the other side of
terminal block marked “N”. Secure the wires
with screwdriver. (Fig. 10 & 12)
3. Connect the fan brown wire (Live) to the
terminal block marked “L”. Connect the
household Live wire to another side of terminal
block marked “L”. Secure the wires with
screwdriver. (Fig. 11 & 12)
4. Connect the fan orange wire to the terminal
block marked “L1” (Light). Connect the other
side of terminal block marked “L1” (light) to “L”
with wire. Secure the wires with screwdriver.
(Fig. 11 & 12)
Green/Ground
(Hanger bracket
and downrod)
Terminal
block
Screw driver
Blue
(neutral,
household) Blue (neutral,
from fan)
Green/
Ground
(household)
Terminal
block Orange
(light, from fan)
Brown
(live,
household)
Brown
(live wire
from fan)
Screw driver


9
13. TROUBLESHOOTING
Problem
Fan will not start.
Fan sounds
noisy.
Fan wobble.
Solution
1. Check circuit fuses or breakers.
2. Check line wire connections to the fan and switch wire connections in the
switch housing. CAUTION: Make sure main power is off.
1. Make sure all motor housing screws are snug.
2. Make sure the screws that attach the fan blade bracket to the motor hub is
tight.
3. Make sure wire nut connections are not rubbing against each other or the
interior wall of the switch housing. CAUTION: Make sure main power is off.
4. Allow a 24-hour "breaking-in" period. Most noise associated with a new fan
disappear during this time.
5. If using an optional light kit, make sure the screws securing the glassware
are tight. Check that light bulb is also secure.
6. Some fan motors are sensitive to signals from solid-state variable speed
controls. If you have installed this type of control, choose and install another
type of control.
7. Make sure the upper canopy is a short distance from the ceiling. It should
not touch the ceiling.
1. Check that all blade and blade arm screws are secure.
2. Most fan wobbling problems are caused when blade levels are unequal.
Check this level by selecting a point on the ceiling above the tip of one of
the blades. Measure this distance. Rotate the fan until the next blade is
positioned for measurement. Repeat for each blade. The distance deviation
should be equal within 1/8".
3. Use the enclosed Blade Balancing Kit if the blade wobble is still noticeable.
4. If the blade wobble is still noticeable, interchanging two adjacent (side by
side) blades can redistribute the weight and possibly result in smoother
operation.
WARNING: TO REDUCE THE RISK OF PERSONAL INJURY, DO NOT
BEND THE BLADE ARM WHILE INSTALLING, BALANCING THE BLADES,
OR CLEANING THE FAN. DO NOT INSERT FOREIGN OBJECTS
BETWEEN ROTATING FAN BLADES.

Table of contents
Other Mr.Ken Fan manuals
Popular Fan manuals by other brands
Vortice
Vortice VORT QUADRO MEDIO I EP AC Instruction booklet

Casablanca
Casablanca CEILING FAN Installation and operation manual

NovingAIR
NovingAIR PHANTOM Series Installation, use and maintenance manual
HAEGER
HAEGER Tower Wind User instructions
Raydan Home
Raydan Home 23039 operating instructions
Holmes
Holmes HACP10 owner's guide

