MRS MCharger Easy S User manual

MCharger Easy S 11 kW & 22 kW
Installation and operating manual

Copyright © 2022 Page 2
About this manual
The installation and operating manual is intended for the electrician who carries out the
installation as well as for the persons who are to operate the product.
Read the manual in full before starting to use the product.
Save the manual after reading for future reference.
This installation and operating manual is a part of the product.
If you pass on the product to third parties, please also pass on this manual and the
accompanying documents.
MARKING OF IMPORTANT NOTICES
Particularly important information is marked in this manual as follows:
DANGER!
This warning alerts you of possible dangers in handling or operating the wallbox that
may lead to serious injury or death.
WARNING!
Warning alerts you of possible damage that can lead to minor injuries and damage to
the wallbox if not avoided.
INFORMATION! Notes for the user
NOTE on an qualified electrician
WARRANTY
Warranty claims can be made within a maximum period of 3 years, calculated from the date
of purchase. The warranty is limited to the repair or replacement of the damaged component
at our discretion. Our warranty is always free of charge. However, it does not apply if defects
other than material and workmanship defects are detected.
We also grant a 12-month warranty on proper functioning. This warranty starts from the date
of purchase.

Copyright © 2022 Page 3
Table of contents
Introduction ........................................................................................................................... 4
Safety.................................................................................................................................... 4
General safety instructions................................................................................................. 4
Qualification of personnel for installation and maintenance................................................ 4
User's qualification............................................................................................................. 5
Intended use...................................................................................................................... 5
Service.................................................................................................................................. 6
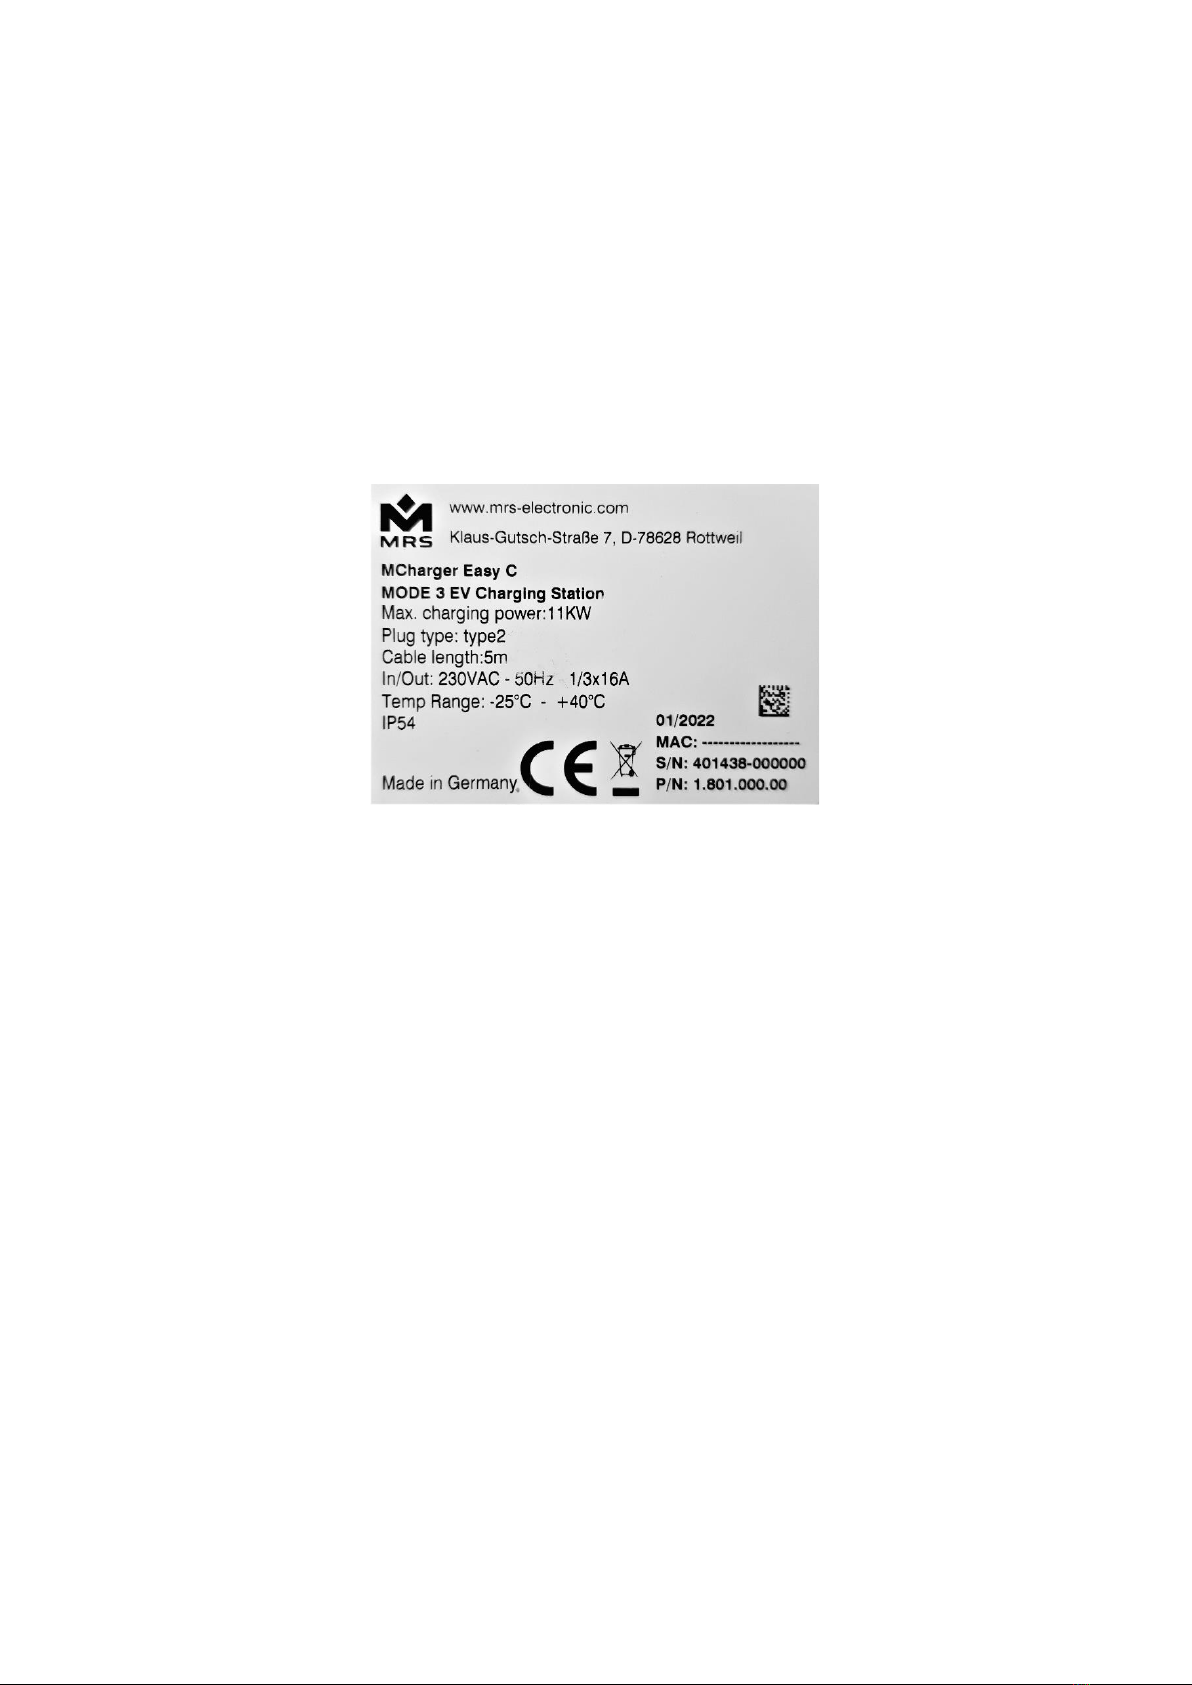
Nameplate............................................................................................................................. 6
Scope of delivery................................................................................................................... 7
Installation............................................................................................................................. 8
Installation site requirements ............................................................................................. 8
Required tools.................................................................................................................... 8
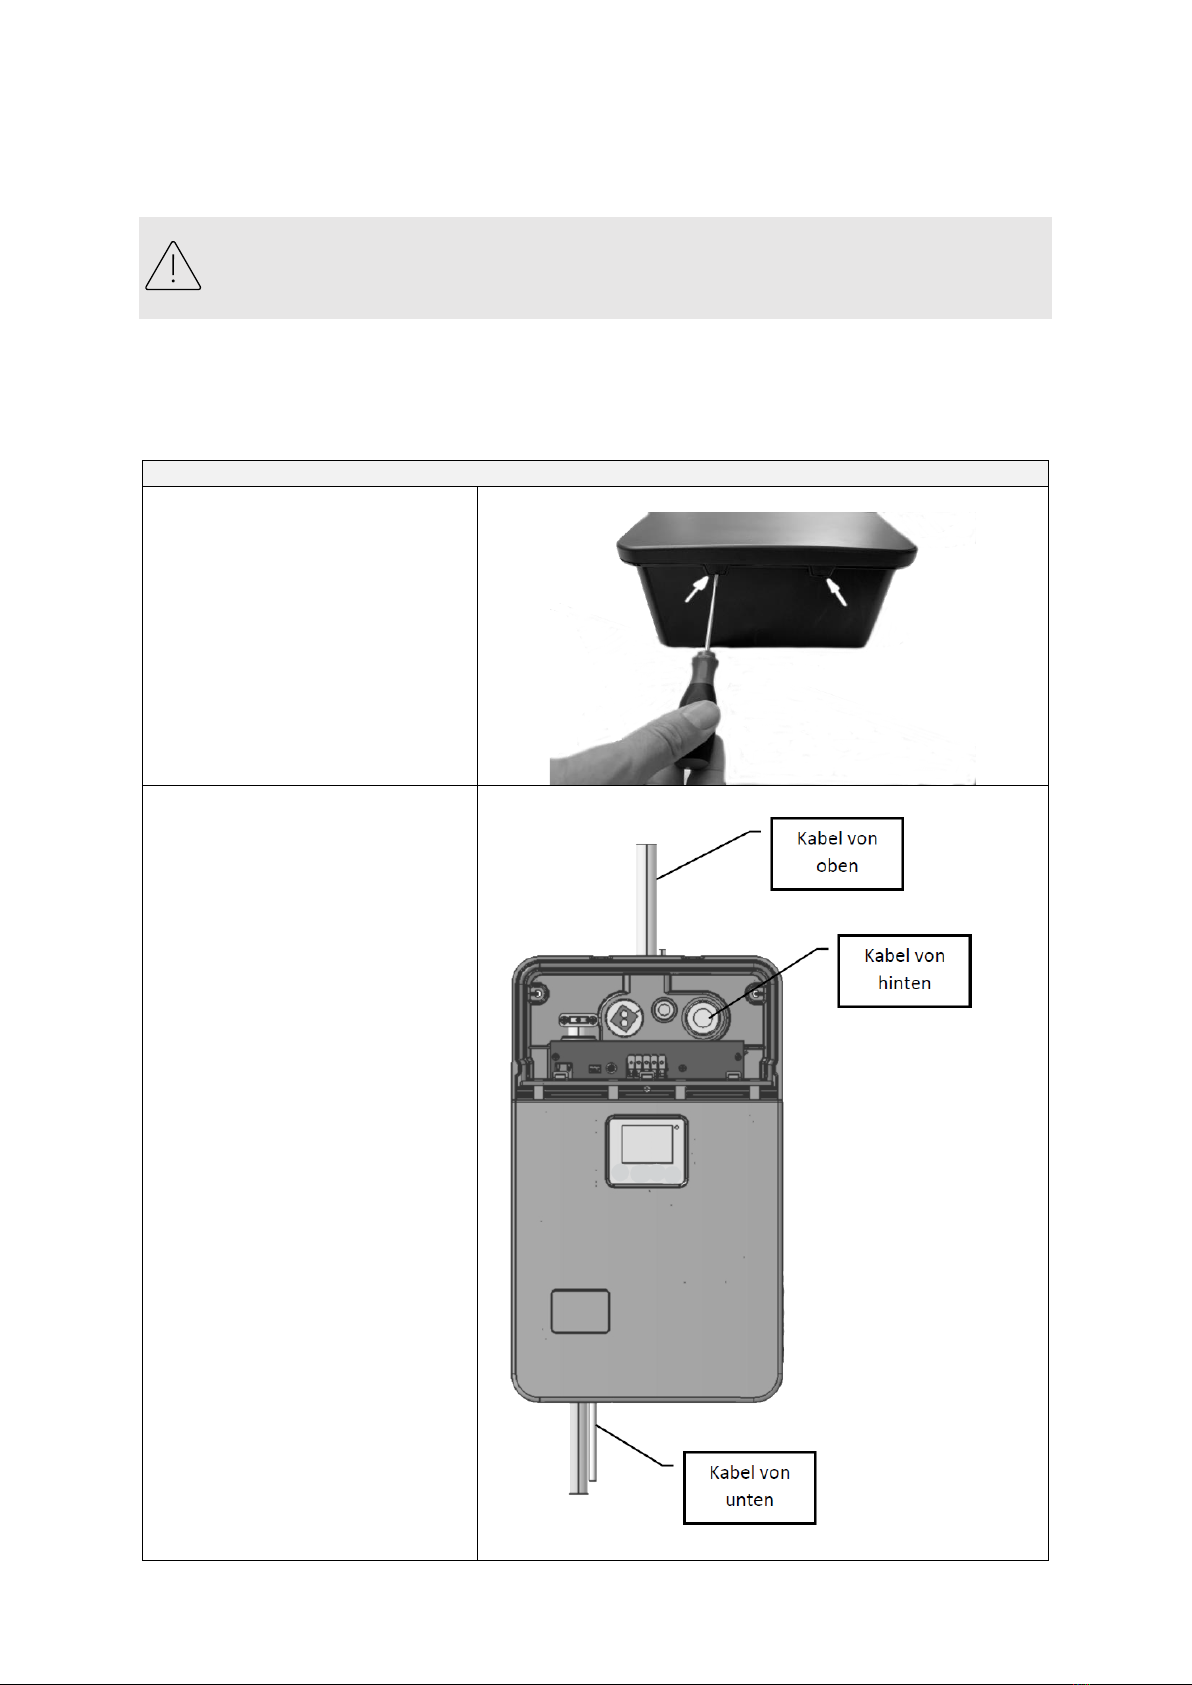
Installation of the wallbox................................................................................................... 9
Connecting the power cable..............................................................................................20
Mounting the top cover .....................................................................................................22
Operating instructions...........................................................................................................23
General.............................................................................................................................23
Standby mode...................................................................................................................23
Vehicle connected ............................................................................................................23
Charging...........................................................................................................................24
End of charging.................................................................................................................25
Maintenance, troubleshooting and decommissioning ...........................................................25
Maintenance.....................................................................................................................25
Cleaning ...........................................................................................................................25
Error diagnosis..................................................................................................................26
Decommissioning .............................................................................................................28
Disposal instructions.........................................................................................................28
CE marking and declaration of conformity............................................................................29
Technical data (11 kW / 22 kW)............................................................................................30
Dimensions ..........................................................................................................................31
Copyright..............................................................................................................................32
Contacts / SERVICE ............................................................................................................32

Copyright © 2022 Page 4
Introduction
Thank you for choosing our product! We have developed the MCharger together with the
company Plastimat with the utmost care and we are of course also available to you after the
purchase if you have any questions or problems.
This manual contains all the necessary information for the installation and operation of the
wallbox. Please read it carefully to familiarize yourself with the functions of this product.
Safety
General safety instructions
Please read the warnings and notes in this guide.
Local regulations regarding operation, installation and environment must be followed and
adhered to.
DANGER! High electrical voltages are present in the wallbox.
There is a danger to life!
Store this manual carefully. The safety instructions must be available to every user.
Please note that according to electricity grid operators’, energy suppliers’ or
national requirements a reporting or approval obligation for the installation or
the operation of a wallbox may be mandatory.
In Germany, there is a reporting obligation according to §19 NAV.
Please note that continuously occurring network disturbances can lead to
malfunctioning of the wallbox.
It may be necessary to restart the wallbox.
Qualification of personnel for installation and maintenance
Only suitably qualified specialist personnel (electrician) may install, commission, and
maintain the wallbox.
DANGER! Improper installation or repair of the wallbox can cause severe
consequences, such as fire or severe or fatal injuries!

Copyright © 2022 Page 5
User's qualification
Only adults are allowed to use this wallbox. They must familiarize themselves with the
operation beforehand by studying these instructions.
DANGER! The covers may only be opened by an electrician as the covers
protect the user from access to high electrical voltages!
DANGER! If the wallbox is visibly damaged, it must not be used.
Please contact the installer or supplier.
Do not carry out any unauthorized changes or repairs!
Intended use
The wallbox is suitable for AC charging (mode 3) of an electric vehicle. A ventilation
requirement, such as that required for charging lead-acid batteries, is recognized by the
wallbox, charging does not take place in these cases.
WARNING! No extension cables or adapters may be used.
DANGER! High electrical voltages are present in the wallbox.
There is a danger to life!

Copyright © 2022 Page 6
Service
For technical service, please first contact the electrician who carried out the installation of the
wallbox.
Nameplate
The nameplate on the bottom of the MCharger wallbox shows all relevant data. Here you will
find e.g., type designation, serial number, date of manufacture (month/year), as well as the
operating parameters of the charging station.
The nameplate may differ from the representation shown here.

Copyright © 2022 Page 7
Scope of delivery
The wallbox is delivered in a custom-fit box. When unpacking, please make sure that you
remove all parts from the box. If something is unexpectedly missing, please contact the
supplier from whom you bought the wallbox immediately.
NOTE: Check all parts for damage before the assembly.
Damaged parts may not be installed!
1 x Housing with pre-assembled lower cover and pre-assembled charging socket
1 x Top cover, not screwed
1 x Installation and operating manual in German
1 x Installation and operating manual in English
1 x Bag with
1 x Installation rail
5 x Screw 6 x 50 T30
5 x Dowel 8 mm
2 x Screw for top cover 3.5 x 12 T15
1 x Strain relief large
1 x Strain relief small
2 x Screw for strain relief 3.5 x 28 T15
1 x Rubber grommet black small
2 x Rubber grommet grey
Please keep the packaging during the warranty period.

Copyright © 2022 Page 8
Installation
Installation site requirements
Please check if the installation location:
•is freely accessible and the wallbox display is easy to read even in incident
light;
•provides a flat mounting surface;
•provides a sufficient load capacity;
•provides a sufficiently dimensioned mounting surface;
•is not exposed to direct sunlight and the prescribed temperature range can be
maintained;
•protects the wallbox from moisture and direct rain;
•is taking into account the minimum distances to other systems, namely
sufficient space for the socket (>40 cm on the right side), as well as the legal
requirements for electrical installations, fire protection, safety regulations and
escape routes;
•does not pose a risk from flammable gases or vaporing and/or flammable
substances, as well as fuels or other flammable or explosive materials;
•does not expose the wallbox to vibrations;
•is not blocking any escape routes, or creating possible tripping points due to
the charging cable lying around;
•is below an altitude of 2000 m;
•offers sufficient space for a safe passage between the vehicle and the
wallbox.
If there is no electrical supply line for the building distribution at the desired installation
location, it must be prepared by an electrician considering all the necessary parameters.
No items may be placed on the wallbox.
WARNING! The wallbox may not be mounted or operated on ships.
Required tools
•Screwdriver T15 (for the cover and strain relief screws);
•Screwdriver T30 (for the wall screws);
•Flat-blade screwdriver (for breakthrough openings in the housing);
•Spirit level;
•Drilling machine;
•Drill bit 8 mm;
•Pencil;
•Combination pliers (for breakthrough opening at the top of the housing);
•Hammer (for breakthrough openings in the housing);
•Wire stripper.

Copyright © 2022 Page 9
Installation of the wallbox
WARNING! Only appropriately qualified specialists (electricians) may
install the wallbox.
The following steps show where special attention should be paid to when mounting on the
wall. All length measures are shown in millimetres.
If the wallbox is not attached to a wall, please follow the instructions in the installation manual
of the accessory.
Preparation
Remove the top front panel by
lifting the two tabs with a
screwdriver.
Select the cable entry according
to the type of installation from:
•top
•bottom
•rear

Copyright © 2022 Page 10
An additional cable of CAN
interface can be inserted
through the middle opening.
Break out the opening with the
screwdriver and hammer, then
deburr the area with a knife.
Use the small black rubber
grommet for sealing.
Cable from the bottom
The required opening is
provided in the housing.
Use one of the two grey rubber
grommets.

Copyright © 2022 Page 11
Cable from the top
Break out the opening on the
top of the housing with the pliers
and deburr it with a knife.
Use the free space to lay a drip
loop.

Copyright © 2022 Page 12
Cable from the rear
Break out the
opening on the
back of the
housing with a
screwdriver and a
hammer and then
deburr it with a
knife.
After entering the
cable, use the
appropriate
marking (small
triangle) on the
installation rail for
the orientation.

Copyright © 2022 Page 13
For the installation from the
bottom, use the left side mark on
the installation rail.
Draw the left mark.

Copyright © 2022 Page 14
For the installation from the top,
use the mark in the middle of the
installation rail.
Draw the middle mark.

Copyright © 2022 Page 15
For the installation from the rear,
use the right side mark on the
installation rail.
Draw the right mark.
Mark the holes for the
installation rail.
Use a spirit level!

Copyright © 2022 Page 16
Use the supplied cylinder head
screws and dowels.
Use a maximum screw diameter
of 6 mm.
Drill the appropriate holes for the
installation rail with a distance of
90 mm.
Use an 8 mm diameter drill bit.
Attach the installation rail to the
wall with dowels and screws.
Check the alignment again with
the spirit level.

Copyright © 2022 Page 17
Put the wallbox on the
installation rail.
Press the wallbox firmly to
the wall.
Draw the upper drill marks.

Copyright © 2022 Page 18
Use the supplied flathead
screws and dowels.
Use a maximum screw
diameter of 6 mm.
Remove the wallbox from
the installation rail again.
Drill the marked holes.
Use an 8 mm diameter drill
bit.
Mount the dowels.

Copyright © 2022 Page 19
Insert the connection cable
into the wallbox and use
the appropriate grey
rubber grommet.
Put the wallbox on the
installation rail.
Secure the wallbox with
two screws.

Copyright © 2022 Page 20
Use the strain relief
(small/large) for the
installation type "from the
bottom" or "from the top"
of the connection cable.
Select the size based on
the cable diameter.
Connecting the power cable
WARNING! The installation may only be carried out by a qualified electrician.
WARNING! Make sure again that the connection cable is disconnected from the
mains.
The electrical connection to the power grid must be carried out by a qualified electrician.
Based on professional training, knowledge of the relevant standards and experience, he/she
can assess the installation steps and identify any possible dangers.
On the building side, it is necessary to provide RCD type A circuit breaker (30 mA AC). The
wallbox already has an integrated DC residual current detection. The overcurrent protection
device of the electrical supply line must also be dimensioned and installed by an electrician.
Observe the 5 safety rules for electrical work:
1. disconnect;
2. secure against being switched on again;
3. determine the absence of voltage;
4. ground and short-circuit;
5. cover or fence off adjacent live parts.
NOTE: After connection or reconnection, the electrotechnical
equipment must be tested in accordance with the applicable standards.
NOTE: The operator must provide protection against the lightning.
NOTE: The electrician is responsible for dimensioning the cables according
to the building conditions.
Other manuals for MCharger Easy S
1
This manual suits for next models
2
Table of contents
Other MRS Batteries Charger manuals