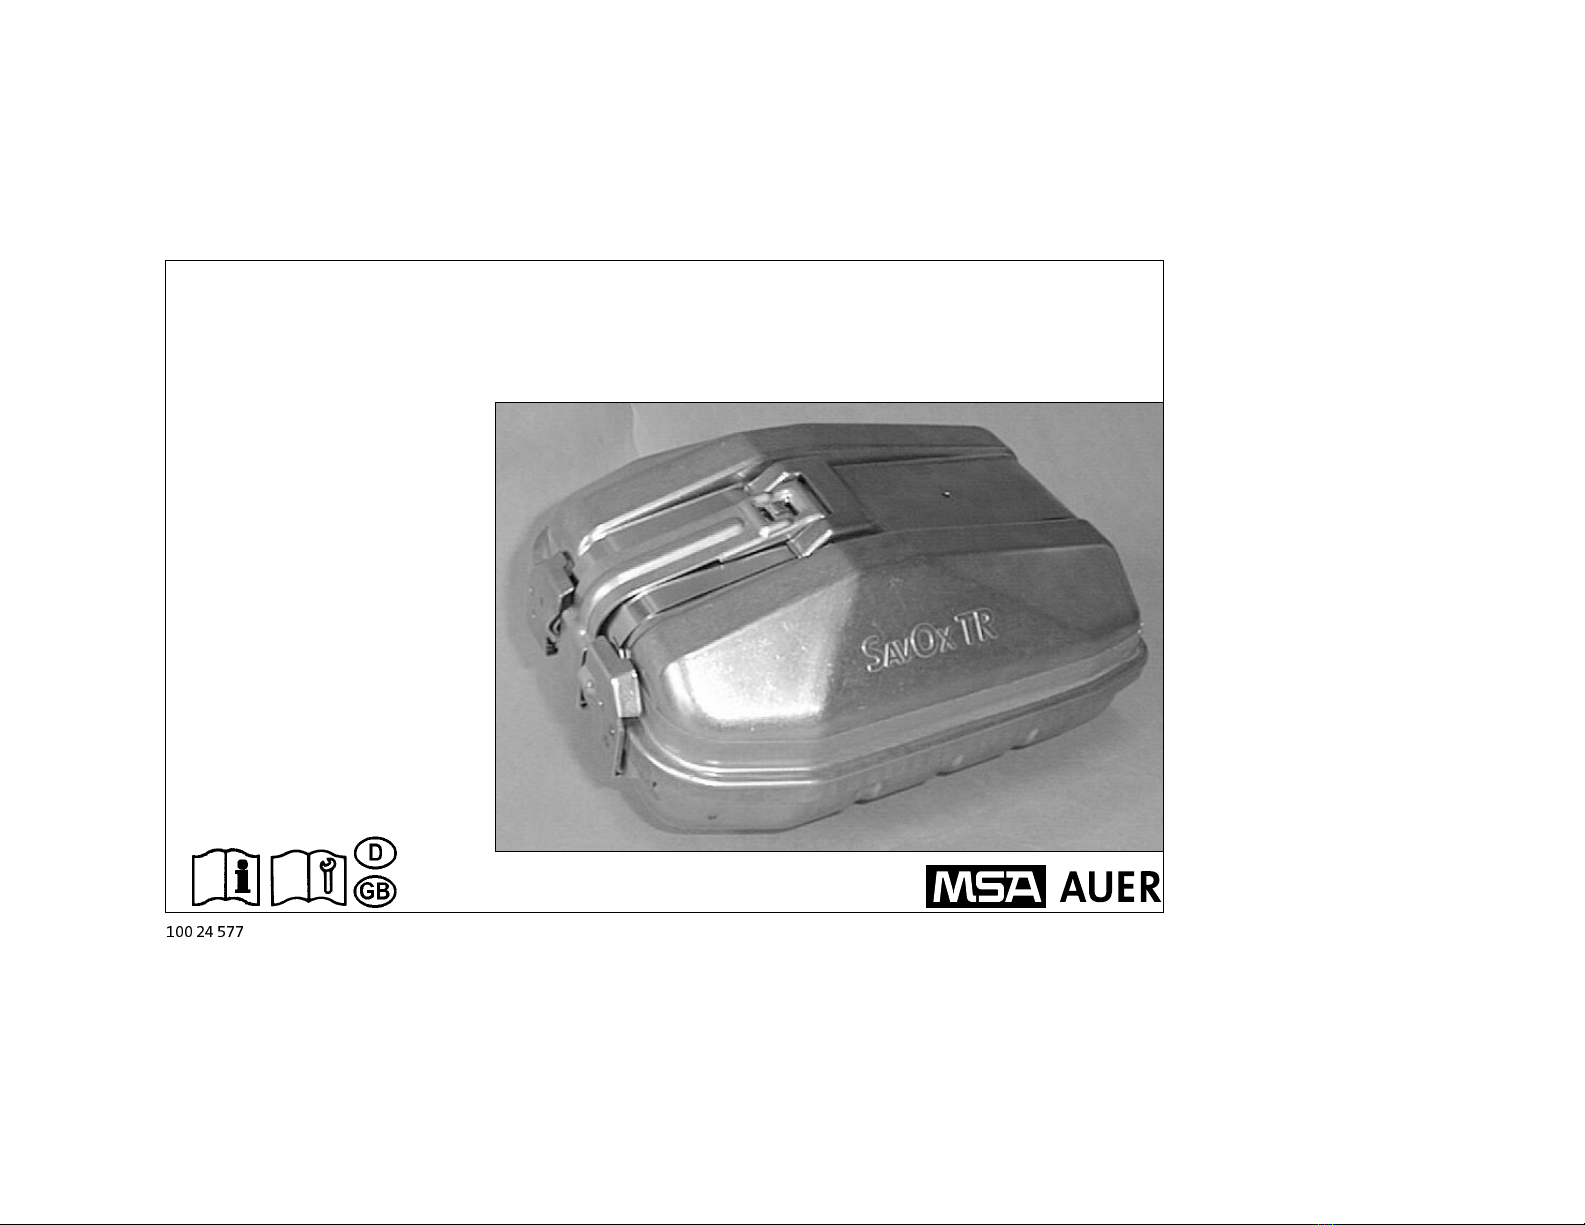
MSA AUER SavOx TR User manual

MSA AUER SAVOX TR

2
Inhalt
1. Sicherheitshinweis 3
2. Verwendung 4
3. Aufbau und Funktion 4
4. Gebrauch 6
5. Mehrfachverwendung 8
6. Instandsetzung nach Gebrauch 9
7. Geräte, Ersatzteile und Zubehör 19
Anhang 21
Contents
1. For Your Safety 3
2. Intended Use 4
3. Design and Functioning 4
4. Use 6
5. Multiple Use 8
6. Reconditioning after Use 9
7. Apparatus, Spare Parts and Accessories 19
Annex 21

3
1 Sicherheitshinweis 1 For Your Safety
Diese Gebrauchs- und Instandsetzungsanleitung weist
auf die bestimmungsgemäße Verwendung des Produk-
tes und auf die richtige Instandsetzung des Produktes
nach Gebrauch hin und dient zur Verhütung von Gefah-
ren. Sie muss gelesen und beachtet werden. Dieses
Produkt kann seine Aufgaben, für die es bestimmt ist,
nur dann erfüllen, wenn es entsprechend den
MSA AUER-Angaben eingesetzt bzw. verwendet und
wieder instandgesetzt wird.
Die von MSA AUER für dieses Produkt übernommene
Garantie verfällt, wenn es nicht entsprechend den
MSA AUER-Angaben eingesetzt bzw. verwendet, ge-
pflegt und wieder instandgesetzt wird.
Auswahl und Einsatz des Produktes unterliegen nicht
dem Einfluss von MSA AUER, sondern obliegen dem
Verwender. Unsere Haftung bezieht sich daher nur au
f
gleichbleibende Qualität des Produktes.
Instandsetzungsarbeiten am Produkt, die nicht von
MSA AUER durchgeführt wurden, unterliegen nicht dem
Einfluss von MSA AUER. Unsere Haftung bezieht sich
daher nur auf von MSA AUER durchgeführte Instandset-
zungsarbeiten.
Gewährleistung und Haftung gemäß Verkaufs- und Lie-
ferbedingungen werden hiervon nicht berührt oder ver-
ändert.
Das in dieser Gebrauchs- und Instandsetzungsanlei-
tung beschriebene Gerät entspricht der Richtlinie
89/686/EWG. Es ist das Trainingsgerät für einen
Chemikalsauerstoff(KO2)selbstretter nach EN 401.
Like any piece of complex equipment, the MSA AUER
product will do the job it is designed to do, only if it is
used and serviced in accordance with the manufacturer’s
instructions. This manual must be carefully read by all
individuals who have or will have the responsibility fo
r
using or servicing the product. The warranties made by
MSA AUER with respect to the product are void if the
product is not used and serviced in accordance with the
instructions in this manual. Please protect yourself and
your employees by following them.
The above does not alter statements regarding the war-
ranties and conditions of sale and deliveries o
f
MSA AUER. The product must be checked and main-
tained regularly by experts; the results must be recorded.
We recommend a service contract with the MSA AUER
Customer Service.
The apparatus described in these Instructions fo
r
Use and Reconditioning is in accordance with Direc-
tive 89/686/EEC. It is a training apparatus for the
chemical oxygen (KO2) self-rescuer according to EN
401.

4
2 Verwendung 2Use
Der MSA AUER SAVOXTR ist das Trainingsgerät zum
MSA AUER SAVOX.
Mit diesem Gerät kann die Handhabung und Beat-
mung des MSA AUER SAVOXohne Verbrauch eines
Chemikalkanisters geübt werden.
Das Trainingsgerät ist kein Atemschutzgerät, d.h.,
es darf nur in atembarer Umgebungsluft verwen-
det werden.
The MSA AUER SAVOXTR is the training apparatus
for the chemical oxygen self-rescuer MSA AUER
SAVOX.
With this apparatus handling and breathing of the
MSA AUER SAVOXcan be practiced without using a
chemical canister.
The training apparatus is not a respiratory protec-
tive device, i.e. it may only be used in breathable
ambient air.
3 Aufbau und Funktion 3 Design and Operation
Das Trainingsgerät MSA AUER SAVOXTR entspricht
in Größe, Gewicht, prinzipiellem äußeren Aufbau,
Handhabung und Atemwiderstand dem Ernstfallgerät.
Die Einatemluft wird jedoch über ein Einatemventil im
Atemschlauch aus der Umgebungsatmosphäre ent-
nommen.
Die Ausatemluft wird durch ein Verbindungsstück mit
Steuerventil (am unteren Ende des Atemschlauches)
und durch den Kanister in den Atembeutel geblasen
und durch das Ü-Ventil im Atembeutel nach außen
abgegeben.
Beim Wechsel des Gerätträgers braucht nur ein neue
r
oder desinfizierter Atemschlauch mit Verbindungs-
stück auf den Kanister aufgeschraubt zu werden.
The training apparatus MSA AUER SAVOXTR is
comparable to the emergency apparatus in size,
weight and principal outer design. However the inha-
lation air is drawn from the ambient atmosphere
through an inhalation valve in the breathing tube.
The exhalation air passes through a connecting piece
with check valve (at lower end of breathing tube) into
the canister and breathing bag then to atmosphere
through the relief valve.
If more than one person is to be trained using the
same training rescuer, it is only necessary to change
the breathing tube for a clean, disinfected one at that
particular training session.
A complete clean and disinfecting of the whole appa-
ratus should be carried out after the training session
has been completed.

5
Aufbau und Luftführung Design and Air Flow
1Brille
2 Mundstück
3 Nasenklemme
4 Nackenband
5 Verbindungsstück mit
Starterauslösung TR
6 Kanisteraufnahme
7 Ü-Ventil
8 Kanister mit Kanisterhülle
9 Atembeutel
10 Leibgurt
Unterscheidungsmerkmale
Die wesentlichen Bauteile des Trai-
ningsgerätes sind nicht mit den ent-
sprechenden Bauteilen des Ernst-
fallgerätes identisch. Sie sind ent-
weder blau markiert oder so kon-
struktiv verändert, dass eine Vertau-
schung erschwert wird.
•Das Behälteroberteil hat einen
blauen Signalstreifen
•Der Atembeutel besteht aus blau-
em Material
•Der Atemschlauch hat ein Eina-
temventil und ist leicht trennbar
•Der Kanister ist kürzer und hat
einen blauen Signalstreifen
Bild 1
Fig. 1
1 Goggles
2 Mouthpiece
3 Nose clip
4Neckstrap
5 Connecting piece with starter
release TR
6 Canister TR
7 Pressure relief valve
8 Canister with canister cover
9 Breathing bag
10 Waist belt
Differences to the Emergency
Apparatus
Major components of the training
apparatus that are not identical to
the corresponding components of
the emergency apparatus are ei-
ther marked blue or designed such
that an interchange is rendered dif-
ficult:
•The container cover has a blue strip
•The breathing bag is of a blue ma-
terial
•The breathing tube has an inhala-
tion valve, and is easily discon-
nected.
•The canister is shorter and has a
blue strip.

6
4Gebrauch 4 Donning, Use
Das Gerät lässt sich mit wenigen,
einfachen Handgriffen schnell anle-
gen (ca. 20 Sekunden).
Bild 2
Verschlusshebel in Pfeilrichtung
schieben bis die Plombe aufbricht
und der Verschluss und das Oberteil
abfällt.
Falls das Behälteroberteil am Behäl-
terunterteil klemmt, werden die Be-
hälterteile durch ziehen an der Griffla-
sche getrennt.
The apparatus is easily donned in a
few, simple steps.
Fig. 2
Push locking lever in the direction o
f
the arrow until lead seal breaks and
the container cover is released.
In case container cover and container
bottom do not part, separate them by
pulling the opening aid.
Bild 3
Das Gerät am orangefarbenen Nak-
kenband fassen und den Mundstück-
stopfen herausziehen. Das Nacken-
band über den Kopf und um den Nak-
ken legen.
Fig. 3
Grasp apparatus by orange neck
strap and pull out the mouthpiece
plug. Pull neck strap over head and
place around neck.

7
Bild 4
Atemschlauch fassen und hoch-
ziehen
(Simulation Starterauslösung).
Die Beatmung ist mit einem Ausa-
temhub in das Gerät zu beginnen.
Mundstück und Nasenklemme dicht
anlegen.
Fig. 4
Grasp breathing tube and pull it to-
wards the mouth (apparatus is
started, simulation). Fit mouthpiece
and exhale into the apparatus.
Fit nose clip and continue to
breathe normally.
Bild 5
Nackenband nach Bedarf einstellen.
Schutzbrille aufsetzen.
Leibgurt umbinden.
Ruhig weiter atmen.
Fig. 5
Adjust neck strap.
Fit goggles.( If required )
Tie waist belt.
Continue to breathe normally.

8
5 Mehrfachverwendung
(Übung mit mehreren Personen 5 Multiple Training
(Training Several Persons)
Das Trainingsgerät ist durch den auswechselbaren
Atemschlauch mit Verbindungsstück für die Benut-
zung mehrerer Personen nacheinander während eine
r
Übung ausgerüstet.
Hierfür wird für jeden Probanden entweder ein neue
r
oder ein desinfizierter Atemschlauch mit Verbin-
dungsstück verwendet.
Bei Wechsel des Gerätträgers sind folgende Arbeiten
erforderlich:
•Atemschlauch mit Verbindungsstück vom Kani-
ster abschrauben (Bild 6)
•Neuen bzw. desinfizierten Atemschlauch mit Ver-
bindungsstück aufschrauben, dabei auf den mon-
tierten Starterstift achten (Bild 7)
•Nackenband wieder auf volle Länge einstellen
•Brillenband auf volle Länge einstellen und am
Nackenband befestigen
•Falls die Entnahme des Gerätes geübt werden
soll, so muss es vorher in den Behälter verpackt
werden.
With the exchangeable breathing tube and connecting
piece, the training apparatus is designed for use by
several persons successively during one training ses-
sion.
For each person being trained it is only necessary to
change the breathing tube and connector for a new o
r
clean disinfected breathing tube with connecting
piece.
For each trainee using the same training unit the fol-
lowing work must be performed:
•Unscrew breathing tube with connecting piece
from canister. (see Pic. 6)
•Screw on clean breathing tube with connecting
piece, make sure that starter pin is in place. (see
Pic. 7)
•Extend neck strap to full length.
•Extend goggle strap to full length and attach to
neck strap.
•Repack apparatus into the container as per in-
structions.

9
6 Instandsetzung nach Gebrauch 6 Reconditioning After Use
Nach Abschluss der Übung ist das Trainingsgerät MSA AUER
SAVOXTR zu reinigen, zu trocknen, zu verpacken und zu verplom-
ben.
After a training session the training apparatus must be cleaned,
disinfected, dried, repacked and sealed.
Demontage
Bild 6
Atemschlauch mit Verbindungsstück
vom Kanister abschrauben.
Disassembly
Fig. 6
Unscrew breathing tube with con-
necting piece from canister.
Bild 7
Verbindungsstück aus Atemschlauch
ausknöpfen. (TR-Starterstift wird bei
gestartetem Gerät erst nach starkem
Stauchen des Schlauches sichtbar)
Hinweis: Bei Bedarf das Steuerventil
im Verbindungsstück z.B.
mit einem Stab herausdrük-
ken und neues Ventil ein-
schnappen (Ventilscheibe
muss außen liegen).
Fig. 7
Pull connecting piece out of breath-
ing tube. (If the starter pin has been
pulled it can be located inside the
tube.(Shorten tube by compressing )
Note: If necessary, push out the
check valve in the exhalation
path with a peg or similar and
fit a new valve.
(The valve disc must be outside.)

10
Bild 8
Klemmschelle lösen
Fig. 8
Remove clamp using special pliers
Bild 9
Kanister aus dem Atembeutel aus-
knöpfen, dabei Kanisteraufnahme
nach oben entfernen.
Fig. 9
Remove canister from breathing bag
and then the canister receptacle.

11
Reinigung, Trocknung und Nachbehandlung der
Bauteile
Alle Bauteile, mit Ausnahme des Behälters, müssen
gereinigt und desinfiziert werden. Dies sind:
•Atemschlauch mit Mundstück, Einatemventil und
Nasenklemme
•Verbindungsstück mit Steuerventil
•Atembeutel mit Ausatemventil
•Kanister
•Brille
Der Behälter ist nur im Bedarfsfall zu reinigen. Für die Nass-
reinigung empfehlen wir das Reinigungsmittel EW 80 (Tre-
monia Chemie, Dortmund) und für die Desinfektion emp-
fehlen wir das Desinfektionsmittel AUER 90 gemäß Anlei-
tung zu verwenden. Die Trocknung der Bauteile kann bei
Raumtemperatur oder im Luftstrom bei maximal 60°C erfol-
gen.
Der Atembeutel (innen) und der Atemschlauch (außen) sind
nach der Trocknung vor der Remontage mit etwas Talkum-
puder zu behandeln.
Achtung:
ØTalkumüberschuss gut ausschütteln!
ØAtemschlauch (innen) nicht talkumieren!
Cleaning, Drying and Treatment of Components
The following components must be cleaned and dis-
infected after use.
•Breathing tube with mouthpiece, inhalation valve
and nose clip
•Connecting piece with check valve
•Breathing bag with exhalation valve
•Canister
•Goggles
The Carrying Container is cleaned when necessary
For wet cleaning the detergent EW 80 is recommended
(Tremonia Chemie Co.,Dortmund, Germany). For disinfect-
ing the disinfectant AUER 90 is recommended according to
Instructions. The components can be dried at room tem-
perature or in an air flow at max. 60°C.
After drying and before re-assembly, a small amount o
f
talcum powder should be applied to the breathing bag (in-
side) and breathing tube (outside).
Attention:
ØThoroughly shake out excess talcum powder!
ØDo not apply talcum to breathing tube (inside)!

12
Kontrolle der Bauteile
Alle Bauteile sind vor der Remontage auf Beschädi-
gungen und Vollständigkeit zu kontrollieren. Im Be-
darfsfall sind fehlende oder beschädigte Bauteile zu
ergänzen bzw. zu ersetzen. Es dürfen nur Orginal-
MSA AUER-Ersatzteile gemäß Ersatzteilliste verwen-
det werden.
Check of Components
Prior to re-assembly check all components to ensure
they are complete and not damaged. Missing or dam-
aged components must be replaced. Only original
MSA AUER spare parts according to spare parts list
must be used.
Remontage Re-assembly
Bild 10
Kanister mit Kanisterhülle und Kani-
steraufnahme komplettieren, in den
Atembeutel einbauen und positionie-
ren. Klemmschelle schließen.
(Auf Positionierung des
Nackenbandes achten)
Fig. 10
Place components into position and
close clamp.
(Observe proper positioning of neck
strap.)

13
Bild 11
Verbindungsstück in Atemschlauch
einknöpfen und Starterstift einstek-
ken.
Achtung:
Vor Einknöpfen des Verbindungs-
stückes muss die Dichtheit des
Steuerventils geprüft werden
(siehe Anhang, Seite 21).
1
Fig. 11
Locate starter pin in breathing tube
and locate in hole on connecting
piece. Fit connecting piece into
breathing tube.
Attention:
Prior to inserting the connecting
piece, the tightness of the check
valve must be tested (see Annex,
page 21).
Bild 12
Atemschlauch mit Verbindungsstück
an Kanister anschrauben, Atem-
schlauch ausrichten (Mundstück
Richtung Körperseite)
Fig. 12
Screw connecting piece with breath-
ing tube into canister.( align breath-
ing tube so that mouthpiece will be
towards body when apparatus is
donned)).

14
Bild 13
Gerät flach hinlegen, Ausatemventil
nach oben
Das Nackenband auf volle Länge
einstellen
Fig. 13
Lay breathing unit on bench with
exhalation valve facing upwards.
Extend neck strap to full length.
Bild 14
Atembeutel in der Mitte so falten,
dass das Ausatemventil rechts oben
auf dem Kanister zu liegen kommt
Fig. 14
Fold breathing bag in the middle
such that the exhalation valve is on
the right side from the canister.

15
Bild 15
Bodenplatte des Atembeutels bis
zur Spannschelle hochziehen und
um den Kanister legen
Fig. 15
Fold the breathing bag from the
bottom until level with clamp. Tuck
sides of tightly around canister.
Bild 16
Das lange Ende des Leibgurtes
2 mal um das Gerät wickeln und fest
anziehen. Das Gerät (Nackenbän-
derung auf der Unterseite) in die
Unterschale legen und nach unten
bis zum Anschlag schieben.
Hinweis:
Unterschale so hinlegen, dass der
Stopfen links und die Schutzkappe
des Indikators rechts liegen
Fig. 16
Take the long end of waist strap and
wrap it twice around the folded bag
pulling it tight. Place the unit into the
container bottom and pull down to
make space for breathing tube.
Note:
Lay the container bottom so that the
cord and plug are located at the top
left as you view it.

16
Bild 17
Atemschlauch zusammenschieben
und in den freien Teil des Unter-
teils legen, Mundstück muss links
zu liegen kommen. Stopfen in das
Mundstück stecken. Die Nasen-
klemme mit der Feder nach oben
rechts neben dem Atemschlauch
in das Unterteil stecken
Fig. 17
Push the breathing tube carefully
into the free space with the mouth-
piece on the left. Insert the plastic
plug in the mouthpiece together and
put it into the free space in the con-
tainer bottom, the mouthpiece must
be on the left and the noseclip
placed on the right with the spring
upwards
Bild 18
Die Leibgurtenden falten und in die
untere rechte bzw. linke Ecke des
Behälters zwischen Atembeutel
und Behälterrand stecken
Fig. 18
Fold the ends of the waist belt and
pack them into the bottom corners of
the container.

17
Bild 19
Brillenband auf volle Länge ein-
stellen. Gasschutzbrille am Nak-
kenband (Klettverschluss) befesti-
gen und diagonal über das Gerät
legen. Brillengläser nach oben. Die
rechte Schnalle der Gasschutz-
brille rechts unten tief zwischen
Atembeutel und Behälterrand
stecken. Die Brille muß neben dem
Ausatemventil liegen
Fig. 19
Extend goggle strap to full length
and attach to neckstrap (opposite
side from adjusting buckle). Fold
the neckstrap tidily over breathing
tube. Lay goggles diagonally
across breathing next to exhalation
valve with lenses facing up. Tuck
the buckles of the goggles neatly
between container and bag.
Bild 20
Ersatzplombe in den Verschluss-
haken einlegen und mit einem
Klebestreifen fixieren. Die vorge-
bogenen Plombenenden zeigen
zum Haken
Fig. 20
Insert brass seal band into the
locking hook and fix it with an ad-
hesive strip.

18
Bild 21
Behälteroberteil auf das Gerät le-
gen.
Behälterschalen fest zusammen-
drücken.
Es dürfen keine Teile (Atembeu-
tel, Atemschlauch mit Mund-
stück, Leibgurte, usw.) einge-
klemmt werden!
Fig. 21
Place container cover and press
into place ensuring that no inner
parts are trapped between con-
tainer bottom and cover.
Bild 22
Verschlusshaken und Verschluss-
hebel am Behälterunterteil einha-
ken und verschließen.
Jeweils ein Ende vom Plomben-
band durch jeweils einen Schlitz
im Verschlusshaken führen
Plombe zusammenfalten und
verlöten
Fig. 22
Locate locking hook and locking
lever in their respective positions
and lead end of brass seal through
slot in locking lever.
Fold over ends of brass seal band
and solder.

19
7 Geräte, Ersatzteile und Zubehör 7 Apparatus, Spare Parts and
Accessories
Bezeichnung Bestell-Nr. Description MSA Order No.
MSA AUER SAVOX100 23 263 MSA AUER SAVOX100 23 263
Trainingsgerät
MSA AUER SAVOX-TR 100 24 538 Training apparatus
MSA AUER SAVOX-TR 100 24 538
Schultertragegurt 100 29 099 Shoulder carrying strap 100 29 099
Gürtel D1123958 Waist belt D1123958
Kanister SAVOX-TR 100 24 571 Canister SAVOX-TR 100 24 571
Kanisteraufnahme TR D1130036 Canister receptable TR D1130036
Atembeutel TR mit Ausatemventil 100 24 573 Breathing bag TR
with exhalation valve 100 24 573
Atemschlauch TR D1130813 Breathing tube assembly TR D1130813
Steuerventil (3 Stück/Pg) D1130980 Check valve (pack of 3) D1103980
Kanisterhülle TR 100 24 576 Canister cover TR 100 24 576
Piktogramm TR 100 25 137 Pictogram TR 100 25 137
Leibgurt 100 24 927 Waist belt 100 24 927
Nackenband (beide Nr. bestellen) 100 23 216 Neck strap (order both Part Nos.) 100 23 216
Nackenband (beide Nr. bestellen) D1130807 Neck strap (order both Part Nos.) D1130807
Spannschelle D1130033 Clamp D1131033
Spezialzange D1130038 Special pliers D1130038

20
Bezeichnung Bestell-Nr. Description MSA Order No.
Brille D1113832 Goggles D1113832
Behälteroberteil TR 100 24 570 Container cover TR 100 24 570
Behälterunterteil TR 100 24 539 Container bottom TR 100 24 539
Verschlusshaken 100 25 360 Locking hook 100 25 360
Verschlusshebel 100 23 215 Locking lever 100 23 215
Plombenband (25 St.) 100 15 364 Brass seal Band (pack of 25) 100 15 364
Desinfektionsmittel AUER 20 (2 l) D2055765 Disinfectant AUER 90 (2 l) D2055765
Desinfektionsmittel AUER 90 (6 l) D2055766 Disinfectant AUER 90 (6 l) D2055766
SAVOXTR Gebrauchs- und
Instandsetzungsanleitung 100 24 577 SAVOXTR Instruction for Use and
Reconditioning 100 24 577
Table of contents
Other MSA AUER Safety Equipment manuals
Popular Safety Equipment manuals by other brands

Micron Electronics
Micron Electronics AIRE Mate202 user manual

Dual Inventive
Dual Inventive RDI 3000 quick start

Guardian Fall Protection
Guardian Fall Protection Arc-O-Pod instruction manual

Guardian Fall Protection
Guardian Fall Protection 53221 instruction manual

ERGODYNE
ERGODYNE SQUIDS WRIST LANYARDS quick start guide

SafeWaze
SafeWaze FS-EX310-1 instruction manual