myomo myopro 2 Plus Motion W User manual

MyoPro 2+ Quick Start Guide
1
28441 Rev 001

WARNING:
Always read and refer to the user manual for more
complete and detailed instruction before using this
guide.
228441 Rev 001

TABLE OF CONTENTS
1. HOW TO DON MYOPRO 2+ MOTION W ORTHOSIS 4
2. HOW TO DON MYOPRO 2+ MOTION G ORTHOSIS 6
3. HOW TO DON A HARNESS 8
1. CROSS-BODY HARNESS 8
2. FIGURE 8 HARNESS 9
4. CONTROL PANEL 10
5. TROUBLESHOOTING 11
6. HOW TO USE GO-TO-MEETING & ZOOM 15
3
MyoPro 2+ Quick Start Guide
28441 Rev 001

HOW TO DON MYOPRO 2+ MOTION W ORTHOSIS
PREPARATION: Ensure that the MyoPro is POWERED OFF and open all
straps. Place the MyoPro on your lap or other stable surface for donning.
STEP 1: Insert hand into hand shell. Double check hand position.
Begin donning with all
straps open.
Wrist and forearm can be locked or
unlocked as needed to facilitate easier donning
Lock/unlock wrist
joint by pushing pin
up/down.
Lock/unlock supination
ring by opening or
closing latch.
Open Hand strap and rotate hand shell toward you. Insert hand into hand shell and secure hand strap hook onto the
anchor. Rotate arm into alignment with MyoPro.
Check hand and wrist position:
Knuckles should be visible
Pivot point of wrist joint should
align with the anatomical wrist
bend
Palm bar should be against the
web space
428441 Rev 001

HOW TO DON MYOPRO 2+ MOTION W ORTHOSIS
STEP 2: Lower wrist and forearm into the MyoPro. Secure forearm strap.
Position wrist and forearm in
forearm shell. Tuck Liner and
secure Velcro. Attach the forearm magnetic latch to the buckle base.
STEP 3: Secure upper arm sensor cuff and strap.
BLUE sensor over front of arm (bicep)
RED sensor over back of arm (tricep)
Position upper arm in humeral shell.
Tuck the humeral liner into the
humeral shell, ensuring the biceps
EMG sensor is not covered.
Close the humeral shell and attach
the magnetic latch to the buckle base.
Secure the strap by closing the
humeral buckle.
5
Triceps
Sensor
Biceps
Sensor
Humeral
Liner
Secure the forearm strap
completely by closing
the forearm buckle.
28441 Rev 001

HOW TO DON MYOPRO 2+ MOTION G ORTHOSIS
PREPARATION: Ensure that the MyoPro 2+ is POWERED OFF. Remove
finger saddle and open all straps. Place the MyoPro 2+ on a surface with
adequate friction to prevent it moving away from you, such as your lap, or
a couch or bench for more stability.
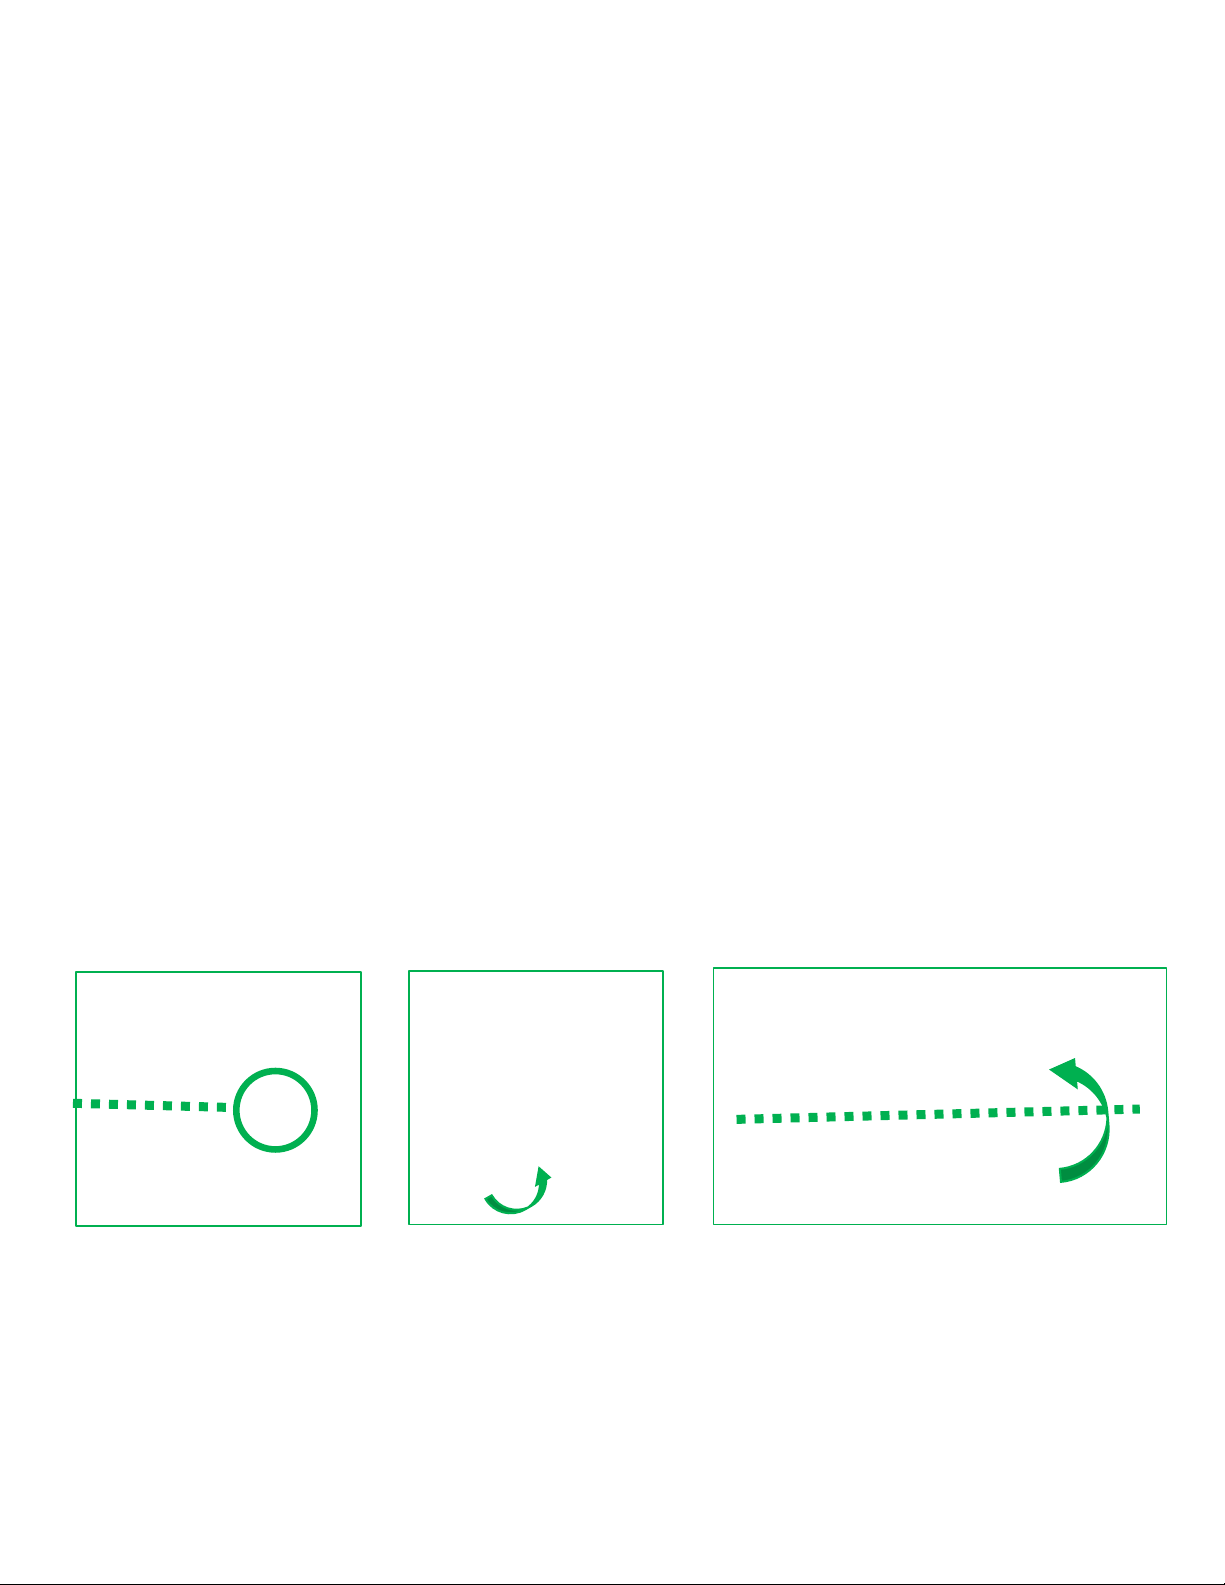
STEP 1: Lock Wrist/Forearm in neutral.
Position the wrist
flexion/extension joint in a neutral
position (in-line with the rest of
the brace). Unlock the joint by
depressing the flexion/extension
button (the black side of button).
Lock the wrist flexion/extension
joint after positioning in neutral.
Position the wrist
supination/pronation joint so the
thumb support points down. The
wrist/hand should be in the
same horizontal position as if
you were holding a bike’s
handlebars. Unlock the joint by
pulling the supination/pronation
latch.
6
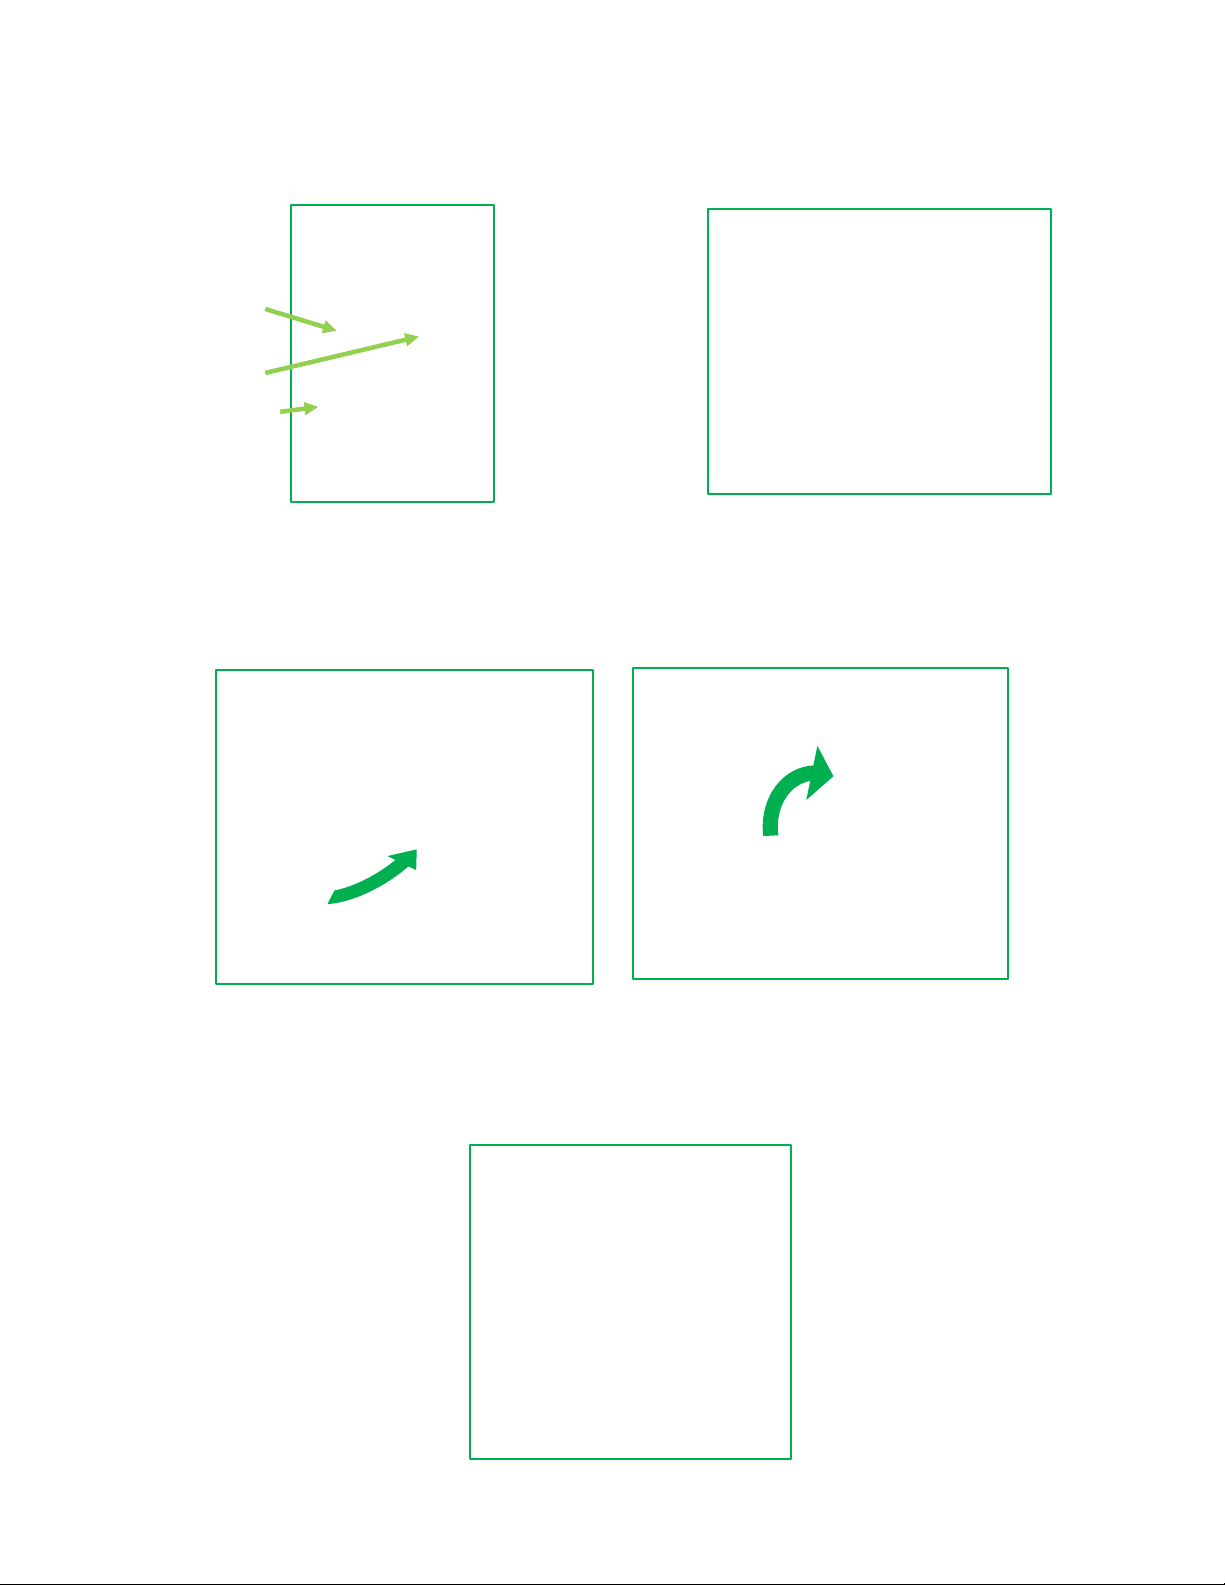
Position the wrist in line with the forearm
bar. Secure the supination/pronation latch
after positioning to lock the wrist joint.
28441 Rev 001

HOW TO DON MYOPRO 2+ MOTION G ORTHOSIS
STEP 2:. Insert hand into hand shell. Reattach finger saddle. Check hand
position.
Begin by rotating the hand shell so the fingers are
pointing away from you. This will prevent twisting
while trying to don the hand piece, which may
stimulate tone.
Position thumb into thumb support. Pull your hand
into the hand shell. Position your hand so the base of
the thumb is in full contact with the hand shell.
7
STEP 3: Secure the hand strap and motor.
Secure the hand strap hook to the hand strap anchor. The
hand should be locked in place and unable to remove
without releasing the hand strap anchor
⚠FIT CHECK ⚠
CONFIRM THE HAND SHELL PLASTIC IS
AGAINST THE THUMB WEB SPACE AND
THAT THE KNUCKLES ARE PAST THE
PALMAR CREASE
Rotate the hand motor back to the position over the back of the hand by depressing the
tilt lever and simultaneously rotating the hand motor back to the closed position. The tilt
lever will toggle when the motor assumes the correct position
28441 Rev 001

HOW TO DON MYOPRO 2+ MOTION G ORTHOSIS
STEP 4: Reattach the finger saddle.
Reattach finger saddle: first position the saddle on the end of your index and middle
fingers. Then push the finger loop down onto the anvil until the finger saddle is secure. .
Push on the back of the finger loop while pulling up on the finger saddle. Once the latch
toggles, the finger saddle is locked in place.
8
STEP 5: Position forearm and secure forearm strap.
GREEN (close) sensor on
inside of forearm
YELLOW (open) sensor on
outside of forearm
Pull lining over the arm and
tuck it in. Do not cover
sensors.
Secure the forearm strap
completely by closing the
forearm buckle.
Attach the forearm
magnetic latch to the
buckle base.
Position wrist and forearm into
forearm shell. Pull lining over the
arm and tuck it in. Do not cover
sensors.
Close
sensor
Open
sensor
Forearm
Liner
28441 Rev 001

HOW TO DON MYOPRO 2+ MOTION G ORTHOSIS
STEP 6: Position humeral (upper) cuff and secure strap.
BLUE sensor over front of arm
(biceps)
RED sensor over back of arm
(triceps)
Tuck the humeral liner into the
humeral shell, ensuring the
biceps EMG sensor is not
covered
Close the humeral shell and attach the
magnetic latch to the buckle base. Secure
the strap by closing the humeral buckle.
9
Triceps
Sensor
Biceps
Sensor
Humeral
Liner
28441 Rev 001

HOW TO DON A HARNESS
MYOPRO 2+ HARNESS OPTIONS
10
The MyoPro 2+ is available with two harness models depicted below.Following the appropriate
instructions, depending on which harness model you have.
CROSS-BODY HARNESS FIGURE 8 HARNESS
Harness Clips:
Having the harness connected to the appropriate retention clip will influence the alignment of the MyoPro
2+. Your clinician will have marked or indicated which combination of retention clips to use for optimal
outcomes. Ensure the anterior and posterior retention clips are securely locked in place before donning the
harness. Each harness option will use (1) anterior retention clip and (1) posterior retention clip.
Two anterior clip options Three posterior clip options
28441 Rev 001

HOW TO DON A HARNESS
1) Stabilize the harness saddle
in the middle of your shoulder.
2) Secure the cross-body strap to the saddle.
TIP: Abduct the shoulder with
the MyoPro 2+ (lifting it to the
side), or use furniture to help lift
while pulling the finger adjust
loop to tension. When your arm
returns to your torso, you should
feel the tension of the harness
saddle on your shoulder,
indicating the MyoPro 2+ is
suspended from your shoulder
girdle, not your shoulder joint.
4) Secure cross body strap. 5) Harness Donning complete
CROSS-BODY HARNESS
11
Anterior View
PREPARATION: Don your MyoPro 2+ first. Follow instructions for the harness provided
to you. For detailed instructions, refer to User Manual and donning instructions
Grab the cross-body strap behind your
back and pull it underneath your
armpit on the side opposite the
MyoPro 2+.
Secure the cross-body strap using the
release tab.The saddle should lay flat
against your body. Adjust the angle of
the fastened release tab to make the
saddle sit evenly and comfortably.
There should be slack in the finger
adjust loop at this point.
Make minor adjustments to the finger
adjust loop tension until a good
balance is reached between
suspension and comfort. The Velcro
will secure your tension
Place the harness saddle on your shoulder. The
suspension straps should straddle your shoulder. The
middle of the saddle should be at the midline of the
shoulder, touching neither the neck or shoulder joint.
You may have to lift your arm out to the side in order to
move the saddle into the correct position.
28441 Rev 001

Place the intact-side arm through the
sound side loop with the fabric of the
puck facing you.
HOW TO DON A HARNESS
12
Posterior View
Figure 8 Harness: Method 1 (flexibility-dependent)
With your arm against the saddle, lift the harness over and behind your head. Gravity will do most of the work as
you let it slide down towards your shoulder. You’re done once it’s nestled in your axilla (arm pit).
Adjust the sound side loop so it rests between the chest and shoulder, protecting the collar bone. shouldn’t
make contact with the neck. The anterior suspension strap coming off the front of the MyoPro may require
small adjustments to rest similarly.
28441 Rev 001

HOW TO DON A HARNESS
13
Figure 8 Harness: Method 2 (back pack method)
Starting with the harness behind your back, locate the puck using your sound side. Orient the puck so that
the fabric side is towards your back, while the straps face away from the you. This will keep the harness
oriented in the correct position as you move your hand into the sound side loop. Take note that both of the
harness straps from the MyoPro begin around the back of the device. The anterior suspension strap will be
moved into position at the end.
With the sound side loop around your intact-side wrist, begin to wriggle the loop up your arm, towards your shoulder.
The final motion will require a shoulder shrug to help the strapping cross your shoulders to the front of your body.
Adjust the sound side loop so it rests between the chest and shoulder, protecting the collar bone. It shouldn’t
make contact with the neck. The anterior suspension strap coming off the front of the MyoPro may require small
adjustments to rest similarly.
28441 Rev 001

HOW TO DON A HARNESS
14
Figure 8 Harness: Method 2 (back-pack method)
Starting with the harness behind your back, locate the puck using your sound side.
Orient the puck so that the fabric side is towards your back, while the straps face away
from the you. This will keep the harness oriented in the correct position as you move
your hand into the sound side loop. Take note that both of the harness straps from the
MyoPro begin around the back of the device. The anterior suspension strap will be
moved into position at the end.
With the sound side loop around your intact-side wrist, begin to wriggle the loop up your arm, towards your
shoulder. The final motion will require a shoulder shrug to help the strapping cross your shoulders to the front
of your body.
Adjust the sound side loop so it rests between the chest and shoulder, protecting the collar bone. It
shouldn’t make contact with the neck. The anterior suspension strap coming off the front of the
MyoPro may require small adjustments to rest similarly.
28441 Rev 001

CONTROL PANEL
15
Standby Mode:
This mode is when the MyoPro has been powered on but neither an elbow nor a hand
mode has been selected. The motor will NOT respond in Standby Mode.
Return to Standby Mode at any time by pushing the elbow and/or hand mode buttons
until indicator lights turn off. Alternatively, the MyoPro can be completely powered off at
any time during use.
Power Button: Push to turn MyoPro on/off
Bluetooth indicator light:
turns blue when MyoPro is connected to Myconfig
Biceps indicator light
Triceps indicator light
Close indicator light
Open indicator light
Hand Mode Button (Motion G only)
Elbow Mode Button
Biceps Mode
Dual Mode
Triceps Mode
Standby Mode
Standby Mode
Close Mode
Open Mode
Dual Mode
28441 Rev 001

TROUBLESHOOTING
If the solutions presented here do not fix your problem, please call Myomo Support: (617) 651 -0226 or (877) 736 -9666
Problem Solution
Issues with the fit of the MyoPro on the arm:
Fingers falling out of the saddle
MyoPro sliding down the arm
Discomfort/pressure points
Make sure the MyoPro has been donned correctly and all
joints are aligned, and cuffs/straps are snug. Refer to Quick
Start Donning Guides and MyoPro 2+ User Manual for
detailed instructions.
Hand position and hand strap routing:
Elbow and wrist:
Elbow and wrist joints should be aligned with MyoPro axis
points (highlighted yellow).
Harness: Ensure the harness is effectively positioned and
suspending the weight
Contact your O&P provider or your Myomo Regional Manager
to address discomfort and any necessary modifications
1628441 Rev 001

TROUBLESHOOTING
If the solutions presented here do not fix your problem, please call Myomo Support: (617) 651 -0226 or (877) 736 -9666
Problem Solution
Jerky or erratic movements Check the fit of the MyoPro on the arm. If the cuffs
and straps are too loose, the sensors will lose contact
with the skin, causing erratic motion.
Jerky motion may occur at the start of the training
program, especially when practicing muscle
relaxation. Consistent practice of proficiency drills
and working with a therapist can improve this.
Sensitivity is set too high. Settings in MyConfig may
need to be adjusted by the therapist/Myomo
Regional Manager/ O&P provider.
EMG settling time. There may be noise from static. If
jerkiness is noted when the MyoPro is turned on,
return to stand-by mode and stay relaxed for 1 –
2min, then try again.
1728441 Rev 001

TROUBLESHOOTING
If the solutions presented here do not fix your problem, please call Myomo Support: (617) 651 -0226 or (877) 736 -9666
Problem Solution
MyoPro is not moving/responding Check to see if the MyoPro is in Standby mode.
Sensitivity is set too low or threshold is set too
high. Settings in Myconfig may need to be
adjusted.
The user should be relaxed when selecting modes.
Make sure the user is activating the right muscle
group(s) for the mode.
BICEP MODE: squeeze bicep to bend, relax to
straighten
TRICEP MODE: squeeze tricep to straighten, relax to
bend
DUAL MODE: squeeze bicep to bend, squeeze tricep
to straighten
CLOSE MODE: squeeze fingers or bend wrist to close,
relax to open
OPEN MODE: extend fingers or bend wrist back to
open, relax to close
DUAL MODE: squeeze fingers to close, extend fingers
to open
Low battery: indicated by
Push here
Color of Power Button
Sensors need to be wiped or cleaned (clean with
alcohol prep pad)
User is perspiring (skin should be clean and dry) If
perspiration is a frequent issue, Certain Dri can
help. This is found in any drugstore in the
deodorant section. Apply lightly, the night before.
18
Powered ON -Battery has greater than 15%
charge remaining.
Powered ON-Battery has between 15% and 5%
charge remaining
Powered ON –Batter has less than 5% charge
remaining
100%
75%
50%
25%
28441 Rev 001

TROUBLESHOOTING
If the solutions presented here do not fix your problem, please call Myomo Support: (617) 651 -0226 or (877) 736 -9666
Problem Solution
How to charge the battery Push button to open
battery compartment
Charge on cradle
19
Remove battery
28441 Rev 001

HOW TO USE GO-TO-MEETING & ZOOM
Double click on this icon to open Go-To-Meeting
Enter the meeting ID (this ID will have been provided to you in an e-
mail from Myomo) and click “JOIN”.
The meeting will start:
Go-To-Meeting
ON YOUR DESKTOP or TASK BAR (at the bottom of your screen):
2028441 Rev 001
Other manuals for myopro 2 Plus Motion W
1
Table of contents
Other myomo Medical Equipment manuals

myomo
myomo MyoPro 2 Motion G User manual

myomo
myomo MyoPro 2 Motion G User manual

myomo
myomo MyoPro 2 Motion E User manual

myomo
myomo MyoPro 2 Motion E User manual

myomo
myomo myopro 2 Plus Motion W User manual

myomo
myomo myopro 2+ Motion G User manual

myomo
myomo MyoPro 2 Motion E User manual

myomo
myomo MyoPro Motion E Operating and maintenance instructions

myomo
myomo MARK User manual