manuals.online logo
Brands
  1. Home
  2. •
  3. Brands
  4. •
  5. Napoleon
  6. •
  7. Fireplace Accessories
  8. •
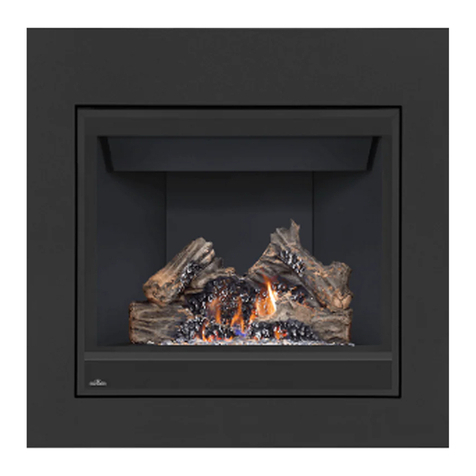
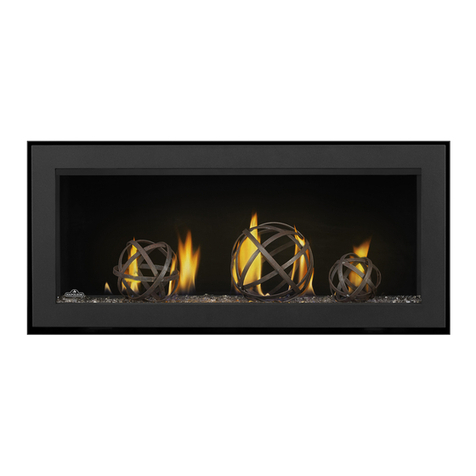
  9. Napoleon DVLINEAR36 User manual

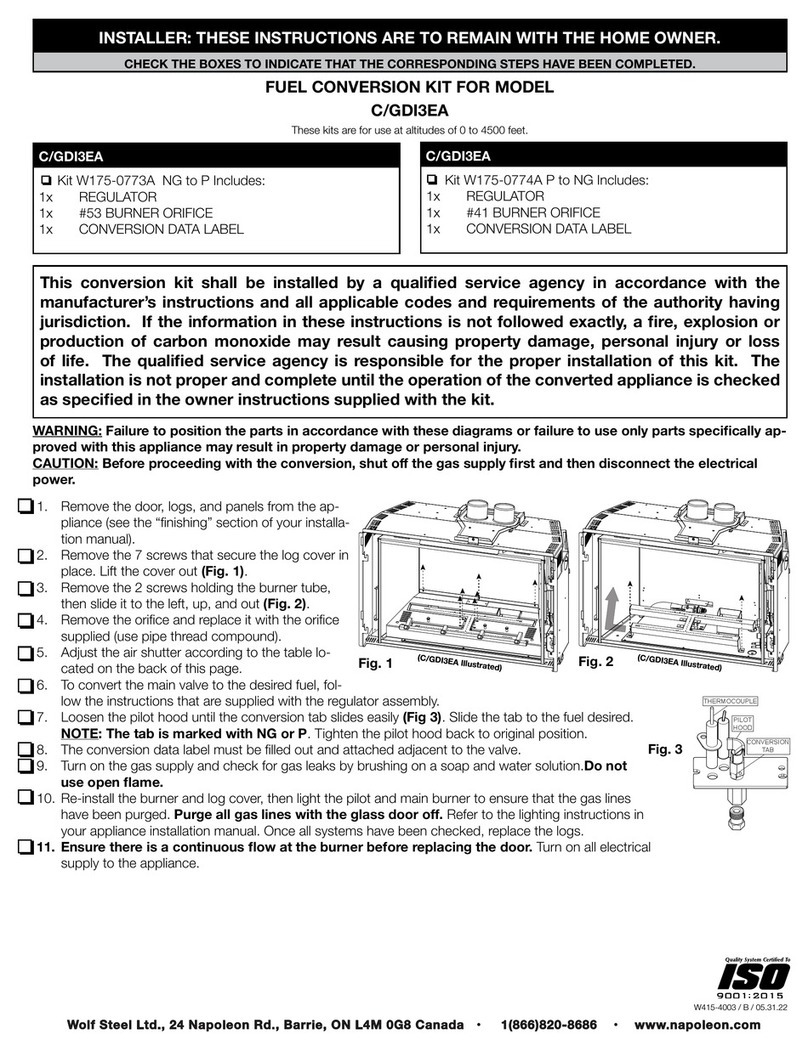
Napoleon DVLINEAR36 User manual

Other Napoleon Fireplace Accessories manuals
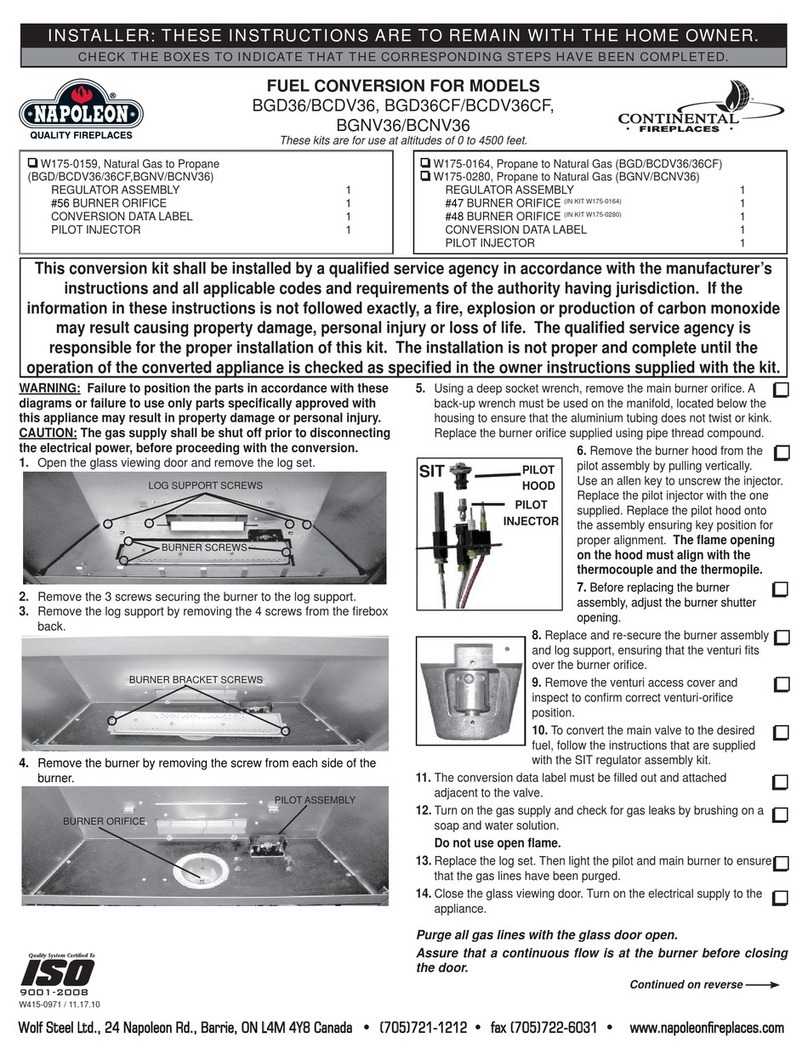
Napoleon CONTINENTAL W175-0159 User manual

Napoleon

Napoleon CONTINENTAL W175-0159 User manual

Napoleon MKRY3 User manual

Napoleon

Napoleon MKRY3 User manual

Napoleon PVA-811X User manual

Napoleon

Napoleon PVA-811X User manual

Napoleon B52NTL User manual

Napoleon

Napoleon B52NTL User manual

Napoleon NEFM33-0314BW User manual

Napoleon

Napoleon NEFM33-0314BW User manual

Napoleon GS67-1 User manual

Napoleon

Napoleon GS67-1 User manual

Napoleon RS52WI User manual

Napoleon

Napoleon RS52WI User manual

Napoleon W175-0344 User manual

Napoleon

Napoleon W175-0344 User manual
Napoleon BKE User manual

Napoleon

Napoleon BKE User manual

Napoleon GD851KT User manual

Napoleon

Napoleon GD851KT User manual
Napoleon EFCN User manual

Napoleon

Napoleon EFCN User manual

Napoleon W175-0689 User manual

Napoleon

Napoleon W175-0689 User manual

Napoleon GDS813KT User manual

Napoleon

Napoleon GDS813KT User manual

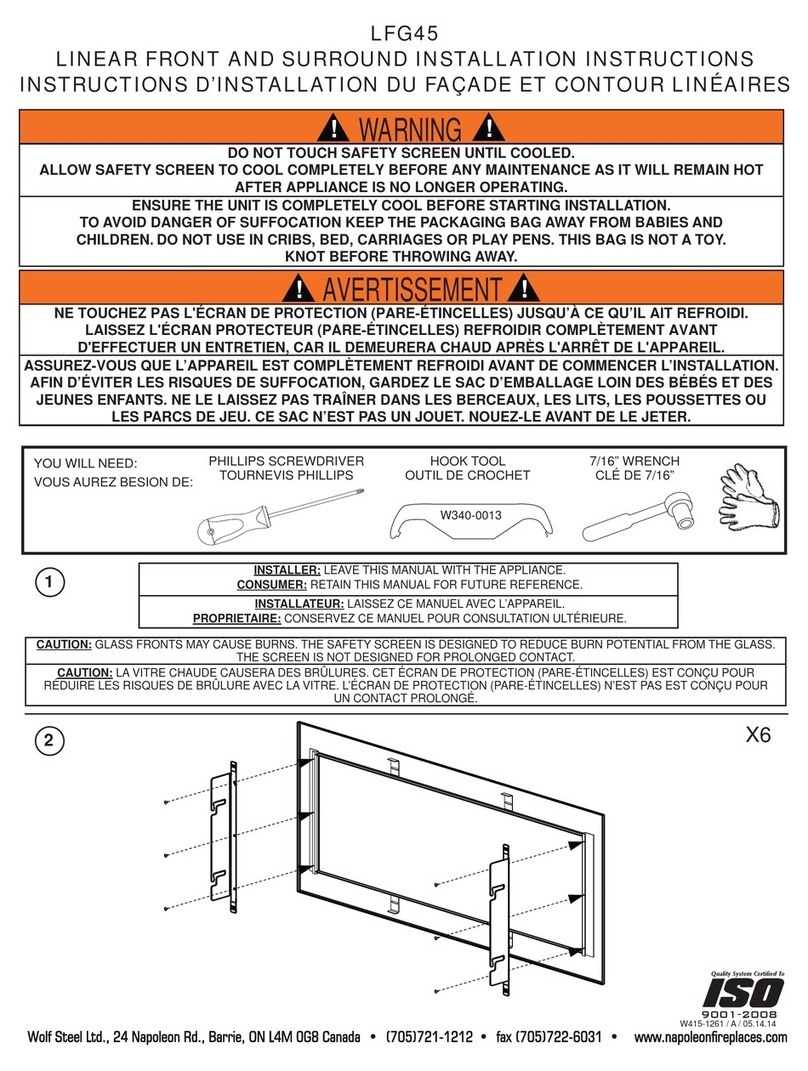
Napoleon LFG45 User manual

Napoleon

Napoleon LFG45 User manual
Napoleon NCEX36 User manual

Napoleon

Napoleon NCEX36 User manual

Napoleon NEFTK30BK-3828 User manual

Napoleon

Napoleon NEFTK30BK-3828 User manual

Napoleon GD868KT User manual

Napoleon

Napoleon GD868KT User manual

Napoleon AK8 User manual

Napoleon

Napoleon AK8 User manual

Napoleon W175-0284 User manual

Napoleon

Napoleon W175-0284 User manual

Napoleon NEFE30-3820AW User manual

Napoleon

Napoleon NEFE30-3820AW User manual

Napoleon BT30 User manual

Napoleon

Napoleon BT30 User manual

Napoleon GX725WI User manual

Napoleon

Napoleon GX725WI User manual

Napoleon GD849KT User manual

Napoleon

Napoleon GD849KT User manual

Napoleon EMT38 User manual

Napoleon

Napoleon EMT38 User manual

Popular Fireplace Accessories manuals by other brands

Valor L2 1700K quick start guide

Valor

Valor L2 1700K quick start guide

Exodraft Xzense manual

Exodraft

Exodraft Xzense manual

Whalen Ruso MNFP62BF23-6 manual

Whalen

Whalen Ruso MNFP62BF23-6 manual

Woodstock Soapstone Fireview 201 manual

Woodstock Soapstone

Woodstock Soapstone Fireview 201 manual

EdilKamin SERBATOIO 250 Installation, use and maintenance

EdilKamin

EdilKamin SERBATOIO 250 Installation, use and maintenance

Bronpi KIT-1 instructions

Bronpi

Bronpi KIT-1 instructions

Town & Country Fireplaces 22150051 instructions

Town & Country Fireplaces

Town & Country Fireplaces 22150051 instructions

Travis Industries 33 DVI installation instructions
Travis Industries

Travis Industries 33 DVI installation instructions

Lopi Hearthview 864 user manual

Lopi

Lopi Hearthview 864 user manual

Lennox Hearth Products LENNOX MPE-33R installation instructions

Lennox Hearth Products

Lennox Hearth Products LENNOX MPE-33R installation instructions

Dimplex DFP6776C install guide

Dimplex

Dimplex DFP6776C install guide

Travis Industries 95400424 installation instructions

Travis Industries

Travis Industries 95400424 installation instructions

Osburn ZERO CLEARANCE KIT installation instructions

Osburn

Osburn ZERO CLEARANCE KIT installation instructions

Majestic QUARTZPLA36IN installation instructions

Majestic

Majestic QUARTZPLA36IN installation instructions

Dimplex SMP-130-E install guide

Dimplex

Dimplex SMP-130-E install guide

Empire Comfort Systems LS50TINF installation instructions

Empire Comfort Systems

Empire Comfort Systems LS50TINF installation instructions

IHP WS-CI150 quick start guide

IHP

IHP WS-CI150 quick start guide

Enviro C34 instruction manual

Enviro

Enviro C34 instruction manual

manuals.online logo
manuals.online logoBrands
  • About & Mission
  • Contact us
  • Privacy Policy
  • Terms and Conditions

Copyright 2025 Manuals.Online. All Rights Reserved.

1
Hearth & Home Technologies • DVLINEAR36 Gas Conversion Instructions • 2569-920 Rev. B • 5/20
Natural Gas to Propane Conversion Instructions
WARNING:
This Conversion kit shall be installed by a qualied
service agency in accordance with the manufacturer’s
instructions and all applicable code and requirements
of the authority having jurisdiction. If the information
in these instructions is not followed exactly, a re,
explosion or production of carbon monoxide may
result causing property damage, personal injury or
loss of life. The qualied service agency is responsible
for the proper installation of this kit. The installation
is not proper and complete until the operation of the
converted appliance is checked as specied in the
manufacturer’s instructions supplied with the kit.
MODELS: DVLINEAR36
Conversion Instructions
This conversion shall be installed by a qualied service
agency.
Any damaged valve components should not be installed.
If a valve or regulator has been dropped or appears to
have been modied, the valve or regulator should not be
installed.
Conversion Component list:
• Burner Orice: 1.25 mm
• Pilot Orice
• Gas Valve Regulator
• Gas Conversion Plate
• P (Propane) Label
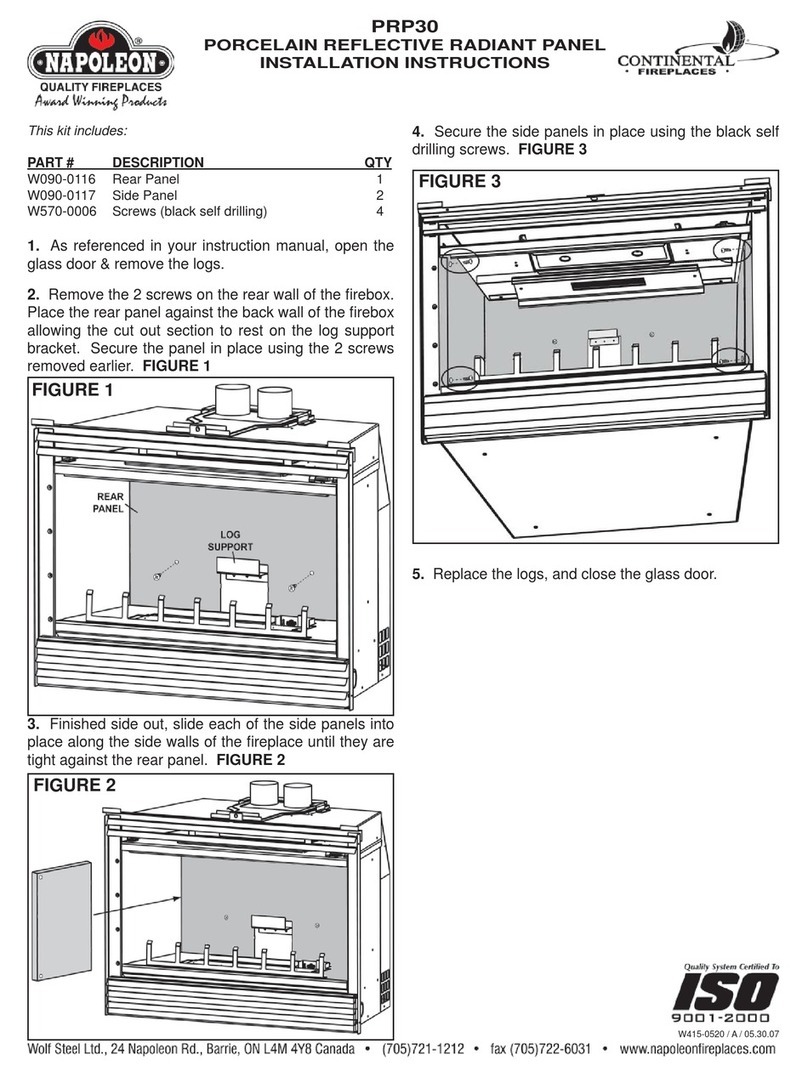
CAUTION: THE GAS SUPPLY SHALL BE SHUT OFF
PRIOR TO DISCONNECTING THE ELECTRICAL POWER
BEFORE PROCEEDING WITH THE CONVERSION.
Figure 1
Fire Risk
Explosion Risk
Gas Leak Risk
WARNING
• Rubber gasket must be seated properly on valve face.
• Do not install a valve or regulator that has been dropped.
Procedure for conversion:
1. Verify that the kit supplied corresponds with the unit
under conversion.
NOTICE: Wall switch MUST be in OFF mode before
power can be disconnected or valve regulator lead can
be connected or disconnected from valve.
2. Turn o󰀨 power to module and valve by unplugging 3V
transformer from junction box.
3. Turn o󰀨 gas to valve. Red gas shuto󰀨 knob is located
on ball valve.
4. Using a #20 tamper-proof Torx screwdriver, remove
the regulator and rubber gasket on face of valve. See
Figure 1. Discard both the regulator and gasket.
5. Install the rubber gasket and new regulator included in
the conversion kit. Be sure the gasket is seated properly
as shown in Figure 1.
RUBBER
GASKET
REGULATOR
VALVE
6. Remove the glass assembly. For detailed instructions,
see appliance Installation or Owner’s manual.
7. Remove the base pan by removing the two screws
located in front of the burner. See Figure 2.
Note: This appliance should be converted prior to
applying nishing materials. The lower cover panel
is removable if the nishing material is not installed.
If nishing material has been installed, the conversion
is to be done by removing the valve assembly. See
appliance installation manual for more information.
Hearth & Home Technologies • DVLINEAR36 Gas Conversion Instructions • 2569-920 Rev. B • 5/202
Shock or burn risk.
• Disconnect green wire from gas valve.
Failure to disconnect green wire could result in
severe burns.
WARNING
ORIFICE
SPUD
PILOT TUBE
ASSEMBLY CHECK FOR
LEAKS
PILOT HOOD
FERRULE
(Used in assembly
with 2-sided hood).
Figure 4. Pilot Assembly Detail
Note: The qualied service agency installing this conversion
must enter the day, month, and year, and sign the propane
conversion plate added to this appliance.
8. Remove the two screws that secure the pilot shield to
the burner bracket and remove the two screws that
secure the pilot assembly to the burner bracket. Re-
move the one screw that secures the burner bracket
to the valve plate. See Figure 3. Gently push the
pilot assembly backwards to allow for the burner to be
removed.
Verify the burner orice size. Replace the existing
burner orice with the burner orice provided with this
conversion kit.
Figure 3. Remove Burner
Figure 2. Base Pan Removal
10. Place the round propane (P) label included with the
conversion kit over the existing round natural gas
(NG) label on the bottom of the appliance. Fill out the
installer conversion label. After lling out the label,
clean an area near the existing rating label and attach.
Place the included gas conversion plate adjacent to
the existing rating plate.
11. Unplug the green wire from valve.
12. Turn on power to module and valve by plugging in 3
volt transformer to junction box.
13. Turn on gas to appliance using red gas shuto󰀨 knob
located on ball valve.
9. Locate the ferrule on the underside of the pilot. See
Figure 4. Use a 7/16 inch wrench to loosen the nut
to remove the pilot tube. Remove the pilot spud and
replace with the pilot spud included in the kit. Insert
the pilot tube into the ferrule tting and tighten the nut
to secure pilot tube to the pilot assembly.
REMOVE 2 SCREWS
REMOVE BURNER SCREWS
REMOVE PILOT SCREWS
3
Hearth & Home Technologies • DVLINEAR36 Gas Conversion Instructions • 2569-920 Rev. B • 5/20
14. Turn on replace with the green wire disconnected
from the valve. Note that only the pilot will ignite with
the green wire disconnected.
15. Use a commercially available, non-corrosive leak
check solution to test for leaks around the pilot. Be
sure to rinse o󰀨 all leak check solution following
testing. See Figure 4 for leak check points.
Extinguish the pilot. Turn replace OFF.
16. Reinstall burner and secure to valve plate with one
screw.
17. Reattach pilot assembly to the burner bracket with two
screws.
18. Reattach pilot shield to burner bracket with two screws.
19. Reinstall base pan with two screws.
20. Reinstall green wire on valve.
21. Turn replace on and use a commercially available,
non-corrosive leak check solution to test for leaks
around the valve regulator. Shut down appliance.
Be sure to rinse o󰀨 all leak check solution following
testing.
22. Reinstall the media by following the instructions in
the appliance installation manual.
23. Reinstall the glass assembly.
24. Turn on replace to check for proper burner ame pattern.
25. Verify that the signed and dated conversion plate has
been added to appliance.
Verify the performance of the ignition system.
1. Verify pilot sparks, pilot lights, pilot stops sparking,
and the main burner turns “ON.”
2. Turn replace OFF. Verify that both the pilot and burner
are turned “OFF.”
3. Repeat Step 1 above.
4. With burner “ON,” remove green wire connected to
valve. The main burner should shut “OFF.”
5. Reattach green wire to valve. The main burner should
turn back “ON.”
6. Turn the replace OFF.
7. Turn the replace ON.
8. With the main burner “ON,” remove orange wire
connected to the valve. The pilot and burner should go
out, and the pilot will start to spark.
9. Turn replace “OFF“ and reattach orange wire to valve.
Propane Gas Appliance Specications
Model Orice # Shutter Input BTU
DVLINEAR36 1.25 mm 1/8 in. 16,500
MAXIMUM MINIMUM
• Inlet Gas Pressure: ..................................................................13.0 in. w.c. ......11.0 in. w.c.
• Manifold Gas Pressure: ...........................................................10.0 in. w.c. ......N/A
• Input Rate:....................................................See Below
When installing above 2000 feet elevation:
• In the USA: Reduce input rate 4% for each 1000 feet above 2000 feet.
• In CANADA: Input ratings are certied without a reduction of input rate for elevations up
to 4500 feet (1370 m) above sea level. Please consult provincial and/or local authorities
having jurisdiction for installations at elevations above 4500 feet (1370 m).
• See appliance installation manual for details.