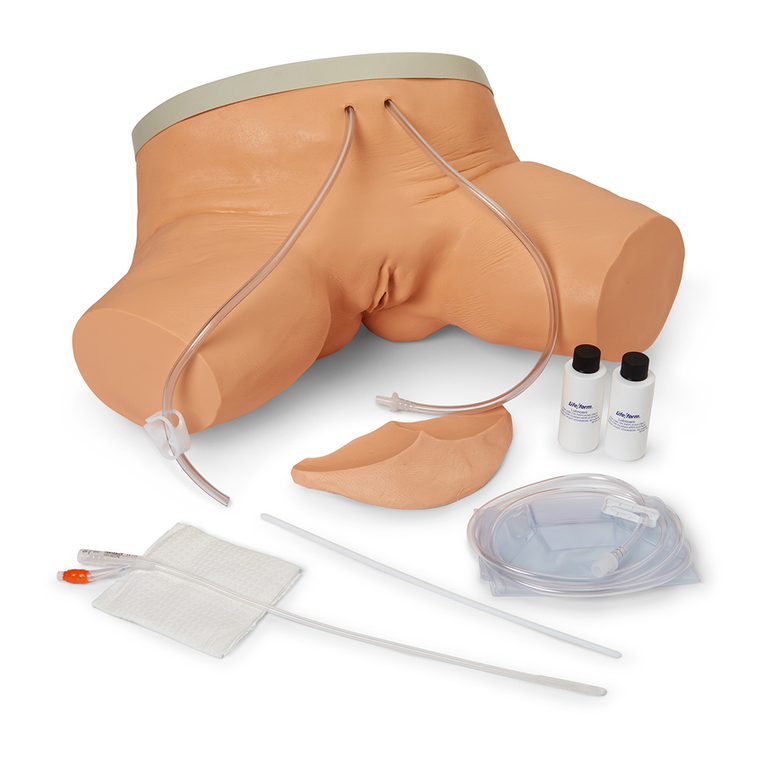
ABOUT THE SIMULATOR
The Life/form®Intraosseous Infusion Simulator is a dramatic and exciting training aid designed to
demonstrate and simulate the intraosseous infusion procedure. The simulator allows students to learn
and practice with incredible accuracy and realism a procedure that has been very difficult to simulate in
the past. The specially designed simulator allows the student to practice the procedure several times
without replacing the bone structure. This special structure, combined with traditional Life/form®real-
ism, makes for a very accurate simulation of the procedure. Five-year warranty.
List of Components
• 1 Case
• Body on Stand
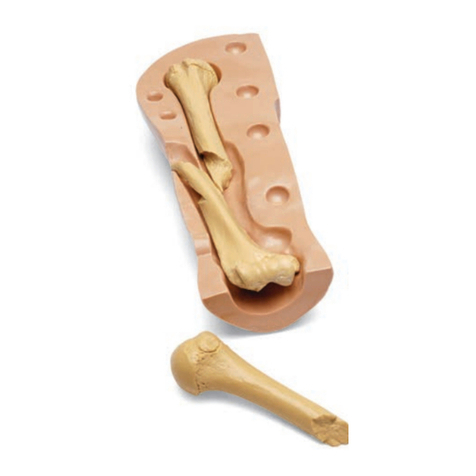
• 10 Bone Inserts
• 2 Disposable Towels
• 1 Syringe (60 cc)
• 1 Lubricating Jelly
• 1 Wax Piece
• 1 Liquid Lubricant (1⁄2 oz.)
• 4 Leg Skins
• 1 Pint Life/form®Artificial Blood
Figure 2
Figure 3 Figure 4
Figure 1
6. Connect the tubing from the syringe to the bone piece. Apply liquid lubricant to the entire bone,
including the two locking grooves. (See figure 5.)
7. Slide bone piece into position in the legs. (See figure 6.)
Important
8. Make your first needle insertion and remove the needle stylus. (See figure 7.) Proper
insertion and pressure applied to the syringe will allow “blood” to flow through the tubing
and fill the bone. When you observe “blood” flowing up through the needle, the bone is
completely charged. Each new bone will need to be charged in this same manner. Correct
subsequent insertions will produce an immediate flow of fluid through the needle. To reduce
pressure being placed on the bone, pull the plunger on the syringe back once verification of
proper placement has been made. This will decrease the amount of “blood” that may leak
from the bone.
Actual product may vary slightly from photo.
Nasco reserves the right to change product color,
materials, supplies, or function as needed.
GENERAL INSTRUCTIONS FOR USE
1. Place the simulator on a flat surface, such as a tabletop. Lay disposable towel under the knees to
absorb any overflow. (See figure 1.) Additional towels may be placed under the knees for support.
2. Prepare the blood mixture in the bottle provided. To prepare the mixture, combine the red coloring,
1 full tube of lubricating jelly, and 11⁄4 cups of tap water in the pint bottle provided. Shake vigorously
for 30 seconds or until contents are mixed completely.
3. After “blood” is mixed, fill the syringe by placing the tubing end into the bottle and drawing blood
mixture into the syringe. (See figure 2.)
4. Lubricate the inside of one set of leg skins with the liquid lubricant. (See figure 3.)
5. Slide the leg skins over the feet (one left and one right) into position. (See figure 4.)
Figure 6Figure 5
9. The bones have been designed so all four
sides can be punctured. Carefully remove the
bone from the leg and wipe clean. Remove a
small piece of wax from wax piece and work
with fingers until soft. Rub the wax piece back
and forth across the bone holes until they are
sealed. A thin layer of wax left on the bone
surface over the holes will help in sealing.
(See figure 8.)
10. Finish by applying a thin film of Nasco lubri-
cant over the whole bone. Turn the bone
90 degrees and reinsert into the leg.
(See figure 9.) Do this until all four sides of
the bone structure have been punctured, at
which time the bone can be discarded.
Figure 8Figure 7
Figure 9
HC18000028INM49.indd 3-4 12/13/18 7:58 AM
