Thank you for buying a Simulaids
®
product. This instruction
guide will familiarize you with Simulaids
®
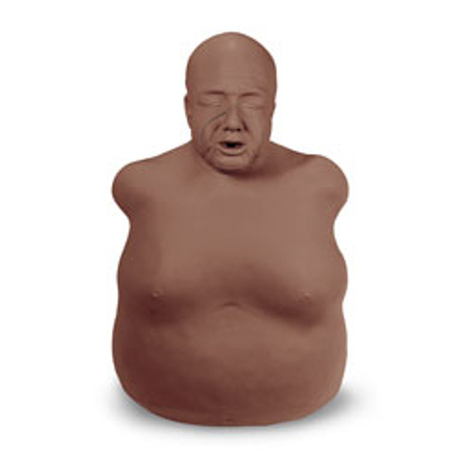
Brad CPR manikins.
These healthcare trainers offer features for the proper appli-
cation of CPR techniques, including: chin lift to open airway,
ventilation with rescue breathing and BVM use, compressions
against typical adult chest resistance and proper positioning
of hand and body to be effective with proper technique.
Designed with your training needs in mind, Brad CPR’s real-
istic looks, accurate anatomical landmarks, and economical
individual-use mouth/nose pieces with disposable airway/
lung system and non-rebreathing valve will continue to rein-
force the manikin’s value. The manikin’s sturdy vinyl covered
torso means quick, wipe-clean maintenance. With proper
care and storage, Brad manikins last more than ten years and
are tested to sustain over a million compressions.
The below photo shows the jaw thrust maneuver featured
only with JT Brad manikins. Use a water-based lubricant
between the jaw and the head to assist in the easy operation
of this feature.
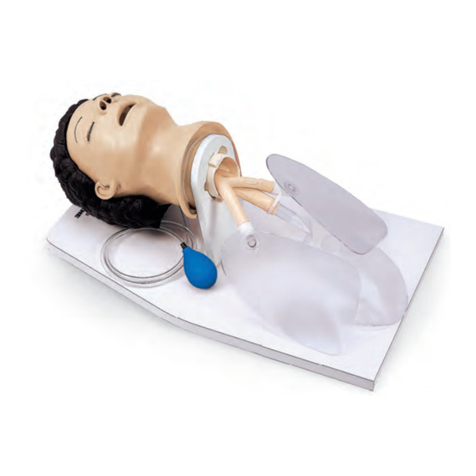
Brad/JT/JR Brad Airway Removal
Steps:
1. Remove mouth/nose piece from the manikin’s face cavity.
2. Remove the connector from the one-way valve stem from
inside the face cavity.
3. Lay the manikin on its back and pull the chest skin overlay
off the shoulders and down toward the stomach below
the chest plate and lung. Brad JR CPR manikins excludes
the chest plate. All other operations are the same.
4. Tilt the head back and reach under the chin and pull the
one-way valve out of the hole in the face.
5. Slide the bottom lung slots off from the chest plate and
remove the lung from behind the chest plate and discard
the lung. Brad JR CPR manikins excludes the chest plate.
All other operations are the same.
Steps:
1. Select a plastic exhaust manifold cap and install it on the
opened port of the one-way valve next to the lung bag.
2. Lay the manikin on its back. Tilt the head back and
grasp the airway assembly by the one-way valve and
insert it through the hole in the valve by guiding the
one-way valve under the chin, with the plastic exhaust
manifold cap towards the back ot the head. Be sure
that the airway tube is forward and lays flat. Press the
connector onto the one-way valve stem. DO NOT
PRESS straight on. Angle and apply a twisting motion
while pressing forward.
3. Lay the lung behind the chest plate and secure the two
slots in the bottom of the lung by placing the slots over
the bottom ribs of the chest plate. Brad JR CPR manikin
excludes the chest plate. All other operations are the
same.
4. Pull the lung up until it rests against the neck collar. If
the lung is too low, it will detach from the manikin’s head
when the chin lift maneuver is done.
5. Make sure the chest plate is properly positioned and
pull the chest skin overlay back up over the manikin’s
shoulders.
6. Replace the mouth/nose piece in the face cavity.
NOTE: Brad with electronics or without electronics
airway/lung replacement procedure is the same.
Brad/JT Brad Airway Installation Brad with Electronics
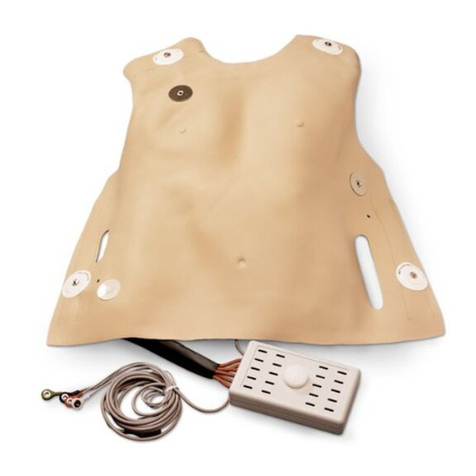
This product includes a console box that displays lights when
you do appropriate skills. The blue light shines when you have
your hands in the correct potion. The green light shines when
you have ventilated adequately. The white light shines when
you have compressed adequately (2+").
Steps:
1. To set up the manikin with electronics, first install the
four “AA” batteries in the compartment in the console
box.
2. Then place the console box next to the left side of the
Brad torso near the base. Note that one wire from the
manikin exits the back of the unit from under the overlay
skin.
3. Connect the two wire pairs and the tubing pair. You can-
not get them backwards because the wire connections
are paired with opposite terminals.
4. Correct hand position will turn on the blue light.
5. Adequate ventilation will turn on the green light.
6. Adequate compression depth will turn on the white light.
Troubleshooting
The chest plate has a magnet installed in the upper left sec-
tion. This magnet rests on top of the lung system in a position
over the torso magnetic switch. When the lung is inflated, the
magnet is lifted off the chest and the green light comes on. If
the light is on all the time, reposition the chest plate.
The switch that connects the blue light terminals lies on the
sternum of the chest plate. If your correct hand position does
not turn on the light, check to see that the switch strip is
positioned in line with the sternum. If it twists off center, it will
not make contact when hands are placed upon it. If the blue
light is constantly on, lightly bend the strip ends up so that they
don‘t contact the terminals until hand pressure is applied.
If your airway disconnects from the head when you do a chin
lift, you must move the lung system higher on the torso to
allow the airway tube to fully extend without tensing during
the chin lift.
Cleaning & Disinfecting
Manikin
Wash with warm, soapy water or clean with water soluble
cleaners. Do not immerse. The foam in the chest will adsorb
moisture and will not dry out. This will result in problems with
biological growth; smell, germs, etc.
Mouth/Nose Pieces
Mouth/nose pieces are made for disinfecting and reusing.
Follow the instructions below for cleaning each mouth/nose
piece after each student use to prevent cross-contamination
between students.
• Clean in mild, soapy water
• Rinse thoroughly
• Follow local CDC or Health Department regulations for
disinfection protocols
• Dry before storing
• Do not use bleach full strength
The one-way valve on the airway/lung prevents cross contam-
ination, but biological contamination requires that the airway/
lung is disposed of at the end of the teaching day.
HEALTHCARE
HC18000028INM7.indd 3-4 8/20/18 3:52 PM
