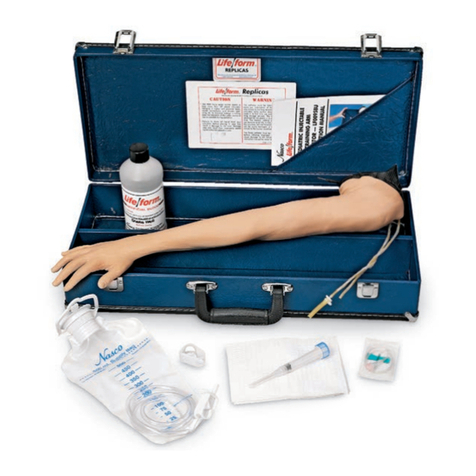
Preparing for IV Infusion:
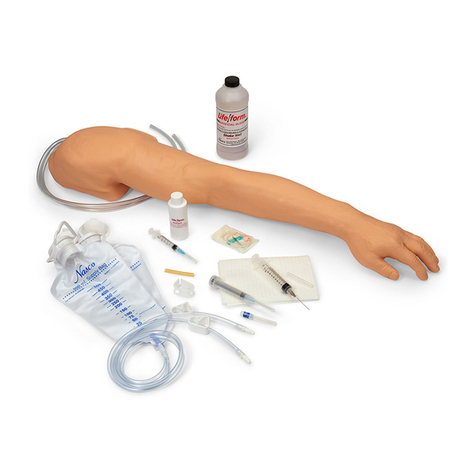
1. Prepare your IV bag and solution
(water recommended).
2. Have the leg set up as described
in the preceding section (“Setting
Up the IV Leg”).
3. Insert the butterfly needle into
the vein. “Flashback” will indicate
proper insertion.
4. Close the IV bag A clamp. Hang
the solution bag and connect it
to the butterfly set. Open the IV
bag B clamp. Infusion fluid
should flow into the vein and out
into IV bag B.
Control the rate of
flow by adjusting
the clamp on
the solution bag.
Note: IV bags A and B may be
switched
as needed to maintain
adequate pressurization of the
system.
Injections:
Subcutaneous or intramuscular injec-
tions may be administered anywhere
on the
dog. Air is the recommended
injectant.
If you prefer to inject liq-
uid, use only water. Be aware that
moisture will then be introduced into
the interior of the
foam body and will
evaporate very slowly,
especially with
intramuscular injections.
Avoid punc-
turing the lung or airway system.
Troubleshooting:
1. Make sure all clamps have been
opened or closed correctly.
2. Check tubing for kinks or other
blockage.
3. Constant clamp pressure can
cause the tubing to pinch shut,
even after the clamp is loosened.
Slide the clamp to a new position
and work
the tubing with your
fingers to restore
the lumen.
4. Forcing fluid through the system
with a large syringe may remove
clogs.
5. If no blockage is visible, remove
the leg fur and examine the tubing
for kinks.
Replacing the Vein Tubing:
1. Remove the leg fur.
2. Remove the old tubing from the
leg core channel and discard.
3. Snap the new tubing into place,
making sure that it is firmly seated
in the channel. (See Figure 4.)
Make sure it isn’t pinched or
kinked at any point, especially
where it angles upward at the
shoulder.
4. Unzip the body fur part way and
feed the inlet tube through the
right leg hole and out at the back
of the face. Reattach the fur and
all clamps and fittings.
Caring for the IV Leg:
1. After each class, drain the blood
and return it to the bottle for storage,
tightly capped.
2. Flush the system thoroughly by
running tap water through it into
a sink or basin.
3. Open all clamps and drain
excess water.
4.
Avoid overfilling the bags or
hanging
them too high, as this
will increase the pressure in the
system, resulting in leaks.
5.
Use only
Life/form®
Vein
Replacement
Tubing, as it is
specially
treated to be
compatible
with the leg core material.
Care of the Trainer:
The body fur may be unzipped and
removed for cleaning. Nasco recom-
mends hand washing in cool water
with a few drops of mild soap or
detergent, rinse thoroughly, roll in a
towel to remove excess water, then
air dry. Gently brush fur if desired. A
small amount of “shedding” is normal.
The fur on the face and legs may be
cleaned by rubbing with a damp cloth.
Do not immerse the dog in water.
Never use cleaning fluids or solvents.
41
About the Life/form®
CPR Dog Airway System:
The sanitary airway consists of a nose-
piece with a non-rebreathing valve, a
hose system with one-way valve, lung,
and exhaust vent. (See figure 1.) The
system is designed to minimize cross-
contamination between students. Each
student should use a separate nose-
piece, which should be discarded
after use as it cannot be effectively
sanitized. The hose system and lung
should also be replaced regularly to
prevent the buildup of moisture and
potentially harmful bacteria. The use of
a face shield between the nose-piece
and the muzzle is recommended to
prevent direct mouth contact with the
fur. If necessary, cut a small X in the
shield for the nose-piece to fit through.
Setting Up the Airway:
The CPR Dog comes with the inter-
nal hose system already installed. To
begin training, simply position your
face shield over the dog’s muzzle and
push the valve end of the nose-piece
through the shield into the white fitting
in the muzzle. (See figure 2.)
Replacing the Airway:
1. Remove the nose-piece.
2. Open the zipper far enough to
fold back the fur and expose
the airway.
3. Fold back the fur on the top of
the muzzle.
4. Remove and discard the old air
hose and lung.
5. Snap the new system into place,
starting at the nose end, making
sure that the lung lies flat against
the chest.
6. Feed the exhaust tubing out the
hole in the dog’s back. (See
figure 3.)
7. Replace the muzzle fur and close
the zipper.
Figure 1
Figure 2
lung
exhaust vent
internal
airway system
nosepiece
with valve
fitting
valve
muzzle fur folds over airway
face shield
LF01155U_CPR_DOG 3 12/17/09 12:21:41 PM
