Naxa NMV-155 User manual

NMV-155/DIGITAL AUDIO AND VIDEO
PLAYER WITH TOUCH PANEL & CAMERA
User Manual

Page 1
Precautions
For the correct use and good performance of the player, the user must fully
understand the manual as well as strictly follow the instructions provided.
Avoid high temperature (above 35°C) or low temperature (below -5°C).
Never knock the main machine violently.
Never contact with chemicals such as benzene, thinner etc.
Do not close to strong magnetic field, electric field etc.
Keep away from direct sunlight or heating appliances.
Never privately dissemble, repair or modify the player.
Using the player and the earpiece during bicycling, car and motorcycle driving is
likely to cause danger.
Never use higher volume, which may damage your hearing ability.
Divide scraped packing, batteries, old electronic products and dispose them
properly

Page 2
Basic Features
Brand new touch screen OS for direct and convenient operation
240*320, 260,000 color high speed TFT screen
Music player: compatible with MP3,WMA and WAV formats
Recorder: for FM and MIC recording and compatible with MP3 and
WAV formats
Picture browser: for JPEG, BMP, GIF, PNG and TIF formats
Video player: for playing video of AVI, MTV and FLV format
Support FM Radio
EBook browser
Game player
Compatible with SD/MMC
Settings: for setting and activating various features
ADFU restoration and USB upgrading mode enabled
USB2.0 high speed transmission

Page 3
Basic Operation
System Configuration
OS: Windows XP/2K/ME/98 (driver installation needed) /Linux9 and above /Mac OS
10
CPU: Pentium-133MHz at least
Memory: 512MB----8GB
Power On
Slide the switch to “On” and hold, the player will be powered on in 3 seconds. The
player will prompt "Welcome" and then enter the main interface.
Power Off
When the player is on, slide the switch to “Off” and hold, the player will be powered
off in 3 seconds.
Lock / Unlock
In Video, Music or Radio mode, move the power switch to the lock position to lock
the player so as to avoid careless button operation.
Unlock: move the power switch back to the original position and touch operation will
be enabled again.
Volume Adjustment
Under Music, FM radio or Video mode, press +, – button to adjust volume.
Press + to increase volume, and press – to decrease volume.
Reset
If the player encounters dead halt during use, press RESET button to restart the
player.

Page 4
Connection to PC and Data Exchange
Connect the player to PC with the USB cable, and the player will enter “U disk” mode.
Press MENU button or safely remove U disk, and the player will be under USB
charging mode. In USB charging mode, touch the screen or press MENU to enter the
main applications interface.
Charging
This player has high capacity lithium battery. For charging, connect the player to the
USB port of the PC.
Low Power
When battery power is low, the player will prompt and power off and enter Standby
mode automatically. Do not power on and charge the player instead.
Charger current specification recommended: 400-500mA.
File Storage
Files of different types should be stored under different directories. For example,
music file should be stored under MUSIC dir. Record file stored under RECORD dir.

Page 5
Picture files under PICTURE dir. Video files VIDEO dir. Text files TXT dir. the
corresponding application unable to find the file If it is not saved in this way,
How to use MICRO SD card
When this player is connected to PC, two movable disks will be found. The first one
is the internal memory, and the second one is MICRO SD card. If no card inserted,
the second disk can not be opened. This player is compatible with maximum 4GB
MICRO SD card.
How to insert and pull out MICRO SD card
How to insert: with the front (the side with characters) of the MICRO SD card up
(towards the screen of the player), slightly push to insert into the card holder of the
player to connect. After the card is inserted, the player can play the files in the
MICRO SD card.
How to pull out: slightly push the MICRO SD card and the MICRO SD card will
partly come out, and then pull the card out.
Note: please insert or pull out the card when the player is off, or the internal files of
the player will be lost or damaged.
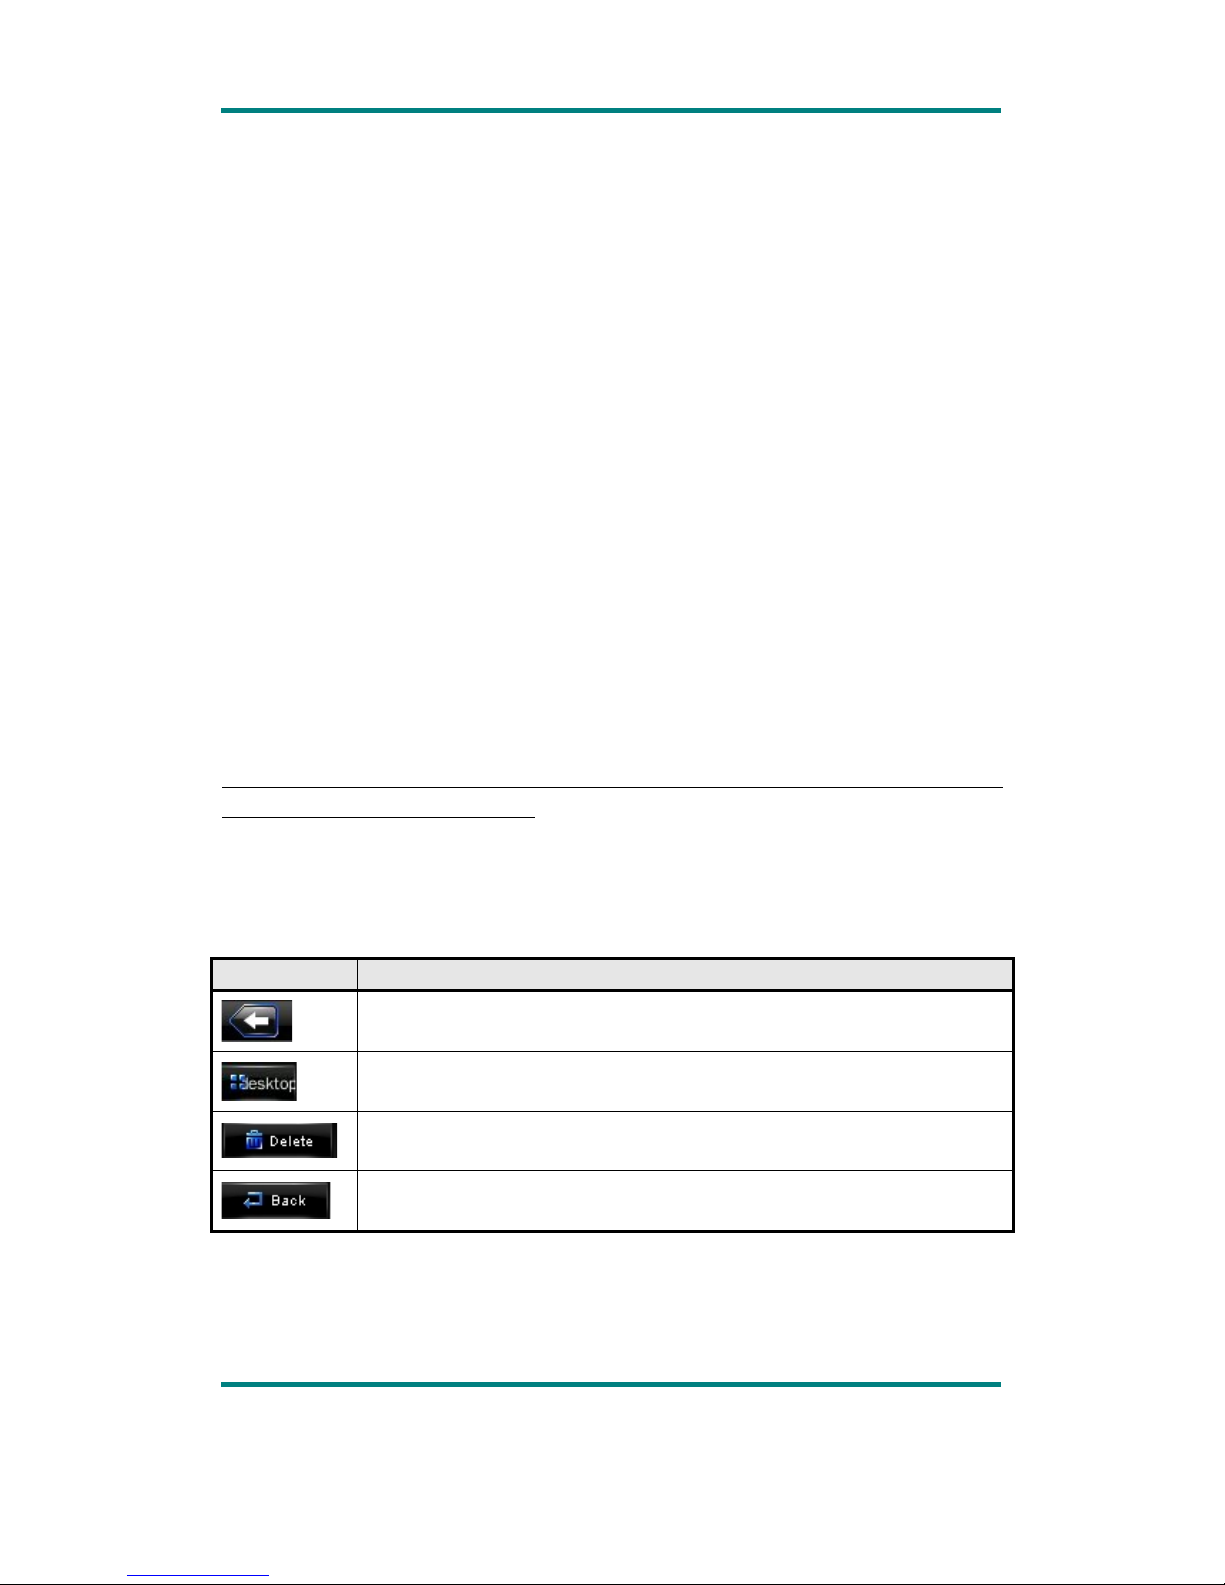
General Button /Icon Description
Button /Icon
Description
Return to upper directory
Return to main menu
Delete file or folder
Return to previous operation interface

Page 6
Know your player

Page 7
Main Menu Interface
This player provides a touch screen OS for direct operation. The main menu interface
is shown in the picture below:
1.The system date and time is shown on the upper left corner of the main menu
interface . The battery is shown on the upper right corner of the main
menu interface .
2.Under the main menu interface, touch an icon on the screen, and the player will
enter the selected mode.
3.After the player enters a mode, touch the icon on the bottom right corner
or press and hold the MENU button to return to the main menu interface.

Page 8
Music Mode
In the main interface, touch the “Music” icon to enter music mode.
Music Interface Description
Button /icon
Description
Number of the song being played / Total
songs
Playing mode
Playing sequence
Playing style
Song playing progress bar. Drag the bar
to adjust playing progress.
Volume bar. Drag the bar to adjust
volume.
Touch it to switch to previous song, long
press for fast rewind
Play /pause /stop the current song. Click
the play button, and the button will be
change to pause button. After a song is
finished, it will change to stop button.

Page 9
Touch it to switch to the next song, press
and long press for fast forward
Music Setting Interface
Click one of the 4 buttons at the bottom of the interface to enable an appropriate
function.
Icon
Description
Click Browser to enter different song lists - main directory, card
directory, all songs, ID3 list, play list, and tag list.
Click Settings to choose
SRS setting: WOW, WOWHD, USER
Click USER to enter user setting interface. Drag the bar or chick the
options to set the functions. Click OK to confirm the settings.
EQ setting: click to enter User EQ setting interface, move up or down
the bar to select sound effect, and click OK to confirm.

Page 10
Add list
Add tag
Click return to play screen.
Song information display.
Lyrics Display
The player is compatible with lyrics files of “*.LRC” format and enables playing song
with synchronous lyrics. The name of the lyrics file should be the same as that of the
song file. When there are the lyrics with the same name of the song being played
under the play list directory, the lyrics of the song will be displayed on the playing
interface.
INSTRUCTIONS FOR MUSIC DOWNLOAD
NOTE: YOU MUST HAVE AN MP3 FILE ON YOUR COMPUTER.THIS IS AN
MP3 PLAYER. IT DOES NOT CREATE MP3 FILES.
THE CD DRIVER THAT ACCOMPANIED YOUR MP3 PLAYER DOES NOT
NEED TO BE INSTALLED. THE FOLLOWING INSTRUCTIONS EXPLAIN
COPYING AND DELETING MP3 FILES FROM YOUR COMPUTER.
!" CONNECT MP3 PLAYER TO YOUR COMPUTER VIA USB ADAPTOR.
#" TURN ON YOUR COMPUTER.

Page 11
$" DOUBLE CLICK ON “MY COMPUTER”
%" DRIVE NAMED”REMOVABLE DISK” OR “MP3 PLAYER”-THIS IS YOUR
MP3 PLAYER
&" DOUBLE CLICK THE REMOVABLE DISK/MP3 PLAYER-THIS OPENS
THE FOLDER.IT WILL SHOW ALL FILES CURRENTLY ON YOUR
PLAYER.
'" NEXT LOCATE YOUR MP3 FILES ON YOUR COMPUTER. MOST
PEOPLE STORE THEM IN THEIR”MY MUSIC”FOLDER
(" ONCE YOUR MUSIC FOLDER/MP3 FILE FOLDER IS OPEN,CLICK ONCE
TO HIGHLIGHT THE SONG YOU WANT TO SEND TO YOUR MP3
PLAYER.ONE OF THE FOLLOWING STEPS WILL COPY THE MP3 FILE.
A. RIGHT CLICK ON THE HIGHLIGHTED SONG,A BOX WILL
COME UP,MOVE CURSOR TO “SEND TO “ANOTHER BOX WILL
COME UP. IF YOU HAVE THE OPTION”REMOVABLE
DISK”CLICK ON IT . THIS WILL SEND COPY OF MP3 FILE TO
MP3 PLAYER.
B. IF YOU DO NOT HAVE”REMOVABLE DISK”LISTED,THEN
CLICK ON “COPY”.GO BACK AND REPEAT STEPS 3,4&5.RIGHT
CLICK IN THE MIDDLE OF THE WINDOW. A BOX WILL OPEN.
SELECT “PASTE”. THIS WILL COPY MP3 TO PLAYER.
)" TO DELETE FILES-REPEAT STEPS 3,4&5.ALL FILES ON THE MP3
PLAYER WILL BE LISTED.CLICK ONCE AND HIGHLIGHT THE FILE
YOU WANT TO DELETE.
*" HIT”DELETE”BUTTON OR RIGHT CLICK ON THE FILE.A BOX WILL
OPEN.CLICK ON THE WORD “DELETE”. IT WILL REMOVE THE MP3
FILE FROM YOUR PLAYER.
IF YOU NEED TO LEARN HOW TO CREATE AN MP3 FILE OR DOWNLOAD
MP3 FILES, THERE ARE MANY RESOURCES ON THE INTERNET.
Video Mode
In main interface, click the “video” icon to enter Video mode.
Directly click the video file on the screen to start playing the selected video.
When play a video file, the up/down buttons and the progress bar will appear
automatically by touching the screen.

Page 12
Button
Description
Browse: local directory, card directory, tag list
Tag: directly click the icon and a box pops out and prompts “tag
saved”.
Play: click and it will change to pause button , and click again to
continue playing.
Touch it and the Volume bar will pop out at the bottom. Drag the bar
to adjust volume.
Return to main menu
Fast rewind: long press for fast rewind. Short press for the previous
video file.

Page 13
Fast forward: long press for fast forward. Short press for the next
video file.
photo mode
1. In main interface, click the “Picture” icon to enter Picture mode.
Click to change to the List mode.

Page 14
2. Directly click the thumbnail to browse pictures. Click the picture, and the buttons
will appear automatically at the bottom of the screen.
Button
Description
Manual play: click the button, and the button will change to , and
click again to enter auto play mode.
Main dir and card dir. return to upper directory to browse picture list.
Slide interval: 1 -5 seconds
Previous picture
Next picture
Return to the main menu
HOW TO DOWNLOAD PHOTOS:
THE CD DRIVER THAT ACCOMPANIED YOUR MP3 PLAYER DOES NOT NEED TO BE
INSTALLED. THE FOLLOWING INSTRUCTIONS EXPLAIN COPYING AND” DELETING
PHOTO FILES FROM YOUR COMPUTER.
!" +,--.+/01230+435.03./6..-0/7.01-8/04-90+,:;1/.<0
2. TURN ON YOUR COMPUTER.
3. DOUBLE CLICK ON “MY COMPUTER”
%" 9<8=.0-4:.9><.:,=435.0982?>0,<0@:;$0;54A.<>B/7820820A,1<0:;$0;54A.<"0 0
&" 9,135.0+58+?0/7.0<.:,=435.0982?C:;$0;54A.<B/7820,;.-20/7.0 0 0 D,59.<"8/068550
27,604550D85.20+1<<.-/5A0,-0A,1<0;54A.<0
6. NEXT LOCATE YOUR PHOTO FILES ON YOUR COMPUTER.

Page 15
7. ONCE YOU HAVE FOUND YOUR PHOTO FILE, CLICK ONCE TO HIGHLIGHT THE
PHOTO YOU WANT TO SEND TO YOUR MP3 PLAYER.
HOW TO COPY THE PHOTO FILE:
4"0<8E7/0+58+?0,-0/7.078E758E7/.90;7,/,."403,F068550+,:.01;.0:,=.0
+1<2,<0/,[email protected]/,>04-904-,/7.<03,F068550+,:.01;"08D0A,1074=.0/7.0
,;/8,-0@<.:,=435.0982?>G0+58+?0,-08/"0/7820685502.-90;7,/,0/,0:;$0;54A.<"0
3"08D0A,109,0-,/074=.0@<.:,=435.0982?>582/.9G/7.-0+58+?0,-0@+,;A>H2II0
;JKLMNI>O!>P"E,034+?04-90<.;.4/02/.;20$G%Q&"078E758E7/0/7.08:4E.0D85.04-90
<8E7/0+58+?."403,F068550,;.-."2.5.+/0@;42/.>0HRII0;JKLMNI0@O#>P4-90A,1<0
;7,/,0685503.0+,;8.90/,0A,1<0:;$0;54A.<"0 0
H;JKLMNI0@O!>P0 0
H;JKLMNI>O#>P0
0

Page 16
8. IF YOU WANT TO DELETE THE PHOTO, HIT “DELETE” BUTTON OR RIGHT CLICK
ON THE PHOTO. A BOX WILL OPEN.CLICK ON THE WORD “DELETE” AND THE
PHOTO WILL BE REMOVED FROM YOUR MP3 PLAYER.
Radio Mode
1. In the main interface, click the “Radio” icon to enter radio Mode.
2. If no headphone, the player will prompt the user to insert a headphone.
Button /Icon
Description
Radio channel list, click to show radio channel list.
Manual search: click to enter manual search mode; short press
or button to manually search up /down for radio channels, and
the player is mute where no channel being found.
Auto search: click to enter auto search mode. All channels can be
automatically searched and saved. After search is completed, the
player will play radio at the preset channel 1. During channel search,
click or button to stop auto search.

Page 17
Save channel
Delete channel
Change to channel of lower frequency
Change to channel of higher frequency
Radio mode change: click and the button will change to , and
channel search will be paused.
Enter FM station recording interface
Select frequency range: China, Japan, Europe and US.
FM Recording Interface
1. In Radio mode, click to enter FM station recording interface.
Button /Icon
Description
Stop, click it and it will change to play icon to enter recording

Page 18
mode
Save the recorded file.
View recorded file.
Record settings
1. Recording format: WAV &MP3 formats.
2. Quality: high, medium, low.
3. Recoding gain volume: level 1, 2, 3.
E-book Mode
1. In the main interface, click the Ebook icon to enter the mode.
2. Select a TXT file to enter Ebook browser interface.

Page 19
Button /Icon
Description
Manual browse: click it and it will change to to enter auto
browser mode.
Auto browser time setting: 10 seconds, 15 seconds, 20 seconds, 25
seconds, 30 seconds.
Save and pick tag, click to show the tag list, and then click to save or
select tag. Click or the part outside Save tag box to exit from the
tag setting box.
Table of contents
Other Naxa Media Player manuals