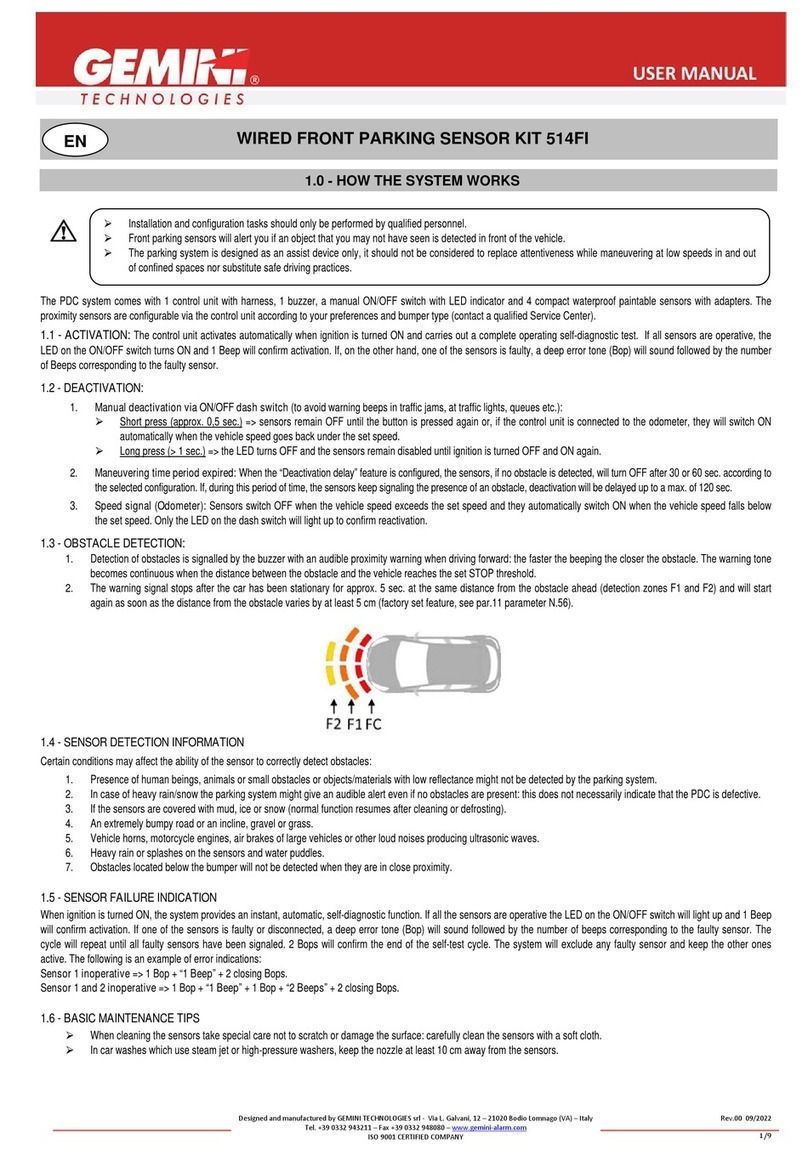
Neo Car Audio Neo Prolink PODHONR2V1 Troubleshooting guide

NeointerfaceforiPod
for selected Honda/Acura vehicles
Installation Guide/User Manual
for Neo and Neo PROLINK

2
Copyrights andTrademarks
Copyright 2009 Neo Car Audio Inc.
The Neo Car Audio Inc. logo is a trademark of Neo Car Audio Inc.
iPod is a trademark of Apple, Inc.
All rights reserved.
Printed in the U.S.A

Table of contents
3
Copyrights and trademarks 2
Icon legends 3
Warning and safety 4
Product registration 5
iPod hierarchy 7
Charging 7
Honda R2 integration kit 8-16
Integration kit contents 9
DIP switches 10
DIP switch settings 11
Installation 12
iPod audio source 15
Controls in CDC emulation 15
Operating modes 16
Honda R3/R4 integration kit 17-30
Integration kit contents 18
DIP switches 19
DIP switch settings 20
Installation 21
Supported iPod models 6
Icon legends
Press button
Turn jog dial
Turn jog dial repeatedly
Scroll
Press button repeatedly
iPod audio source 24
Controls in CDC emulation 24
Browsing function in CDC mode 25
Controls in SAT emulation - Non-Nav. radio 26
Controls in SAT emulation - Nav. radio 27
Text display fields 28
How Neo ProlinkWorks 29
Browsing function in LOCK mode 30
Browsing function in UNLCOK mode 31
Scrolling feature 32
Auxiliary audio source 33
Troubleshooting 35
Disclaimer and warranty 37

4
Warning and safety!
Pleasereadtheseinstructionscarefullybeforeproceeding.Failuretofollowinstructionsmayresultinimproperoperation
or injury.Neither Neo Car AudioInc. nor AppleInc., its regional offices, distributors or resellers takeanyresponsibility for
anydamageorinjuryasaresultofusingtheintegrationkit.
-Donotopen,disassembleoraltertheinterfaceinanyway.
-Donotinsertanythingintothecasing.
-Donotcutortrytoaltercablesinanywayandalwaysusethecorrectconnections.
-Onlyoperateunitwhenstationaryoraskpassengerstooperateitforyou.
-DonotallowtheAppleiPodtodistractyoufromdriving.
-Exercisegoodjudgementandkeepyoureyesontheroadatalltimes.
-Donotexposeunit toextremetemperatures,humidityorshock.
-KeeptheunitandiPodawayfromfluids.
-Keepawayfromchildren!-Interfacecomponentsmaycontainsmallparts,canbebrokenordisassembledand
componentsmaybecomeloosefromvibrationandheat.Smallcomponentsandpackagingmaterialsmaybeachocking
hazardwhenhandledbychildren.

Congratulations on your purchase
Thank you for purchasing the Neo integration kit for iPod. Please review our user manual and installation guide before
operating the unit. This interface was designed and manufactured to seamlessly integrate with your vehicle's factory
entertainmentsystem.
5
In order to validate your warranty period and to receive telephone or online support, you MUST register your product.
To register your product, please complete the following steps:
1.Visit http://www.neocaraudio.com
2. Complete the product registration form.
3. Submit the form.
4. Save the registration/support/warranty sheet in a safe place for future reference.
If you are unable to complete the registration via internet, please call Neo Car Audio Inc. at 619-704-0699.
Product registration

6
Supported iPod models and firmware version requirements
Forthelatestfirmwareversionsandmodelsnotlisted,pleasecontactyourauthorizeddealerorNeoCarAudioInc.
FW:1.2.1
FW:1.3.1 FW:1.1.3
FW:2.2.1
FW:1.0.3
FW:1.0.3
iPodclassic
80GB 120GB 160GB iPod
5th generation (video)
30GB 60GB 80GB
iPodnano
3th generation (video)
4GB 8GB
iPodnano
1st generation
1GB 2GB 4GB
iPodnano
2nd generation (aluminum)
2GB 4GB 8GB
iPodtouch
1st & 2nd generation
8GB 16GB 32GB
FW:1.0.3

The interface automatically charges the battery of the iPod when
connectedandthekeyisintheACC/ONposition. Charging icon will appear
on the upper right corner
of the iPod screen to
indicate charging.
Charging
iPod hierarchy
Bydefault,theinterfacecreatesaPlaylisthavinganamethatisthesameasthename
oftheiPod.ThisPlaylististheveryfirstonthelistofPlaylistsshownwhilebrowsingin
Playlistmode.ThisPlaylistcontainsallthe songsontheiPod. OnceaPlaylistisactive
an Artist may be selected within that Playlist using the Artist Mode. Albums by the
selectedArtistandwithintheselectedPlaylistmaybeselectedinAlbumMode."ALL
ARTIST"and"ALLALBUM"designateallavailablecontentinthosecategories.
Playlist
Artist
Album
Song
t
n
e
t
n
o
c
e
l
b
a
s
w
o
r
b
s
s
e
L
Morebrowsablecontent
7

Honda R2 integration kit

Integration kit contents
1Vehiclespecificinterfaceunit
1Vehiclespecificharness(R2)
1iPoddockingcable
1Usermanual
9
NeointerfaceforiPod
for selected Honda/Acura vehicles
Installation Guide/User Manual

10
Dip switches
ON 1 2
"iPod Config.
Switch"
"Car Config.
Switch"
Neo Module
ON/OFF Switch Positions
ON 1 2
ON
1 2
OFF
The configuration switches located on the Neo module are used to set the operation of the interface by the installer.
Incorrect dip switch settings may cause the Neo interface not to work properly or not to operateat all. Disconnect the
vehicleharnessfrommoduleandcycleignitionofffor50secondsafterchangingtheswitches!

Car configuration switches
Settings
CD changer (CDC)
Dipswitch 1
OFF OFF
Switches should remain in the default OFF
position.
Dipswitch 2
Dip switch settings
OFF OFF
It is best selected when Text display
is NOT supported by the radio.
Track numbers and times are not
synchronized between the iPod and
radio. Because there is less data
transfer between the iPod and radio,
this mode has the fastest response
time. Content is selected on the
iPod.
11
iPod configuration switches
Settings
"Locked" "iPod"
OFF OFF ON ON
It is best selected when Text
display is supported by the radio.
After the initialization the iPod will
be locked for an increased
interface functionality.
Dipswitch 1 Dipswitch2 Dipswitch 1 Dipswitch2
OFF OFF
ON ON
DefaultDefault

Installation
12
Installation should only be performed by a qualified professional. Beware of sharp edges to avoid injury and exercise
cautionwhenremovingtrimsastheymaybreak.ThemoduleshouldbeplacedatanaccessiblelocationtoallowAUXcable
tobeconnected,suchasintheglovebox,thecenterconsoleorunderthefrontseat.
1Pullvehicleintoservicebay.
2Makesurethattheradiocodeisavailablebeforedisconnectingbattery.Disconnectbothbatteryterminals.Thesecables
mustbedisconnectedduringinstallationtoensureproperinitializationofthemodulewhenitisconnected.
3Pull out the radio by removing surrounding trims and screws to access the CD changer connector. Most
trims can be removed by carefully pulling on the piece or using trim removal tools. Trim is usually held in place by
snap-inclips.Consultyourdealershipifadditionalinformationisneededonremovingtheradio.

Honda R2 BUS connector
13
Reconnectalltheotherharnessesastheywereifremoved.ExternalCDchangercannotbeusedtogetherwiththeintegrationkit.
4You can access the CD changer connector located on the back of the radio. If the factory CD changer is connected,
unplugitandplugthevehiclespecificcableintothereceptacle.Theconnectorshouldsecurelylock.

5Connect the vehicle specific connector and the iPod docking cable to the Neo module. Apply cable ties to secure
the cables.
1/8"
AUX
input
iPod
dock
cable
input
vehicle
specific
connector vehicle specific connectoriPod docking cable
receptacle receptacle
6
T
Verify that all connections have been properly made.
7Reconnect the car's battery. est the unit before seating the cables and reinstalling the panels/trim.
14

iPod audio source
15
Controls in CDC emulation
disc
COMPACT
DIGITALAUDIO
AM
FM CD
TAPE
VOL
PUSHPWR
REW
1PLAY/PROG
2FF
3NR
4DISC-
5DISC+
6
H M R
CLOCK TUNE
PUSHMODE
SCAN
RPT
A.SEL
RDM
DISC
SEEK
SKIP
Source selector
Press to change
Track, press and
hold it to RW or
FFW.
Press to change
DISC.
CDC D -05 T- 01
PresstheCD/CDCbuttontoaccesstheinterfaceanditsfeatures.Pressingthisbuttonrepeatedlywillcyclethroughsources
present(internalCDifpresent,followedbyexternal)inyourvehicle.WhentheiPodaudiosourceisactive(DISC5,Track1),
usetheTrackbuttontoselectnext/previousSong.

Operating modes
AfterconnectingtheiPod,selectthedesiredbrowsingmodebyselectingtheappropriateDISC.TochangeTrackpressthe
Seek button.The illustrationbelowshowsoperation withdefault dipswitchsettings.When dipswitchesaresetto"iPod"
mode,onlyTrackandAudiosourcemodesareavailable.
DISC 1
16
DISC 2
DISC 3
DISC 4
CDC D -01 T- 03 CDC D -01 T- 06
CDC D -02 T- 15 CDC D -02 T- 18
CDC D -03 T- 25 CDC D -03 T- 28
CDC D -04 T- 02 CDC D -04 T- 05
TRACK MODE -
PLAYLIST MODE -
ALBUM MODE -
Album within the
selected Playlist
AUDIOBOOK MODE -
DISC 5
CDC D -05 T- 01 CDC D -05 T- 02
iPod audio source AUX audio source - see pp.31-32
AUDIO SOURCE -

Honda R3/R4 integration kit

Integration kit contents
1Vehicle specific interface unit
1Vehicle specific harness (R3 or R4)
1 iPod docking cable
1 User manual
18
R3 harness R4 harness
(regular harness that is used for
non-nav Honda/Acura and disables
XM (if equipped))
(Y-harness required for navigation-
equipped Honda/Acura and/or to
retain factory XM)
or
NeointerfaceforiPod
for selected Honda/Acura vehicles
Installation Guide/User Manual

19
Dip switches
ON 1 2
Not Used
"Car Config.
Switch"
Neo Module
ON/OFF Switch Positions
ON 1 2
ON
1 2
OFF
The configuration switches located on the module are used to configure the operation of the interface by the installer.
Incorrect dip switch settings may cause the interface not to work properly or not to operate at all. Disconnect vehicle
harnessfrommoduleandcycleignitionofffor50secondsafterchangingtheswitches!

Car configuration switches
Settings
CD changer (CDC) Satellite (SAT)
Dipswitch 1
OFF OFF ON ON
Recommended for radios NOT
supporting Satellite (XM) or if
factory SAT is installed and user
wishes to retain it.
Recommended for Satellite (XM)
capable radios.This type of
emulation providesfull Text
display on the radio. If Satellite
(XM) is equipped it must be
disconnected to operate flawlessly
in this mode.
Dipswitch 2 Dipswitch 1 Dipswitch2
Dip switch settings
20
OFF OFF
ON ON
Default
Table of contents
Other Neo Car Audio Automobile Electronic manuals
Popular Automobile Electronic manuals by other brands
Sirius Satellite Radio
Sirius Satellite Radio RETROFIT KIT installation instructions
Safe Fleet
Safe Fleet RVS-218628 instruction manual
Nav TV
Nav TV SRX VIM installation manual

Hyundai
Hyundai SONATA 2019 Getting started guide

Paser
Paser MediaDAB 2.0 Installation & use manual

Right Weigh
Right Weigh 224-SK installation manual
