JR, BM
05/17/2016
NTV-DOC105
3 | P a g e
Agreement: End user agrees to use this product in compliance with all State and Federal laws. NAV-TV Corp. would not be held liable for
misuse of its product. If you do not agree, please discontinue use immediately and return product to place of purchase. This product is
intended for off-road use and passenger entertainment only.
Module Installation
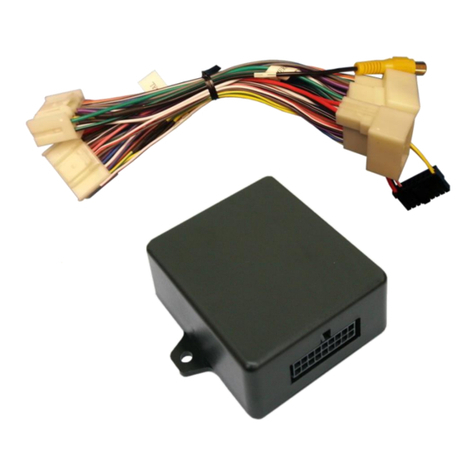
1. Locate the main factory 44-pin radio harness. Connect the male
end of this harness into the female end of the provided SRX VIM
T-Harness. Connect the factory gray 10-pin harness to the female
end of this T-Harness as well.
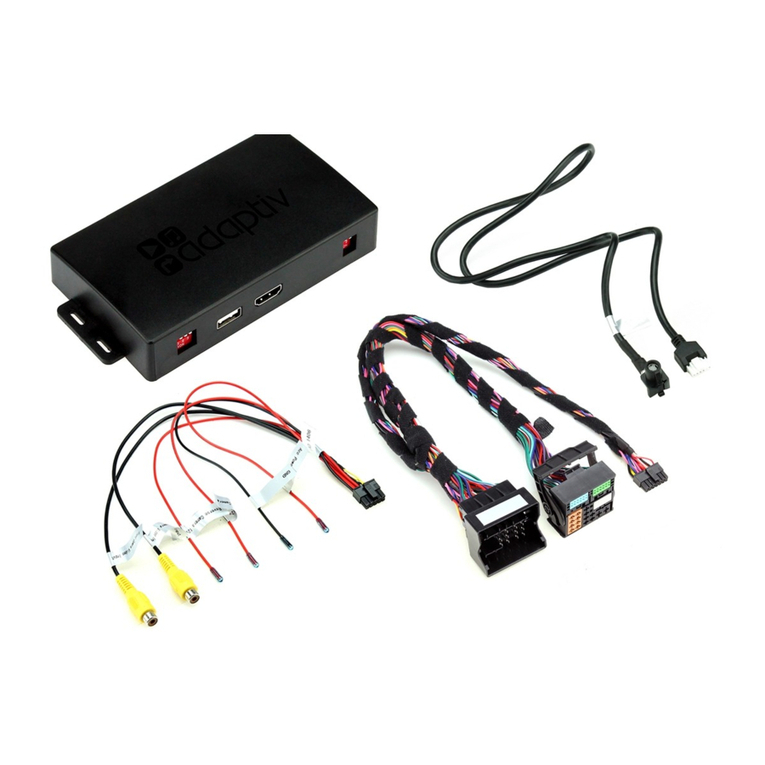
2. Connect the factory GPS antenna cable (blue FAKRA) to the
yellow side of the provided GPS-Break board. Connect the
provided GPS Fakra cable to the green side of the GPS-Break board;
plug the other end into the blue FAKRA on the back of the radio.
3. Connect the red wire from the GPS-Break board to the white/blue, OUTPUT (A) wire from the
18-pin SRX VIM module harness. Splice the black wire from the GPS-Break board to ground.
4. On the provided main 44-pin T-Harness, the RCA labeled
‘Rear Cam’ must be connected to the RCA labeled ‘Factory
Cam’, or you will lose the SRX factory rear camera image!
5. Optional: If you want to be able to force the factory rear camera (if equipped) at any time, you
must interrupt the SRX rear camera power wire. This green wire is located in the passenger rear
quarter panel, in a gray harness (test first!).*
a. Cut the green wire in half, connect an extension wire (to the camera side) to run to the
front 18-pin SRX VIM module harness. Insulate the exposed cut end.
b. Connect the extension line to the white/purple, (OUTPUT B: ACC out)wire on the 18-pin
SRX VIM module harness.
*Note: This wire is also located in the driver’s kick/sill panel, but shares the same line
as the reverse lights. DO NOT cut/connect to this location!
6. Optional: Sending 12v (through a toggle) to the red, ‘INPUT 1’ wire will toggle VIM/CIM as well
as the standard steering wheel control functions.
7. Connect the SRX VIM module to the 18-pin connector located on the provided T-Harness.
Reconnect all harnesses to the radio (including the new T-Harness and GPS Fakra cable);
reassemble the dash to a point where you can test all functions before completing the
installation.
