manuals.online logo
Brands
  1. Home
  2. •
  3. Brands
  4. •
  5. NetComm
  6. •
  7. Network Router
  8. •
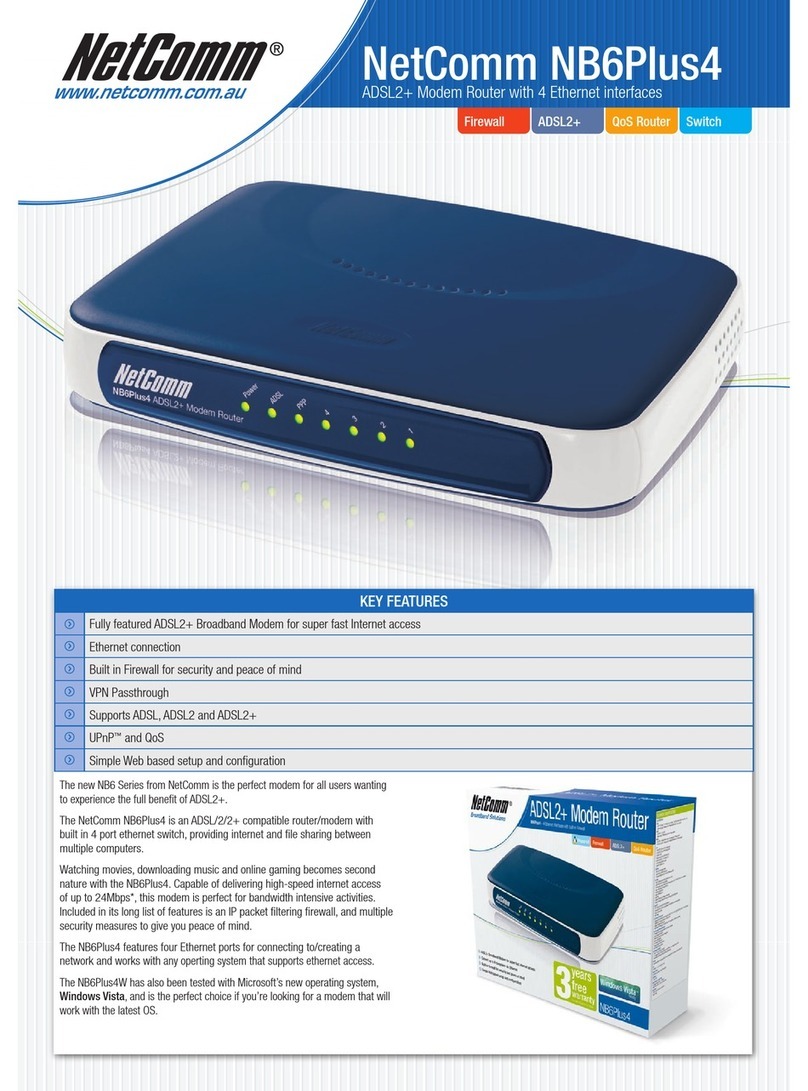
  9. NetComm NB4 User manual

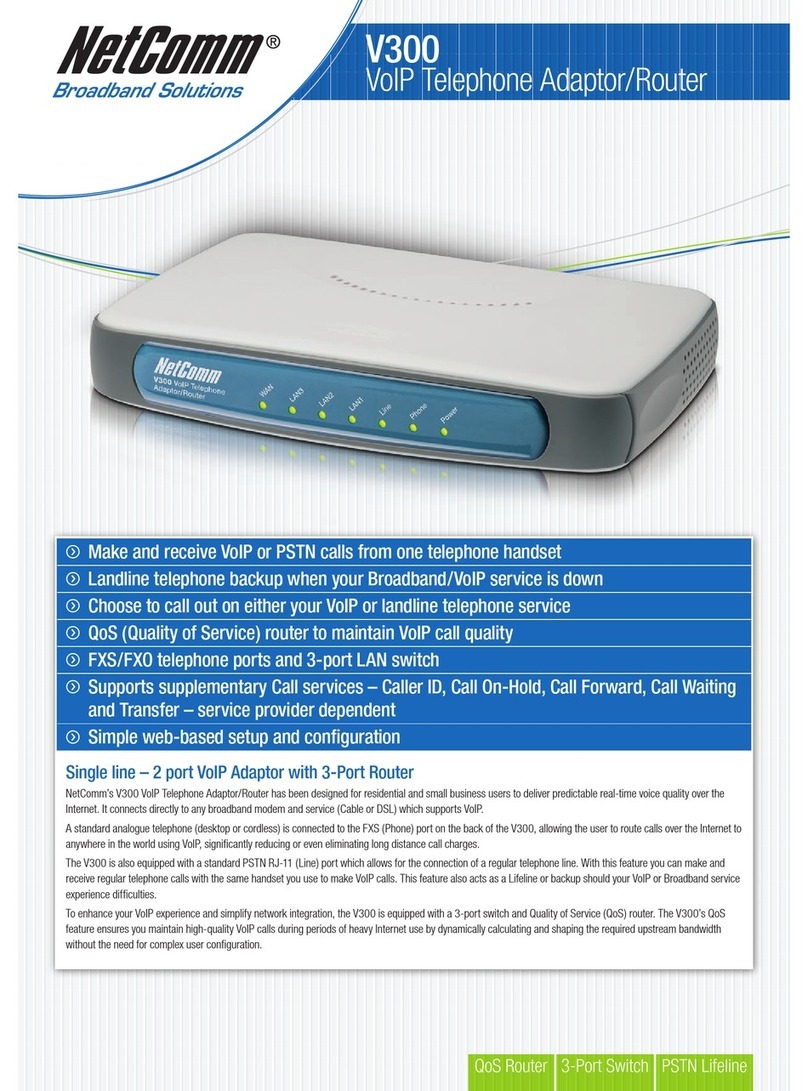
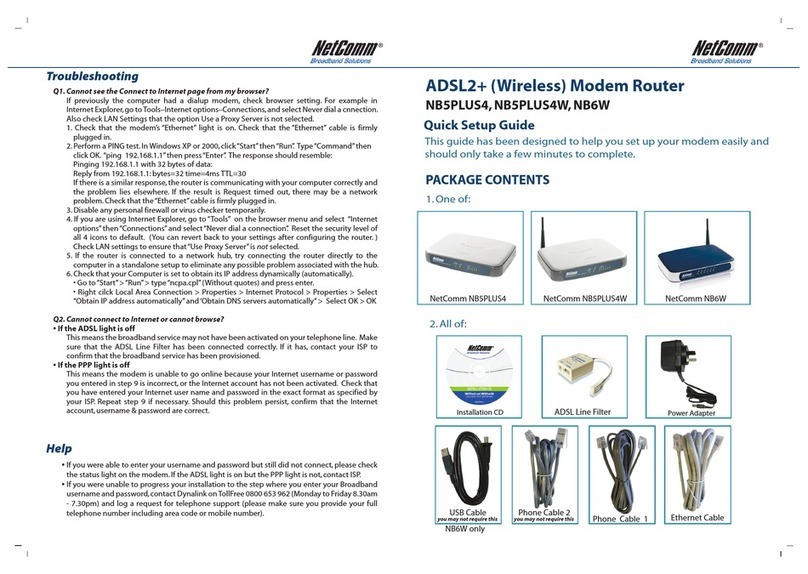
NetComm NB4 User manual

12 34
This Quick Start provides basic instructions for connecting the
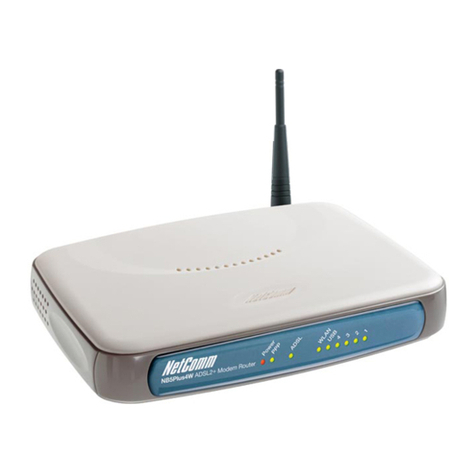
NB4 ADSL Modem Router to a computer and to the Internet.
■Step 1 - describes setting up the hardware.
■Step 2- shows you how to configure basic settings on the
NB4 ADSL Modem Router to get your computer
connected to the Internet.
■Step 3 - describes how to configure Internet properties on
your computer(s).
This Quick Start Guide assumes that you have already
established an ADSL service with your Internet service
provider (ISP). These instructions provide a basic
configuration that should be compatible with your home or
small office setup. Refer to the subsequent chapters in the
comprehensive User Guide on the supplied CD-ROM for
additional configuration instructions.
NOTE: NetComm Technical Support for this product
only covers the basic installation and
features outlined in this Quick Start Guide.
For detailed information regarding the
advanced features of this product, please
refer to the configuring sections in the NB4
User Guide on the supplied CD-ROM.
The NetComm NB4 ADSL Modem Router can be connected
directly to your computer via an Ethernet interface. If your
computer has a network card (NIC) but isn’t connected to a
network hub or switch, or another computer, then connect the
NB4 to the network port of your PC. Follow the step-by-
step instructions on the opposite side of this Guide.
Warning: Before you begin, turn the power off for
all devices. These include your
computer(s) and the NB4 ADSL Modem
Router.
Do I need to use the Micro filter?
Micro filters are used to prevent common telephone
equipment, such as phones, answering machines and fax
machines, from interfering with your ADSL service. If your
ADSL enabled phone line is being used with any other
equipment other than your NB4 ADSL Modem Router then
you will need to use one Micro filter for each phone device.
Splitters may be installed when your ADSL line is installed or
when your current phone line is upgraded to ADSL. If your
telephone line is already split you will not need to use a
Microfilter - check with your ADSL service provider if you are
unsure.
Each micro filter is connected in-line with your telephone or
fax machine so that all signals pass through it. Telephones
and/or facsimiles in other rooms that are using the same
extension will also require Microfilters. Refer to the
comprehensive User Guide supplied on the CD-ROM for
more information.
Step 1 - Hardware Installation
To connect your modem, follow the step by step instructions
below:
1. Connecting the ADSL cable.
Connect one end of the provided phone cable to the port
labeled DSL on the Rear Panel of the device. Connect the
other end to your wall phone jack.
2. Connecting the Ethernet cable.
Connect one end of the ethernet cable to the network port
on your PC and the other end of the cable to the ethernet
port of the NB4 ADSL Modem Router.
3. Attach the power connector.
Connect the AC power adapter to the Power connector on
the back of the device and plug in the adapter to a wall
outlet or power strip. Switch the power on to the NB4.
4. Power up your systems.
Turn on and boot up your computer.
After completing the above, refer to the appropriate
operating system section to configure your computer.
Step 2 - Modem Configuration
In Step 2, you log directly into the configuration page of the
NB4 ADSL Modem Router and configure the basic settings for
your Internet connection. Your ISP should provide you with
the necessary information to complete this step.
The settings that you most likely need to change to access the
internet are grouped onto a single Quick Configuration page.
To configure your NB4 ADSL Modem Router follow the steps
below:
Note: If your computer's Ethernet interface is not
set to use DHCP or you have trouble
accessing/configuring your NB4, see
instructions overleaf " Computer Hardware
Configuration".
1. Insert the NetComm NB4 CD into your CD drive. The
NB4 ADSL Modem Router autorun screen will appear.
Click on Configure NB4.
(Alternatively, if the CD-Rom is not available, you can
open a web browser and type (http://192.168.1.1)in the
location bar to access the NB4's setup screen directly.)
2. The logon page will be displayed. Enter the NB4’s
username and password.
The default username is admin.
The default password is password.
Click on OK.
3. The Quick Start - login settings page will be displayed.
4. Under the User ID heading, enter the Username that your
ISP has provided. In the password field, enter the
password that your ISP has given you.
5. Leave the Protocol, VPI and VCI settings as default unless
advised to change them by your ISP.
6. Click on the Connect button to test the settings.
7. If the test was successful, then click "Save Settings". If it
failed, please try again by clicking on the "Connect" button
a second time. Also, check your settings to ensure they are
correct.
8. You should now be able to access the Internet with a web
browser, email client or other Internet application.
START HERE...
NOTE: Do not connect your Microfilter to your
Modem. It should ONLY be connected
to your telephone.
56 78
5. If Internet Protocol (TCP/IP) does not display as an
installed component, click Install.
6. In the Select Network Component Type dialog box, select
Protocol, and then click Add….
7. Select Internet Protocol (TCP/IP) in the Network
Protocols list, and then click OK. You may be prompted
to install files from your Windows 2000 installation CD or
other media. Follow the instructions to install the files.
8. If prompted, click OK to restart your computer with the
new settings.
9. Next, configure the PCs to accept IP information assigned
by the NB4 ADSL Modem Router:
10. Follow steps 1 – 3 above.
11. In the Local Area Connection Properties dialog box,
select Internet Protocol (TCP/IP), and then click Properties
12. In the Internet Protocol (TCP/IP) Properties dialog box,
click the radio button labeled Obtain an IP address
automatically. Also click the radio button labeled Obtain
DNS server address automatically.
13. Click OK twice to confirm and save your changes, and
then close the Control Panel.
Windows ME PCs
1. In the Windows task bar, click the Start button, point to
Settings, and then click Control Panel.
2. Click on View All Control Panel Options.
3. Double-click the Network icon.
4. The Network Properties dialog box displays with a list of
currently installed network components. If the list includes
Internet Protocol (TCP/IP), then the protocol has already
been enabled. Skip to step 10.
5. If Internet Protocol (TCP/IP) does not display as an
installed component, click Add…
6. In the Select Network Component Type dialog box, select
Protocol, and then click Add…
7. Select Microsoft in the Manufacturers box.
8. Select Internet Protocol (TCP/IP) in the Network
Protocols list, and then click OK. You may be prompted
to install files from your Windows ME installation CD or
other media. Follow the instructions to install the files. If
prompted, click OK to restart your computer with the new
settings.
Next, configure the PC to accept IP information assigned
by the NB4 ADSL Modem Router:
9. Follow steps 1 – 4 above..
10. In the Network Properties dialog box, select TCP/IP, and
then click Properties.
If you have multiple TCP/IP listings, select the listing
associated with your network card or adapter.
11. In the TCP/IP Settings dialog box, click the radio button
labeled Obtain an IP address automatically.
12. Click OK twice to confirm and save your changes, and
then close the Control Panel.
Windows 95, 98 PCs
First, check for the IP protocol and, if necessary, install it:
1. In the Windows task bar, click the Start button, point to
Settings, and then click Control Panel.
2. Double-click the Network icon.
3. The Network dialog box displays with a list of currently
installed network components. If the list includes TCP/IP,
and then the protocol has already been enabled. Skip to
step 9.
4. If TCP/IP does not display as an installed component, click
Add… The Select Network Component Type dialog box
displays.
5. Select Protocol, and then click Add… The Select
Network Protocol dialog box displays.
6. Click on Microsoft in the Manufacturers list box, and
then click TCP/IP in the Network Protocols list box.
7. Click OK to return to the Network dialog box, and then
click OK again. You may be prompted to install files from
your Windows 95/98 installation CD. Follow the
instructions to install the files.
8. Click OK to restart the PC and complete the TCP/IP
installation.
Next, configure the PCs to accept IP information assigned
by the NB4 ADSL Modem Router:
9. Follow steps 1 – 3 above.
10. Select the network component labeled TCP/IP, and then
click Properties. If you have multiple TCP/IP listings,
select the listing associated with your network card or
adapter.
11. In the TCP/IP Properties dialog box, click the IP
Address tab.
12. Click the radio button labeled Obtain an IP address
automatically.
13. Click OK twice to confirm and save your changes. You
will be prompted to restart Windows.
14. Click Ye s .
Mac OS 9.x
1. Click on the Apple in the toolbar, select Control Panels,
and then click on TCP/IP.
2. Choose Connect: via Ethernet and Configure: Using
DHCP Server.
3. Close the TCP/IP configuration box and save the changes.
Mac OS X
1. On the Dock, click on System Preferences.
2. Click on Network.
3. Confirm that Built in Ethernet is selected. From the TCP/
IP tab select Configure: Using DHCP. Click on Apply
Now to save any changes and exit from the System
Preferences.
Note: For Windows NT 4 Configuration
instructions please refer to the NB4
User Guide located on the CD-ROM.
Step 3 - Computer Hardware Configuration
Step 3 of the Quick Start provides instructions for configuring
the Internet settings on your computer to work with the NB4.
These steps are only required if you are having trouble
accessing/configuring your NB4.
Windows® XP PCs
1. In the Windows task bar, click the Start button, and then
click Control Panel.
2. Click on Network & Internet Connections icon.
(Category mode only).
3. Click the Network Connections icon.
4. In the LAN or High-Speed Internet window, right-click on
the icon corresponding to your network interface card
(NIC) and select Properties. (Often, this icon is labeled
Local Area Connection).
5. The Local Area Connection dialog box displays with a list
of currently installed network items. Ensure that the check
box to the left of the item labeled Internet Protocol (TCP/
IP) is checked. Select Internet Protocol TCP/IP and click
on Properties.
6. In the Internet Protocol (TCP/IP) Properties dialog box,
click the radio button labeled Obtain an IP address
automatically. Also click the radio button labeled Obtain
DNS server address automatically.
7. Click OK twice to confirm your changes, and close the
Control Panel.
Windows 2000 PCs
First, check for the IP protocol and, if necessary, install it:
1. In the Windows task bar, click the Start button, point to
Settings, and then click Control Panel.
2. Double-click the Network and Dial-up Connections icon.
3. In the Network and Dial-up Connections window, right-
click the Local Area Connection icon, and then select
Properties.
4. The Local Area Connection Properties dialog box
displays with a list of currently installed network
components. If the list includes Internet Protocol (TCP/
IP), then the protocol has already been enabled.
Skip to step 11.
For detailed information regarding the
advanced features of this product,
please refer to the configuring sections
in the NB4 User Guide on the supplied
CD-ROM.
Other manuals for NB4

3

Other NetComm Network Router manuals

NetComm Liberty Series 3G18Wn User manual

NetComm

NetComm Liberty Series 3G18Wn User manual

NetComm 3G29Wn User manual

NetComm

NetComm 3G29Wn User manual

NetComm NB750 User manual

NetComm

NetComm NB750 User manual

NetComm NB9WMAXX User manual

NetComm

NetComm NB9WMAXX User manual

NetComm CF40MESH User manual

NetComm

NetComm CF40MESH User manual

NetComm NetComm Gateway Series User manual

NetComm

NetComm NetComm Gateway Series User manual

NetComm Liberty 3GM2WN Operational manual

NetComm

NetComm Liberty 3GM2WN Operational manual

NetComm NB5PLUS4 User manual

NetComm

NetComm NB5PLUS4 User manual

NetComm NTC-140W-02 User manual

NetComm

NetComm NTC-140W-02 User manual

NetComm FIBRE NF3ADV User manual

NetComm

NetComm FIBRE NF3ADV User manual

NetComm NB6PLUS4W Administrator Guide

NetComm

NetComm NB6PLUS4W Administrator Guide

NetComm NP5410 User manual

NetComm

NetComm NP5410 User manual

NetComm NTC-140-02 User manual

NetComm

NetComm NTC-140-02 User manual

NetComm NF12 User manual

NetComm

NetComm NF12 User manual

NetComm Liberty 3G17Wn Manual

NetComm

NetComm Liberty 3G17Wn Manual

NetComm NB9WMAXXn User manual

NetComm

NetComm NB9WMAXXn User manual

NetComm NB724 User manual

NetComm

NetComm NB724 User manual

NetComm N3G005W User manual

NetComm

NetComm N3G005W User manual

NetComm NF5 User manual

NetComm

NetComm NF5 User manual

NetComm NB3300 User manual

NetComm

NetComm NB3300 User manual

NetComm NP2240 User manual

NetComm

NetComm NP2240 User manual

NetComm NB6PLUS4WN User manual

NetComm

NetComm NB6PLUS4WN User manual

NetComm NF13ACV User manual

NetComm

NetComm NF13ACV User manual

NetComm NTC-220 Quick start guide

NetComm

NetComm NTC-220 Quick start guide

Popular Network Router manuals by other brands

Asus Aaeon FWS-2260 manual

Asus

Asus Aaeon FWS-2260 manual

Asus RT-AC56U user guide

Asus

Asus RT-AC56U user guide

Ubiquiti ToughSwitch Pro TS-80-PRO quick start guide

Ubiquiti

Ubiquiti ToughSwitch Pro TS-80-PRO quick start guide

Cyberoam Netgenie Home user guide

Cyberoam

Cyberoam Netgenie Home user guide

Leonton PG5-0501-SFP-24 Series user manual

Leonton

Leonton PG5-0501-SFP-24 Series user manual

NETGEAR RAXE300 user manual

NETGEAR

NETGEAR RAXE300 user manual

eWON 2005CD installation guide

eWON

eWON 2005CD installation guide

Asus RT-AC56S user guide

Asus

Asus RT-AC56S user guide

Billion BiPAC 5100S user manual

Billion

Billion BiPAC 5100S user manual

TRENDnet TW100-BRV304 SHEETS user guide

TRENDnet

TRENDnet TW100-BRV304 SHEETS user guide

Draytek VigorFly 210 user guide

Draytek

Draytek VigorFly 210 user guide

BLiNQ X-1200 installation guide

BLiNQ

BLiNQ X-1200 installation guide

LuxCam Connect user manual

LuxCam

LuxCam Connect user manual

Draytek Vigor 2763 Series quick start guide

Draytek

Draytek Vigor 2763 Series quick start guide

LevelOne FSW-2441TX user guide

LevelOne

LevelOne FSW-2441TX user guide

Zhone 6412 6412-A1-xxx specification

Zhone

Zhone 6412 6412-A1-xxx specification

Three ZTE MC801A user guide

Three

Three ZTE MC801A user guide

Linksys WET610N - Wireless-N EN Bridge user guide

Linksys

Linksys WET610N - Wireless-N EN Bridge user guide

manuals.online logo
manuals.online logoBrands
  • About & Mission
  • Contact us
  • Privacy Policy
  • Terms and Conditions

Copyright 2025 Manuals.Online. All Rights Reserved.