Prepare for installation
A Carefully read safety notices on page 6.
B Ensure ahead of time that you have a suitable
rack; see Rack and enclosure specifications on
page 6.
C Ensure that you have a Phillips screwdriver.
D Have someone assist you during installation.
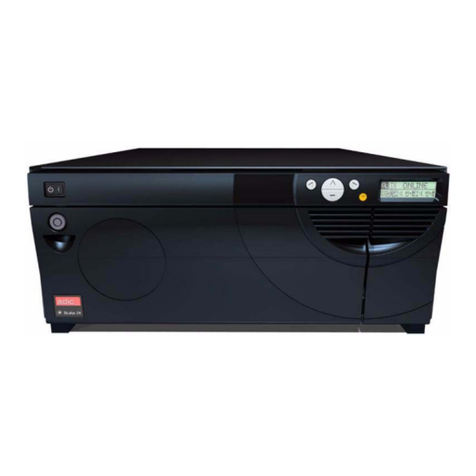
Unpack the EZ-NAS
A Remove all the components from the packaging.
Reach under the chassis to pull it free from the
foam insert.
Do NOT lift the EZ-NAS chassis from its
packaging using the controller handles or
attached rails.
B Place the components on an anti-static surface
until you are ready to use them.
EZ-NAS package contents
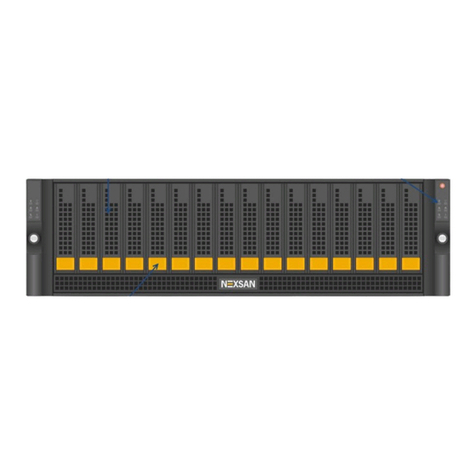
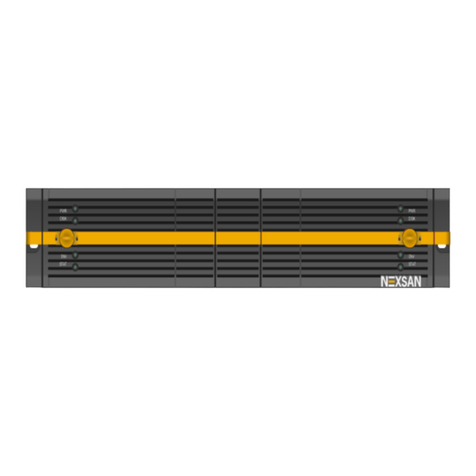
⚫One storage system (with front bezel)
⚫2 outer-rack rail assemblies (inner-chassis rails
are already installed)
⚫4 mounting screws with 4 washers to attach
outer-rack rails to the rack (1 on the front and 1
on the back for both the left and right rail
assemblies)
⚫2 long screws to secure the chassis to the rack
from the front (attached to the chassis)
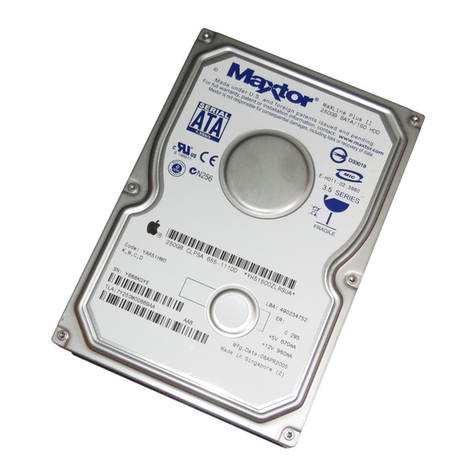
⚫Four HDD drives (pre-installed)
⚫Power cord
⚫Electrostatic discharge (ESD) wrist strap
Rack the EZ-NAS
CAUTION: Physical installation requires
two people.
Step 1: Install the outer-rack rails on the
rack
A Attach the RIGHT and LEFT outer-rack rails to the
rack by inserting the hooks included on the rails
into the holes provided on the rack.
The hooks should be located in the BOTTOM
holes of the rack units selected.
B Extend rail assemblies to fit the depth of the rack.
Pull on the rear of the assembly until the hooks
reach the back of the rack.
C Screw the rails to the rack using the mounting
screws provided.
The screws should be secured in the BOTTOM
hole of each of the rails.
Step2: Installthe inner chassisrailsonthe
chassis (if necessary)
A Extend the inner rail toward the front of the rail
assembly as far as possible, then depress the
locking tab to pull it completely out.
B Place the inner rail on the side of the chassis
aligning the hooks of the chassis with the rail
extension holes.
C Slide the extension toward the front of the chassis.
D If desired, secure the chassis with screws.
E Repeat steps A-D for the other inner rail.
Step 3: Install the EZ-NAS on the rack
A Lift the EZ-NAS chassis from each side—not from
the front and back.


