manuals.online logo
Brands
  1. Home
  2. •
  3. Brands
  4. •
  5. Next
  6. •
  7. Indoor Furnishing
  8. •
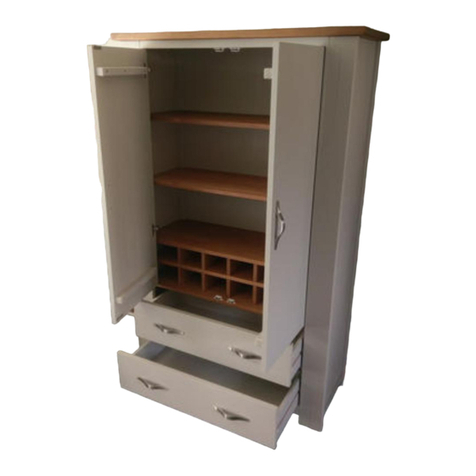
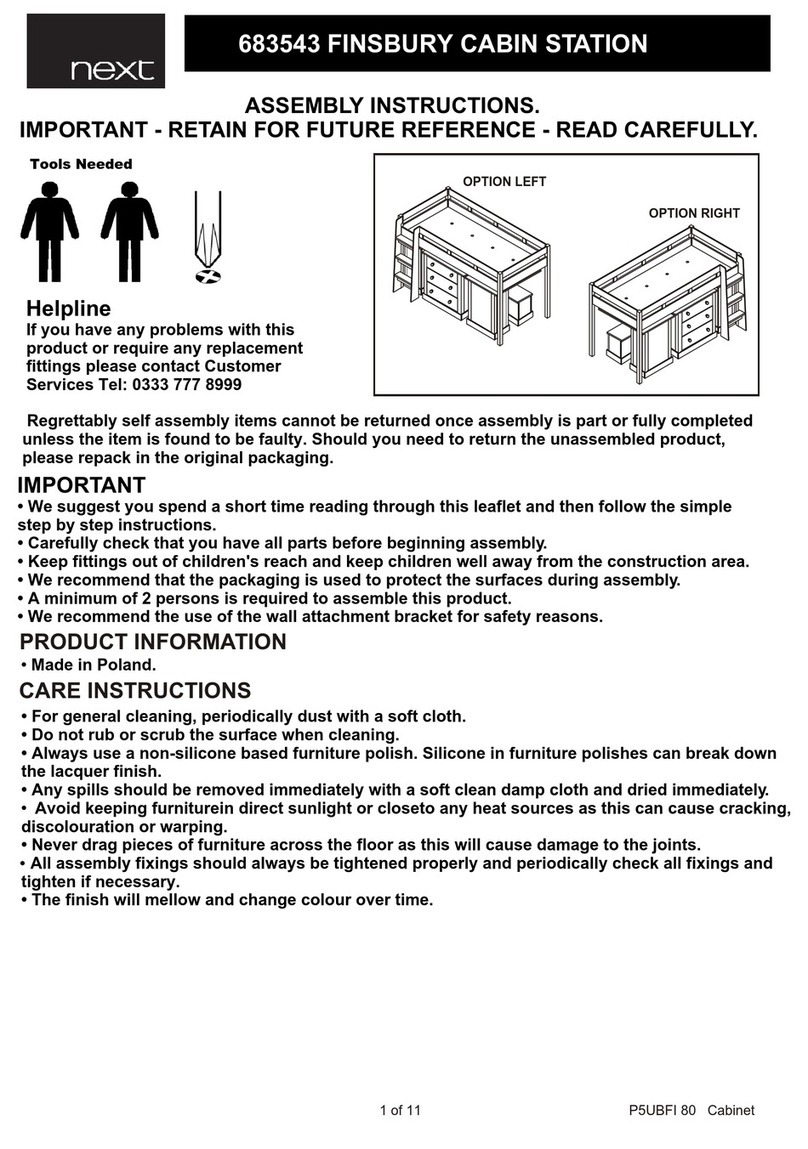
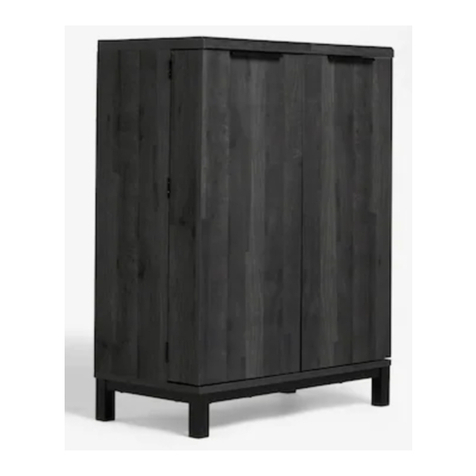
  9. Next ARGYLL 873166 User manual

Next ARGYLL 873166 User manual

Tools Needed
Helpline
If you have any problems with this product or require
any replacement fittings plase contact Customer
Services Tel: 0844 844 8999
• Do not put hot dishes directly on the surfaces of the item.
• Avoid keeping furniture in direct sunlight or close to any heat sources as this can cause cracking, discolouration
or warping.
• Never drag pieces of furniture across the floor as this will cause damage to the joints.
ASSEMBLY INSTRUCTIONS
Regrettably self assembly items cannot be returned once assembly is part or fully completed unless theitem is
found to be faulty. Should you need to return the unassembled product, please repack in the original packaging.
IMPORTANT
IMPORTANT - RETAIN FOR FUTURE REFERENCE - READ CAREFULLY
• Made in China.
• Natural features ensure that each piece is individual. Every effort is made to ensure colour continuity between
pieces, however this is a natural product, slight colour variations and natural grain markings may occur.
• Made from pine & plywood with a lacquer finish.
• Do not rub or scrub the surface when cleaning.
• Any spills should be removed immediately with a soft clean damp cloth and dried immediately.
CARE INSTRUCTIONS
• Do not use furniture polish.
• For general cleaning, periodically dust with a soft cloth.
• All assembly fixings should always be tightened properly and periodically check all fixings and tighten if
necessary.
• Ensure the product is protected with mats and coasters when items are placed on the surfaces, to prevent
scratching or damage.
• We suggest you spend a short time reading through this leaflet and then follow the simple step-by-step instruction
s
PRODUCT INFORMATION
• We recommend that the packaging is used to protect the surfaces during assembly.
• A minimum of 2 persons is required to assemble this product.
• Carefully check that you have all parts before beginning assembly.
• Keep fittings out of children's reach and keep children well away from the construction area.
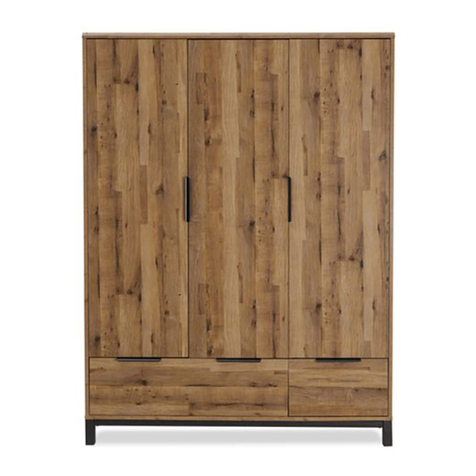
873166 ARGYLL WARDROBE
3DJHRI
3DJHRI
FITTINGS
PARTS


&[ )[
7[
PP
3DJHRI
STEP 1
1.Attach 2 x magnetic door stoppers (M) to
top 1 and using 4 x screws (F).
1.Insert 3 x cambolts (A) and 2 x dowels (C)
into side panel of the inner box 11.
1.Insert 5 x cambolts (A) and 6 x dowels (C)
into side panel 2.
2.Attach 3 x hinges (L) to side panel 2
using 12 x screws (F).
3.Attach 1 x hanging rail support (H) to
side panel 2 and using 1 x screw (T).
STEP 2
STEP 3
3DJHRI
STEP 4
1.Attach 11 x cambolts (A) and 10 X wood
dowel (C) into side panel (3).
1.Insert 3 x cambolts (A) and 2 x dowels (C)
into bottom panel 5.
2.Attach 3 x hinges (L) to side panel 3 using
12 X screws (F).
3.Attach 1 x hang rail support (H) to side panel
3 using 1 x screw (T).
STEP 5
2.Attach 2 x magnetic stoppers (M) to bottom
(5) using 4 x screws (F)
STEP 6
1.Insert 3 x cambolts (A) and 2 x dowels (C)
into panel 13.
3DJHRI
STEP 7
1.Attach 2 x metal plate (N) to door 6 using
4 x screws (F).
2.Attach 3 x hinges (K) to door 6 using
6 X screws (F).
3.Insert 4 x cambolts (E) and 2 x wood dowels
(C) into door 6 .
STEP 8
2.Attach 3 x hinges (K) to door 7 using
6 X screws (F).
1.Attach 2 x metal plate (N) to door 7 using
4 x screws (F).
3DJHRI
STEP 9
1.Attach side panel (2) to bottom panel 5 and
insert 3 x camlocks (B) into bottom panel 5
with screwdriver.
STEP 10
1.Insert 3 x confirmat screws (I) into bottom
panel and tighten it with 1 x allen key (L).
3DJHRI
STEP 11
1.Attach panel 13 and panel 12 to panel 11
and insert 6 x camlocks (B) into panel 11 and
12 and tighten it with screwdriver.
STEP 12
1.Attach the assembled unit to bottom
panel 5 and insert 3 x camlocks (B) into panel
11 with screwdriver.
STEP 13
1.Attach 2 x back rail (10) to side panel (2)
3DJHRI
STEP 14
1.Attach side panel 3 to assembled unit then
insert 3 x camlocks (B) into bottom panel 5,
3 x camlocks (B) into panel (12),3 x camlocks
(B) into panel (13) and 4 x camlocks (B) into 2
x back rail with screwdriver.
STEP 15
1.Insert the shelf (4) to the assembled unit
from back then insert 6 x screws (D) from
bottom of the shelf and tighten it with
screwdriver.
3
12
13
2.Insert 3 x confirmat screws (I) into bottom
panel 5 and tightem it with allen key.
3DJHRI
STEP 16
1.Insert 6 x confirmat screws (I) into
assembled unit and tighten it with allen key.
STEP 17
1.Attach the door 7 to side panel 3 and
tighten screws on hinges with a scwerdriver.
1.Attach 1 x handle (O) to door (7) using a
screw (P)

,
3DJHRI
STEP 18
STEP 19
1.Insert 2 x hang rail (Q) into small block (8)
and (9).
O
1.Attach the door 6 to side panel 2 and
tighten screws on hinges with a scwerdriver.
1.Attach 1 x handle (O) to door (6) using a
screw (P)
2
3DJHRI
STEP 20
1.Attach the assembled unit to door 6 and
insert 4 x camclocks (B) into 8 and 9 and
tighten it with screwdriver.
STEP 21
1.Put 1 x hang rail (R) into hang rail
support (H).
9
8
H
8
3DJHRI
STEP 22
1.Attach 3 x back panel 14 to assembled unit
and using 54 x scwers (G).
STEP 23
1.Attach the wall tie (S) to the top using 1 X
screw (G) and 1 x washer (T).
*
6
3DJHRI
STEP 24
1. Secure the other end of the strap to the wall with an
appropriate screw and wall plug for your wall type.To
hide the strap behind the unit, drill the holes lower than
the top unit.
Warning: Always ensure the area to be drilled is free from
hidden electrical wires, water and gas pipes.
NB: Wall fixings are not included-please source suitable
fixings for your wall type.If in doubt please consult a
qualified trades person.
TOP
SCREW
STRAP
WALL

Other Next Indoor Furnishing manuals

Next ANDERSON 814767 User manual

Next

Next ANDERSON 814767 User manual

Next 271398 User manual

Next

Next 271398 User manual

Next BRONX M90422 User manual

Next

Next BRONX M90422 User manual

Next LOGAN DOVE COFFEE TABLE User manual

Next

Next LOGAN DOVE COFFEE TABLE User manual

Next CARTER CHAIR User manual

Next

Next CARTER CHAIR User manual

Next 405854 User manual

Next

Next 405854 User manual

Next LOGAN 138749 User manual

Next

Next LOGAN 138749 User manual

Next 769392 User manual

Next

Next 769392 User manual

Next PARIS STORAGE BED SINGLE User manual

Next

Next PARIS STORAGE BED SINGLE User manual

Next 2 Lincoln Bside 885399 User manual

Next

Next 2 Lincoln Bside 885399 User manual

Next Logan 127380 User manual

Next

Next Logan 127380 User manual

Next D65922 User manual

Next

Next D65922 User manual

Next HOVE 652223 User manual

Next

Next HOVE 652223 User manual

Next NOAH BEDSIDE 343110 User manual

Next

Next NOAH BEDSIDE 343110 User manual

Next MALVERN CREAM 719236 User manual

Next

Next MALVERN CREAM 719236 User manual

Next 292074 User manual

Next

Next 292074 User manual

Next MALVERN C63091 User manual

Next

Next MALVERN C63091 User manual

Next MALVERN U01041 User manual

Next

Next MALVERN U01041 User manual

Next LOGAN 610293 User manual

Next

Next LOGAN 610293 User manual

Next TAYLOR STORAGE DESK User manual

Next

Next TAYLOR STORAGE DESK User manual

Next BROOKSHIRE 350358 User manual

Next

Next BROOKSHIRE 350358 User manual

Next 968693 User manual

Next

Next 968693 User manual

Next SELBY 844040 User manual

Next

Next SELBY 844040 User manual
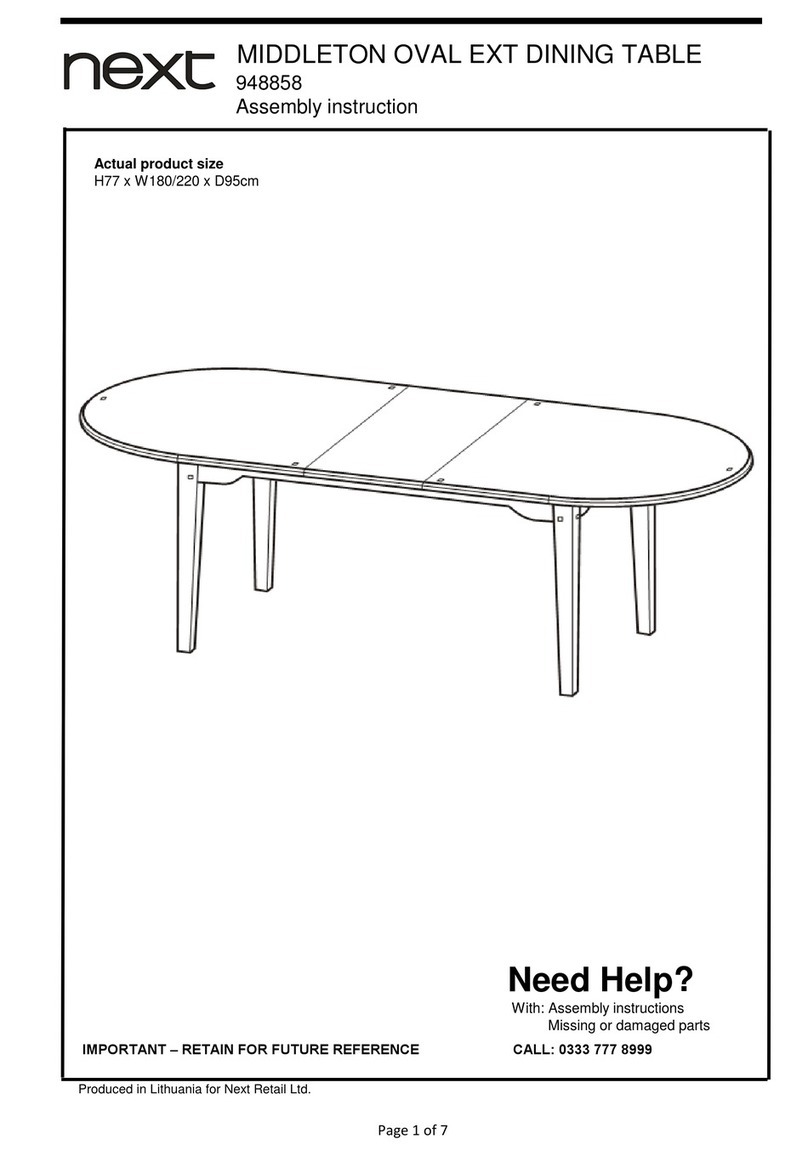
Next 682746 User manual

Next

Next 682746 User manual

Popular Indoor Furnishing manuals by other brands

Media Crayon manual

Media

Media Crayon manual

Mocka Eve Assembly instructions

Mocka

Mocka Eve Assembly instructions

Costway HW67414 user manual

Costway

Costway HW67414 user manual

Monarch Specialties I 3250 Assembly instructions

Monarch Specialties

Monarch Specialties I 3250 Assembly instructions

Space 5540 DELUXE AIR GRID operating instructions

Space

Space 5540 DELUXE AIR GRID operating instructions

CABINETS TO GO Findley & Myers OC3384 Assembly instructions

CABINETS TO GO

CABINETS TO GO Findley & Myers OC3384 Assembly instructions

Krugg Bijou Installation & user guide

Krugg

Krugg Bijou Installation & user guide

BUT BYBO FD2/018 Assembly instructions

BUT

BUT BYBO FD2/018 Assembly instructions

Meubilair Montauk Kitchen Island 1 Drawer 1 Door manual

Meubilair

Meubilair Montauk Kitchen Island 1 Drawer 1 Door manual

Sunnydaze Decor JULIAN GF-284 Assembly instructions

Sunnydaze Decor

Sunnydaze Decor JULIAN GF-284 Assembly instructions

National Barrington Assembly instructions

National

National Barrington Assembly instructions

ClassiCon PLI TABLE instructions

ClassiCon

ClassiCon PLI TABLE instructions

cinetto PS48.1 Assembly instructions

cinetto

cinetto PS48.1 Assembly instructions

Furniture of America CM3337T Assembly instructions

Furniture of America

Furniture of America CM3337T Assembly instructions

East West Furniture DRP Assembly instruction

East West Furniture

East West Furniture DRP Assembly instruction

Safavieh Furniture SEA8027A-Q Assembly instructions

Safavieh Furniture

Safavieh Furniture SEA8027A-Q Assembly instructions

HABYS Upright Chiro Z7 user manual

HABYS

HABYS Upright Chiro Z7 user manual

Mocka Eva A-Frame Assembly instructions

Mocka

Mocka Eva A-Frame Assembly instructions

manuals.online logo
manuals.online logoBrands
  • About & Mission
  • Contact us
  • Privacy Policy
  • Terms and Conditions

Copyright 2025 Manuals.Online. All Rights Reserved.