manuals.online logo
Brands
  1. Home
  2. •
  3. Brands
  4. •
  5. Next
  6. •
  7. Indoor Furnishing
  8. •
  9. Next MILANO 817797 User manual

Next MILANO 817797 User manual

Tools Needed
Helpline
If you have any problems with this product or require
any replacement fittings please contact Customer
Services Tel: 0333 777 8999
ASSEMBLY INSTRUCTIONS
Regrettably self assembly items cannot be returned once assembly is part or fully completed unless the item is found to
be faulty. Should you need to return the unassembled product, please repack in the original packaging.
IMPORTANT
• Carefully check that you have all parts before beginning assembly.
• We suggest you spend a short time reading through this leaflet and then follow the simple step-by-step instructions.
IMPORTANT - RETAIN FOR FUTURE REFERENCE - READ CAREFULLY
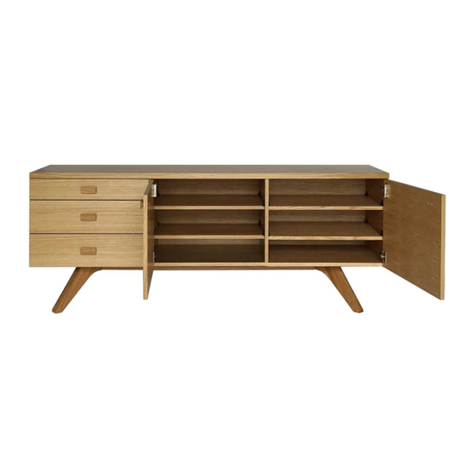
MILANO WHITE GLOSS
LARGE SIDEBOARD
• Wall fixings are not included.
• Do not use furniture polish.
• All assembly fixings should always be tightened properly and periodically check all fixings and tighten if necessary.
• Do not put hot dishes directly on the surfaces of the item.
• Any spills should be removed immediately with a soft clean damp cloth and dried immediately.
• Never drag pieces of furniture across the floor as this will cause damage to the joints.
• Ensure the product is protected with mats and coasters when items are placed on the surfaces, to prevent scratching
or damage.
• Avoid keeping furniture in direct sunlight or close to any heat sources as this can cause cracking, discolouration or
warping.
• Carefully check that you have all parts before beginning assembly.
• Keep fittings out of children's reach and keep children well away from the construction area.
•Gloss finishes are prone to light surface scratch and it is therefore very imporant
that you care for this item correctly.
• Do not rub or scrub the surface when cleaning.
• We recommend that the packaging is used to protect the surfaces during assembly.
• A minimum of two persons is required to assemble this product.
• For general cleaning, periodically dust with a soft clean lint-free cloth or a soft micro fibre cloth. Please note soft cloths
(including yellow dusters) contain abrasive fibres which can lightly scratch the surface, if in doubt please try your cloth
in an inconspicuous area of the furniture first to assess its suitability. A sample of a suitable cloth for cleaning is
included within the hardware pack
• Made from PB,MDF,hollow board & Honeycomb board with a pvc foil & a wood effect finish.
• We recommend the use of the wall attachment bracket/strap provided for safety reasons.
• Made in China.
PRODUCT INFORMATION
CARE INSTRUCTIONS
FITTINGS
H
X
16
G
X
4
DX
3
2
CX
3
BX
12
AX
28
EX
3
2
FX
24
Page 1 of 9
PARTS
H
X
16
IX1 JX12
G
X
4
KX4 LX8
(4*38mm)
DX
3
2
CX
3
BX
12
AX
28
EX
3
2
FX
24
(8*30mm) (6*30mm)
MX16 NX2
Please note: Remove the protective film after assembly of this product unless it is stated in
the steps to do so - this will prevent accidental scratches during assembly
1.Attach panels 21 , 22 & 23 (x2) to panel 19 with
8 x screws (F) and tighten with a screwdriver.
X 2
1.Slide panel 20 into the assembled drawer frame.
STEP TWO
STEP ONE
21
22
23
23
1.Slide panel 20 into the assembled drawer frame.
Page 2 of 9
Please note: There is a choice of Walnut effect or white
gloss for the panel 20. The colour you prefer needs to
face up upwards
2. Repeat STEP ONE to STEP TWO for the
other drawer.
1.Insert 4 x cambolts (E) into panel 17 and
tighten with a screwdriver.
2. Glue and insert 4 x small wooden dowels (B)
into panels 21 ,22 & 23 (x2).
3. Attach panel 17 to the assembled drawer frame.
4. Insert 4 x camlocks (D) into panels 21 ,22 & 23 (x2).
Ensure the arrow indicators are pointing
towards the panel edges before tightening
with a screwdriver.
STEP THREE
B
20
1.Insert 4 x cambolts (E) into panel 18 and
tighten with a screwdriver.
2. Glue and insert 4 x small wooden dowels (B)
into panels 21 ,22 & 23 (x2).
3. Attach panel 18 to the assembled drawer frame.
4. Insert 4 x camlocks (D) into panels 21 ,22 & 23 (x2).
and tighten with a screwdriver.
1.Attach panels 24 , 25 & 23 (x2) to panel 26 with
STEP FIVE
STEP FOUR
1.Attach panels 24 , 25 & 23 (x2) to panel 26 with
8 x screws (F) and tighten with a screwdriver.
Page 3 of 9
1.Insert 4 x cambolts (E) into panel 16 and
tighten with a screwdriver.
2.Slide panel 20 into the assembled drawer frame.
STEP SIX
1. Glue and insert 4 x small wooden dowels (B)
into panels 24 ,25 & 23 (x2).
2. Attach panel 16 to the assembled drawer frame.
3. Insert 4 x camlocks (D) into panels 24 ,25 & 23 (x2).
and tighten with a screwdriver.
1.Insert 14 x cambolts (E) into panels 2 ,3 ,4 and
tighten with a screwdriver.
STEP EIGHT
STEP SEVEN
Page 4 of 9
1.Attach panel 2 to panels 6 & 7 with 6 x screws (J)
using an Allen key (I) to tighten.
STEP NINE
1. Glue and insert 8 x big wooden dowels (B)
into panels 9 (x2).
Please note: There is a choice of Walnut effect or white
gloss for the panels 9(x2). The colour you prefer needs
to face up upwards & outwards.
2. Attach panels 9 (x2) to panels 6 & 7 .
1. Glue and insert 4 x big wooden dowels (A) into
panels 10 (x2).
2. Attach panels 3 & 4 to panels 10 (x2) .
Note :Pls note the gloss pvc foil must be faced
outside when assembling.
STEP TEN
STEP ELEVEN
outside when assembling.
3. Insert 4 x camlocks (D) into panels 10 (x2) and
tighten with a screwdriver.
D
Page 5 of 9
1. Glue and insert 10 x big wooden dowels (A) into
panel 2.
2. Attach the assembled frame to panel 2.
3. Insert 10 x camlocks (D) into panels 3 , 4 & 10 (x2)
and tighten with a screwdriver.
4. Please remove the protective film from the
outside surface of panels 3,4 & 10 (x2).
STEP TWELVE
D
1. Carefully turn up the assembled unit as shown.
2.Slide panels 12 (x2) into the back panel groove.
3.Slide panels 13 (x2) into the back panel groove.
4.Slide "H" shape plastic bar 14 between
panels 13 (x2).
1.Insert 8 x cambolts (E) into panel 1 and tighten
with a screwdriver.
STEP FOURTEEN
STEP THIRTEEN
Unfinished side
Page 6 of 9
1. Glue and insert 8 x big wooden dowels (A) into
panels 5,6,7 & 8.
2. Attach panel 1 to the assembled unit.
3. Insert 8 x camlocks (D) into panels 5,6,7 & 8
and tighten with a screwdriver.
STEP FIFTEEN
D
1.Insert 16 x fittings (M) into the required position
of panels 5 ,6 ,7 & 8.
2.Insert panels 11 (x4) onto the fittings (M) .
Please note: There is a choice of Walnut effect or white
gloss for the panels 11(x4). The colour you prefer needs
to face up upwards & outwards.
1.Use 4 x stickers (G) to cover the camlock holes
on panels 5 & 8.
2.Insert the drawer unit to the assembled unit as
shown.
STEP SIXTEEN
STEP SEVENTEEN
Page 7 of 9
1.Secure 4 x fittings (K) to panels 15 (x2) with
8 x screws (L) as shown.
x 2
STEP EIGHTEEN
STEP NINETEEN
1.Insert panels 15 (x2) into the groove of the top
panel 1 as shown. Lift the door panel at an angle
and slot into the groove in panel 1, slide the
underneath towards panel 2 and locate the
rollers into the runner in panel 2.
1.Insert 16 x plastic fasteners (H) into the back panel
grooves and tighten with screws provided.
STEP TWENTY
STEP NINETEEN
Page 8 of 9
1.Using screw and washer secure the
2 x nylon straps (N) to the back of top panel.
2.Secure the other end of the strap to the wall
with an appropriate screw and wall plug
for your wall type (not provided).
To hide the strap behind the unit ,drill the hole
lower than the top of unit.
Warning:
Always ensure intended wall area to be
drilled is free from hidden electrical wires,
water and gas pipes.
NB:Wall fixings are not included-Please source
suitable fixing for your wall type. If in doubt
please consult a qualified trades person.
STEP TWENTY ONE
Next Retail Ltd, Desford Road, Leicester, LE19 4AT
Page 9 of 9

Other Next Indoor Furnishing manuals

Next 812846 User manual

Next

Next 812846 User manual

Next DARCY 126284 User manual

Next

Next DARCY 126284 User manual

Next Harper 573903 User manual

Next

Next Harper 573903 User manual

Next WESTCOTT BED User manual

Next

Next WESTCOTT BED User manual

Next 418025 User manual

Next

Next 418025 User manual

Next 415954 User manual

Next

Next 415954 User manual

Next 393722 User manual

Next

Next 393722 User manual

Next 151329 User manual

Next

Next 151329 User manual

Next 938365 User manual

Next

Next 938365 User manual

Next MALVERN T10400 User manual

Next

Next MALVERN T10400 User manual

Next 674071 User manual

Next

Next 674071 User manual

Next MALVERN T10231 User manual

Next

Next MALVERN T10231 User manual

Next 748559 User manual

Next

Next 748559 User manual

Next HEARTS AND STARS 680852 User manual

Next

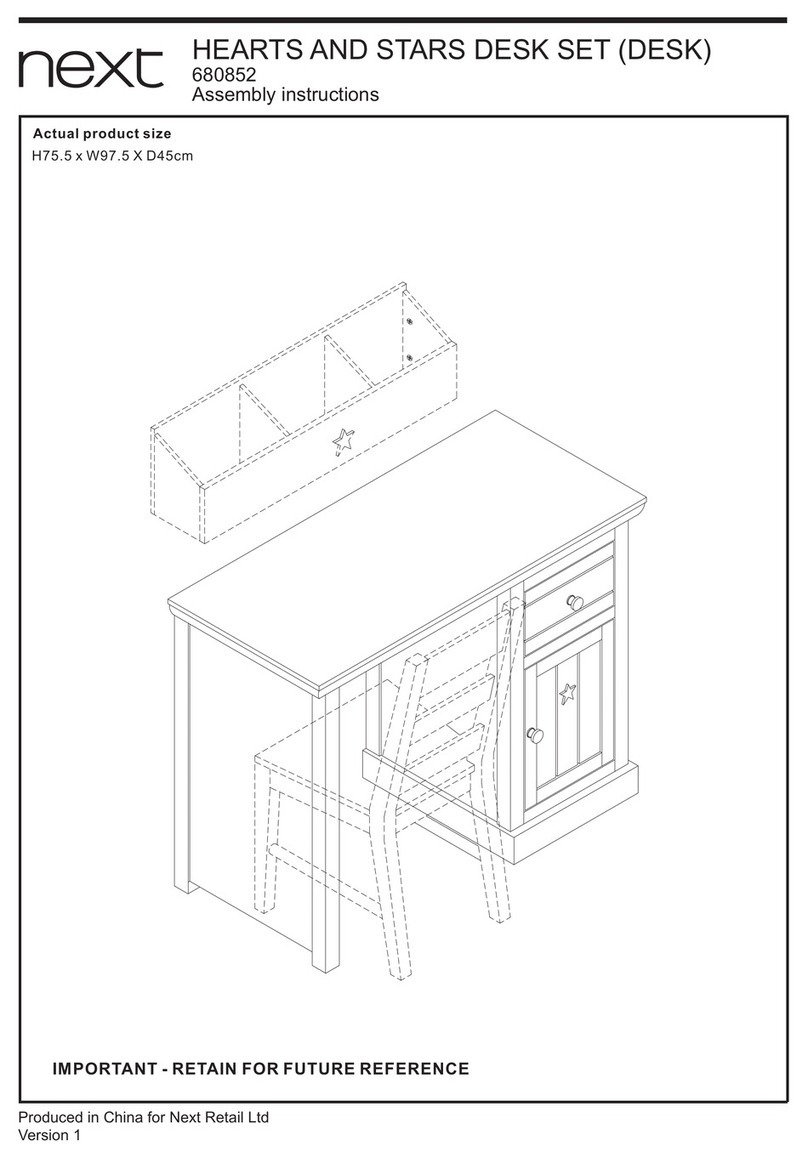
Next HEARTS AND STARS 680852 User manual

Next 666158 User manual

Next

Next 666158 User manual

Next LOUIS SHELVING 917174 User manual

Next

Next LOUIS SHELVING 917174 User manual

Next CORSICA ROOM DIVIDER User manual

Next

Next CORSICA ROOM DIVIDER User manual

Next THORNLEY 626647 User manual

Next

Next THORNLEY 626647 User manual

Next ALIX C39125 User manual

Next

Next ALIX C39125 User manual

Next 905095 User manual

Next

Next 905095 User manual

Next OAKHAM 123421 User manual

Next

Next OAKHAM 123421 User manual

Next HARTFORD 865183 User manual

Next

Next HARTFORD 865183 User manual

Next JULIETTE SILVER BEDSIDE 670532 User manual

Next

Next JULIETTE SILVER BEDSIDE 670532 User manual

Next 852495 User manual

Next

Next 852495 User manual

Popular Indoor Furnishing manuals by other brands

Multay Gavotte GV01 Assembly instruction

Multay

Multay Gavotte GV01 Assembly instruction

NOA & NANI OTTO OT-S-1 Assembly instructions

NOA & NANI

NOA & NANI OTTO OT-S-1 Assembly instructions

Umbra ANYWHERE 1012718 instructions

Umbra

Umbra ANYWHERE 1012718 instructions

Olymp LavaSit VAREO Mounting instructions

Olymp

Olymp LavaSit VAREO Mounting instructions

Lightolier Lighting Systems LP-16 Specification sheet

Lightolier

Lightolier Lighting Systems LP-16 Specification sheet

Cello Capri 502411029 instruction manual

Cello

Cello Capri 502411029 instruction manual

fantastic furniture HAVANA manual

fantastic furniture

fantastic furniture HAVANA manual

Woodard FRANCHESCA WDC-FRA-48D Assembly instructions

Woodard

Woodard FRANCHESCA WDC-FRA-48D Assembly instructions

Spectrum 22499 Assembly instructions

Spectrum

Spectrum 22499 Assembly instructions

WASHTOWER WSTT185-S Assembling Instruction

WASHTOWER

WASHTOWER WSTT185-S Assembling Instruction

Atlantic Furniture Mission Printer Stand With Shelf AH10224 Assembly instructions

Atlantic Furniture

Atlantic Furniture Mission Printer Stand With Shelf AH10224 Assembly instructions

Ergotron Zido Handle user guide

Ergotron

Ergotron Zido Handle user guide

Arblu TULIP COLONNA GIREVOLE Assembly instructions

Arblu

Arblu TULIP COLONNA GIREVOLE Assembly instructions

RSI Systems Furniture EZcube installation guide

RSI Systems Furniture

RSI Systems Furniture EZcube installation guide

Finori Landwood 44 Assembly instructions

Finori

Finori Landwood 44 Assembly instructions

Notável Móveis NT 1320 Assembly instructions

Notável Móveis

Notável Móveis NT 1320 Assembly instructions

Furniture of America FOA7144N Assembly instructions

Furniture of America

Furniture of America FOA7144N Assembly instructions

IKEA SMAFRUSEN manual

IKEA

IKEA SMAFRUSEN manual

manuals.online logo
manuals.online logoBrands
  • About & Mission
  • Contact us
  • Privacy Policy
  • Terms and Conditions

Copyright 2025 Manuals.Online. All Rights Reserved.