manuals.online logo
Brands
  1. Home
  2. •
  3. Brands
  4. •
  5. Nibe
  6. •
  7. Heat Pump
  8. •
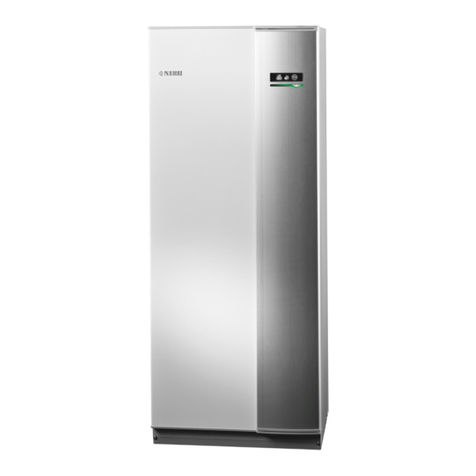
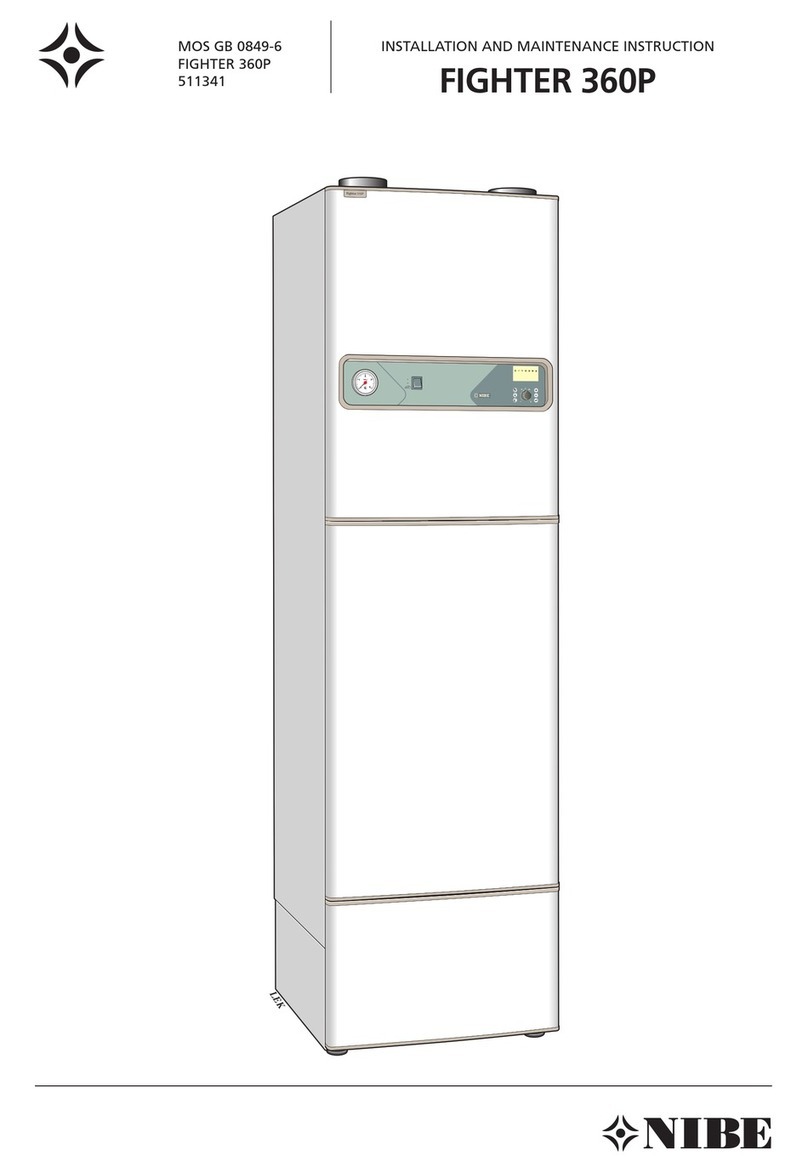
  9. Nibe FIGHTER 1120 Operating and maintenance instructions

Nibe FIGHTER 1120 Operating and maintenance instructions

SAV GB 0533-1 511173
FIGHTER 1120/1220
R
MAINTENANCE INSTRUCTION
FIGHTER 1120/1220
LEK
Fighter 1220
LEK
FIGHTER 1120/1220
Switch
with three positions 1 - 0 - :
1Normal mode. All control functions connected.
0 The boilers is completely switched off.
Standby. Only the circulation pump and possibly
the electrical addition. Not connected at the factory.
The switch must not be turned to “1” or “ ” before
filling the boiler with water.
Display
A BI II III I II
50.0 C
Hotwatertemperature
13.43
1.0
A
Switch
Left
keypad
Heating
curve offset
Display First row:
Compressor symbol
Indicates when the compressor is opera-
tional.
Addition symbol
Indicates when the immersion heater is
connected. The line indicates which power
step/steps are currently connected.
IStep 1 is connected.
II Step 2 is connected.
III Step 3 is connected.*
I II Steps 1+2 are connected.
II III Steps 2+3 are connected.*
I III Steps 1+3 are connected.*
I II III Steps 1+2+3 are connected.*
Hot water symbol.
Tap is shown when the heat pump charges
the hot water.
Ais shown when a temperature increase is
in progress.
Bis shown when a time based temperature
increase is in progress, for example, peri-
odic. Factory setting is
60 °C every 14
days.
Right
keypad
Front Panel
Circulation pump symbol.
IShown when the circulation pump is
operational.
II Shown when circulation pump 2 is ope-
rational (the accessory ESV 20 is
required).
Heating system symbols
Shown when house heating is in progress.
Second row: Value of the current parameter.
Third row: Description of current display para-
meter. “Hot water temp” is normally
shown.
Fourth row: Shows menu numbers, key lock,
clock symbol and time
A key lock can be activated in the main
menus by simultaneously pressing the
plus and the minus buttons. The key sym-
bol will then be shown on the display. The
same procedure is used to deactivate the
key lock.
The symbol becomes visible when a timer
function is selected, for example, periodic
lowering of the supply or time setting for
extra hot water.
Explanation
I II III
A B
I II
A
et
The maintenance instruction describes the most impor-
tant functions in FIGHTER 1120/1220. For more informa-
tion see the Installation and Maintenance Instructions.
* Only for FIGHTER 1120 with the accessory ETS.
General
FIGHTER 1120/1220
Left keypad
Operating mode
This button is used to set the required
operating mode with regard to permitting/
blocking the circulation pump and addi-
tional energy. The change does not need
to be confirmed with the enter button.
The different operating modes are:
Auto mode:
FIGHTER 1120 automatically selects the operating
mode by taking the outdoor temperature into account.
The circulation pump and the immersion heater are
permitted to run as needed.
Summer mode:
Only production of hot water using FIGHTER
1120/1220. The circulation pump and immersion
heater are blocked. However, when “Extra hot water”
is activated the immersion heater is connected.
Spring/Autumn mode:
Production of heating and hot water using FIGHTER
1120/1220. The circulation pump is operational. The
immersion heater is disabled. However, when “Extra
hot water” is activated the immersion heater is con-
nected.
The current operating mode is shown on the display
when the button is pressed and the mode changes
when you continue to press the button. The display
returns to the normal display mode once the enter but-
ton is pressed.
Alarmmode: In alarm mode the operating mode
changes to winter mode and additional heat engages.
The alarm mode blocks hot water charging to draw
attention to the alarm.
Extra hot water **
The “Extra hot water” function is acti-
vated using this button. The change
does not need to be confirmed with the enter button.
A:
Means that the hot water temperature is increased
to 60 °C (adjustable). The temperature then returns to
the normal value.
When Acomes on the function is activated.
When Agoes out the function is deactivated.
Press once to give extra hot water for 3 hours.
Press twice to give extra hot water for 6 hours.
Press three times to give extra hot water for 12 hours.
Press four times to give extra hot water for 24 hours.
Press five times to deactivate the function.
Explanation
** For FIGHTER 1120 is the accessorie ETS
needed.
Heating curve offset
Changing the room temperature manually.
If you want to temporarily or permanently lower or
raise the indoor temperature relative to the previously
set temperature, turn the
“Heating curve offset” knob
anticlockwise or clockwise. One up to three scale mark-
ings correspond to a change of about one degree in the
room temperature.
NOTE! An increase in the room temperature may be
“inhibited” by the radiator or floor heating thermostats,
if so these must be turned up.
A BI II III I II
50.0 C
Hotwatertemperature
13.43
1.0
A
Heating
curve offset
Right keypad
Plus button
This button is used to scroll through the
menu system (forwards) or increase
the value of the selected parameter.
See the section “Control - General”.
Minus button
This button is used to scroll through the
menu system (backwards) or lower
the value of the selected parameter.
See the section “Control - General”.
Enter button
This button is used to select a lower
menu in the menu system, to activate a
parameter change as well as confirm a
parameter change.
OBS!
The product’s serial number
should always be stated in all
correspondence with NIBE.
689
___________
To be able to produce heat when the heat transfer
system is disconnected, or during servicing, the heat
pump can be set to standby mode, in which case hea-
ting is produced only by the immersion heater. Hot
water is not produced in standby mode. The compres-
sor and heat transfer system are then shutoff and only
the heat medium pump and the immersion heater are
active. The temperature is controlled by the thermo-
stat (3). To select standby mode, set the switch (8) to
“ ”.
Electrical step 2 is connected in standby mode and
the display is off.
Standby mode**
8
The background lighting on the display flashes with an
alarm and the following information is shown depend-
ing on the fault. An alarm log is created with each
alarm containing a number of temperatures, times and
the status of outputs. The four latest alarms are saved
on menu 9.5.0 - 9.8.0.
The following alarms block hot water charging to draw
attention to the alarm. The operating mode switches to
winter mode and additional heat engages.
Alarm HP Alarm LP
Alarm MP Alarm BR
Alarm Flow 2 Alarm HW
Brine level
The alarms can only be acknowledged by switching
off the heat pump for a few seconds and then starting
it again. This is done using switch (8).
When the alarm can not be reset using the switch (8),
the operating mode “Add heat only” can be activated
in menu 9.2.4 to give hot water again.
Larm
Additional heat only**
(electric boiler mode)
** For FIGHTER 1120 is the accessorie ETS
needed.
■The starting point is menu 1.0.
■Press the plus button to move to menu 8.0.
■Press the enter button to move to menu 8.1.0
■Press the enter button to move to menu 8.1.1
■Press the enter button to allow the value to be changed.
■Change the value to “Service” with the plus button.
■Confirm the chosen value by pressing the enter button.
■Press the minus button to move to meny 8.1.5.
■Press the enter button to move to meny 8.1.0.
■Press the minus button to move to meny 8.4.
■Press the enter button to move to meny 8.0.
■Press the plus button to move to meny 9.0.
■Press the enter button to move to meny 9.1.0.
■Press the plus button to move to meny 9.2.0.
■Press the enter button to move to meny 9.2.1.
■Press the plus button to move to meny 9.2.4.
■Press the enter button to allow the value to be changed.
■Change the value to “On” with the plus button.
■Confirm the chosen value by pressing the enter button.
■Press the Operatingmode button.
■Press the enter button to move to meny 1.0.
The heat pump now produces heat and hot water with the
built-in immersion heater.
FIGHTER 1120/1220
NIBE AB
SWEDEN
R
Tel: +46 - (0)433 - 73 000
Fax: +46 - (0)433 - 73 190
E-mail: [email protected]
www.nibe.com
Box 14
Järnvägsgatan 40
SE-285 21 MARKARYD

Other manuals for FIGHTER 1120

2

This manual suits for next models

1

Other Nibe Heat Pump manuals

Nibe F470 User guide

Nibe

Nibe F470 User guide

Nibe F750f750 User manual

Nibe

Nibe F750f750 User manual

Nibe 1127-2 User guide

Nibe

Nibe 1127-2 User guide

Nibe VST 11 User manual

Nibe

Nibe VST 11 User manual

Nibe S735 User manual

Nibe

Nibe S735 User manual

Nibe F1355 Series User guide

Nibe

Nibe F1355 Series User guide

Nibe FIGHTER 1240 User manual

Nibe

Nibe FIGHTER 1240 User manual

Nibe F135 User guide

Nibe

Nibe F135 User guide

Nibe F370 User manual

Nibe

Nibe F370 User manual

Nibe F1245 User manual

Nibe

Nibe F1245 User manual

Nibe F1126 User manual

Nibe

Nibe F1126 User manual
Nibe AP-AW10 User manual

Nibe

Nibe AP-AW10 User manual

Nibe F470 User manual

Nibe

Nibe F470 User manual

Nibe S2125 User manual

Nibe

Nibe S2125 User manual

Nibe F1226 series Operating instructions
Nibe

Nibe F1226 series Operating instructions

Nibe NIBE F1X26 Original operating manual

Nibe

Nibe NIBE F1X26 Original operating manual

Nibe F1245 User manual

Nibe

Nibe F1245 User manual

Nibe F2040 Series User manual

Nibe

Nibe F2040 Series User manual

Nibe F470 User manual

Nibe

Nibe F470 User manual

Nibe F2030 User manual

Nibe

Nibe F2030 User manual

Nibe F750 User guide

Nibe

Nibe F750 User guide

Nibe FIGHTER 120 User manual

Nibe

Nibe FIGHTER 120 User manual

Nibe F1145PC User manual

Nibe

Nibe F1145PC User manual

Nibe F370 User manual

Nibe

Nibe F370 User manual

Popular Heat Pump manuals by other brands

HTW VAX HTW-ATS-O-500VAX Owners and installation manual

HTW

HTW VAX HTW-ATS-O-500VAX Owners and installation manual

Trane 13.4 SEER2 J4PH4 Series installation instructions

Trane

Trane 13.4 SEER2 J4PH4 Series installation instructions

Trane VR8GE Series installation instructions

Trane

Trane VR8GE Series installation instructions

Carrier 50TFQ008-012 Product data

Carrier

Carrier 50TFQ008-012 Product data

Daikin RQYQ140-180PY1 Service manual

Daikin

Daikin RQYQ140-180PY1 Service manual

Viessmann Vitocal 200-A Installation and service instructions

Viessmann

Viessmann Vitocal 200-A Installation and service instructions

Gree GRS-CQ16Pd/NaB-K owner's manual

Gree

Gree GRS-CQ16Pd/NaB-K owner's manual

Envision R-410A Residential installation manual

Envision

Envision R-410A Residential installation manual

Amana RHA60B2A Specification sheet

Amana

Amana RHA60B2A Specification sheet

Trane A4HP5 Installation and operation manual

Trane

Trane A4HP5 Installation and operation manual

Ferroli HXW LT Installation and operation manual

Ferroli

Ferroli HXW LT Installation and operation manual

Panasonic S-22MU1E51 Technical data

Panasonic

Panasonic S-22MU1E51 Technical data

Daikin DZ13SC installation instructions

Daikin

Daikin DZ13SC installation instructions

Lailey & Coates LCM-06 Installation & maintenance manual

Lailey & Coates

Lailey & Coates LCM-06 Installation & maintenance manual

Technibel MCE089ZAA operating instructions

Technibel

Technibel MCE089ZAA operating instructions

Carrier 38QRR installation instructions

Carrier

Carrier 38QRR installation instructions

MHG Heating ThermSelect Series Assembly, Commissioning and Maintenance Instructions

MHG Heating

MHG Heating ThermSelect Series Assembly, Commissioning and Maintenance Instructions

AERMEC ANL 100-150HA installation manual

AERMEC

AERMEC ANL 100-150HA installation manual

manuals.online logo
manuals.online logoBrands
  • About & Mission
  • Contact us
  • Privacy Policy
  • Terms and Conditions

Copyright 2025 Manuals.Online. All Rights Reserved.