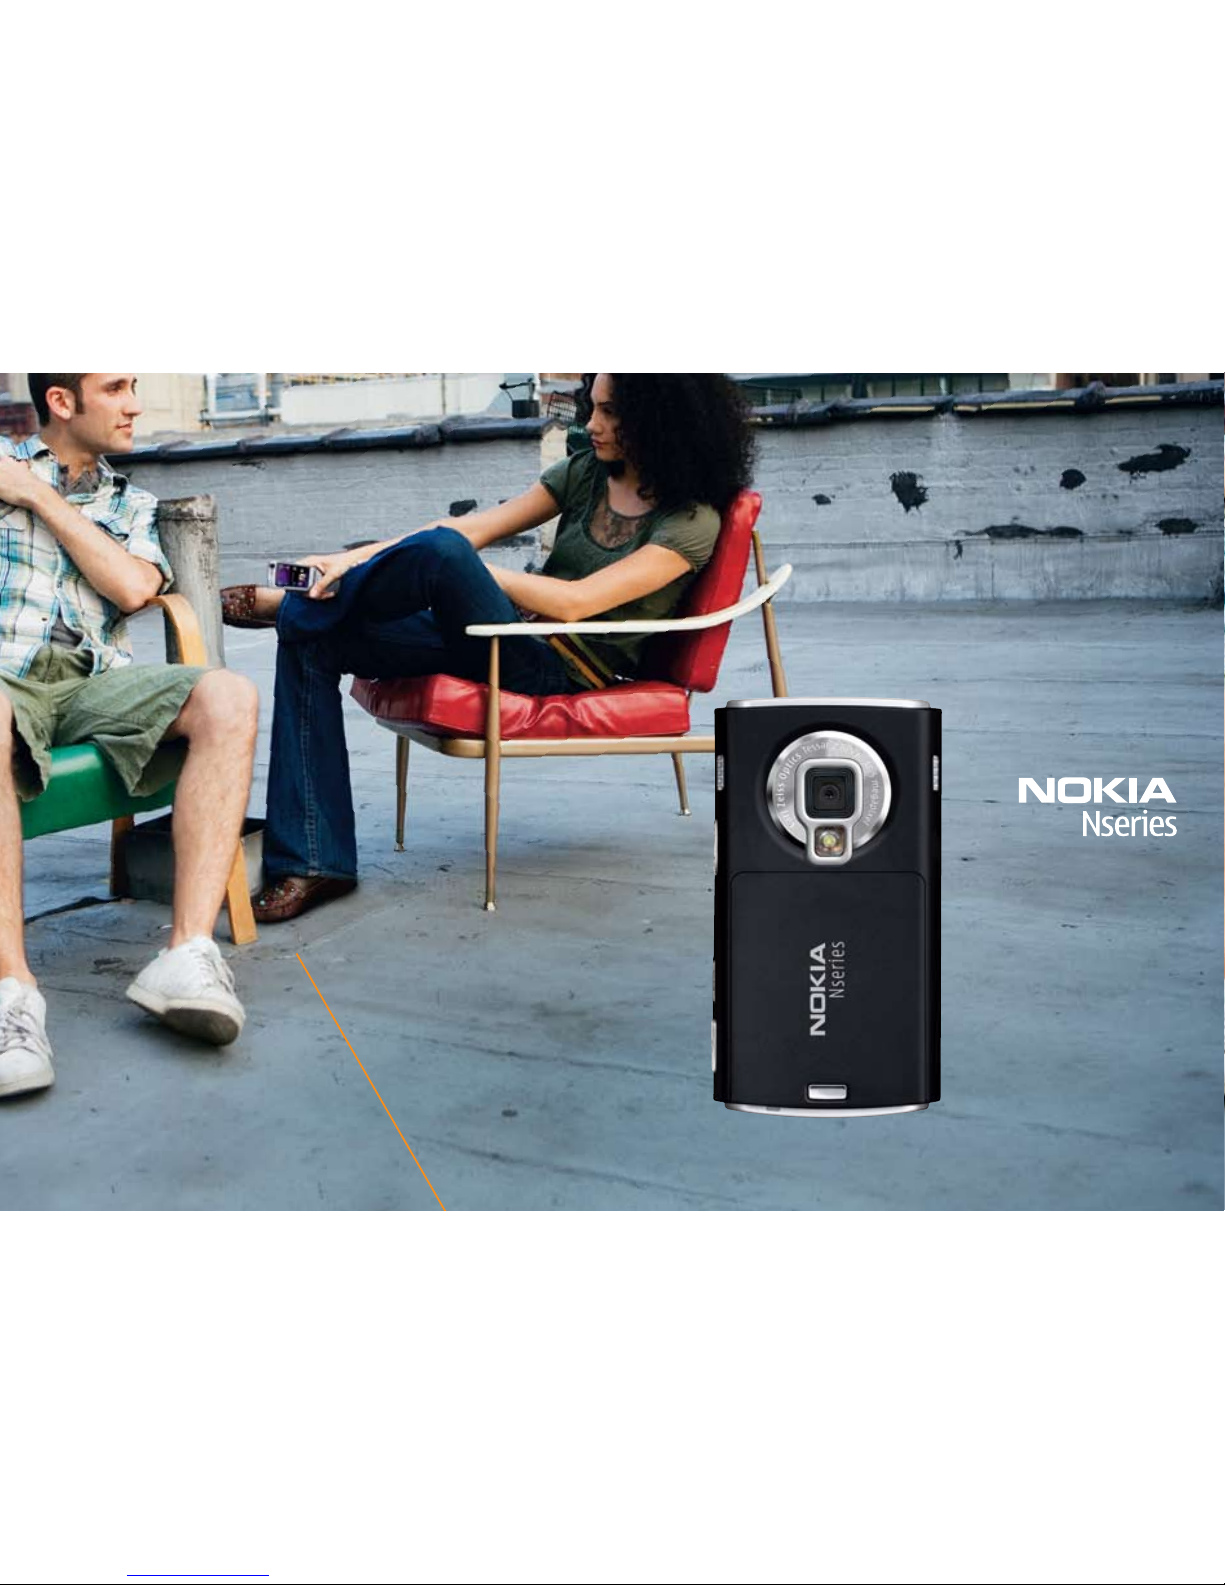
02
p08
Just like a PC
QUICK TIP!
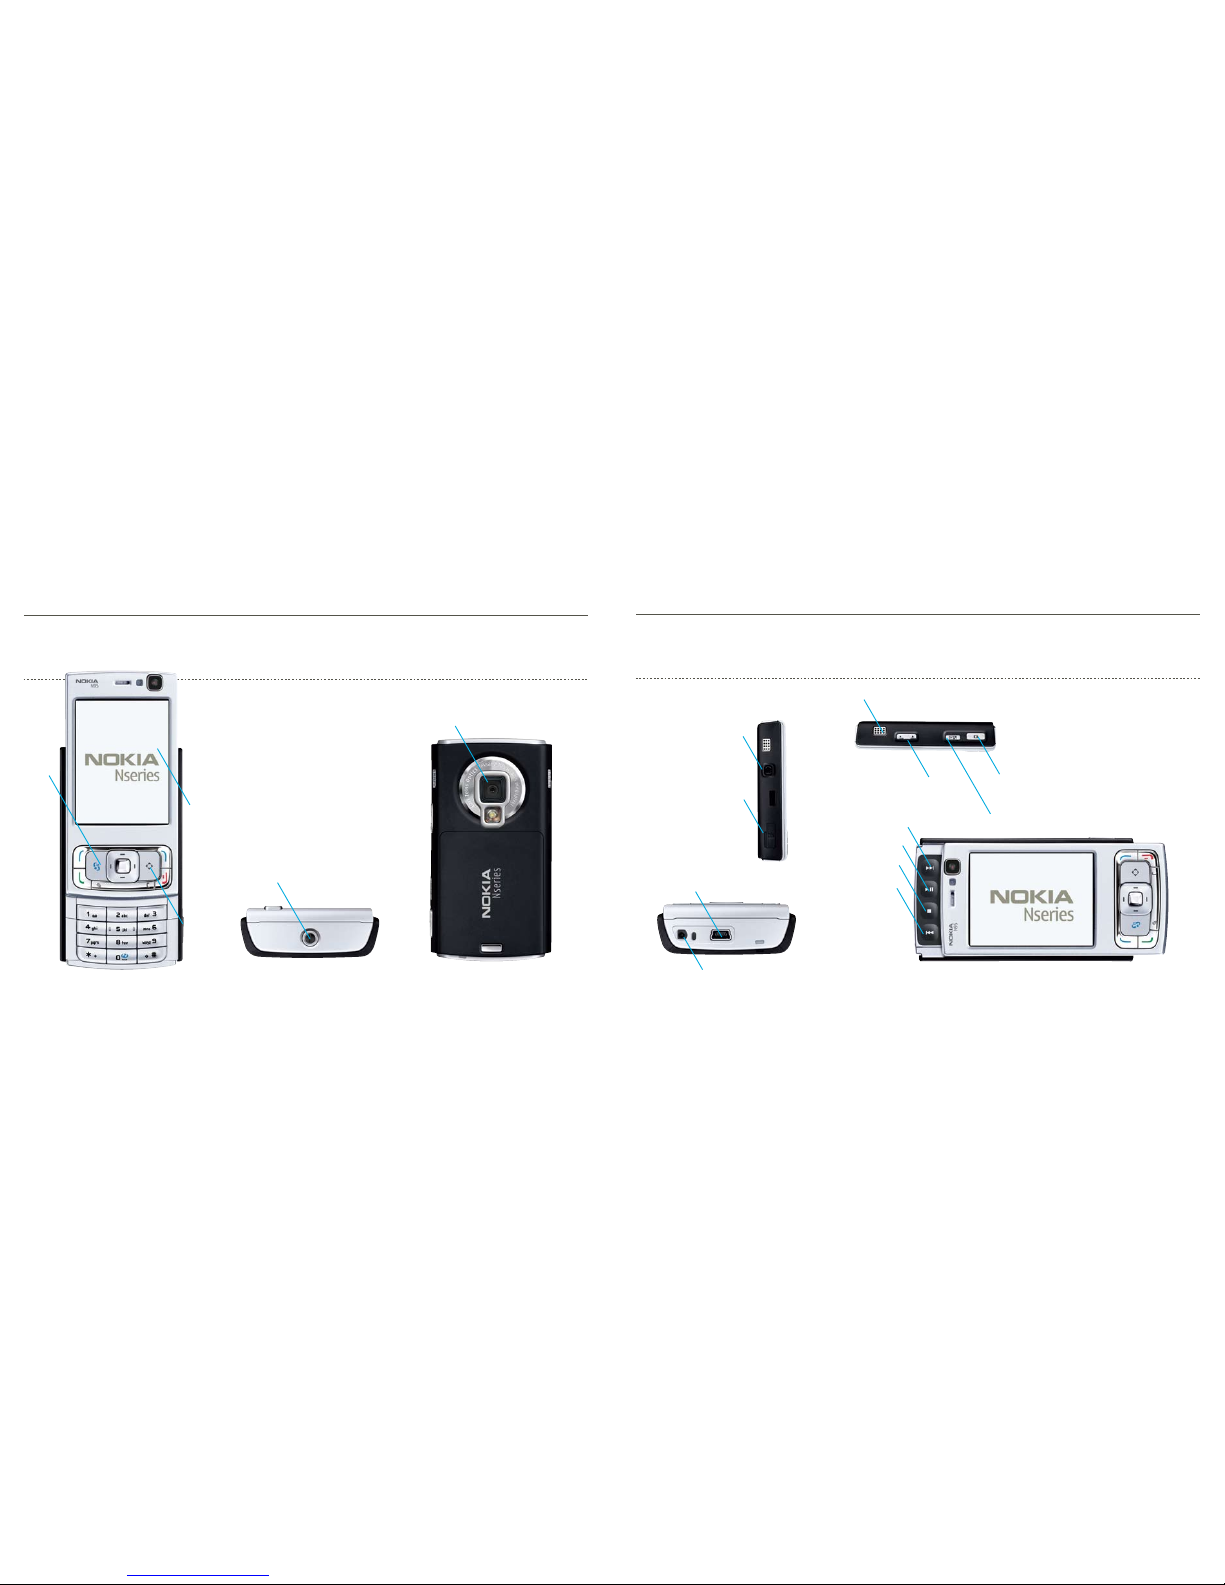
Usetheseshortcutswhenbrowsingtheweb:
• Press1toopenyourbookmarks.
• Press2tosearchforkeywordsinthecurrentpage.
• Press3toreturntothepreviouspage.
• Press5tolistallopenwindows.
Surfing with Mini Map
Mini map helps you to navigate web pages
designed for a computer screen on a smaller
device display by showing you an overview of the
web page and where you currently are. When you
begin scrolling, the map appears. You can then
scroll to the desired location. To scroll, use the
5-way navigation key. When you find the desired
location, stop scrolling and Mini map disappears
and leaves you at the selected location.
Mini map defaults to On. To turn it off, select
Options >Settings > General > Mini map > Off.
Web
With the Nokia N95 you can surf web pages
designed for computers as well as those designed
for mobile devices. Access the web via a Wi-Fi
connection or over a cellular network. You can
specify how the web is accessed by going to
Options > Tools > Change connection. If an
access point is not specified, you will be prompted
to choose one when you lunch the web browser.
Launch the browser by going to Menu > Web or
press and hold the “0” key.
Network*Modes:
To maximize range and data transfer speed on
your Nokia N95, you can choose between three
network modes:
Change your network settings from the Main menu
by selecting Tools > Settings > Phone > Network >
Network Mode > Dual mode/UMTS/GSM
In standby mode, the GSM network is indicated with
and the WCDMA network is indicated with
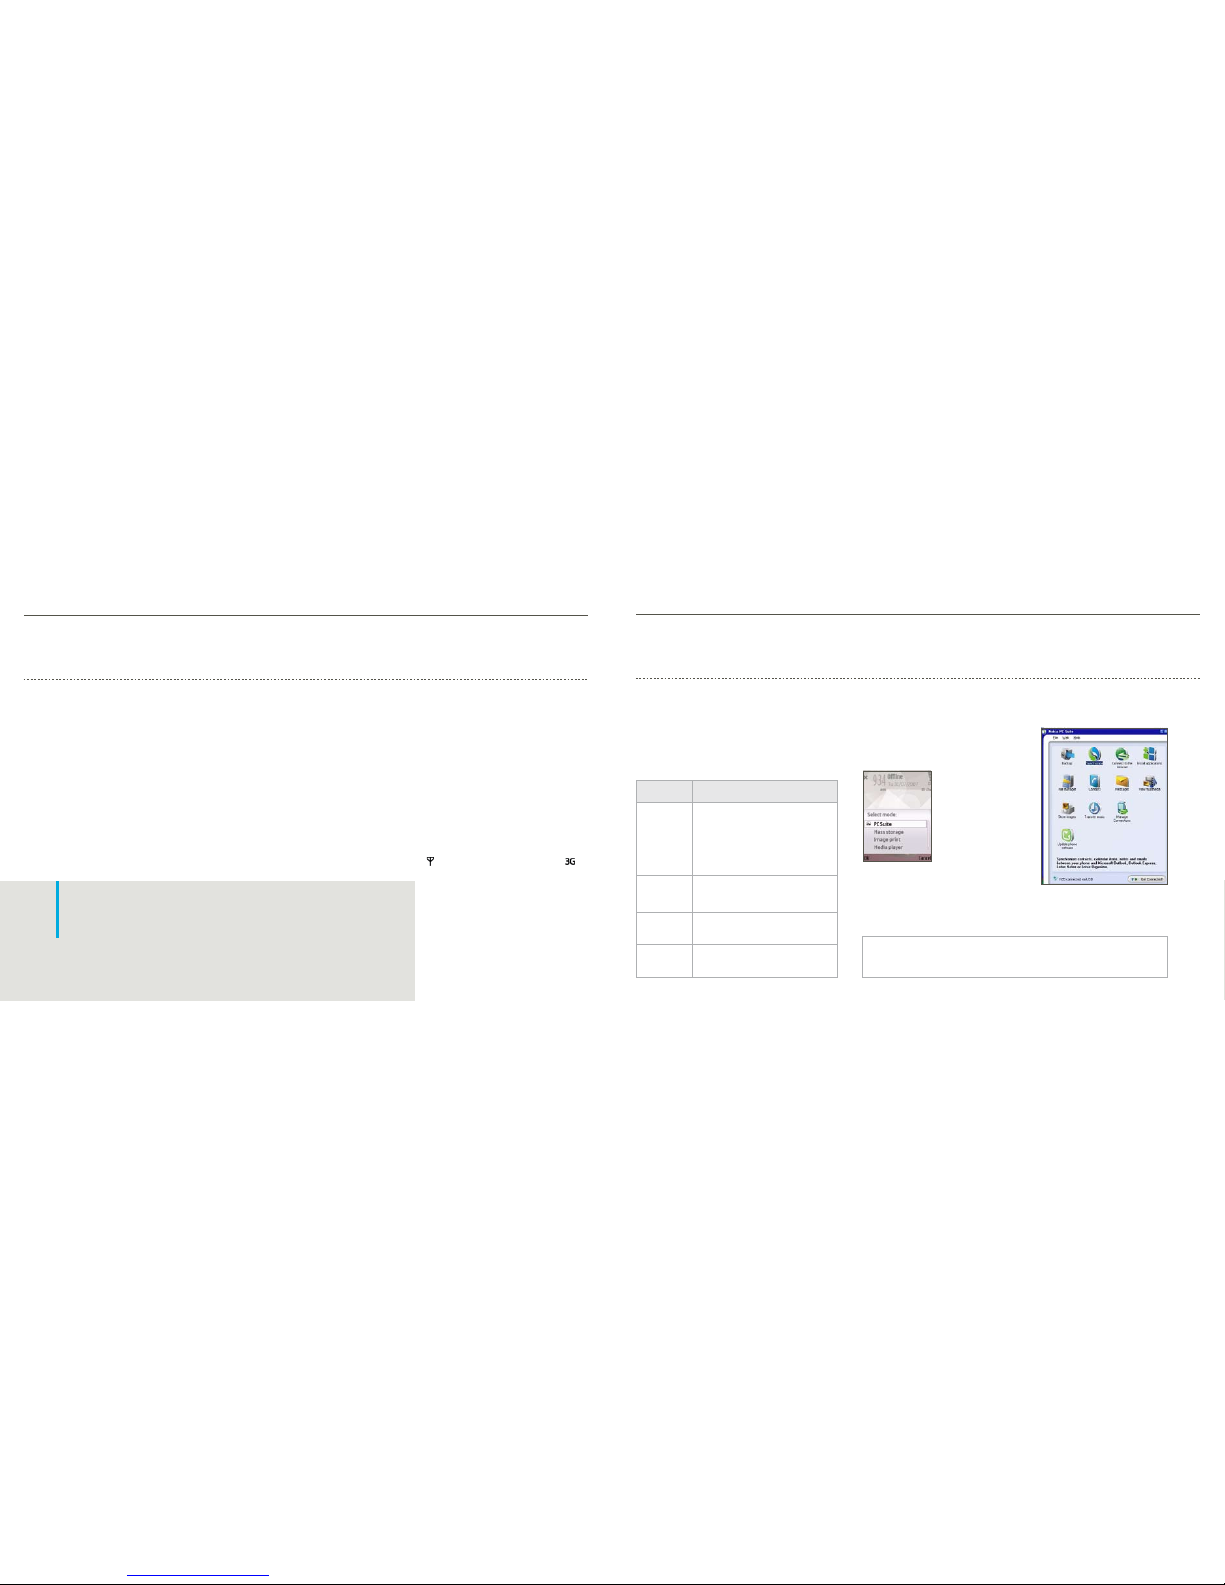
Synchronize with your PC
ConnecttoyourPCusinghighspeedUSB2.0orBluetoothwireless
connectivity. When you connect the Nokia N95 to your PC with a
USBcableyouhavefourconnectionmodestochoosefrom:
Mode Purpose
PC suite Connect via PC suite to:
• SynchronizewithMicrosoft Outlook
• Transferdatawithapplicationssuch
as Nokia PC Suite, Nokia Lifeblog
• Updatethedevice’ssoftwarewith
Nokia Software Updater
Mass Storage Connect via Mass storage to drag and drop
files on the device’s memory card
Image print To connect directly to a PictBridge compat-
ible printer. (See camera section for more details)
Media Player Synchronize music with Windows Media
Player. (See music section for more details)
To synchronize your notes, calendar, text
messages, or contacts with Microsoft Outlook
or other compatible applications:
1.ConnecttheUSBcableto
the PC and select PC Suite.
2. Launch Nokia PC Suite
on your computer.
Usethe Get Connected
feature the first time you
connect the Nokia N95 to
your computer.
3. Click Settings (in PC Suite on your computer) to
createasyncprole.Hereyouwilldenewhich
program to sync with (i.e., Microsoft Outlook) as
well as the type of information you would like to
synchronize (i.e., Calendar items, To do’s, Contacts).
Note: In the future, skip step 3 when synchronizing unless you want to change the data being
synchronized. Compatible PC applications include Microsoft Outlook (98, 2000, 2002, and 2003),
Outlook Express, Lotus Organizer (5.0, 6.0), and Lotus Notes (5.0, 6.0, and 7.0).
p07
• Press8toshowthepageoverviewofthecurrent
page. Press 8 again to zoom in and view the
desired section of the page.
• Press9toenteranewwebaddress.
• Press0togotothestartpage.
• Press*or#tozoomthepageinorout.
** Depending on your location, the device automatically switches between
GSMorWCDMA(UMTS)networks
• DualMode(2G&3G)**•UMTS•GSM(2G)
4. Click Synchronize now.
Microsoft product screen shot(s) reprinted with permission from
Microsoft Corporation
* Requires 3G (WCDMA) service. WCDMA may not be available in all
networks. The establishment and continuation of a 3G connection
depends on network availability, provider support and signal strength.