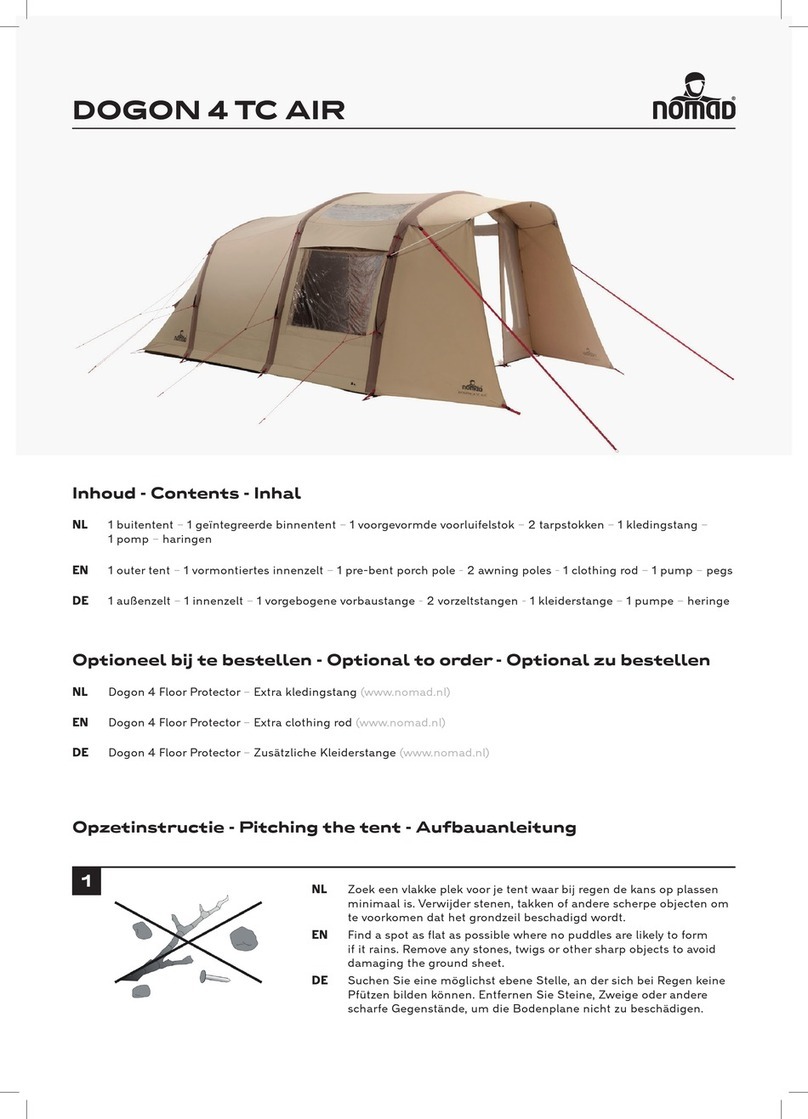
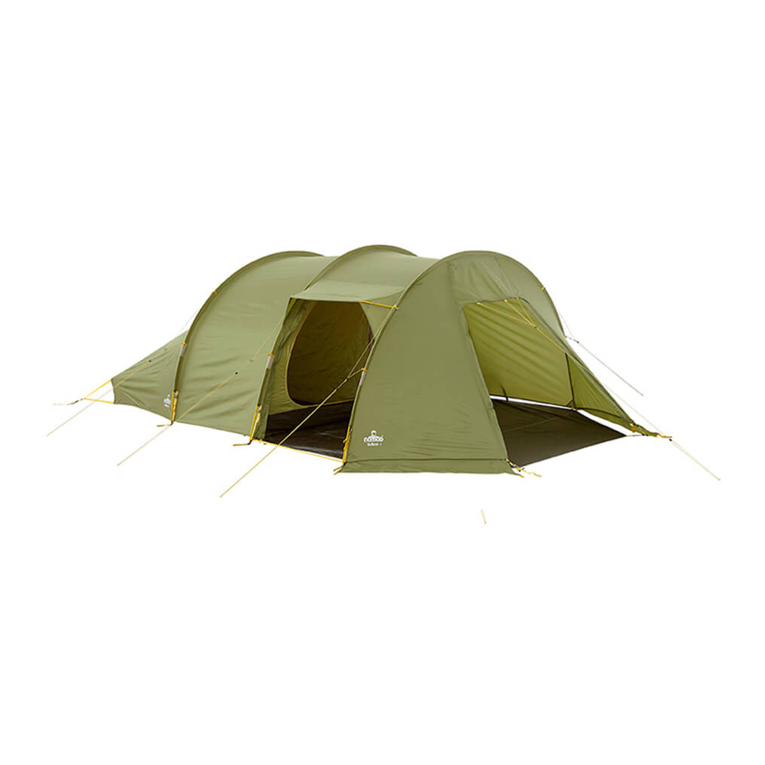
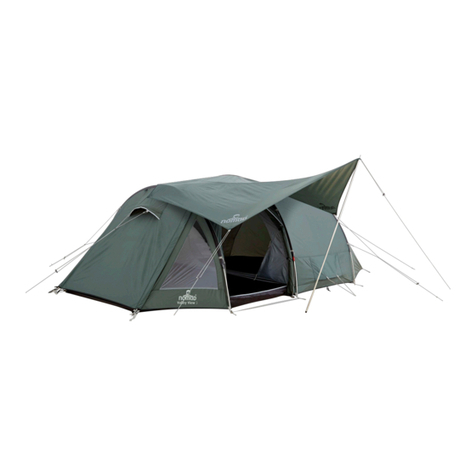
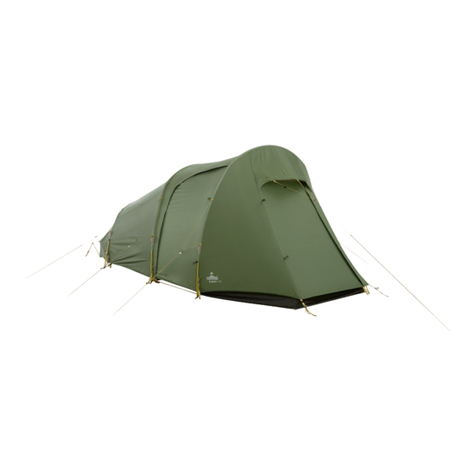
nomad TELLEM 3 LW User manual

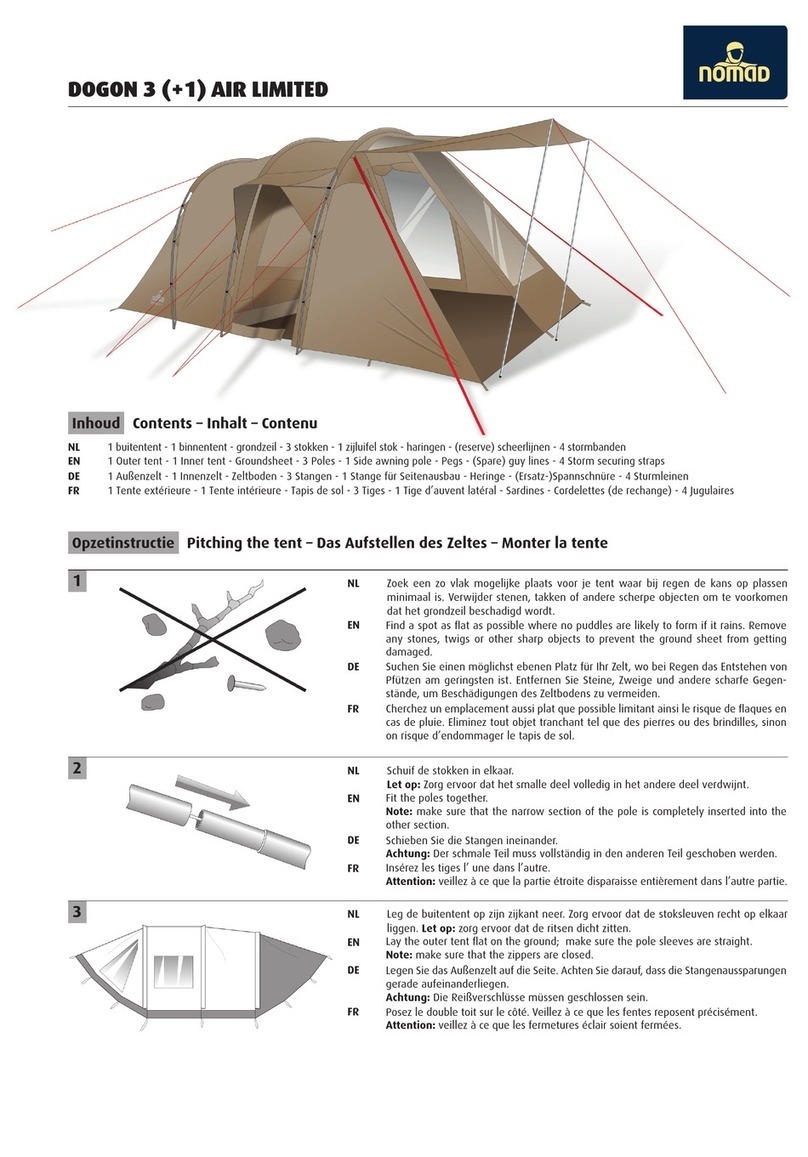
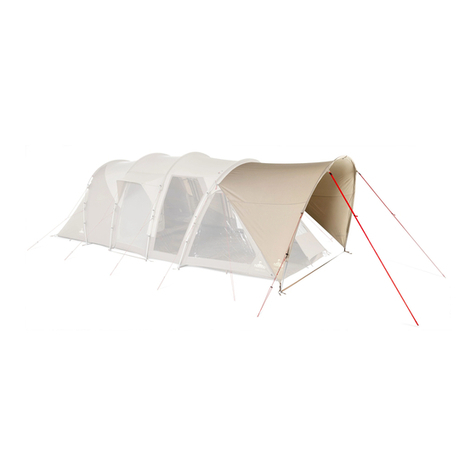
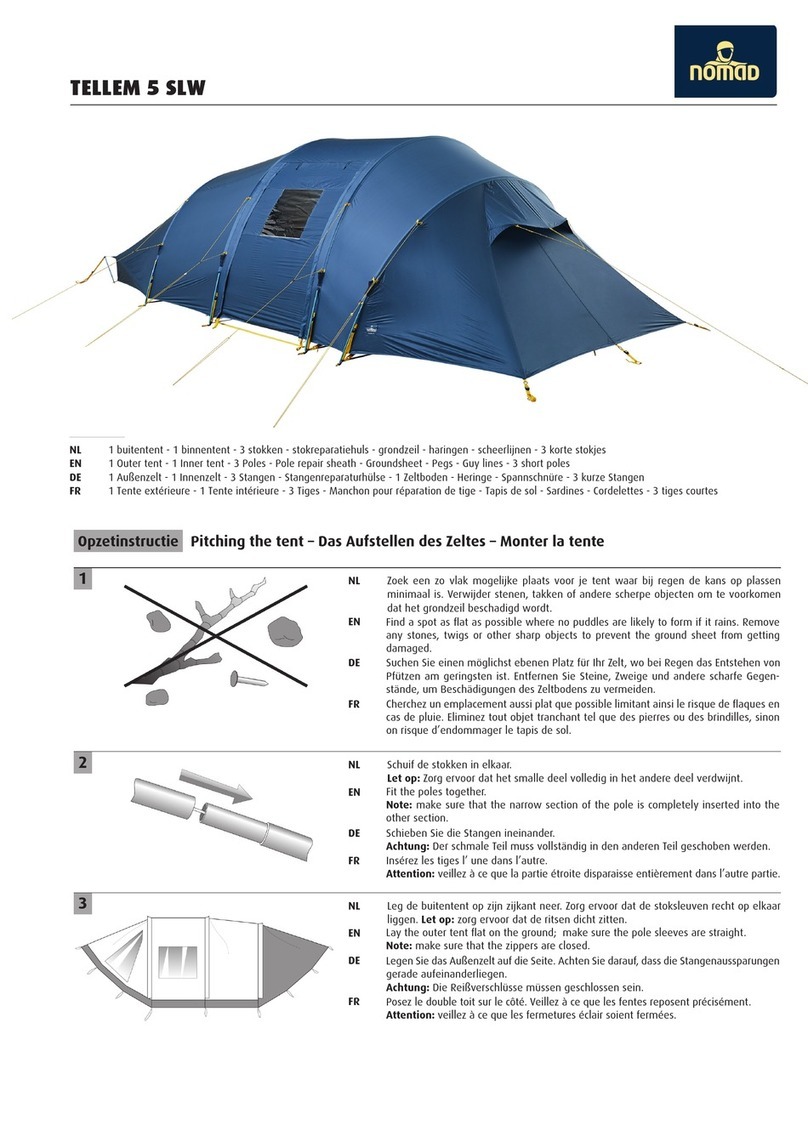
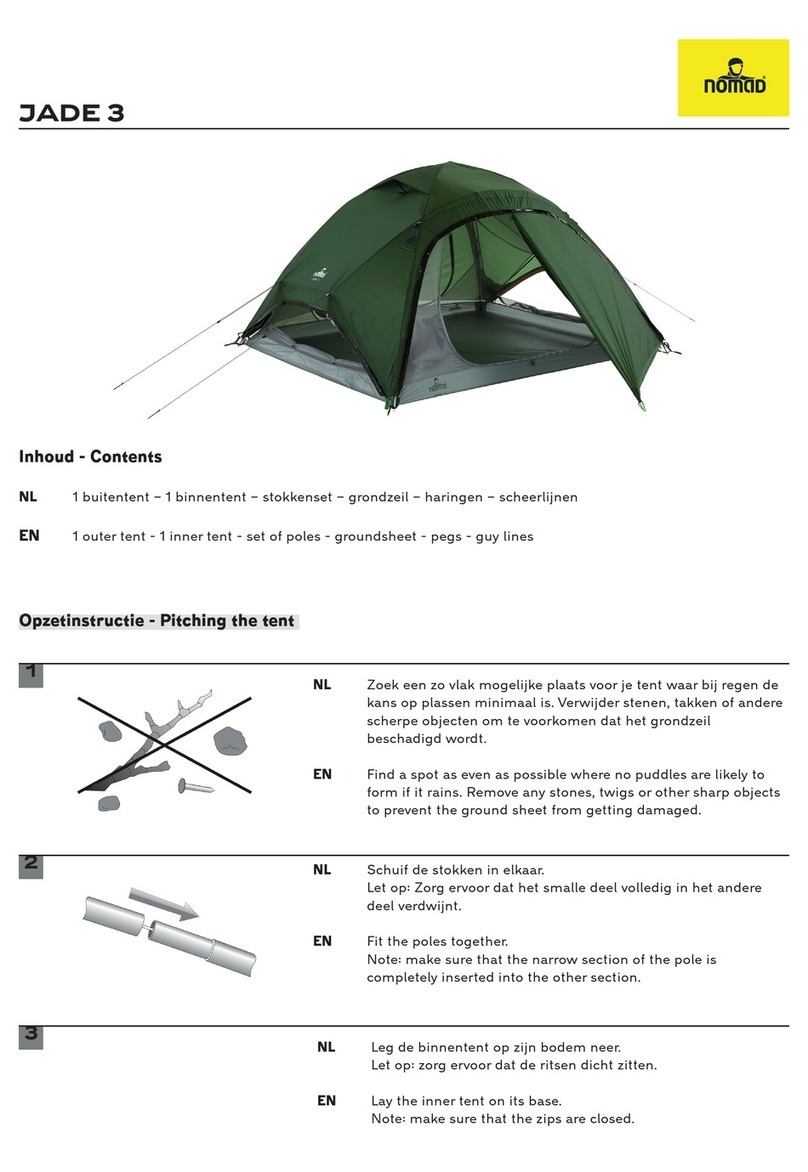
TELLEM 3 LW
Inhoud - Contents
NL 1 buitentent – 1 binnentent – 3 stokken – stokreparatiehuls - grondzeil – haringen – scheerlijnen
- 2 korte stokjes
EN 1 outer tent - 1 inner tent - 3 poles - pole repair sheath - groundsheet - pegs - guy lines - 2 short poles
Opzetinstructie - Pitching the tent
NL Zoek een zo vlak mogelijke plaats voor je tent waar bij regen de
kans op plassen minimaal is. Verwijder stenen, takken of andere
scherpe objecten om te voorkomen dat het grondzeil
beschadigd wordt.
EN Find a spot as even as possible where no puddles are likely to
form if it rains. Remove any stones, twigs or other sharp objects
to prevent the ground sheet from getting damaged.
NL Schuif de stokken in elkaar.
Let op: Zorg ervoor dat het smalle deel volledig in het andere
deel verdwijnt.
EN Fit the poles together.
Note: make sure that the narrow section of the pole is
completely inserted into the other section.
NL Leg de buitentent op zijn zijkant neer. Zorg ervoor dat de
stoksleuven recht op elkaar liggen. Let op: zorg ervoor dat de
ritsen dicht zitten.
EN Lay the outer tent flat on the ground; make sure the pole sleeves
are straight.
Note: make sure that the zippers are closed.
1
2
3

NL Aan ieder einde van de stoksleuf zit een stelband met een
kunststof voet eraan waar later de stok ingeklikt dient te worden.
Maak deze stelband zover mogelijk los zodat de kunststof voet
zo ver mogelijk van de tent af komt.
EN On either end of the pole sleeve there is an adjustment strap
with a plastic base into which the pole has to be clicked. Loosen
this strap to the maximum so that the plastic base is removed
from the tent as far as possible.
NL Schuif voorzichtig de stokken erin. Let op:
- De stokken hebben aan 1 kant een bol en aan 1 kant zijn ze
vlak. De vlakke kant moet in de sleuf gestoken worden zodat de
kant met de bol uitsteekt
EN Slide the poles in carefully. Attention:
- The poles are convex on one side; they are flat on the other
side. The flat side has to be inserted into the sleeve so that the
convex side protrudes.
NL Wanneer alle stokken in de sleuven zijn gestoken, kunnen
de stokken op spanning worden gebracht. Begin bij de 1e stok
en druk deze zover mogelijk in de stoksleuf. Druk als de stok
niet verder gaat, het uiteinde van de stok (balletje) in de kunst
stof voet. Herhaal dit voor de andere 2 stokken.
EN When all poles have been inserted in the sleeves, they can be
tensioned. Start with the first pole and push it into the sleeve
as far as possible. When the pole stops, push its extremity (little
ball) in the plastic base. Repeat this for the two other poles.
4
5
6
NL Trek, als alle stokken in de kunststof voetjes zitten, de
stelbanden aan.
EN When all the poles are in the plastic bases, tighten the
adjustment straps.
NL Zet de tent rechtop en zet deze aan de achterkant en voorkant
vast met haringen. De tent hoeft nog niet helemaal strak te
staan.
EN Stand the tent upright and peg it down at the back and the
front. The tent does not need to be completely taut just yet.
NL Bevestig nu de 2 kleine stokjes aan de achterzijde van de tent.
EN Now fit the 2 short poles to the rear of the tent.
NL Span de tent nu strak door hem in het midden vast te zetten
met haringen. Span hem vervolgens strak naar achteren en zet
hem aan de achterzijde van de tent vast. Doe vervolgens
hetzelfde aan de voorkant van de tent.
EN Pull the tent taut by securing it in the middle with pegs. Next,
pull it taut towards the back and peg the back of the tent down.
Do the same at the front of the tent.
7
8
9
10
3
2
1 1
4
5
3
2
1 1

Afbreekinstructie - Taking down the tent
NL Hang de binnentent in de tent, werk van achteren naar voren.
EN Hang the inner tent in the outer tent, working from back to
front.
NL Plaats het grondzeil en span deze, indien gewenst, af met
haringen en de haakjes aan de voorzijde.
EN Place the groundsheet and, if you want to do so, taut it using
the pegs and hooks on thefront side.
NL Verwijder de binnentent en het grondzeil.
EN Remove the inner tent and the groundsheet.
NL Maak de scheerlijnen los en trek alle haringen uit grond.
EN Loosen the guy lines and pull the pegs out of the ground.
NL Maak de stelband aan het einde van de stoksleuf zo ver
mogelijk los.
EN Loosen the guy lines and pull the pegs out of the ground.
NL Verwijder zoveel mogelijk zand en vuil van de tent, stokken en
haringen.
EN Remove as much sand and dirt as possible from the tent, the
poles and the pegs.
NL Duw de stokken uit de stoksleuven. Let op: trek niet, want dan
gaat de stok uit elkaar.
EN Push the poles out of the pole sleeves. Attention: do not pull,
otherwise the pole will come apart.
11
12
1
2
3
5
4
NL Leg de tent op zijn lange zijkant met de uiteinden van de
stoksleuven recht op elkaar.
EN Lay the tent on its long side with the ends of the pole sleeves on
top of each other.
NL Vouw de voorkant en achterkant van de tent naar binnen zodat
er een rechthoek ontstaat.
EN Fold the front and back of the tent inwards to form a rectangle.
6
7

Let op! - Attention please!
Onderhoud - Maintenance
NL Vouw de korte kanten van de tent verder naar binnen.
De vouwbreedte moet iets smaller dan de zak.
EN Fold the short sides of the tent further inwards. The folding
width should be slightly narrower than the bag.
NL Rol de tent op vanuit de dichte kant van de tent.
EN Roll the tent up, starting from its closed side.
8
9
NL Gebruik geen deodorant, haarspray, e.d. in de tent. Deze gassen tasten de waterdichtheid aan.
EN Do not use any deodorants, hair sprays, etc. inside the tent. Their gas corrode the water repellence.
NL
• In het algemeen behoeft de tent geen extra nadendichter, maar om absolute zekerheid te verkrijgen,
kunnen de doorgaans kwetsbaardere punten waar de lussen gestikt zijn met nadendichter behandeld
worden. Breng de nadendichter altijd aan de binnenzijde van de buitentent aan.
• Wanneer in gebruik, maak uw tent minimaal eens per twee weken schoon.
• Om uw tent schoon te maken, veeg rustig met een zachte borstel of lap met lauw water. Gebruik geen
schoonmaakmiddelen; deze tasten de waterafstotende laag van de tent aan.
• Een natte tent moet nooit langer dan 24 uur in de draagtas blijven, dit werkt schimmelvorming in de
hand.
• Voorkom harsvlekken (bomen) op de tent, deze zijn niet te verwijderen. Vogel uitwerpselen moeten
direct verwijderd worden met lauw water en een zachte doek.
• Gebroken of beschadigde tentstokken kunnen tijdelijk gerepareerd worden met de bijgeleverde
stokreparatiehuls. Schuif de huls over het gebroken of beschadigde gedeelte en zet hem vast met tape
of door de uiteinden met knijpers platter te maken. Voor een permanent vervangingsgedeelte kunt u
contact opnemer met de winkel waar u de tent gekocht heeft.
• Zet uw tent niet onnodig langdurige perioden in de volle zon. De UV-straling zal de eventuele coating
en de kleur van het tentdoek aantasten, wat de levensduur van het materiaal zal verkorten.
EN
• In general the tent will not need additional seam sealing but to be absolutely sure, the points where the
loops are stitched on can be tipped with seam sealer. Always apply seam seal on the inside of the outer
fly.
• When in use, clean your tent at least once every two weeks.
• To clean your tent, rub softly with a soft brush or cloth and lukewarm water. Do not use any detergents;
these will corrode the water repellence.
• A wet tent should never remain packed for longer than 24 hours otherwise the cloth could start to
decay.
• Prevent getting resin (from trees) on the tent fabric, as this cannot be cleaned. Bird excrements should
be removed as soon as possible with lukewarm water and a soft cloth.
• Broken or damaged tent poles can be temporarily repaired with the repair sheath supplied. Slide the
sheath over the broken section and fix in place either with tape or by flattening the ends of the sheath
with clothes-pegs. Contact your local dealer for a permanent replacement for the broken section.
• Do not pitch your tent for lengthy periods in full sunshine if this can be prevented. The UV rays will
damage the coating (if applicable) and colour of the tent cloth, which will shorten the life of the
material.

Tips
NL
• Zet een tunneltent altijd met de voor- of achterkant richting wind.
• Zet de tent niet te dicht op bomen en struikgewas, houd altijd een veilige afstand. Dingen die uit de
bomen vallen kunnen de tent beschadigen.
• Zet de tent altijd goed vast met scheerlijnen.
• Ventilatie is enorm belangrijk bij tenten. Alle Nomad tenten hebben voldoende ventilatiemogelijkheden.
Lucht de tent regelmatig om het verstikken van het tentdoek en condensatie aan de binnenzijde tegen
te gaan.
• De geleverde haringen zijn geschikt voor een grasondergrond. Indien u uw tent op een andere
ondergrond wilt opzetten, adviseren wij u haringen te gebruiken die specifiek voor de betreffende
ondergrond gemaakt zijn.
• Het is belangrijk de tent eerst thuis een keer op te zetten, voordat u werkelijk op pad gaat. U kunt op
deze wijze bekend raken met de tent en controleren of hij compleet is. Neem de binnentent uit de
buitentent wanneer u de tent voor de 1e keer opzet. De daarop volgende keren kunt u wel de binnentent
in de buitentent laten hangen.
• Indien u als additionele bescherming tegen steentjes e.d. een extra grondzeil wilt gebruiken, neem dan
geen zeil met weekmakers, daar deze het grondzeil van de tent aantasten. Het zeil mag ook niet volledig
waterdicht zijn, omdat dan eventueel overtollig water tussen de twee zeilen niet weg kan lopen.
EN
• Always pitch a tunnel tent with either the head or tail into the wind.
• Do not pitch the tent too close to trees and bushes, always keep a safe distance. Anything falling from
the trees could damage the tent.
• Always secure the tent well with guy lines.
• Ventilation is extremely important with tents. All Nomad tents have sufficient means of ventilation. Air
the tent regularly to prevent the tent cloth from suffocating and condensation forming inside the tent.
• The pegs supplied are suitable for grass. If you plan to pitch your tent on any other ground, we advise
you to use pegs intended specifically for that particular ground.
• Before you actually start out on your journey it’s important to erect the tent at least once at home, to get
acquainted with it and to check that it is complete. Please take the inner tent out of the outer tent when
you pitch it for the first time. After pitching it for the first time, you may leave the inner tent in the outer
tent.
• If you would like to use an extra ground sheet for additional protection, do not use a sheet that contains
any softeners, as these corrode the other groundsheet. It may not be fully waterproof either, as in this
way any surplus water between the two groundsheets cannot drain off.
Brand voorzorgsmaatregelen - Fire precautions
NL
Waarschuwing: houdt alle vuur- en warmtebronnen uit de buurt van het tentdoek, het materiaal zal vlam vatten.
Bij het kamperen moeten de volgende voorzorgsmaatregelen in acht genomen worden:
• Gebruik nooit kaarsen, lucifers of open vuur in of dichtbij de tent.
• Koken binnen de tent is gevaarlijk.
• Houd rekening met de windrichting bij het maken van kampvuren. Houd een afstand van enkele meters van
de tent. Wees er zeker van dat een kampvuur is volledig gedoofd alvorens de omgeving te verlaten of the gaan
slapen.
• Wees uiterst voorzichtig bij het gebruik van gaslantaarns en warmtebronnen in de tent.
• Gebruik indien mogelijk alleen apparaten op batterijen.
• Vul nooit lampen, warmtebronnen of fornuizen bij in de tent.
• Doof alle lantaarns alvorens te gaan slapen.
• Vermijd roken in de tent
• Bewaar nooit ontvlambare middelen in de tent.
• Wij adviseren u te allen tijde een stanleymes/stoffeerdermesje binnen handbereik te hebben. In geval van
brand snijdt u hiermee door het tentdoek waardoor u een (nood)uitgang creëert.
www.nomad.nl
The Nomad Company, Landzigt 32A, 3454 PE, De Meern, The Netherlands
EN
Warning: keep all flame and heat sources away from this tent fabric; the fabric will burn if left near any flame source.
The following precautions should be followed when camping.
• Never use candles, matches or open flames of any kind in or near a tent.
• Cooking inside the tent is dangerous.
• Build campfires downwind and several meters away from the tent. Always be sure to fully extinguish
campfires before leaving camp or before retiring for the night.
• Practice extreme caution when using fuel-powered lanterns and heaters inside the tent.
• Use battery-operated equipment whenever possible.
• Never refuel lamps, heaters or stoves near or inside the tent.
• Extinguish all lanterns before going to sleep.
• Avoid smoking in the tent.
• Never store flammable substances inside the tent.
• We advise you to keep a Stanley knife or carpet cutter within reach at all times. In case of fire, you can use this
to cut through the canvas, thus creating an (emergency) exit.
Garantiebepalingen - Terms of Guarantee
NL
Dit product kent een garantietermijn van twee jaar. De garantie omvat productie- en materiaalfouten en geldt
alleen indien het product is gebruikt voor het intentionele doel onder normale omstandigheden. Het omvat
niet de te verwachten slijtage of door de gebruiker aangebrachte wijzigingen in het product. Ritsen vallen
eveneens buiten de garantie. Wij hebben iedere mogelijke behoedzaamheid in acht genomen bij het maken
en transporteren van dit product. Indien u ook voorzichtig met uw product omgaat, zult u meer plezier van uw
aanschaf ondervinden. Beschadiging veroorzaakt door andere dan materiaal- of fabricagefouten valt niet
onder de garantie, maar kan wel tegen een redelijke vergoeding gerepareerd worden. Indien u gebruikt wenst
te maken van deze service, kunt u het product inleveren bij de winkel waar u het product oorspronkelijk heeft
aangeschaft. Zorg er wel voor dat het product schoon is, wanneer u het inlevert. Buitensporig vieze producten
worden niet geaccepteerd en worden naar de afzender geretourneerd. Producten kunnen alleen voor garantie
in aanmerking komen, indien het aankoopbewijs wordt meegestuurd of een kopie hiervan.
EN
This product is guaranteed for a period of two years. The guarantee covers manufacturing and material faults
and will only apply if the product has been used for the intended purpose, under normal conditions. It does
not cover normal wear and tear nor any alterations made by the customer. Zips are also excluded from the
guarantee. We have taken every possible care while making and transporting this product. If you also take
every possible care when using it, you will be able to enjoy your Nomad product for longer. Damage
due to anything other than manufacturing or material faults will not be covered by any form of warranty, but
can be repaired at a reasonable charge. If you would like to make use of this service, please return the product
to the shop where you originally purchased the product. Make sure to clean the product before returning it.
Unacceptably dirty products will not be handled and will be returned to sender. Products will only be
considered for guarantee if the receipt or a copy is enclosed.
This manual suits for next models
1
Table of contents
Other nomad Tent manuals

nomad
nomad DOGON 4 AIR User manual

nomad
nomad BEDOUIN 2 LW User manual

nomad
nomad DOGON 4 TC AIR User manual

nomad
nomad TELLEM 5 SLW User manual

nomad
nomad DOGON 4 Air User manual

nomad
nomad DOGON 3 AIR LIMITED User manual

nomad
nomad Lodge 2 Air User manual

nomad
nomad CHARA 2 SLW User manual

nomad
nomad Desert Woodstock 3 User manual

nomad
nomad JADE 3 User manual
Popular Tent manuals by other brands

Outdoor Revolution
Outdoor Revolution Oxygen Movelite 3 Instructions & care manual

Rightline Gear
Rightline Gear CampRight Setup guide

KING CANOPY
KING CANOPY CSR1020BK Assembly manual

Coleman
Coleman SUNDOME 9260F907 instructions

Bestway
Bestway Lay-Z-Spa manual

TentCraft
TentCraft X Series Setup instructions