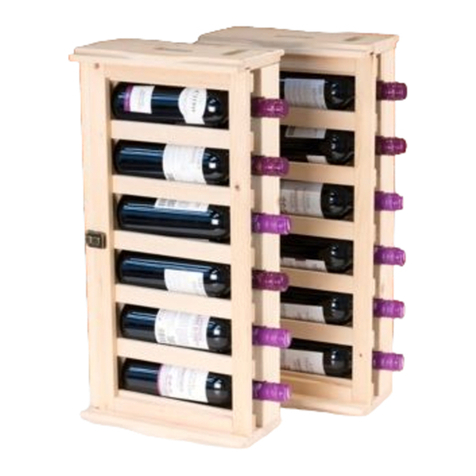
Norbord WALL CSS890 User manual
Other Norbord Indoor Furnishing manuals
Norbord
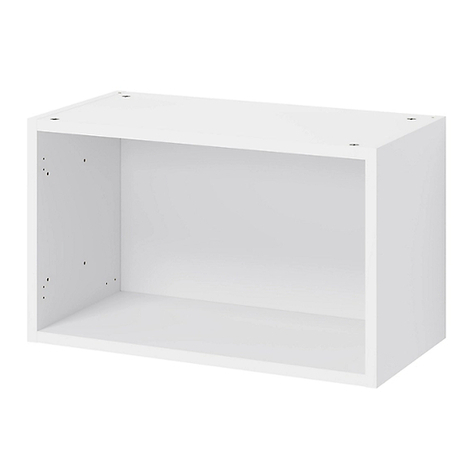
Norbord CSS791 User manual
Norbord
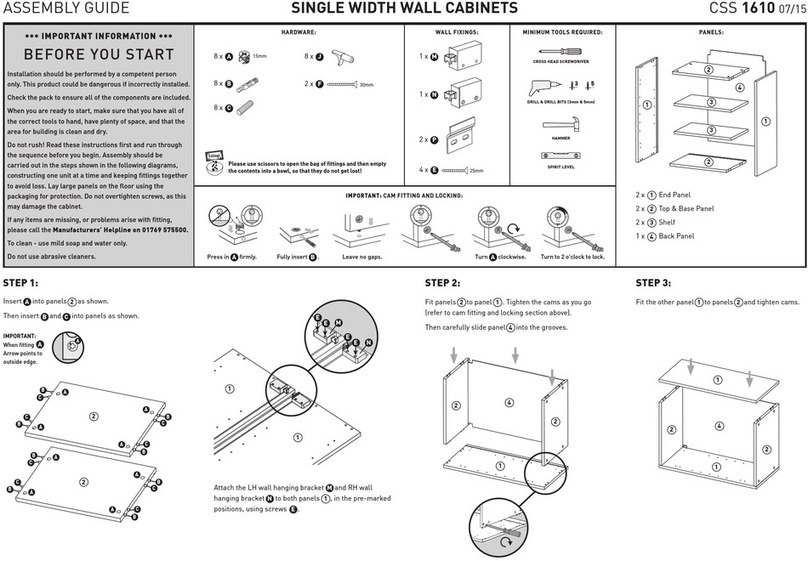
Norbord CSS 1610 User manual
Norbord
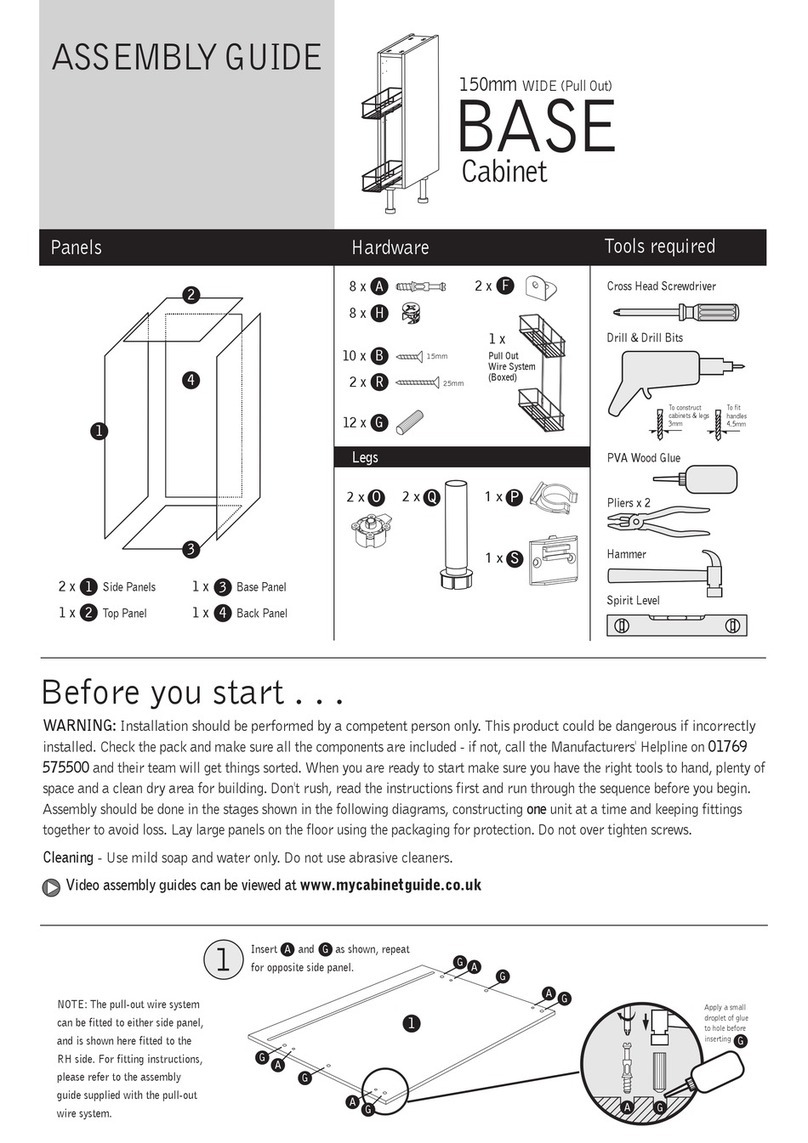
Norbord CSS 805 User manual
Norbord
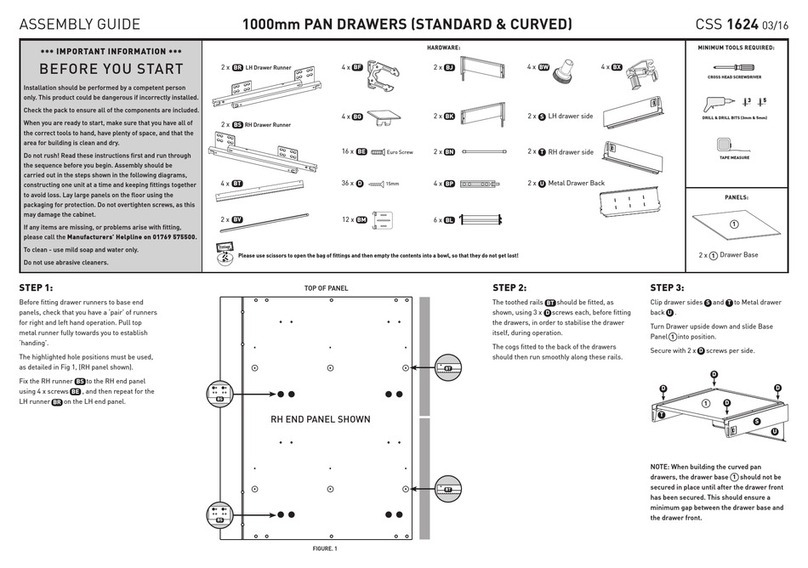
Norbord 1000mm PAN DRAWERS User manual
Norbord
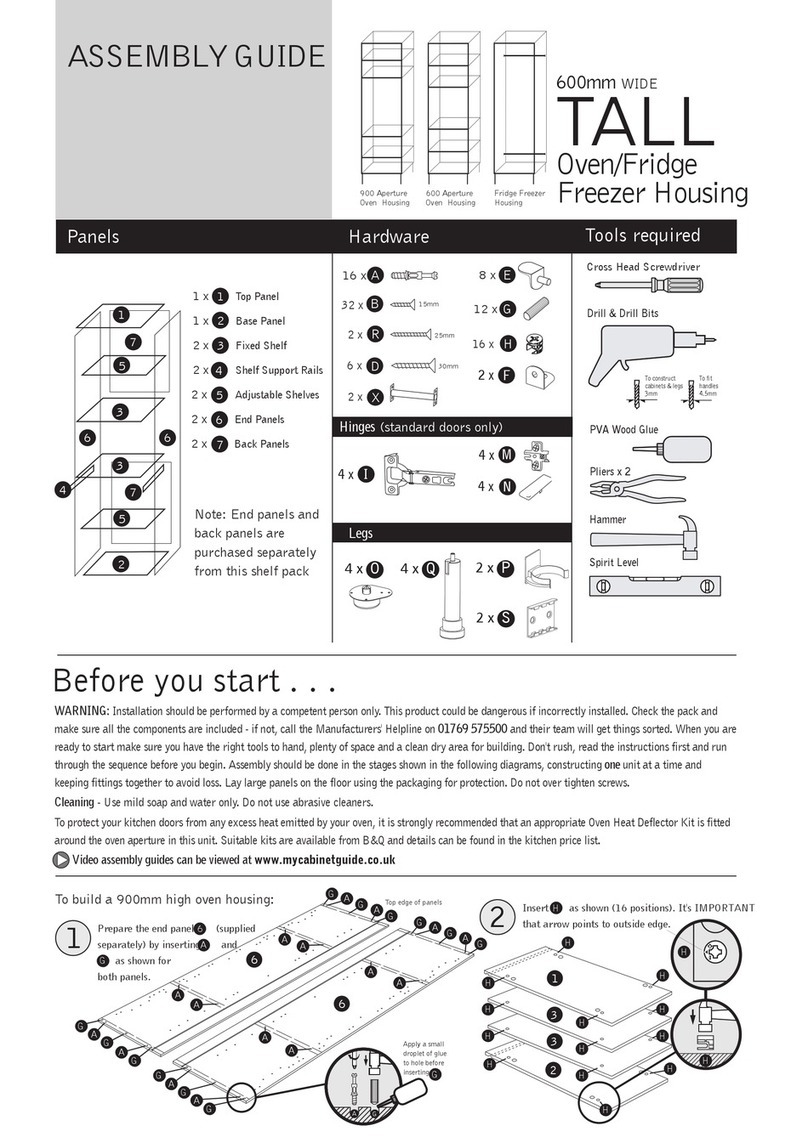
Norbord CSS 856 User manual
Norbord
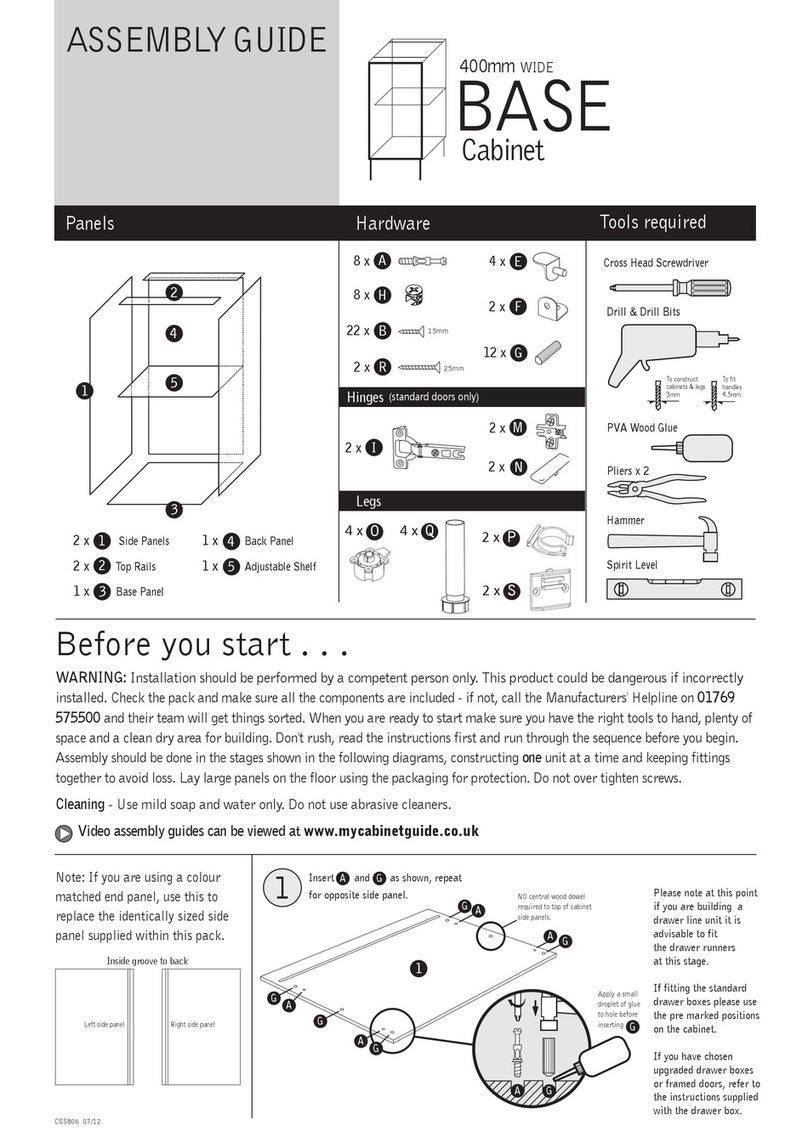
Norbord CSS806 User manual
Norbord
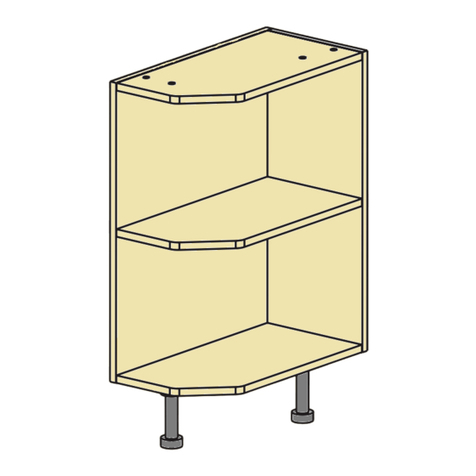
Norbord Shaped OPEN BASE Cabinets User manual
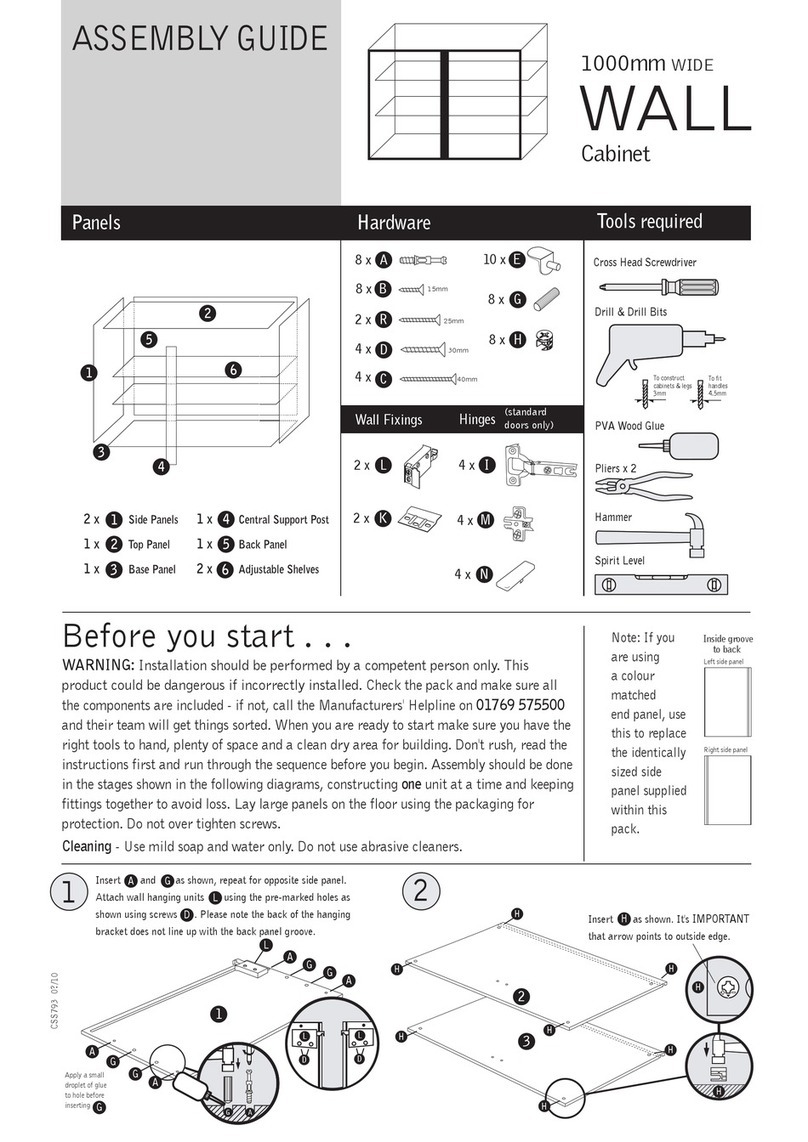
Norbord
Norbord CSS 793 User manual
Popular Indoor Furnishing manuals by other brands

VERTBAUDET
VERTBAUDET 70501-0811 quick start guide
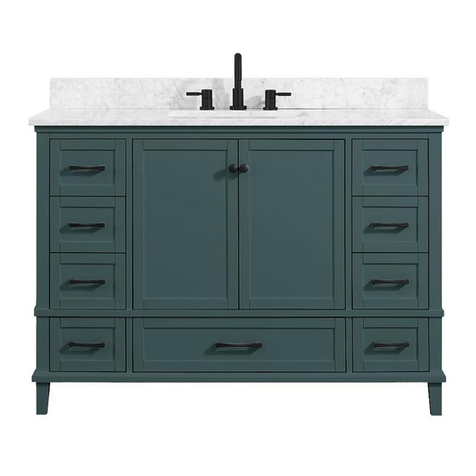
Home Decorators Collection
Home Decorators Collection MERRYFIELD 19112-VS49-AG Assembly instructions
Costway
Costway HU10446 Instruction booklet

Argos
Argos 418/9329 Assembly instructions

Hay
Hay COPENHAGUE DEUX CPH250 instruction manual

Robern
Robern DC2440 Merion installation instructions
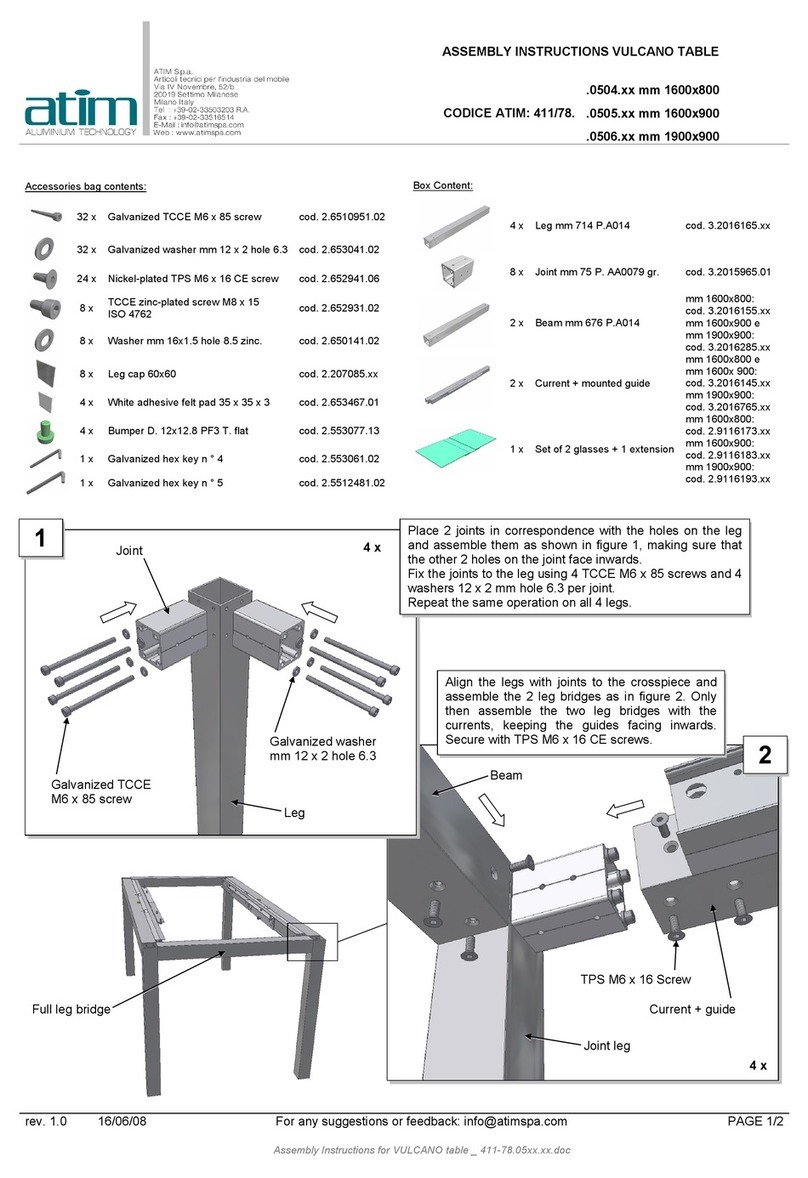
ATIM
ATIM VULCANO TABLE 411/78 0504 Assembly instructions
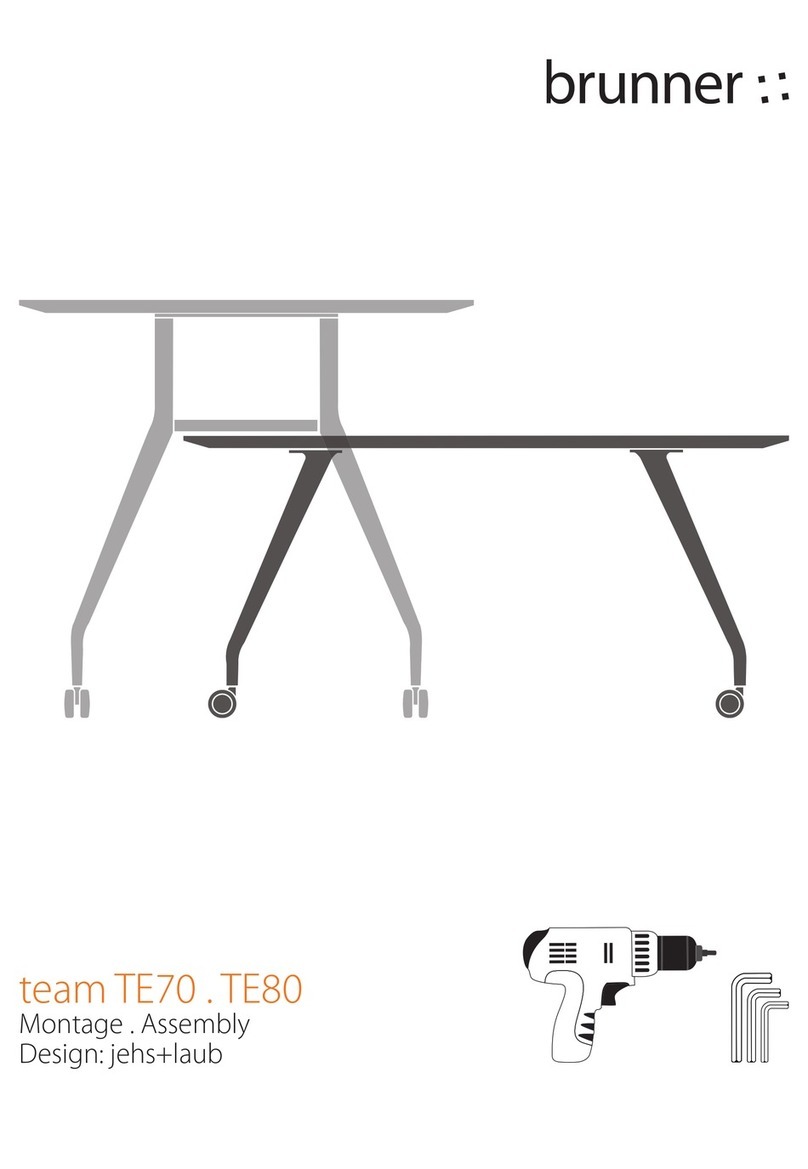
Brunner
Brunner Team TE70 Montage and Assembly

VITRA
VITRA Alcove Cabin Instructions for use

rst brands
rst brands ASTER SL-2ST-3 Assembly instructions

Oeseder Möbelindustrie
Oeseder Möbelindustrie 992 580 Assembly instructions

Teknik
Teknik Craft 5421407 manual


