manuals.online logo
Brands
  1. Home
  2. •
  3. Brands
  4. •
  5. Nordpeis
  6. •
  7. Fireplace Accessories
  8. •
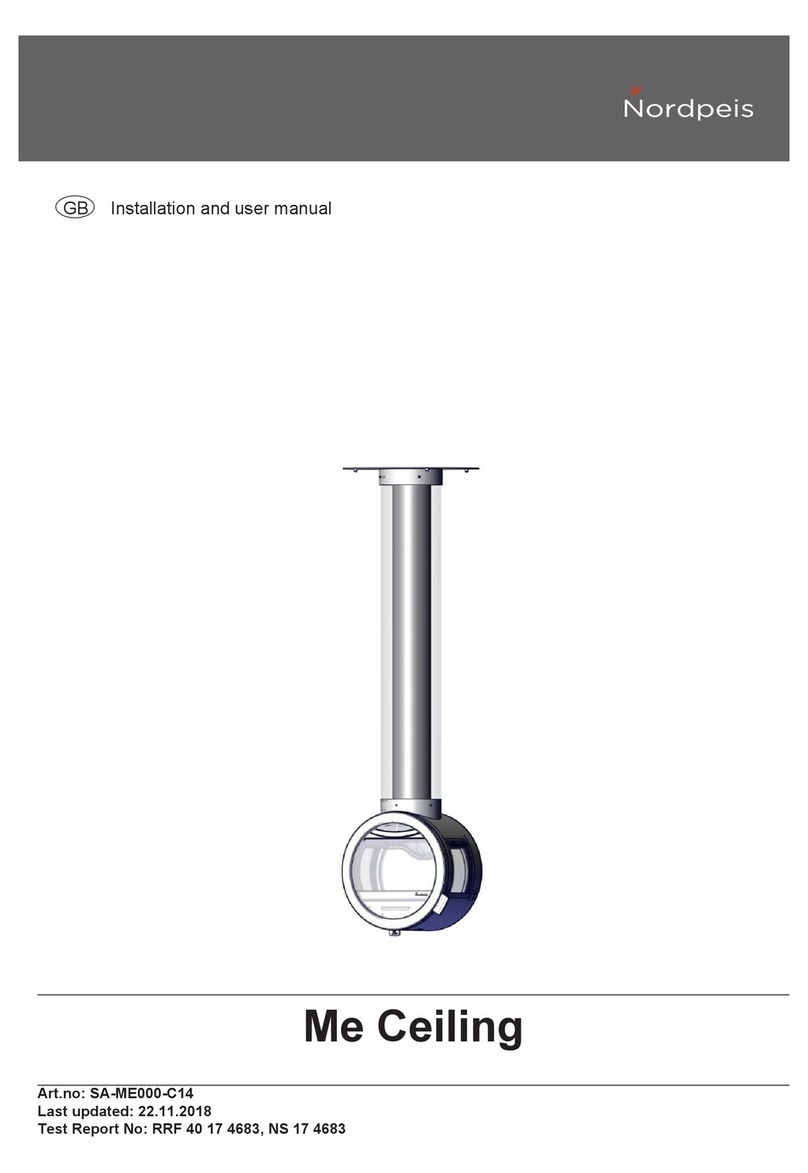
  9. Nordpeis Me Ceiling SA-ME000-C24 User manual

Nordpeis Me Ceiling SA-ME000-C24 User manual

Art.no: SA-ME000-C24
Last updated: 22.11.2018
Test Report No: RRF 40 17 4683, NS 17 4683
GB Installation and user manual
Me Ceiling - for sloping ceiling
2
GB
IMPORTANT: Included in the installation kit are 4 x Ø8x120 wood screws. These are only intended for
use in solid wood beams. As the ceiling / roof will support the entire weight of the stove and the chimney
it is important that the ceiling attachment is made according to your local construction requirements.
If your ceiling construction is made from other material we strongly suggest to use protruding M8 bolts or
threaded bars with appropriate washers on top.
We recommend a maximum chimney weight of 150 kg.
ATTENTION: Always follow the chimney manufacturer’s instructions and safety distances!
3
FIG 1
See separate instruction
Manual for ME
600mm
600mm
4
Me for sloping ceiling = mm / air / chimney
600
650
520
1505 max.
1 - 45°
339
600
650
266
600
650
520
1505 max.
1 - 45°
339
600
650
266
FIG 2
5
Refer to the installation manual for ME and remove the Thermotte liner.
GB
6 mm
x2
FIG 3
6
FIG 4
22-ME000-CA0
O3,6
Insert the drill bush into the two rear holes and drill through the outer body of the stove with the
supplied 3,6mm drill. Attention! Do not press too hard while drilling so that the drill does not
slip o󰀨 the drilling point.
GB
!
7
FIG 5
xx
O3,6
x2
(1)
(2)
(3)
Apply the supplied magnetic (1) drill jig to the top of the stove as illustrated. Make sure the two rear
holes are centered in the two bean-shaped perforations (2) before drilling the two front holes
accordingly to the jig (3).
GB
8
FIG 6
O12
x4
Drill the holes only in the outer body.
GB
9
FIG 7
1.
2a
Remove the ue cover in the outer stove body with an angle grinder.
GB
2b
DV KIT
10
6 mm x2
FIG 8
FIG 9
1. 2.
3. 4.
4 mm
Remove the two screws as indicated and dispose.
GB
3 mm
11
FIG 10
5 mm M6x40
Place the connection bar between the inner and outer stove body using the two supplied
6 x 40mm bolts with washers to fasten it through the now empty holes.
GB
OK
!
UP
1.
2.
2.
3.
3.
12
3 mm
x2
M6x40
Insert the 6 x 40 threaded bars through the front holes of the outer stove body.
GB
FIG 11
FIG 12
Place the support collar as shown.
GB
13
5 mm
x2
FIG 13
M6x40
Fasten the two rear holes of the support collar to the stove through the rear holes with the two
supplied 6 x 40mm bolts from inside the stove.
GB
14
FIG 14
2,5mm
Fix the two threaded bars in front with the four pointed set screws with a force of 4-5 Nm.
GB
90 ⁰
15
x2
FIG 15
4 mm
Manual for DV Kit
See separate instruction
FIG 16
TOP!
16
x5
During assembly and handling please be
careful not to damage the painted surfaces.
GB
3 mm
FIG 16a
FIG 16b
17
FIG 16c
FIG 16d
3 mm
8 mm
18
FIG 17
2.
3.
FIG 17a
1.
19
Make sure the bolts are placed in the middle of the prolonged bean-shaped holes in the ceiling
collar. This will allow you to adjust the angle of the stove with 12 degrees in each direction after the
ceiling collar has been fastend to the ceiling.
GB
FIG 18
4 mm
x4
20
FIG 19
The supplied bolts are only intended for solid wooden beams measuring at least 150mm in height
and 50mm in width.Pre-drill Ø6mm holes before applying the supplied bolts and capping them at
the end with the supplied plastic caps.
GB

Other manuals for Me Ceiling SA-ME000-C24

1

Other Nordpeis Fireplace Accessories manuals

Nordpeis Me Ceiling SA-ME000-C14 User manual

Nordpeis

Nordpeis Me Ceiling SA-ME000-C14 User manual

Nordpeis Barcelona FP-BAR00-100 User manual

Nordpeis

Nordpeis Barcelona FP-BAR00-100 User manual

Nordpeis Cannes II Led User manual

Nordpeis

Nordpeis Cannes II Led User manual

Nordpeis SA-ME000-W24 User manual

Nordpeis

Nordpeis SA-ME000-W24 User manual

Nordpeis Powerstone User manual

Nordpeis

Nordpeis Powerstone User manual

Nordpeis N-29U User manual

Nordpeis

Nordpeis N-29U User manual

Popular Fireplace Accessories manuals by other brands

IHP RDV-CONTF-BLK installation instructions

IHP

IHP RDV-CONTF-BLK installation instructions

Napoleon GD851KT installation instructions

Napoleon

Napoleon GD851KT installation instructions

Sierra Products EasyFire B Model Service instructions

Sierra Products

Sierra Products EasyFire B Model Service instructions

Outdoor Lifestyles ODCOUG-36SSL installation instructions

Outdoor Lifestyles

Outdoor Lifestyles ODCOUG-36SSL installation instructions

Hearth & Home 6K manual

Hearth & Home

Hearth & Home 6K manual

Desa GA3700T installation instructions

Desa

Desa GA3700T installation instructions

Muskoka Muskoka MM284SCH Assembly instructions

Muskoka

Muskoka Muskoka MM284SCH Assembly instructions

Enviro DEXEN 8K1N troubleshooting manual

Enviro

Enviro DEXEN 8K1N troubleshooting manual

IHP DUALBURNER24N installation instructions

IHP

IHP DUALBURNER24N installation instructions

Contura C i50 Service manual

Contura

Contura C i50 Service manual

Valor G3 Series installation instructions

Valor

Valor G3 Series installation instructions

IHP FP6820-4S-DVFP installation instructions

IHP

IHP FP6820-4S-DVFP installation instructions

Ashley Signature Design P750-665 Installation instructions manual

Ashley

Ashley Signature Design P750-665 Installation instructions manual

Hargrove RMBE-PO installation guide

Hargrove

Hargrove RMBE-PO installation guide

Valor H5 installation manual

Valor

Valor H5 installation manual

Lennox Hearth Products SV4.5CTS Series installation guide

Lennox Hearth Products

Lennox Hearth Products SV4.5CTS Series installation guide

One Stop Gardens 91993 Assembly instructions

One Stop Gardens

One Stop Gardens 91993 Assembly instructions

European Home FULCRUM 95 installation guide

European Home

European Home FULCRUM 95 installation guide

manuals.online logo
manuals.online logoBrands
  • About & Mission
  • Contact us
  • Privacy Policy
  • Terms and Conditions

Copyright 2025 Manuals.Online. All Rights Reserved.