manuals.online logo
Brands
  1. Home
  2. •
  3. Brands
  4. •
  5. Nordson EFD
  6. •
  7. Control Unit
  8. •
  9. Nordson EFD 741MD-SS Series Manual

Nordson EFD 741MD-SS Series Manual

741MD-SS Series Dispense Valve
MAINTENANCE & PARTS GUIDE
IMPORTANT!
Save this Sheet.
Forward to
Maintenance or
Tool Crib
Supervisors
For EFD sales and service in over 30 countries,
contact EFD or go to www.efd-inc.com/contact
EFD, Inc.
East Providence, RI USA
800-556-3484; +1-401-434-1680 (outside the USA)
[email protected] www.efd-inc.com
EFD International Inc.
Dunstable, Bedfordshire, UK
0800 585733 or +44 (0) 1582 666334
Ireland 00800 8272 9444
[email protected] www.efd-inc.com
EFD, Inc., Asia
China: +86 (21) 5854 2345
[email protected] www.efd-inc.com/cn
Singapore: +65 6896 9630 [email protected]
A NORDSON COMPANY
Electronic pdf files of EFD®manuals are also
available at www.efd-inc.com/manuals.html.
O-ring #7806
Retaining
washer
#7807
Packing spring
#7808
Needle packing assembly
#7810
O-ring #4049
Inlet fitting
#79005
(2) Body mounting
screws HW6-32X1
Fluid body
#7430-SS (stainless steel)
Nye gel lubricant, 1 gram
foil packet (not shown)
#H-147-P
Retaining nut only
#7405-NUT
O-ring
#5148RV
Tip adapter with
retaining nut #7419
2
13
6
7
Valve maintenance
To thoroughly clean the fluid body and
replace needle packings:
1. Remove inlet fitting and tip adapter.
2. Remove fluid body from air cylinder body,
then remove O-ring.
3. Use tool #7803 to remove needle
packings from fluid body.
4. Remove any remaining packings and
spring from needle.
5. Clean needle with cloth dampened in
solvent and lubricate with Nye Lubricant
#865 gel included in the General
Maintenance Kit. Lubricate and reinstall
the needle packing assembly.
6. Install new, lubricated O-ring
on fluid body. Then install
chamber into air cylinder
body.
7. Turn the fluid body to posi-
tion fluid inlet hole in the
desired location. Install and
tighten body mounting
screws (2). Torque to 14
inch pounds (1.58 Nm).
8. Reinstall tip adapter/seat
assembly.
Valve Disassembly and
Reassembly Procedures
CAUTION: To prevent damage, the valve
must be disassembled starting at the fluid
outlet end of the valve.
www.efd-inc.com [email protected] USA 800-556-3484 Europe +44 (0) 1582 666334 Asia +86 (21) 5854 2345
Sales and service of EFD dispensing systems are available worldwide.
Stroke calibration knob
#7436
Air cylinder body
#7429
Air input hose #78518A
Thrust washer #7809
O-ring #7517
Piston return spring
#7422
Snap ring
#7526
Piston and needle
assembly #7421
O-ring #7519
5
9
10
11
12
13
Replacing piston and needle
assembly or piston O-ring
9. Remove needle stroke control knob.
10. Remove piston return spring and
thrust washers.
11. Remove the snap ring.
12. With small pliers on the spring pilot,
pull the piston and needle assembly
out of the air cylinder body. The
piston and needle assembly is one
unit and cannot be disassembled.
13. Clean air cylinder body wall and
replace piston O-ring. Lubricate
with Nye Lubricant #865 gel includ-
ed in the General Maintenance Kit.
14. Reassemble the valve in reverse
order of disassembly.
Note: Ensure that the lower cylinder nee-
dle O-ring is back in place before rein-
stalling the packing spring.
General Maintenance Kit
#741MD-RK
Includes all O-rings, needle
packing set and foil pack of
Nye Lubricant #865 gel.
Maintenance Tools:
6" adjustable wrench
snap-ring pliers
packing extraction tool #7803
www.efd-inc.com [email protected] USA 800-556-3484 Europe +44 (0) 1582 666334 Asia +86 (21) 5854 2345
Sales and service of EFD dispensing systems are available worldwide.
Troubleshooting Guide
No fluid flow
•If valve operating air pressure is too low,
the valve will not open. Increase air
pressure to 70 psi (4.8 bar) minimum.
•The reservoir air pressure may not be
high enough. Increase pressure.
•The needle stroke adjustment may be
closed. Open stroke adjustment.
•Material may have clogged the fluid
body or output tip adapter. Clean the
valve.
•Dispensing tip retaining nut may not
have been tightened enough to unseat
the needle. Tighten the nut.
Steady drip
•Remove the tip adapter/seat assem-
bly. Clean and inspect the needle.
Replace dispensing tip.
•Make sure tip size is not larger than
22 gauge.
Fluid leaks out the drain hole
•Fluid leaking out the drain hole on the
side of the valve indicates the needle
packings are worn. Replace needle
packings.
Inconsistent deposits
•Inconsistent deposits can result if the air
pressure controlling the valve and/or
supplying the reservoir is fluctuating or if
the valve operating pressure is less than
70 psi (4.8 bar). Check to be sure air
pressures are constant and the valve
operating pressure is 70 psi (4.8 bar).
•The time the valve is open must be con-
stant. Check to be sure the valve con-
troller is providing a consistent output.
Calibration Feature
The stroke control reference ring of each
741MD-SS valve is factory calibrated to
zero position. Slight internal variations in
dispensing tips may require the stroke
control to be recalibrated when tips are
changed. To do so:
1. Make a note of the current stroke
setting number.
2. Turn the calibration knob (inner)
counterclockwise one full turn.
3. Install the new dispensing tip and
ensure that the retaining nut is tight-
ened fully.
4. Turn the stroke adjustment knob
(outer) clockwise until it stops at the
zero position.
5. Turn the calibration knob clockwise
until it stops. The stroke adjustment
is now calibrated to zero.
6. Reset stroke to the required position
noted in step 1.
In the event that the stroke reference ring
must be repositioned or reset to the zero
mark, use the following procedure:
A. Remove the dispensing tip, if installed.
B. Turn the small knob counterclock-
wise one full turn.
C. Turn the large knob clockwise until it
stops.
If the zero on the reference ring does not
line-up with the index mark, continue with
the following steps:
D. Loosen the small set-screw located
on the reference ring.
E. Rotate reference ring until it aligns
with the reference line on the air
cylinder body.
F. Tighten the small set-screw to lock
the reference ring into position.
G. Install a dispensing tip and follow
calibration procedure steps 3 to 5.
A NORDSON COMPANY
USA: 800-556-3484 or +1-401-434-1680
Europe: 0800 585733 or +44 (0) 1582 666334
Asia: +86 (21) 5854 2345
[email protected] www.efd-inc.com
©2006 Nordson Corporation 741MD-MAINT-01 v062606

This manual suits for next models

1

Other Nordson EFD Control Unit manuals

Nordson EFD 750 Series User manual

Nordson EFD

Nordson EFD 750 Series User manual
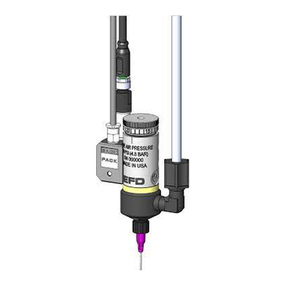
Nordson EFD 752V Series Manual

Nordson EFD

Nordson EFD 752V Series Manual

Nordson EFD 741V Series User manual

Nordson EFD

Nordson EFD 741V Series User manual

Nordson EFD 754V-SS User manual

Nordson EFD

Nordson EFD 754V-SS User manual
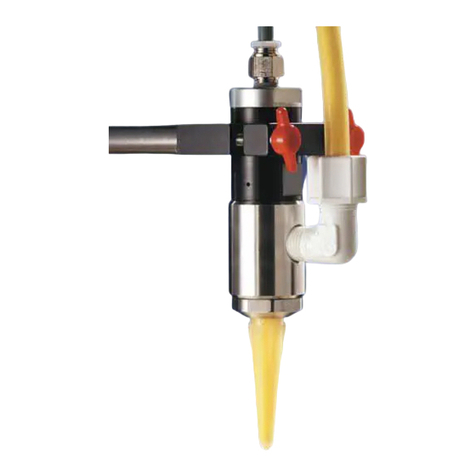
Nordson EFD 725HF Series User manual

Nordson EFD

Nordson EFD 725HF Series User manual

Nordson EFD 7860C-RS User manual

Nordson EFD

Nordson EFD 7860C-RS User manual
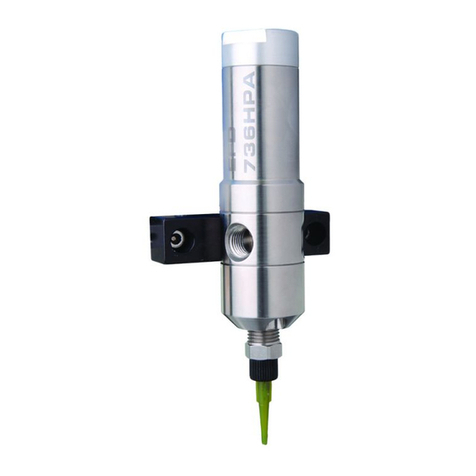
Nordson EFD 736HPA-NV Manual

Nordson EFD

Nordson EFD 736HPA-NV Manual

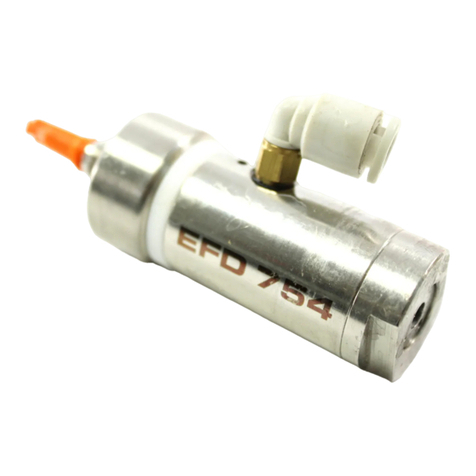
Nordson EFD 741MD-SS Series User manual
Nordson EFD

Nordson EFD 741MD-SS Series User manual

Nordson EFD 754V-SS Manual

Nordson EFD

Nordson EFD 754V-SS Manual
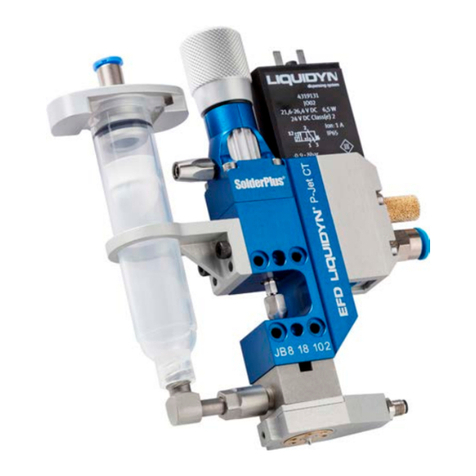
Nordson EFD Liquidyn P-Jet SolderPlus User manual
Nordson EFD

Nordson EFD Liquidyn P-Jet SolderPlus User manual

Nordson EFD 725HF-SS Manual

Nordson EFD

Nordson EFD 725HF-SS Manual

Nordson EFD 752V-HL User manual

Nordson EFD

Nordson EFD 752V-HL User manual

Nordson EFD 725HF-SS Manual

Nordson EFD

Nordson EFD 725HF-SS Manual
Nordson EFD 781S Series User manual

Nordson EFD

Nordson EFD 781S Series User manual

Nordson EFD 750V Manual

Nordson EFD

Nordson EFD 750V Manual
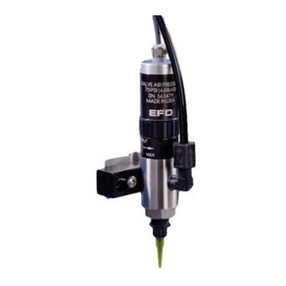
Nordson EFD 725DA-SS Manual

Nordson EFD

Nordson EFD 725DA-SS Manual

Nordson EFD 736HPA Manual

Nordson EFD

Nordson EFD 736HPA Manual
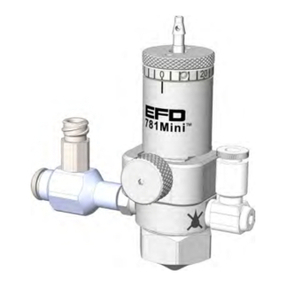
Nordson EFD 781Mini Series User manual
Nordson EFD

Nordson EFD 781Mini Series User manual

Nordson EFD 725HF User manual

Nordson EFD

Nordson EFD 725HF User manual
Nordson EFD 745NC User manual

Nordson EFD

Nordson EFD 745NC User manual

Nordson EFD 782RA Manual

Nordson EFD

Nordson EFD 782RA Manual

Popular Control Unit manuals by other brands
Hills Reliance NX-EchoStream NX-1248 Installation manual and programming guide

Hills Reliance

Hills Reliance NX-EchoStream NX-1248 Installation manual and programming guide

Cegasa eBick MCP Series user manual

Cegasa

Cegasa eBick MCP Series user manual
Siemens SINUMERIK 808D operating instructions
Siemens

Siemens SINUMERIK 808D operating instructions

Atlantic PRIMOCOSY HR BP Fitting instructions
Atlantic

Atlantic PRIMOCOSY HR BP Fitting instructions

Johnson Controls Tyco RSV-1 quick start guide
Johnson Controls

Johnson Controls Tyco RSV-1 quick start guide

Keysight Technologies 81610A user guide

Keysight Technologies

Keysight Technologies 81610A user guide

ADLINK Technology EGX-MXM-T1000 user manual

ADLINK Technology

ADLINK Technology EGX-MXM-T1000 user manual

Artesyn RTM-ATCA-F125 Installation & use

Artesyn

Artesyn RTM-ATCA-F125 Installation & use

Lawler NEPTUNE EMX 075 Installation & maintenance manual

Lawler

Lawler NEPTUNE EMX 075 Installation & maintenance manual

Roland SYSTEM-500 530 Q&A

Roland

Roland SYSTEM-500 530 Q&A

Interlogix DTIM Installation sheet

Interlogix

Interlogix DTIM Installation sheet

Invenco P2-400 SCC quick start guide

Invenco

Invenco P2-400 SCC quick start guide

LICHUAN MC556 Instruction book

LICHUAN

LICHUAN MC556 Instruction book
Arbor Technology EmETX-i2304 user manual
Arbor Technology

Arbor Technology EmETX-i2304 user manual

Festo CPX-E-EC Translation of the original instructions
Festo

Festo CPX-E-EC Translation of the original instructions

Paradigma SCB-09 User and installation manual

Paradigma

Paradigma SCB-09 User and installation manual

RADEMACHER 2696 Instruction manual for the electrical connection and for commissioning

RADEMACHER

RADEMACHER 2696 Instruction manual for the electrical connection and for commissioning
Weathermatic N-100 Installation instruction guide

Weathermatic

Weathermatic N-100 Installation instruction guide

manuals.online logo
manuals.online logoBrands
  • About & Mission
  • Contact us
  • Privacy Policy
  • Terms and Conditions

Copyright 2025 Manuals.Online. All Rights Reserved.