manuals.online logo
Brands
  1. Home
  2. •
  3. Brands
  4. •
  5. Nordson EFD
  6. •
  7. Control Unit
  8. •
  9. Nordson EFD 725HF-SS Manual

Nordson EFD 725HF-SS Manual

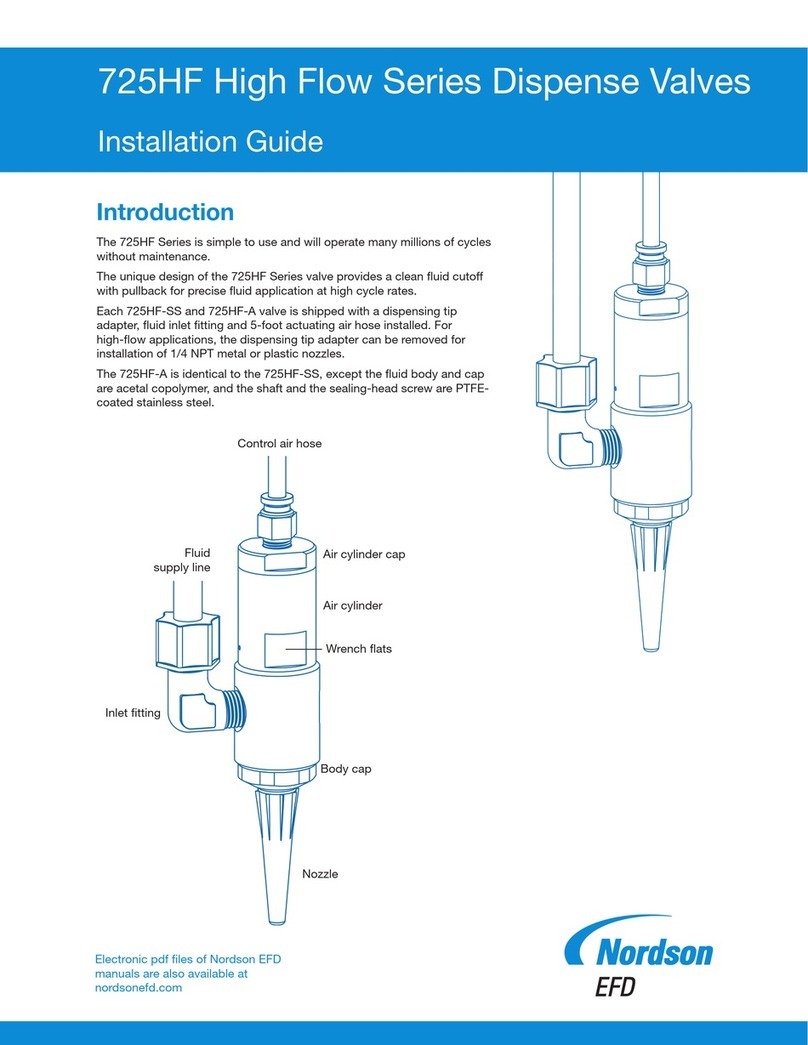
725HF-SS and 725HF-A
Piston Valves
MAINTENANCE & PARTS GUIDE
IMPORTANT!
Save this Sheet.
Forward to
Maintenance or
Tool Crib
Supervisors
Electronic pdf files of EFD®manuals are also available at
www.efd-inc.com/manuals.html.
For EFD sales and service in over 30 countries,
contact EFD or go to www.efd-inc.com/contact
EFD, Inc.
East Providence, RI USA
800-556-3484; +1-401-434-1680 (outside the USA)
[email protected] www.efd-inc.com
EFD International Inc.
Dunstable, Bedfordshire, UK
0800 585733 or +44 (0) 1582 666334
Ireland 00800 8272 9444
[email protected] www.efd-inc.com
EFD, Inc., Asia
China: +86 (21) 5854 2345
[email protected] www.efd-inc.com/cn
Singapore: +65 6896 9630 [email protected]
®
A NORDSON COMPANY
Valve Disassembly and
Reassembly Procedures
Shoulder "A"
Sealing head
#72603 (stainless steel)
#72612 (Teflon®-coated
stainless steel)
Body cap
with O-ring
#72602-SS
(stainless steel)
#72610-A
(acetal copolymer)
Shaft
#72604 (stainless steel)
#72611 (Teflon®-coated stainless steel)
O-ring only #72609-A
(acetal copolymer)
#72601-SS
(stainless steel)
Fluid body
Fluid fitting
#72608P
Diaphragm
#72536
1
2
3
5
8
1. Put threaded rod in mounting hole.
2. Remove body cap.
3. Remove sealing head.*
4. With a wrench on the flats of the
air cylinder body, turn to loosen
fluid body.
5. Remove fluid body.*
6. Remove input air hose from push-
in fitting on air cap.
7. Insert 1/8” hex wrench through air
inlet hole in cap and turn shaft,
locking screw out two turns.*
8. Using the hex on the shaft,
unthread shaft, and remove
shaft and diaphragm.*
9. Unscrew air cylinder cap from air
cylinder body.*
10. Remove piston and spring.
Note: Before reassembling valve,
clean all parts, replace O-rings,
sealing head and diaphragm.
Inspect for damaged threads, piston
pins for straightness and fluid body
seat for pitting.
Reassemble the valve in reverse order
of disassembly. Lubricate parts indi-
cated with Nye Lubricant #865 included
in the General Maintenance Kit.
CAUTION: To prevent damage, the valve
must be disassembled starting at the fluid
outlet end of the valve.
www.efd-inc.com [email protected] USA 800-556-3484 Europe +44 (0) 1582 666334 Asia +86 (21) 5854 2345
Sales and service of EFD dispensing systems are available worldwide.
Shaft
locking
screw
#72531
Air piston with O-ring
and shaft locking screw
#72532
Nye gel lubricant, 1 gram
foil packet (not shown)
O-ring only #72532A
Spring #72528
Air cylinder
body assembly
#72535
Thrust washer
#72533
Air cylinder cap
with O-ring
#72530
O-ring only
#72530A
Push-in fitting
1/8 NPT x 1/4 OD
#2184
4
6
7
9
10
General Maintenance Kit
#725HF-RK for 725HF-SS valve
#725HF-A-RK for 725HF-A
valve†
Includes air cylinder and body cap
O-rings, diaphragm, sealing head
with screw and lubricant.
†Repair kit for 725HF-A valve also
includes Teflon®-coated sealing-
head screws.
Maintenance Tools:
1/8" hex wrench
1/4" flat-tip screwdriver
3/8" box wrench
7/8" open-end wrench
8" adjustable wrench
1/4" NPT male pipe or rod
step part newton meters (inch pounds)
3 Sealing head screw 1.69 Nm (15 inch pounds)
5 Stainless steel fluid body 10.8 - 13.6 Nm (8 - 10 foot pounds)
5 Acetal fluid body .033 Nm (.30 inch pounds)
7 Shaft locking screw 2.82 Nm (25 inch pounds)
8 Shaft 1.69 Nm (15 inch pounds)
9 Air cylinder cap 10.8 Nm (8 foot pounds)
*Parts that require a specific torque when reassembling the valve.
725HF-SS assembly of piston,
diaphragm and shaft.
www.efd-inc.com [email protected] USA 800-556-3484 Europe +44 (0) 1582 666334 Asia +86 (21) 5854 2345
Sales and service of EFD dispensing systems are available worldwide.
Troubleshooting Guide
No fluid flow
•If valve operating air pressure is
too low, the valve will not open.
Increase air pressure to 70 psi
(4.8 bar) minimum.
•The reservoir air pressure may not
be high enough. Increase pressure.
•The dispensing nozzle may be
clogged. Replace nozzle.
•Fluid may have solidified in the fluid
body. Clean the fluid body.
Fluid drools after the valve closes,
eventually stopping
•This is caused when air is trapped
in the outlet section of the fluid
body or the fluid has entrapped air.
The air will expand after the valve
closes, causing extrusion until the
air reaches atmospheric pressure.
Purge the valve by dispensing at
a steady flow until clear. If a small
tip is used, it may be necessary
to remove the tip while purging to
obtain sufficient flow to carry the
air down through the tip adapter.
•If the fluid has entrapped air, the
material must be degassed before
dispensing.
Note: For stripes and lines, input air
pressure can be lowered to eliminate
opening surge.
Fluid drips at a steady rate after the
valve closes
•A steady drip indicates failure of
the sealing head to close fully due
to particle build-up or wear. In
either case, replace the sealing
head in accordance with the
maintenance instructions.
Valve responds slowly when
opening and closing
•Valve response is related to control
air hose length and size. The valve
is supplied with 5-feet of 1/8” tub-
ing attached. Any additional length
or size change will affect response
time. Check to be sure the length
and size have not been changed.
Fluid flows out of the drain hole
•Fluid flowing out of the drain hole
indicates a ruptured diaphragm.
Replace in accordance with the
maintenance instructions.
Inconsistent deposits
•Inconsistent deposits can result
if the air pressure controlling the
valve and/or supplying the reser-
voir is fluctuating or if the valve
operating pressure is less than
70 psi (4.8 bar). Check to be
sure air pressures are constant
and the valve operating pressure
is 70 psi (4.8 bar).
•The time the valve is open must be
constant. Check to be sure the
valve controller is providing a con-
sistent output.
A NORDSON COMPANY
USA: 800-556-3484 or +1-401-434-1680
Europe: 0800 585733 or +44 (0) 1582 666334
Asia: +86 (21) 5854 2345
[email protected] www.efd-inc.com
Teflon is a registered trademark of DuPont.
©2006 Nordson Corporation 725HF-MAINT-01 v062606

This manual suits for next models

3

Other Nordson EFD Control Unit manuals

Nordson EFD 7860C-RS User manual

Nordson EFD

Nordson EFD 7860C-RS User manual
Nordson EFD 781Mini Series User manual

Nordson EFD

Nordson EFD 781Mini Series User manual

Nordson EFD 736HPA Manual

Nordson EFD

Nordson EFD 736HPA Manual
Nordson EFD 725HF User manual

Nordson EFD

Nordson EFD 725HF User manual
Nordson EFD 781S Series User manual

Nordson EFD

Nordson EFD 781S Series User manual
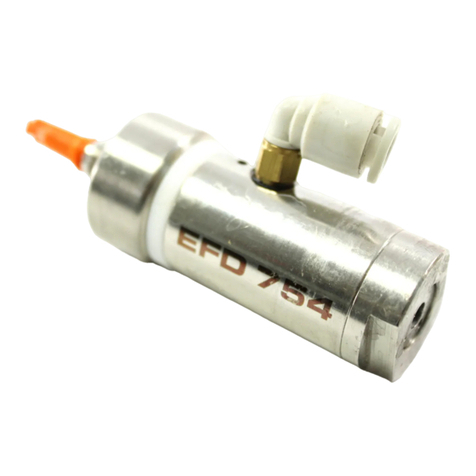
Nordson EFD 754V-SS Manual

Nordson EFD

Nordson EFD 754V-SS Manual
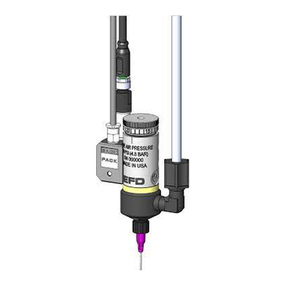
Nordson EFD 752V Series Manual

Nordson EFD

Nordson EFD 752V Series Manual

Nordson EFD 754V-SS User manual

Nordson EFD

Nordson EFD 754V-SS User manual

Nordson EFD 782RA Manual

Nordson EFD

Nordson EFD 782RA Manual

Nordson EFD 752V-HL User manual

Nordson EFD

Nordson EFD 752V-HL User manual
Nordson EFD 745NC User manual

Nordson EFD

Nordson EFD 745NC User manual

Nordson EFD 741MD-SS Series User manual

Nordson EFD

Nordson EFD 741MD-SS Series User manual

Nordson EFD 750V Manual

Nordson EFD

Nordson EFD 750V Manual

Nordson EFD 741V Series User manual

Nordson EFD

Nordson EFD 741V Series User manual
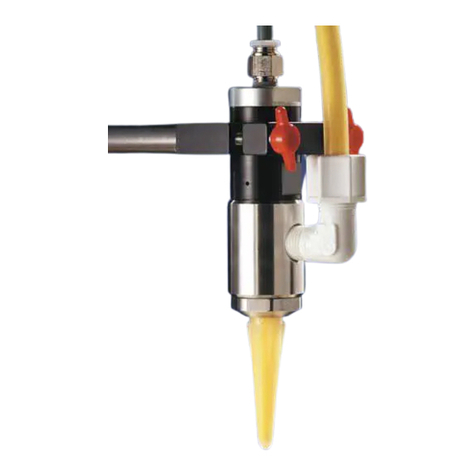
Nordson EFD 725HF-SS Manual

Nordson EFD

Nordson EFD 725HF-SS Manual
Nordson EFD 725DA-SS Manual

Nordson EFD

Nordson EFD 725DA-SS Manual
Nordson EFD 725HF Series User manual

Nordson EFD

Nordson EFD 725HF Series User manual
Nordson EFD Liquidyn P-Jet SolderPlus User manual

Nordson EFD

Nordson EFD Liquidyn P-Jet SolderPlus User manual

Nordson EFD 750 Series User manual

Nordson EFD

Nordson EFD 750 Series User manual
Nordson EFD 736HPA-NV Manual

Nordson EFD

Nordson EFD 736HPA-NV Manual

Nordson EFD 741MD-SS Series Manual

Nordson EFD

Nordson EFD 741MD-SS Series Manual

Popular Control Unit manuals by other brands
Pickering 40-565A user manual

Pickering

Pickering 40-565A user manual

Flowserve R6 Installation, operation and maintenance instructions

Flowserve

Flowserve R6 Installation, operation and maintenance instructions

iRex IRM72S1-400 installation manual

iRex

iRex IRM72S1-400 installation manual

Tektronix 73A-541 user manual

Tektronix

Tektronix 73A-541 user manual

Stahl 9172 Series operating instructions

Stahl

Stahl 9172 Series operating instructions

MTT MS3765 user manual

MTT

MTT MS3765 user manual

DAV TECH DAV 150 Installation and maintenance guide
DAV TECH

DAV TECH DAV 150 Installation and maintenance guide

Toa AT-4012B-EB installation manual

Toa

Toa AT-4012B-EB installation manual

Lindpointner geba tronic Cody Light HF 1/1 manual
Lindpointner

Lindpointner geba tronic Cody Light HF 1/1 manual

schmersal Elan SRB 201ZH X3 operating instructions
schmersal

schmersal Elan SRB 201ZH X3 operating instructions

aci ANALOG RESCALING Series Installation & operation instructions
aci

aci ANALOG RESCALING Series Installation & operation instructions

Allmess ITRON EquaScan pMIURF Assembly and Programming Instructions

Allmess

Allmess ITRON EquaScan pMIURF Assembly and Programming Instructions

EGi play & sound 41518 Basic instructions

EGi

EGi play & sound 41518 Basic instructions

Omron CJ1W-TS562 instruction sheet

Omron

Omron CJ1W-TS562 instruction sheet

Cistermiser Direct Flush Discreet installation guide

Cistermiser

Cistermiser Direct Flush Discreet installation guide

Active Audio NUT-RC user guide

Active Audio

Active Audio NUT-RC user guide

SOMFY Scenario Player for TaHoma Installer's guide

SOMFY

SOMFY Scenario Player for TaHoma Installer's guide

Victaulic 5-Year Rebuild Kit instructions

Victaulic

Victaulic 5-Year Rebuild Kit instructions

manuals.online logo
manuals.online logoBrands
  • About & Mission
  • Contact us
  • Privacy Policy
  • Terms and Conditions

Copyright 2025 Manuals.Online. All Rights Reserved.