Installation
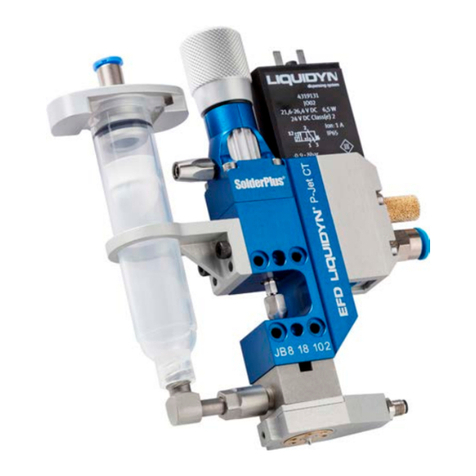
1. Mount the radial spinner bracket using
the rod provided or bolt it onto an
appropriate mounting xture. Follow
these steps to install the radial spinner
valve:
a. Slide the valve up into the
bracket opening until it bottoms
out at the actuating air tting.
Secure in place.
b. Install the special bent tip in the
rotating luer lock adapter. Make
sure the tip end is in the vertical
position.
c. Slide the air motor into the
bracket opening. Make sure
the motor collet does not make
contact at the bend of the
dispense tip.
Prior to installing this
system, read the associated
reservoir and ValveMate™
7160RA controller operating
manuals to become familiar
with the operation of all
components of the radial
spinner system.
NOTE: Refer to the
ValveMate 7160RA
controller operating
manual for air connection
instructions.
d. Insert the shaft into the collet.
Set the tip approximately
0.5mm (0.20") from the
spinning disc surface. Tip
alignment should be 2.5 mm
(0.100") away from the radial
spinner shaft.
e. Realign the valve and motor
in the bracket as needed
to achieve recommended
clearances.
2. Connect the uid feed hose to the
reservoir outlet and the valve inlet
port using the appropriate ttings
(supplied).
3. Connect the 4 mm diameter
air hose from the valve to
the 7160RA controller. The
white connector goes to the
ACTUATING AIR port. Make
sure the nozzle air is OFF and
set to 0 bar (0 psi).
NOTE: The NOZZLE AIR port
is not used for radial spinner
installations.
4. Connect the white and black
6mm diameter air hoses to
the air motor assembly: white
connects to the motor speed
control and black connects to
the F tting (actual markings
on air motor).
5. Connect the white and black
6mm diameter hoses to
the lter-regulator-lubricator
assembly. White connects to
the oil recovery bowl and black
connects to the control valve.
6. Fill the uid reservoir. After lling,
secure the cover and connect the
reservoir air pressure regulator
to the air tee using the exible
air line (supplied). Attach the
male quick-connect in the air
line to the reservoir regulator
and then attach the white
quick-connect to the air tee.
To pressurize the system, slide
the shut-off valve in the air line
toward the uid reservoir.
ow to approximately one drop
per second.
9. Adjust the air motor RPM
using the speed control knob.
Turn the speed control knob
clockwise to reduce RPM and
counterclockwise to increase
RPM.
7. Set the reservoir pressure regulator
according to uid viscosity: low for
thin uids [0.07 to 0.2 bar (1 to
3 psi)] and higher for thicker uids.
8. Set the 752V-UHSS valve (or other
appropriate valve model) stroke
control to achieve a desired ow
rate onto the spinning disc. Set the
To pressurize
0.5 mm
(.020”)
2.5 mm
(.100”)
NOTE: Set the tip approximately 0.5mm (0.020")
from the spinning disc surface. Tip alignment should
be 2.5mm (0.100") away from the radial spinner
shaft.
Control valve
a
6
3
5
2
1
7
4
8
e
c
bd
9
7860C-RS Radial Spinner System
2
www.nordsonefd.com [email protected] 800-556-3484 Sales and service of Nordson EFD dispensing systems are available worldwide.


