manuals.online logo
Brands
  1. Home
  2. •
  3. Brands
  4. •
  5. norix
  6. •
  7. Indoor Furnishing
  8. •
  9. norix TNT0500-00XT User manual

norix TNT0500-00XT User manual

Other norix Indoor Furnishing manuals

norix C221-111 Series User manual

norix

norix C221-111 Series User manual

norix TNT0300-FL002T User manual

norix

norix TNT0300-FL002T User manual

norix Titan TNT1991 User manual

norix

norix Titan TNT1991 User manual

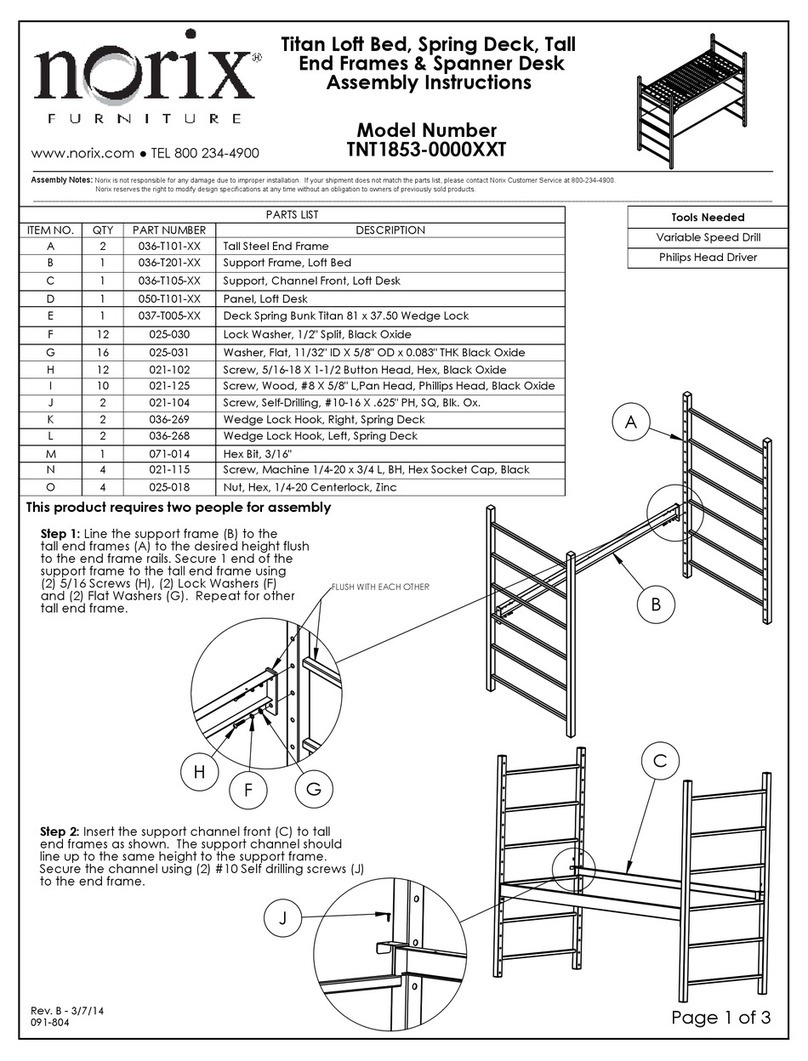
norix TNT1853-0000XXT User manual

norix

norix TNT1853-0000XXT User manual

norix PRD-RR06K User manual

norix

norix PRD-RR06K User manual

norix Prodigy PRD700 User manual

norix

norix Prodigy PRD700 User manual

norix ATN101-XXX.3 User manual

norix

norix ATN101-XXX.3 User manual

norix TNT1X1X User manual

norix

norix TNT1X1X User manual

norix TNT0802-BX1 User manual

norix

norix TNT0802-BX1 User manual

norix PRD240 User manual

norix

norix PRD240 User manual

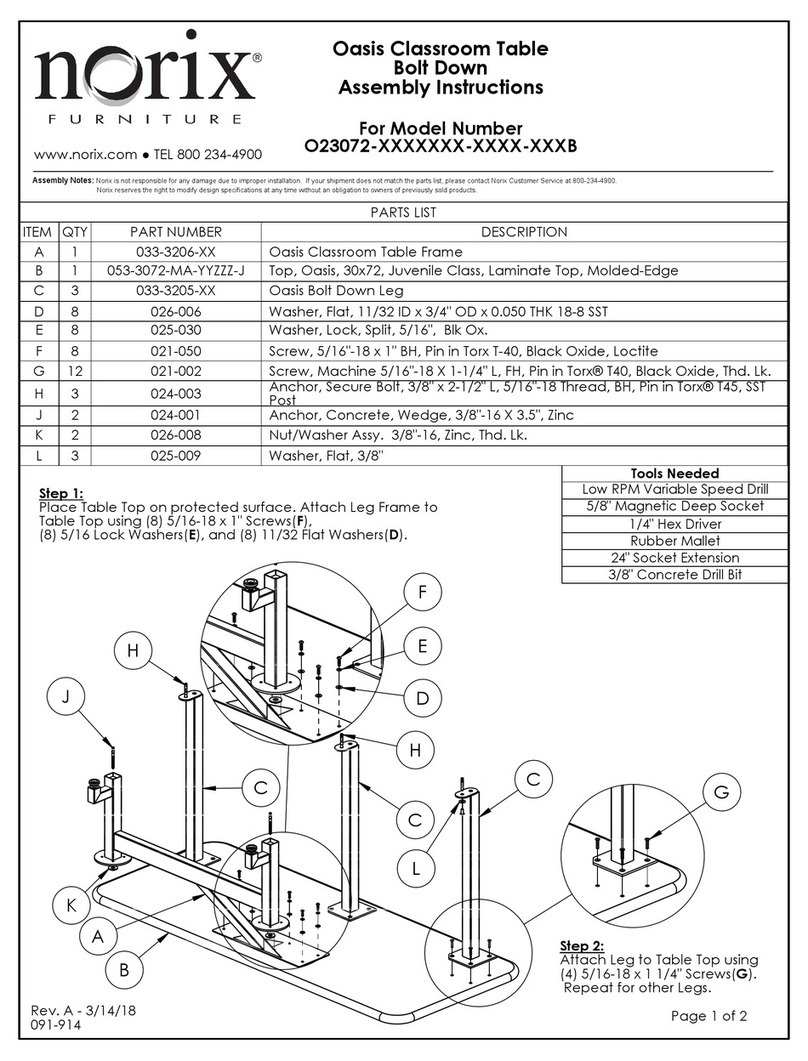
norix Oasis Classroom Table User manual

norix

norix Oasis Classroom Table User manual

norix B510-2127 User manual

norix

norix B510-2127 User manual

norix PRD100 User manual

norix

norix PRD100 User manual

norix C221 Series User manual

norix

norix C221 Series User manual

norix Titan TNT1620-0L T Series User manual

norix

norix Titan TNT1620-0L T Series User manual

norix Protege II Single PROT100 Series User manual

norix

norix Protege II Single PROT100 Series User manual

Popular Indoor Furnishing manuals by other brands

Regency LWMS3015 Assembly instructions

Regency

Regency LWMS3015 Assembly instructions

Furniture of America CM7751C Assembly instructions

Furniture of America

Furniture of America CM7751C Assembly instructions

Safavieh Furniture Estella CNS5731 manual

Safavieh Furniture

Safavieh Furniture Estella CNS5731 manual

PLACES OF STYLE Ovalfuss Assembly instruction

PLACES OF STYLE

PLACES OF STYLE Ovalfuss Assembly instruction

Trasman 1138 Bo1 Assembly manual

Trasman

Trasman 1138 Bo1 Assembly manual

Costway JV10856 manual

Costway

Costway JV10856 manual

moss DESIGN Caisson Credenza Assembly instructions

moss DESIGN

moss DESIGN Caisson Credenza Assembly instructions

Aquaglide FULL DECK 15.0 owner's manual

Aquaglide

Aquaglide FULL DECK 15.0 owner's manual

AREBOS AR-HE-SW30 user manual

AREBOS

AREBOS AR-HE-SW30 user manual

Till-Hilft Fulda 87005.330 Assembly instructions

Till-Hilft

Till-Hilft Fulda 87005.330 Assembly instructions

Twoey Outside 2010 quick start guide

Twoey Outside

Twoey Outside 2010 quick start guide

Hettich Easys 200 operating instructions

Hettich

Hettich Easys 200 operating instructions

The bedboss RELAX 404 Series owner's manual

The bedboss

The bedboss RELAX 404 Series owner's manual

Oeseder Möbelindustrie Bern 991 720 Assembly instructions

Oeseder Möbelindustrie

Oeseder Möbelindustrie Bern 991 720 Assembly instructions

Costway HW68469 user manual

Costway

Costway HW68469 user manual

Next ALIX A27743 Assembly instructions

Next

Next ALIX A27743 Assembly instructions

BROSA Hans Assembly guide

BROSA

BROSA Hans Assembly guide

Prodigg MINIKA PBA015T-FUR installation manual

Prodigg

Prodigg MINIKA PBA015T-FUR installation manual

manuals.online logo
manuals.online logoBrands
  • About & Mission
  • Contact us
  • Privacy Policy
  • Terms and Conditions

Copyright 2025 Manuals.Online. All Rights Reserved.

A
DETAIL A
A
B
C
Mark and drill holes
3 places.
B
DETAIL B
D
E
E
F
SECTION E-E
DETAIL F
SCALE 1 : 4
E
Drawer Channel
Support Panel
Slide hex nut through
opening in support
panel
Mounting the Safety Rail to a Panel Bed.
If unit has drawers, the drawers will need
•
to
be removed to allow fasteners to be
assembled underneath. To remove drawers,
remove the two drawer stop screws inside the
drawers.
NOTE: (1) 026-008 NUT / WASHER IS NOT
REQUIRED FOR THIS INSTALLATION.
1. Mark (3) hole locations on bed Top Panel
to
be drilled. Use Top Panel attachment screws
to locate the Safety Rail (Detail A). The screw
heads will fit into the small clearance holes in
the bottom flange on the Safety Rail. The
screws should not need to be removed. Mark
the (3) hole locations to be drilled. Use a
center punch as needed, and drill the holes to
7/16" dia. One of the holes may go through
the top flange of the support panel
underneath
the bed (if so equipped). Clean burrs from the
holes.
2. Referring to Detail A, assemble the Safety
Rail to the bed using (3) 3/8" Screws (B), and
(3) 3/8" Lock Washers (C). On the underneath
side, (2) 3/8" Nut/Washers (D) will be used in
the locations where there is no support panel
(Detail B). In the support panel location (Detail
C), a Hex Nut (E) will be used. Insert the Hex
Nut in the opening and slide into place. When
the screw is tightened from the top, it will draw
the Hex Nut tight.
3. Tighten hardware securely.
Locate clearance
holes over Top Panel
screw heads. Do not
remove screws.
Parts List
ITEM
QTY.
PART NUMBER
DESCRIPTION
A
1
030-114-XX
Safety Rail, Titan
B
3
021-010
Screw 3/8-16 x 1 Btn Hd Torx Pin Blk Ox
C
3
025-003
Washer 3/8 Lock, Blk Ox
D
2
026-008
Nut/Washer Assy 3/8-16 Weld Nut, w/Driloc, Zinc
E
1
025-024
Nut 3/8-16 Zinc
Tools Needed
Low RPM Variable Speed Drill
7/16" Drill Bit
T-45 Torx Driver
5/8" Wrench
Rev. E - 12/7/15
091-728
Page 1 of 2
www.norix.com ● TEL 800 234-4900
Assembly Notes:
Norix is not responsible for any damage due to improper installation. If your shipment does not match the parts list, please contact Norix Customer Service at 800-234-4900.
Norix reserves the right to modify design specifications at any time without an obligation to owners of previously sold products.
___________________________________________________________________________________________________________________________________________________________________________________________________
Titan Safety Rail
Assembly Instructions
Model Number
TNT0500-00XT
C
DETAIL C
A
B
C
D
Mounting the Safety Rail to a Frame Style Bed.
NOTE: (1) 025-024 NUT 3/8-16 ZINC IS NOT
REQUIRED FOR THIS INSTALLATION.
1. Locate Safety Rail in desired position and mark (3)
hole locations on bed to be drilled. Use a center punch
as needed, and drill the holes to 7/16" dia., first drilling a
small pilot hole and progressing upward in size to 7/16".
Clean burrs from the holes.
2. Assemble the Safety Rail to the bed using (3) 3/8"
Screws (B), 3/8" Lock Washers (C), and 3/8"
Nut/Washers (D).
3. Tighten hardware securely.
Parts List
ITEM
QTY
PART NUMBER
DESCRIPTION
A
1
030-114-XX
Sefety Rail, Titan
B
3
021-010
Screw 3/8-16 x 1 Btn Hd Torx Pin Blk Ox
C
3
025-003
Washer 3/8 Lock, Blk Ox
D
3
026-008
3/8-16 Flanged Nut
Rev. E - 12/7/15
091-728
Page 2 of 2