Nortik Scubi 1 User manual

Assembling Instruction - nortik scubi 1
recreational kayak
QR-Code assembly video:

Assembling Instruction - nortik scubi 1
(With integrated stiffening plates in bow and stern)
Dear customer,
You have purchased a nortik scubi 1 – a hybrid of an inflatable and folding boat, which has
been designed for recreational use.
The body stiffness results from the frame structure on the one hand, on the other hand from
the sponsons. It is crucial for the sponsons to have the right pressure.
Please keep that in mind while assembling and read the manual carefully.
The experience shows that the first assembly needs more time than you will need later and
we ask you to assemble the boat step by step according to this instruction. After some
practice, you will assemble the nortik scubi 1 easily within 8-10 minutes!
If you have any questions, your dealer will be happy to assist you. Otherwise, you can also
1) Overview parts
1) Hull
2) 2x Stem (bow and stern = identical)
3) 2x Keel rod, one of them with a riveted half tube
4) 2x bigger cross rib with clip on it
5) 2x smaller cross rib
6) Seat
7) 2x air sponson
8) Bag with plate inside
9) Air pump
10) Spray skirt
11) Repair kit
12) Shoulder straps for attaching to the packing bag
13) Packing bag (no pic)
1)
2)
3)
4)
5)
8)
7)
6)
10)
12)
11)
9)

2) Assembling
Please read the assembling instruction carefully and follow each step as described.
After a few times of assembling you won't need the instruction anymore.
Unfold the sponsons (left picture).
Right behind the middle the
sponsons are connected by the
inflating tubes. This will provide a
pressure equalization. The tubes will
be behind the cockpit, the Velcros
are in the bow.
Take the two stems (identical) and
connect one of the keel rods to each
one of them.
This should result in the left picture.
The stem with the keel rod with the
riveted half tube on is now the bow
segment.
The stern segment consists of the
other stem and the keel rod with the
hemispherical end and a clip that
has to point upwards!
Attention:
The open side of the half tube has to
face downwards!
(see picture on the left)
Stern
Bow

Now attach the sponsons with the
Velcros at the end to the small rods
at the bow stem.
Attention: The sleeves for the cross
ribs and the two longer Velcros (see
arrow on the left) have to face
inwards.
Put the Velcros around the small
rods at the stem and close them.
(see pictures on the left)
Proceed identically on the other side
and at the stern.

This should result in the left picture.
Insert the bow and the stern segments (with the attached sponsons) in the hull. (see above)
Important for the insertion:
There have been "stiffening plates" integrated into bow and stern. They lay inside a sleeve
inside the hull. You can feel it, when you touch the plates from inside or outside the hull. The
plates stay inside the sleeves. But should it be necessary, they can easily be replaced.
Please make sure, that the stiffening plates sit correctly and symmetrical inside the sleeves,
while inserting the stem. Make also sure to position the stem neatly under the plates,
without pushing against them. Insert the stem with the sponsons as much as you can
(under the plates) into bow and stern. Check always that the frame is in a straight position.
Pay attention to the sponsons not
being jammed under the keel, but
laying neatly to the left and the
right inside the hull.
If necessary, adjust the stiffening
plate by pushing/pulling the skin, in
order to lie neatly and symmetrical
in the hull.

Then bow and stern segment are
connected.
Therefore, take out the split pin
from the keel rod.
Pull the to keel rods upwards
outside the hull and join them (as
shown in the picture).
The rod with the riveted half tube
has to be "on top" of the other,
and the hemispherical end has to
be joined "under" the half tube.
Ensure that the stem still sits
neatly and symmetrical inside the
hull, then slowly press the keel
rods downwards into the hull.
Especially during the first few
assembling this can be a little
difficult, because of the high
tension.
But it gets easier each time.
The keel rods then get connected
with the split pin.

Then insert the two smaller cross
ribs behind and in front of the
cockpit from the top into the
sleeves on the sponsons.
It is important to insert the cross
ribs completely.

Then thread the two bigger cross ribs
through the straps underneath the seat.
Now install the seat.
Therefore, insert the cross ribs from the
bottom into the sleeves at the sponsons.
Clip the cross ribs to the keel rod. The one
in the front sits right before the upward
facing ring on the keel.
Attach the straps of the back rest to the
seat, by pulling it through the D-rings on
the sponsons and clamp it securely.
Adjust the seat as you like it best.
Now there is the bag with the plate inside left. It has two functions: On the one hand you
can stow the packing bag of your nortik scubi 1. On the other hand you push the whole bag
inside the bow with the plate pointing to the cockpit and attach it to the Velcros. Thus, the
sponsons (which are not inflated, yet!) are pushed apart, which provides more space for your
feet. Especially for persons taller than 1,80m that can be relevant. Shorter people might not
use this bag at all, or even might prefer to paddle without it. Just try, what suits you best!
D
-
Ring

Inflate the sponsons
Important: Start with the upper sponsons and pump this one up to 2/3. Please ensure, that
the cross ribs are still in the right position and that the sponsons are symmetrically in the hull.
Adjust, if necessary. You can also reinsert the (half) cross ribs into the sleeves if necessary.
Then pump up the lower sponsons up to 1/2. Then pump up the upper completely and then
the lower completely.
Please note: The whole construction of the nortik scubi 1 depends on the right pressure of
the sponsons, which will give additional tension and stiffness to the frame. With too less
pressure, the construction gets flexible and there will be too much load on the frame and the
stiffening plates. Is there too much pressure in the sponsons, these can be damaged.
Please ensure that you let air out when your nortik scubi 1 is in the sun for longer time.
The perfect pressure is 0.25 bar (3.63 psi). You can buy the nortik manometer for your air
pump to control this exactly. If you don’t have it, please inflate the sponsons as far, until it
gets hard to fill in more with the delivered pump. Don’t use your nortik scubi 1 with less than
0.2 bar (2.9 psi) and not with more than 0.3 bar (4.35 psi)!
Your nortik scubi 1 is now ready. If you want, you can put on the skirt with the Velcro.
Have fun on the water!
3) Disassembling:
For disassembling proceed in the same way as for assembling but in reverse order.
First deflate the sponsons, take out the seat,…etc.
4) Care, Safety, Storage and further Information:
In general:
If the boat is used in the sun please check regularly the pressure of the sponsons. Reduce
the pressure by opening the valves a bit, if necessary. Air expands, getting warm.
Board the boat only when it is completely in the water and has no contact to the ground
anymore. The maximum allowed load (incl. paddler) is 110 kg.
Important: If the boat is to be stored for a longer time, take the air out of the sponsons!
Ensure that the boat skin and rods are dry when packed and stored.
Safety: Always wear a life jacket when you are using your boat on the
Waters! Beware of rapid weather changes!
The nortik scubi 1 is a boat for recreational use on calmer waters.

Brackish / salt water:
If you want to use your boat in the brackish water / salt water, the treatment of the rod
with "CorroFilm" is absolutely recommended.
CorroFilm can be sprayed onto (and if necessary also in) the rods and generates a
transparent, dry protective film which protects the aluminum perfectly against the "attack" of
salt water. Ask your dealer about CorroFilm. Clean the rods and boat skin after exposing it to
salt water (e.g. after the tour) with sufficient fresh water.
The boat skin itself is resistant to salt water. Nevertheless, it should also be cleaned with
fresh water after the return from a tour in brackish or salt water. Especially when sand or
small stones can cause high abrasion.
Repairing and reinforcements
The PVC / PU skin can easily be repaired in case of abrasion, a small crack or hole with the
included repair kit.
- Cut a strip of PVC / PU material from the supplied repair kit. Make sure that it extends
generously over the damaged area.
- Round the corners of the strip with scissors or similar.
- Clean the strip and the area to be patched. Both must be free of grease.
- It is best to roughen the spot with a fine sandpaper,(but in a pinch it will also work without it)
- Apply a thin layer of glue on both surfaces
- Wait for the glue to dry slightly, then press the patch firmly onto the area to be repaired.
If you can make the repairing at home: Let the glue dry for an hour, place the patch on the
spot, and gently warm both with a hot air dryer. Then push the patch firmly onto the hull.
On tour: The boat can be reused shortly after repair. However, the adhesive and protective
effect still improves within 12 hours when the adhesive is completely dried. The sponson can
be repaired in the same procedure as described above. Please pay attention to a clean,
grease-free surface.
Your boat is equipped with a keel strip. However, you can apply additional reinforcements at
much stressed points. Depending on the type of use, other keel strips or partial
reinforcements of the skin are recommended. If necessary, ask for it in specialized dealers.
We are looking forward to review, praise, or whatever else you want to share about

For more information about your and other products and sources of supply and Downloads at
any time to:
Other Nortik Boat manuals

Nortik
Nortik Fold 4.2 User manual
Nortik
Nortik Scubi 3 User manual

Nortik
Nortik Packraft TrekRaft User manual

Nortik
Nortik Scubi 2 User manual
Nortik
Nortik scubi 2 XL User manual
Nortik
Nortik scubi 1 XL User manual
Nortik
Nortik Navigator User manual
Nortik
Nortik ARGO User manual
Nortik
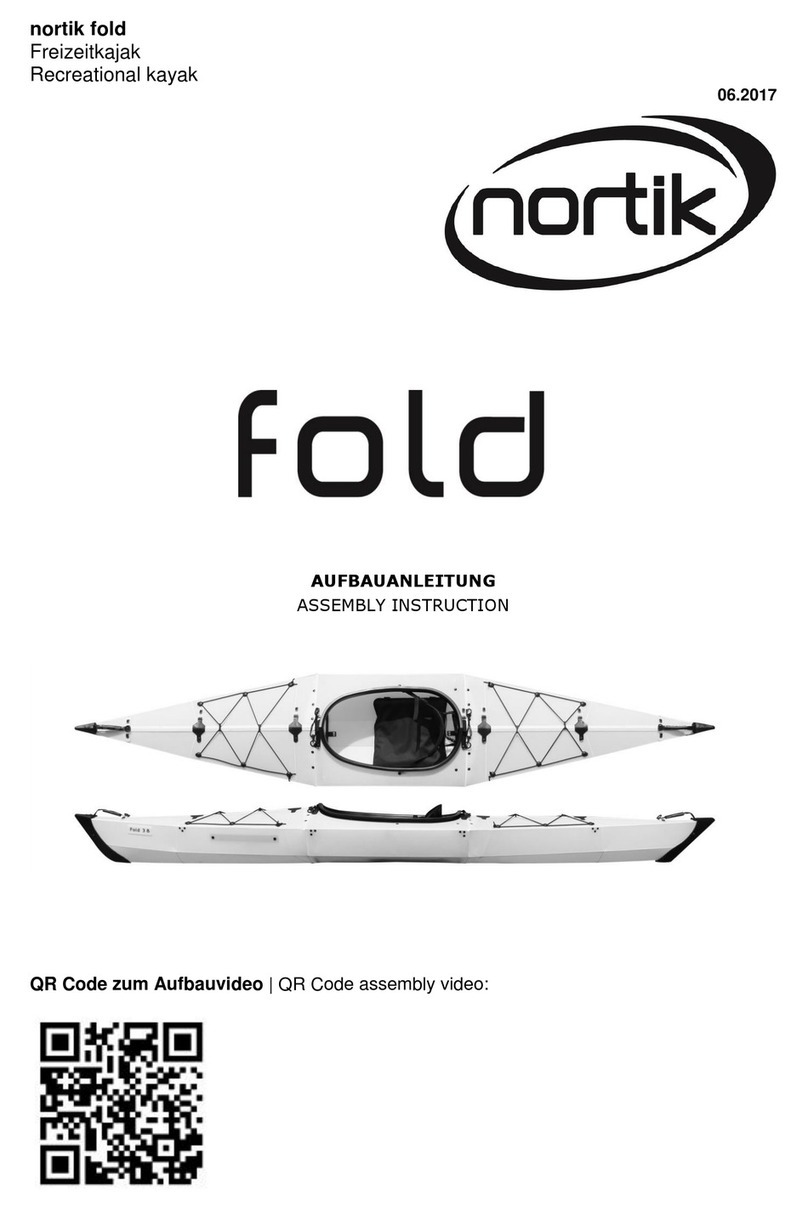
Nortik fold User manual


