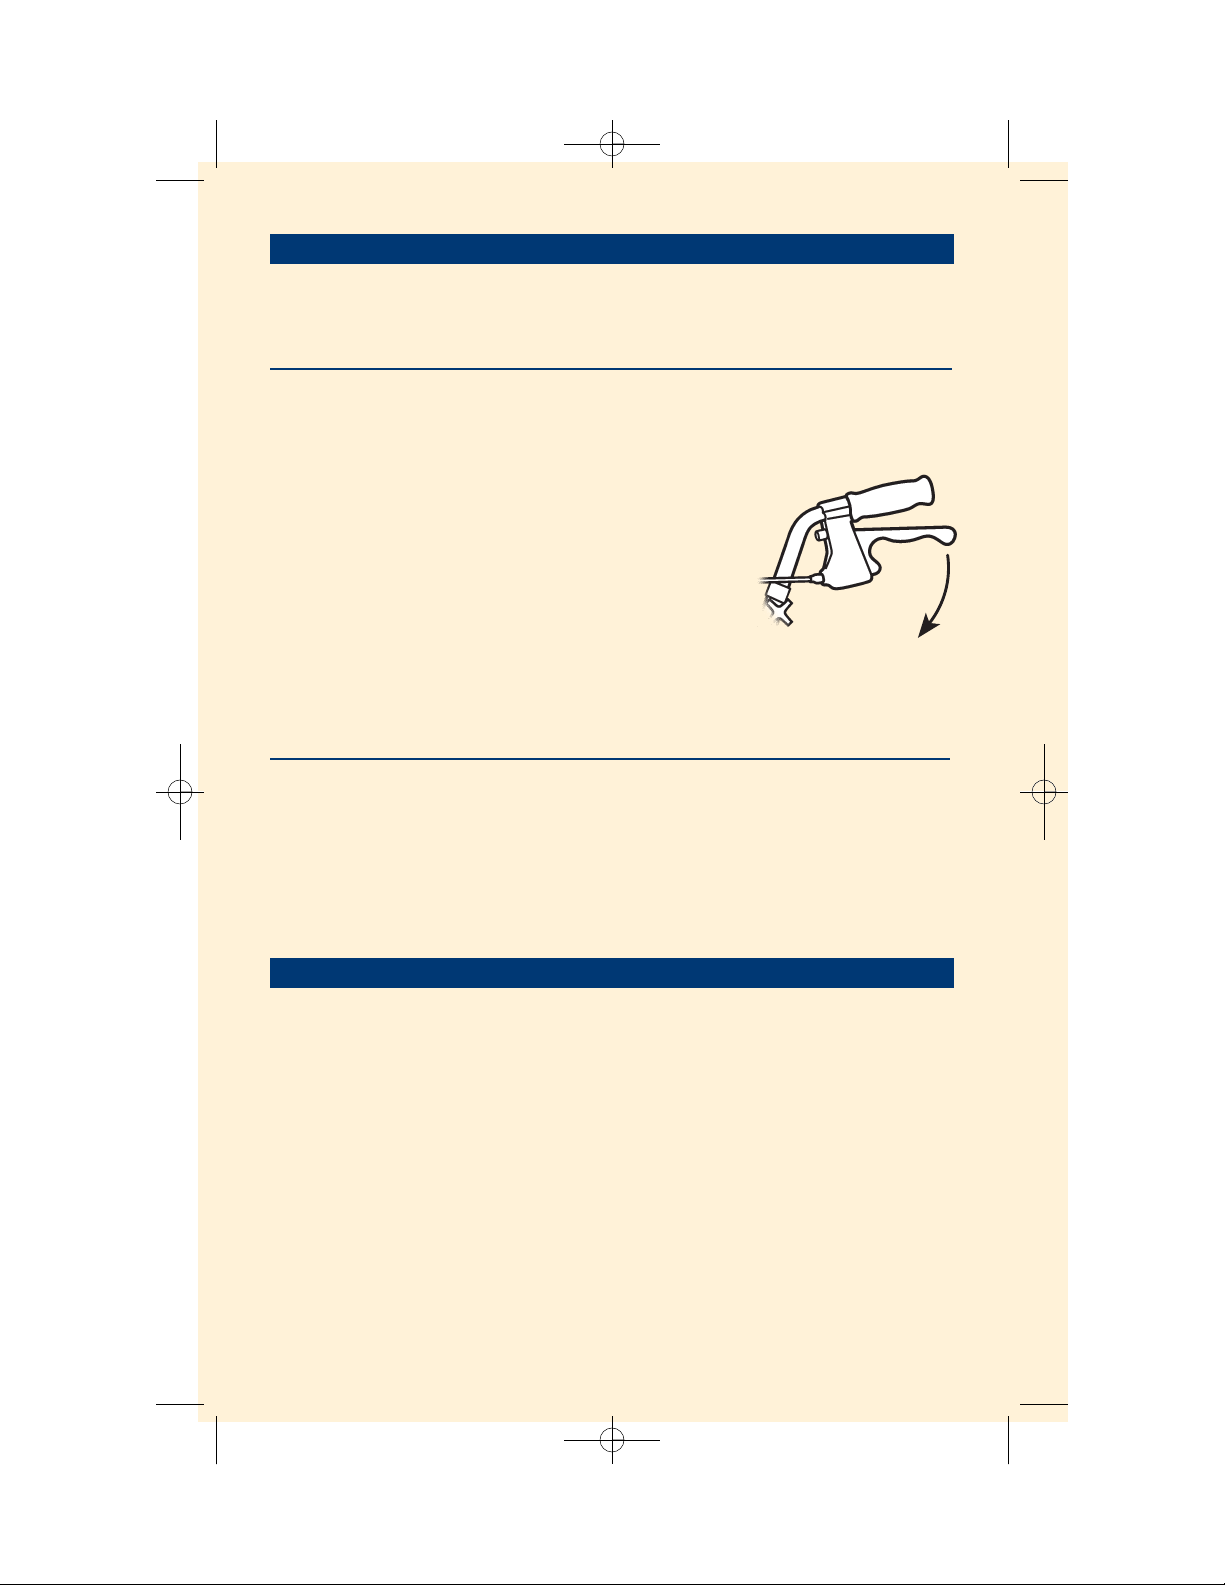
Tension
Adjustment
Screw
Cable End Cap
Tension Adjustment
Screw Locking Nut
Handle
Brake Housing
Mounting Screw
Fig. 2
Usag e Instructions
To Assemble
.
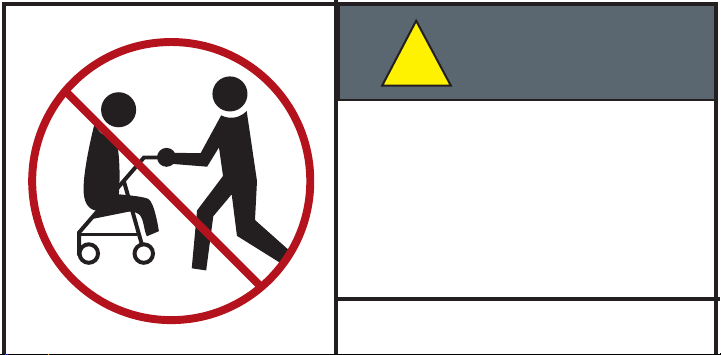
To Sit Down:
1. Lock the brakes.
2. Hold onto both handgrips, not the brake handles.
3. Turn around and touch the back of your legs against the seat.
4. Slowly lower yourself onto the seat.
To Prevent Tipping Over when Sitting:
Distribute your weight evenly on the seat. Do not lean on one side of the walker.
Both feet should rest at on the ground.
2. Hand brake is too tight.
Loosen the tension adjustment screw
locking nut and turn the screw one
full turn counter clockwise (as viewed
from standing at the back of the walker).
If this does not correct the adjustment,
repeat one full turn at a time until you have
adjusted your brakes. Then make sure the
locking nut is spun tight against the housing
to prevent the screw from loosening.
Walker Guide 07 5/7/07 8:41 AM Page 5
1. Remove walker from the box and or plastic bag
2. Cut the plastic tie that holds the arms together and remove the two black rubber pieces
from the top of the frame.
3. Remove the height adjustment screw and/or the black adjustment knob from each
handle or from the frame.
(Depending on model type, see below)
4. Slide both handles into the tubular frame to your desired height
(see “how to walk with a
walker” section)
Models: (4216)
5. Insert the height adjustment screws from the inside of the frame through the handle
until the threads are exposed on the outside of the frame.
6. Make sure that the hex screw head ts into the hex cut-out on the inside of frame
7. Tighten the black adjustment knob onto the screw from the outside of the walker frame
8. Attach the basket by hanging both hooks onto the crossbar that supports the seat
Models: (4900)
follow steps 1-7 from above
7a. Attach the carry bag rst by wrapping the fabric around the left and right frame tubes
8a. Use the buttons to secure the carry bag to the frame
9a. Attach the basket by hanging it onto the hooks built into the frame
Models: (4200, 4202, 4203, 4207, 4208, 4212, 4214, 4215, 4218, 4220,4222,4224)
follow steps 1-3 from above
4. Insert the height adjustment screws from the outside of the frame through the handle
and into the threaded nut that is welded to the frame. (Do not over tighten. The end of the
screw should not be exposed if properly completed.
5. Attach the basket by hanging both hooks onto the crossbar that supports the seat
(note: 4200c, 4202c, 4218, 4220, 4222, 4224 do not include basket)