Nova Traveler 4900 Series User manual

Features
• Lightweight aluminum frame weighs
only 15 lbs.
• Large 8” wheels provide increased
maneuverability
• Locking hand brakes
• Tray, basket, and pouch
• Foldable
• Limited Lifetime Warranty
4900 Series
“Traveler” 3 Wheel Rolling Walker
User Guide
Weight Capacity 250 lbs.
Weight 15 lbs.
Wheel Size 8”
Height Adjustment 30.25” -35.25”
Width Between Handles 12”
Approximate User Height 5’4” - 6’2”
Bag Dimensions 12”W x 9.5”D x 13”L
Basket Dimensions 10”W x 9”D x 9.5”L
Tray Dimensions 9.25”W x 8”D
Overall Dimensions 25”W x 24”D
Overall Dimensions (Folded) 27”L x 11”W x 26.5”D
Specifications

Assembly Instructions
Step 1: Carefully remove the walker from the plastic bag and place on the floor
Step 2: Cut the 4 plastic ties that secure the handles to the frame and remove all foam protective pieces
Step 3: Open the walker up by grabbing the frame above the rear wheels and pulling outward so that the
walker forms a triangle (see image 1).
Step 4: Push down on the black hinge joint with caution markings until the frame is in the full open and
locked position (see image 2).
Step 5: Remove the rubber protection plugs from the top of the frame and insert the handles into the frame
(see image 3).
Step 6: Adjust the handles to your desired user height (see “Determine Correct Handle Height” on page 4).
Step 7: Once you have determined the correct height. Insert the screw into the hex screw cut out on the
inside of the frame and through the handle. Make sure that the hex screw head fits into the hex cut-out on
(see image 4).
Step 8: Place the contoured washer over the tip of the screw and hand tighten the black star adjustment
knob until it is flush with the frame (see image 5).
Safety Warnings
• Read walker guidebook before operating or using any Nova rollator.
• DO NOT exceed weight 250lb weight capacity.
• Care should be taken to ensure that all height adjustment knobs, castors, or any other moving objects
are in good working order before operating.
• Always contact your physician or therapist before using to determine proper adjustment and usage.
• Test the hand brake to make sure the brake pad engages and stops the unit and adjust if necessary
• DO NOT use on stairs, escalators, moving sidewalks or any uneven surfaces.
• DO NOT attempt to reach for items while using the walker. This motion may cause a change in weight dis-
tribution and cause the walker to tip or become unstable.
• Always distribute your weight evenly on both handles when walking
• The rollator bag/basket has a weight capacity of 10 lbs. Items should not hang over the top or front of the
basket.
• Make sure walker frame is fully opened before use.
Always check hand brakes to ensure that they are working properly
• DO NOT remove warning sticker
FAILURE TO FOLLOW THESE INSTRUCTIONS CAN LEAD TO SERIOUS INJURY OR RESULT IN DEATH.
MISUSE OF THE WALKER MAY VOID WARRANTY.
image 1 image 2 image 3 image 4

image 5 image 6 image 7 image 8
Attaching the Bag
Step 1: Place the bag between the legs of the walker so that the narrow closed end is facing forward.
Step 2: Place the left side top flap over the frame just above the folding hinge support piece and snap both
buttons in place. Repeat this for the upper right top flap (see image 6).
Step 3: Place the lower left flap around the rear frame tube and snap both buttons in place. Repeat this
step for the right side lower flap (see image 7).
Attaching the Basket and tray
Step 1: Position the basket between the cables and above the hooks located on the frame in front of the
handles
Step 2: Slowly lower the basket until the hooks engage into the corner squares on the diagonal slope. The
folding hinge piece will fit inside of the large cut out on the diagonal slope if the basket is place correctly
(see image 8).
Step 3: Remove the tray from the protective box and place on top of the basket.
Step 4: Your walker is now completely assembled (see image 9).
How to Open:
Step 1: Push outward on the frame or handles (see image 10).
Step 2: Push down on the black hinge piece with caution markings until the frame is in the full open and
locked position (see image 11).
How to Fold:
Step 1: Remove the basket if attached.
Step 2: Slowly pull back on the black hinge piece with caution markings until the hinges are no longer in a
straight position.
Step 3: Push inward on the handles until the walker is in the folded position.
image 10 image 11
image 9

Determine Correct Handle Height
Stand behind the walker with your arms and hands hanging at your sides and both feet in line with the rear
wheels. Adjust the height of the walker handles so that they are even with your hip joint. When you stand
straight and grip the handles, your arms should be slightly bent at your elbows, approximately 20 to 30
degrees (see image 12).
How to Walk with a Walker
Step 1: Roll your walker slowly forward so that the rear wheels are a few inches ahead of your body.
Step 2: Step forward and place one foot in line with the rear wheels (see image 13).
Step 3: Maintaining a steady roll forward, place your other foot in line with the rear wheels.
Step 4: Determine a pace that is comfortable and allows you to place each step in line with the rear wheels.
image 12 image 13
How to Use Hand Brakes (use current picture)
To lock the brake
Step 1: Push down on the knob located at the rear of the hand brake handles
(see image 14).
Step 2: The handle will lock into a downward position when properly engaged.
To release the brake
Slowly pull up on the hand brake handle.
How to Adjust the Hand Brakes
The following information is designed to assist you with the adjustment of your Nova Feather Touch Hand
Brake System.
NOTE: The braking system on your new Nova walker has been preset from the factory. To maintain this preset position,
be sure that the tension adjustment screw locking nuts are tight against the housing and the rear wheels (see image
15). If you are still having difficulty with your brakes, you can adjust them by doing the following:
image 14
1. Hand Brake is too Loose.
Loosen the tension adjustment screw locking nut and turn the screw
one full turn clockwise (as viewed from standing at the back of the
walker). If this does not correct the adjustment, repeat one full turn at
a time until you have adjusted your brakes. Make sure the locking nut
is spun tight against the housing to prevent the screw from loosening.
2. Hand Brake is too Tight.
Loosen the tension adjustment screw locking nut and turn the screw
one full turn counter clockwise (as viewed from standing at the back
of the walker). If this does not correct the adjustment, repeat one full
turn at a time until you have adjusted your brakes. Make sure the
locking nut is spun tight against the housing to prevent the screw
from loosening. image 15

Customer Help Line:
1-800-557-6682
www.NovaMedicalProducts.com
P.O. Box 3039, Gardena, CA 90247
Limited Lifetime Warranty
Nova stands firm on our commitment to providing the highest quality products, as well as exceptional service.
This product was built to precise standards and thoroughly inspected prior to shipment. This warranty
represents our confidence in the materials and workmanship of our product.
Nova extends this warranty only to the original purchaser of this product. The warranty does not extend to any
subsequent purchaser or owner. The warranty is void upon any sale or transfer of ownership or use by other
person. Nova warrants its products are free from defects in material and workmanship under NORMAL use for
the period commencing upon the date of purchase and continuing for the following specified period of time
after that date:
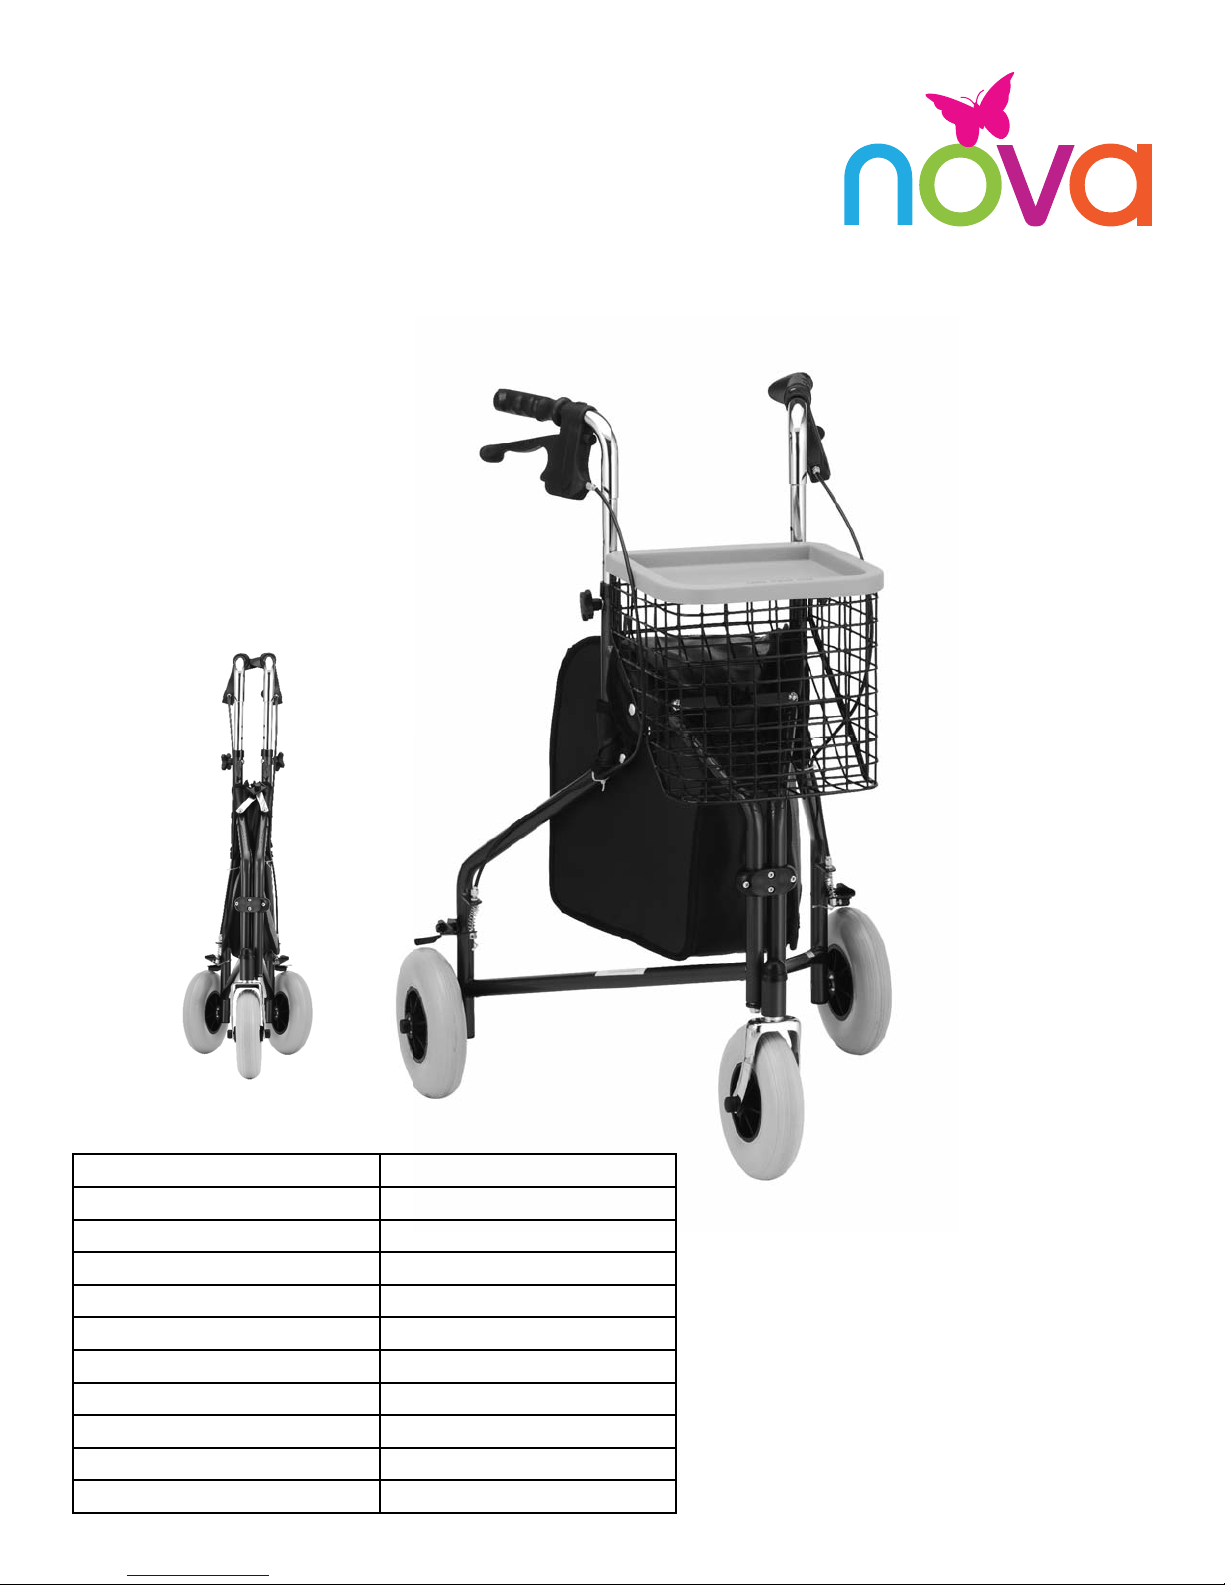
Metal Frame: Limited Lifetime Warranty
Hand Brake: Five Year Limited Warranty
(plastic handle & cable)
Non-Metal/Metal Parts: One Year Limited Warranty
(wheels, wheel brakes, hand grips, rubber tips,
cable covers, all other plastic parts)
This warranty does not cover problems due to user negligence, misuse of the product, failure to adhere to
product instructions, or normal wear and tear. Items that have been subject to negligent abuse, modified
without prior written authorization are not covered within this warranty.
For warranty service, please contact the dealer from whom you purchased your Nova product. In the event that
you do not receive satisfactory service, please call us directly at the number below. Be prepared to indicate, the
nature of the defect, the product serial number, and the name and location of where you purchased the
product. You will also be required to provide a receipt of your purchase. DO NOT return any products to our
office without prior consent.
Repair or replacement is the only remedy under this limited warranty. This warranty does not include any labor
or shipping charges incurred in replacement part installation or repair of product.
THIS WARRANTY IS EXCLUSIVE AND IN LIEU OF ALL OTHER EXPRESS WARRANTIES, IMPLIED WARRANTIES,
IF ANY, INCLUDING THE IMPLIED WARRANTIES OF MERCHANTABLITY AND FITNESS FOR A PARTICULAR
PURPOSE. NOVA SHALL NOT BE LIABLE FOR ANY SEQUENTIAL OR INCIDENTAL DAMAGES WHATSOEVER.
***Remember to keep the product’s serial number and the date of purchase***
Maintanance
• Check wheel axle bolts to ensure they are secure
• Check wheels for excessive wear and replace or rotate them, as needed
Table of contents
Other Nova Mobility Aid manuals