User Manual Rewinder XLP 51x
ACTIVATING/DEACTIVATING THE REWINDER
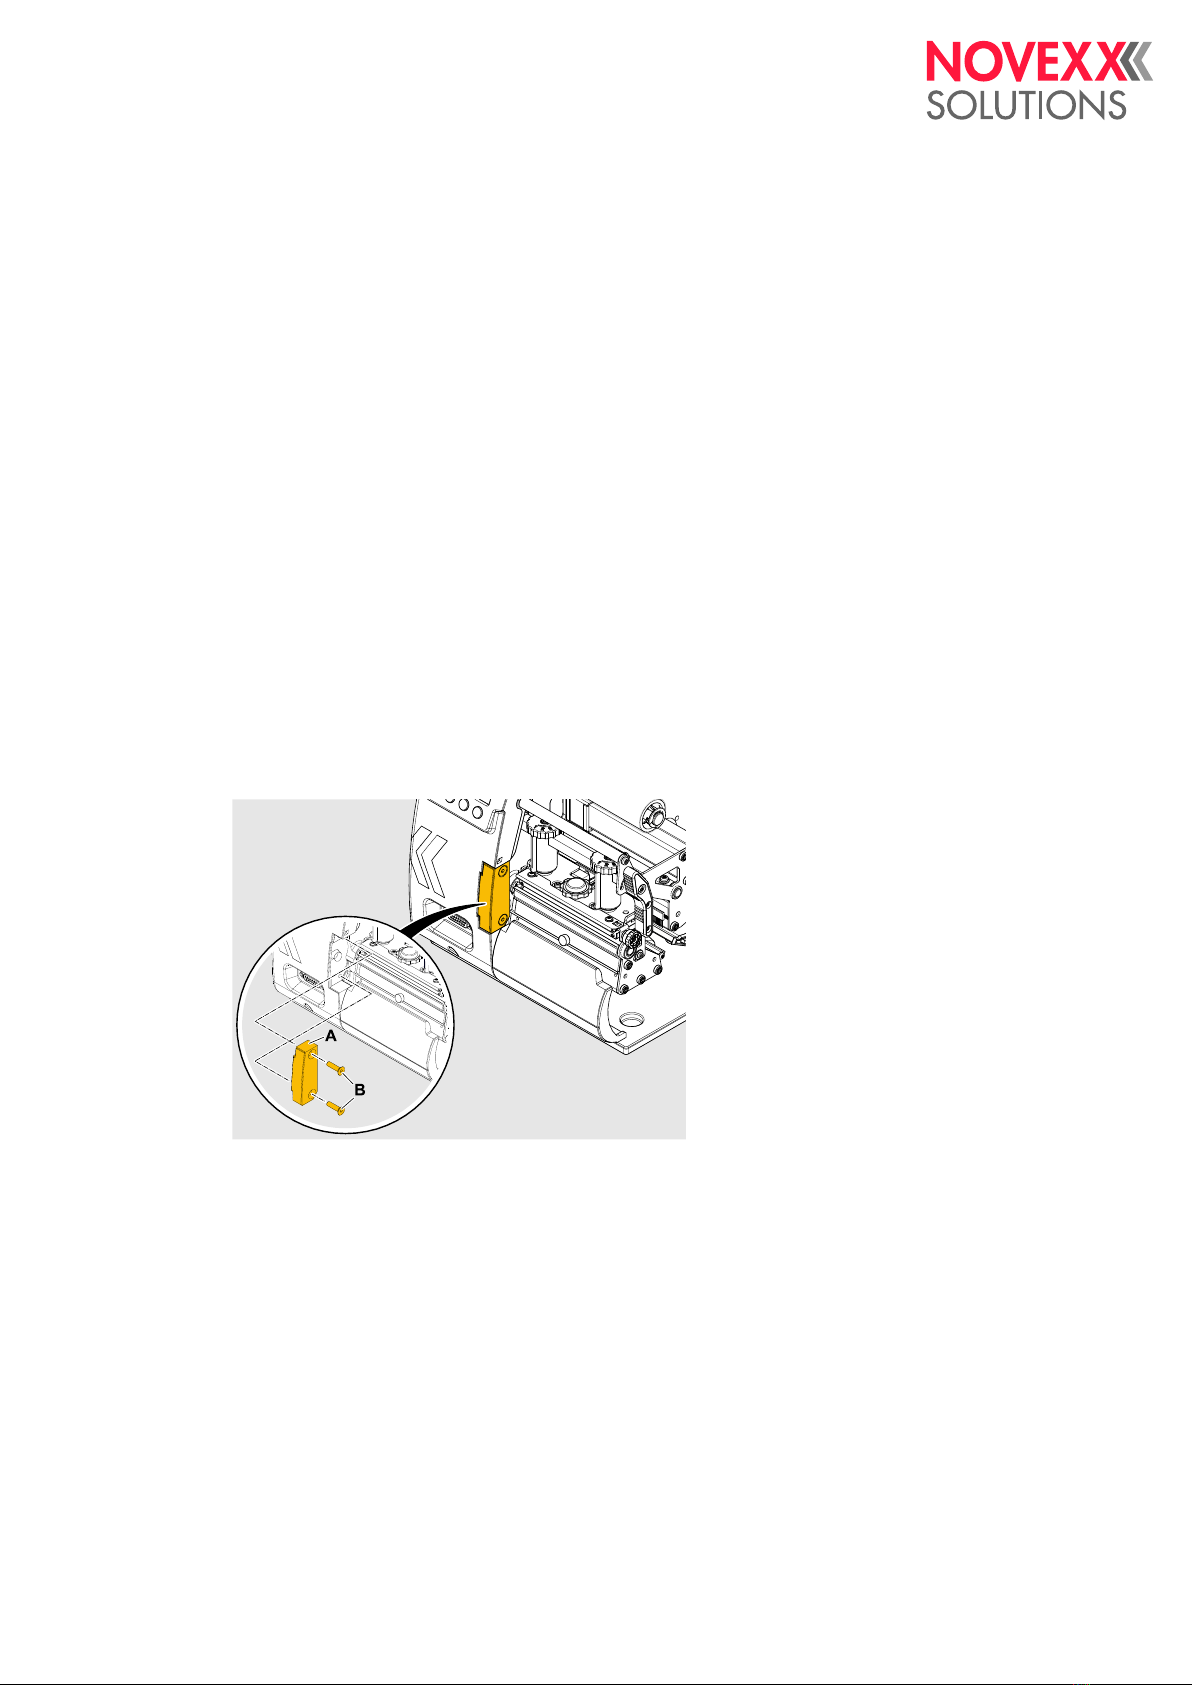
Before you begin
The rewinder is ready fit and connected. The printer is switched on.
About this task
After fitting it to the printer, the rewinder has to be activated. This is done by setting the appropriate
parameter in the parameter menu of the printer.
Procedure
Activating the rewinder:
1. Set Options > Selection > Periph. device to Rewinder.
Don´t confuse with the setting Intern. rewinder that activates the internal rewinder of the printer.
Afterwards, Options > Rewinder > Rewind direction is called automatically.
2. Select the desired rotating direction (Printing inside or Printing outside).
Default setting = Printing outside
The printer restarts. Afterwards, the following has changed:
– An additional submenu Options > Rewinder appeared, which contains the parameter Rewind di-
rection that is required to set the rotation direction of the rewinder.
–The icon is visible above key 3. By pressing this key, the rewinder can be stopped and
started again (alternates with icon ).
After the restart of the printer starts the rewinder to rotate. If no label material is inserted, an er-
ror warning will follow, because the printer control assumpts torn-off material.
► Acknowledge the error message.
After acknowledging the error message, the rewinder can be startet/stopped by pressing key 3.
Deactivating the rewinder:
3. Set Options > Selection > Periph. device to None.
Edition 2b - 9/2021 10 Setting up
Activating/deactivating the rewinder