manuals.online logo
Brands
  1. Home
  2. •
  3. Brands
  4. •
  5. NuAire
  6. •
  7. Fan
  8. •
  9. NuAire NE25BTX User manual

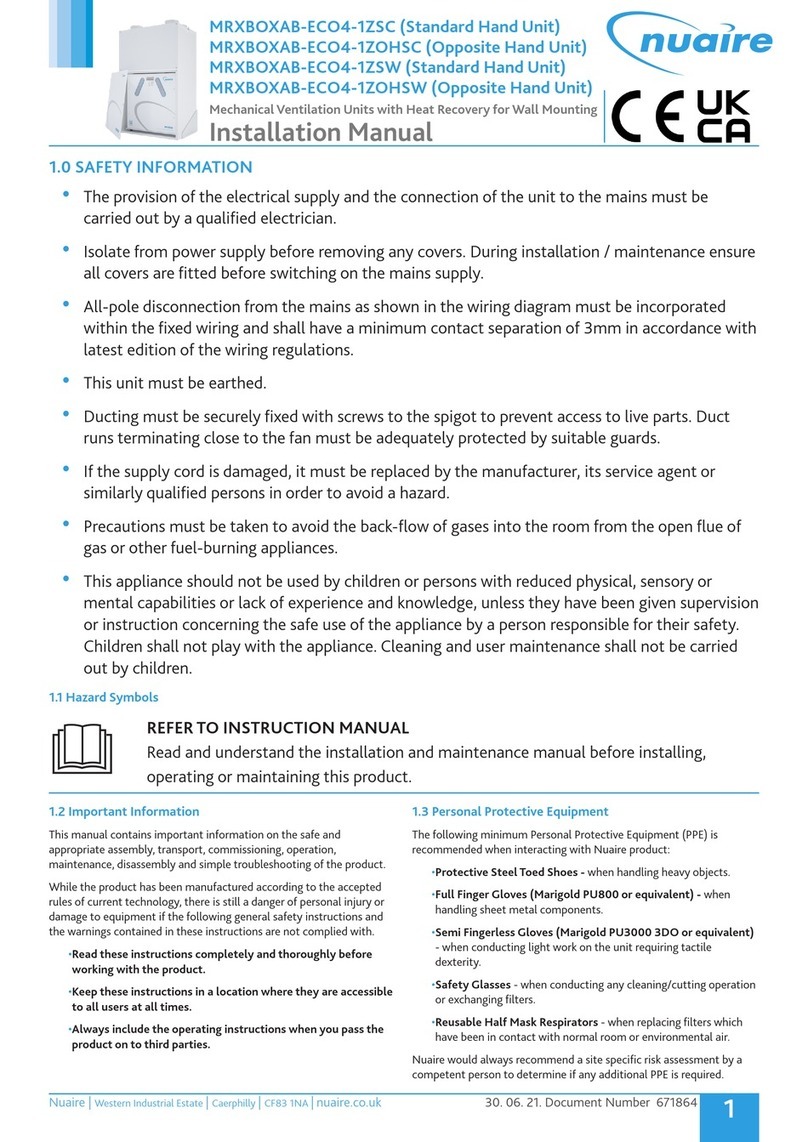
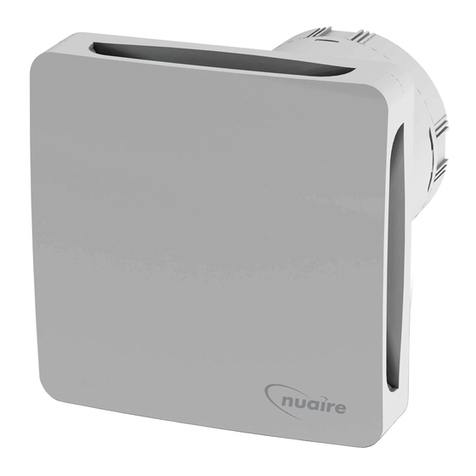
NuAire NE25BTX User manual

General Notes
If the system is serving a room
containing a fuel burning appliance
of a non-balanced flue design, it is
the responsibility of the installer to
ensure that sufficient replacement
air is provided to prevent products
of combustion from being drawn
down the flue when the fan/ light
unit is operating.
The unit should not be sited where
it would be subject to a direct
source of heat in excess of 40oC.
Once fitted into ceiling void or loft
space, do not cover light body, fan
or 12V power supply unit with any
insulating materials.
Minimum void height when fitting
into ceiling space is 250mm.
ISOLATION
Note that the unit must be
provided with a means of iso-
lation (by others) for mainte-
nance purposes etc. An RCD
trip device must be included
between the power supply
unit and the mains if the unit
is fitted in zone 1 as defined
in IEE regulations.
Refer to Wiring Instructions
overleaf.
Installation
IMPORTANT
The installation must be carried
out by qualified personnel in
accordance with the appropriate
authority and conforming to all
statutory and governing regula-
tions eg. IEE, COHSE etc.
Cut a hole in the ceiling to the size
indicated and thread through the two red
12V Power Supply unit cables.
To wire in the light, lift off the cover.
Loosen the clamp on the case side. Bring in
the two red 12V cables and wire as shown.
Push one end of the 90° bend onto the
light unit and click fit.
Pull the ducting down through the ceiling
and attach with the tie provided.
Push the complete assembly up through
the hole. Make sure the lamp wiring is not
impeded. Unclip internal intake finisher.
Mark and plug three holes using the three
fixing holes on the light unit. Secure by
using three No. 6 countersunk screws.
Alternatively, attach the fixing fingers to
the light unit using long screws provided.
Push the light unit through the ceiling and
twist the fingers outwards.
Then tighten the fixing fingers against the
ceiling (do not overtighten).To fit the lamp
see overleaf. Refit the internal finisher
.
Fit the reducer to the end of the ducting
using ties provided.
Install the 230V fan (instructions included
with fan) and connect to 100mm ducting.
Prepare hole through wall or soffit. Push
through unattached end of the flexduct
attach it to the grille spigot using the tie.
Fix grille back plate using plugs and screws.
Snap on the external grille. Note: If exhaust
is through a wall, ensure the grille louvres
slope downwards.
Coding
NE25BT
This system kit includes a Genie/Tops
230V duct mouinted fan with an integral
run on timer.
GENIE-S or TOPS-S
The fan is fitted with a backdraught shutter
and is operated by a remote switch (switch
by others).
NE25BTX
This system kit includes a two speed
Genie/Tops 230V duct mouinted fan. Fan is
designed to run continuously at a low duty
(with very low noise levels) and has a ‘boost’
facility via a remote switch (switch by
others).
GENIE-X or TOPS-X
NB: No backdraught shutter.
Inlet grille with
12V light unit
125mm Flexiduct
100mm Fl
e
xi
d
u
ct
100mm Fl
e
xi
d
u
ct
R
ed
u
cer
Dynoties
115mm Bend
Power Supply
230V / 12V
Red 12V wires
to Light unit
External Grille
230V
supply
230V supply
INSTALLATION
Neonaire
NE25BT/BTX
Shower Fan & Light
The EMC directive: 89/336/EEC
with modification 92/31/EEC
The low voltage directive 73/23/EEC
Leaflet 671139
SEPTEMBER 2001
1
2
3
145 mm diameter
ceiling aperture
4
100mm Fl
e
xi
d
u
ct
100mm Flexiduc
R
ed
u
cer
230V su
pp
l
y
2
30
V F
a
n
Lamp
wires
5
6
7
8
9
10
11
12
13
NuAire Limited
Western Industrial Estate
Caerphilly, United Kingdom
CF83 1XH
Telephone: 029 2088 5911
Facsimile: 029 2088 7033
Email: [email protected].uk
www.nuaire.co.uk
100mm Flexiduct
125mm Fl
e
xi
d
u
ct
Reducer
Te c hnical or commercial considerations may,
from time to time, make it necessary to
alter the design, performance and
dimensions of equipment and the right
is reserved to make such changes
without prior notice.
MAINTENANCE
CLEANING
LIGHT UNIT
Electrically isolate the unit before com-
mencing any work. Remove the internal finisher
by pulling down. Wash in warm water. The lamp
body may be cleaned using a brush or damp cloth
prior to replacing the finisher.
FAN UNIT
Electrically isolate the unit before com-
mencing any work.
Dust, fluff etc. if allowed, will build up on the motor
and / or impellers, shortening the life of the unit
and, in severe cases, lead to overheating of the
motors. It is therefore strongly recommended that
all units are fitted with inlet filters to prevent con-
tamination of motor/fan assembly.The unit should
also be inspected and cleaned at least once every
six months.
Procedure
At all times take care not to damage, distort or dis-
turb the balance of the impellers.
Separate the two halves of the unit by undoing the
screws on the black half of the unit and disengage
the two off location tags.
Remove the electronic module.
Spring aside the two clips and remove the fan mod-
ule.Visually inspect all parts, replace any damaged
items.
Using a soft brush or dry cloth remove any dust
and dirt from the fan mobile. Stubborn dirt may be
removed by careful use of a soft scraper.
Re-fit fan and electronic control module. Ensure
that the control module is fully engaged with sock-
et. Before refitting cover switch on the unit
momentarily at the isolator and check that the
green running light is illuminated before replacing
black cover and securing with the screws.
Note:
For maintenance purposes, only the black cover must
be removed.
3 Year Warranty
The three year warranty starts from the date of
delivery and includes parts and labour for the first
year.The labour element is subject to full, free and
safe access to the equipment as recommended by
the CDM regulations. The remaining two years
covers replacement parts only.
NOTE:
Installation & Maintenance of the equipment must
be as directed in the instructions provided with the
unit.
Service
In the event of a breakdown contact our Service
Department. We will be happy to give you more
information.
Telephone: 02920 858585
Facsimile: 02920 8585
NuAire Limited
Western Industrial Estate
Caerphilly, United Kingdom CF83 1XH
Telephone: 029 2088 5911 Facsimile: 029 2088 7033
Email: info@nuaire.co.uk www.nuaire.co.uk
05-10-2540. Issue A
WIRING
WARNING!
Isolate electricity supply before
starting work.
●The unit must be wired and installed in
accordance with IEE or local regulations by a
suitably qualified electrician. The fan must
only be connected using flexible supply cord.
●The unit must be connected to the double
pole isolating switch having a contact
separation of at least 3mm at each pole and
fitted with a 3A fuse.
●The power supply unit must not be sited
within reach of a person using a bath or
shower nor within a shower cubicle/
enclosure.
●The Power supply unit is supplied with flying
leads.The two red 12V leads should be
connected directly to the lamp terminals
within the lamp body (see 5 overleaf).
●The mains cable from the Power supply
unit should be connected via an RCD
protection device to a mains voltage
junction box or similar (supplied by others).
See wiring diagram.
●Connect only one light unit per Power supply
unit.
Specifications
Fan unit: 230V 1ph 50Hz. Watts 23W, IP44.
Light unit: 12V 1ph 50Hz. IP44
Cable size: 1.00mm2max. (flexible only).
Lamp: 12V dichroic rated at 20W
36obeam angle.
GE Lighting type M269
Lamp replacement
WARNING!
Isolate electricity supply before
starting work.
●Remove the internal finisher by pulling down.
●Remove the lamp lens and old lamp by pulling
down.
●Fit lamp by pushing up into the lamp holder.
●Push up lamp lens and internal finisher.
DIMENSIONS
Side
Ø118mm
87mm
Front
NEONAIRE
LIGHT UNIT
Ø180mm
41.5mm
GENIE/TOPS
FAN UNIT
90oBEND
Side
Ø119mm
115mm
59mm
55.5mm
200
150 ctrs
98mm
OD
125
130 ctrs
175
55
Front View Side View
N
L
Switch
(not supplied)
Junction Box
(not supplied)
RCD Trip device
(not supplied)
Light
Power supply
unit
Neonaire
Light unit
230V
Induct
Fan
230V 12V 12V
50Hz
N
SL
12
L
Double pole
isolating switch
(not supplied)
230V
~ 50Hz
Mains
Supply Fuse
(not supplied)
2
L
N
1
34
Red
Brown
Blue
Red
3
NOTE:
An RCD trip device must be
included in the mains 230V
supply to the power supply unit
if the unit is fitted in zone 1 as
defined in IEE regulations.

This manual suits for next models

1

Other NuAire Fan manuals

NuAire xboxer xbc+ User manual

NuAire

NuAire xboxer xbc+ User manual

NuAire AXUS SWIFT Series Instruction Manual

NuAire

NuAire AXUS SWIFT Series Instruction Manual

NuAire MRXBOX-ECO3-1Z User manual

NuAire

NuAire MRXBOX-ECO3-1Z User manual

NuAire NTD-125 Series User manual

NuAire

NuAire NTD-125 Series User manual

NuAire DRI-ECO-HEAT-HCS User manual

NuAire

NuAire DRI-ECO-HEAT-HCS User manual

NuAire XBOXER Series Assembly instructions

NuAire

NuAire XBOXER Series Assembly instructions

NuAire XBOXER 55 Series Assembly instructions

NuAire

NuAire XBOXER 55 Series Assembly instructions

NuAire QUIETWINS QTI Instruction Manual

NuAire

NuAire QUIETWINS QTI Instruction Manual

NuAire Squif SQF Series Instruction Manual

NuAire

NuAire Squif SQF Series Instruction Manual

NuAire Sunwarm Air Installation guide

NuAire

NuAire Sunwarm Air Installation guide

NuAire MRXBOXAB-ECO2-AESW Instruction Manual

NuAire

NuAire MRXBOXAB-ECO2-AESW Instruction Manual

NuAire MRXBOXAB-ECO3-AESW User manual

NuAire

NuAire MRXBOXAB-ECO3-AESW User manual

NuAire TRA Series User manual

NuAire

NuAire TRA Series User manual

NuAire MVHR-LP Instruction Manual

NuAire

NuAire MVHR-LP Instruction Manual

NuAire MRXBOX-ECO2-OH Instruction Manual

NuAire

NuAire MRXBOX-ECO2-OH Instruction Manual

NuAire OPUS 30 Instruction Manual

NuAire

NuAire OPUS 30 Instruction Manual

NuAire AXUS-SC Series Instruction Manual

NuAire

NuAire AXUS-SC Series Instruction Manual

NuAire MRXBOX-ECO3-AE User manual

NuAire

NuAire MRXBOX-ECO3-AE User manual

NuAire MRXBOXAB-ECO3-1ZSW User manual

NuAire

NuAire MRXBOXAB-ECO3-1ZSW User manual

NuAire MRXBOXAB-ECO2B-SW User manual

NuAire

NuAire MRXBOXAB-ECO2B-SW User manual

NuAire MRXBOXAB-ECO3-1ZSW User manual

NuAire

NuAire MRXBOXAB-ECO3-1ZSW User manual

NuAire MRXBOXAB-ECO4-1Z User manual

NuAire

NuAire MRXBOXAB-ECO4-1Z User manual

NuAire MRXBOX-AV4 Instruction Manual

NuAire

NuAire MRXBOX-AV4 Instruction Manual

NuAire DRI-ECO-HEAT-HC Instruction Manual

NuAire

NuAire DRI-ECO-HEAT-HC Instruction Manual

Popular Fan manuals by other brands

Russell Hobbs RHPDF1211 operating manual

Russell Hobbs

Russell Hobbs RHPDF1211 operating manual

Sealey HVD42B instructions

Sealey

Sealey HVD42B instructions

HELLER DAYNE installation manual

HELLER

HELLER DAYNE installation manual

BLAUBERG Ventilatoren Vento Expert A50-1 W V.2 user manual

BLAUBERG Ventilatoren

BLAUBERG Ventilatoren Vento Expert A50-1 W V.2 user manual

Rinnai ENERGYSAVER RHFE-308FTR installation manual

Rinnai

Rinnai ENERGYSAVER RHFE-308FTR installation manual

Savoy House 52-840-5CN-196 owner's manual

Savoy House

Savoy House 52-840-5CN-196 owner's manual

Emerson BBCF370 owner's manual

Emerson

Emerson BBCF370 owner's manual

Siegenia AERO Assembly and operating instructions

Siegenia

Siegenia AERO Assembly and operating instructions

Cairox KBF-N D Series manual

Cairox

Cairox KBF-N D Series manual

Somogyi Elektronic home TFS 30 instruction manual

Somogyi Elektronic

Somogyi Elektronic home TFS 30 instruction manual

Gemini GMF80C manual

Gemini

Gemini GMF80C manual

Rosenberg SupraBox COMFORT 800H operating instructions

Rosenberg

Rosenberg SupraBox COMFORT 800H operating instructions

Helios HelioVent HVR 150 Series Installation and operating instructions

Helios

Helios HelioVent HVR 150 Series Installation and operating instructions

Savoy House 52-ECM-5RV-13 owner's manual

Savoy House

Savoy House 52-ECM-5RV-13 owner's manual

Honeywell QUIETSET HS1655 Series owner's manual

Honeywell

Honeywell QUIETSET HS1655 Series owner's manual

CLF Lighting LED FAN XL manual

CLF Lighting

CLF Lighting LED FAN XL manual

BORK SF TOR 2355 SI instruction manual

BORK

BORK SF TOR 2355 SI instruction manual

Liebert Prop Fan Condensing Unit user manual

Liebert

Liebert Prop Fan Condensing Unit user manual

manuals.online logo
manuals.online logoBrands
  • About & Mission
  • Contact us
  • Privacy Policy
  • Terms and Conditions

Copyright 2025 Manuals.Online. All Rights Reserved.