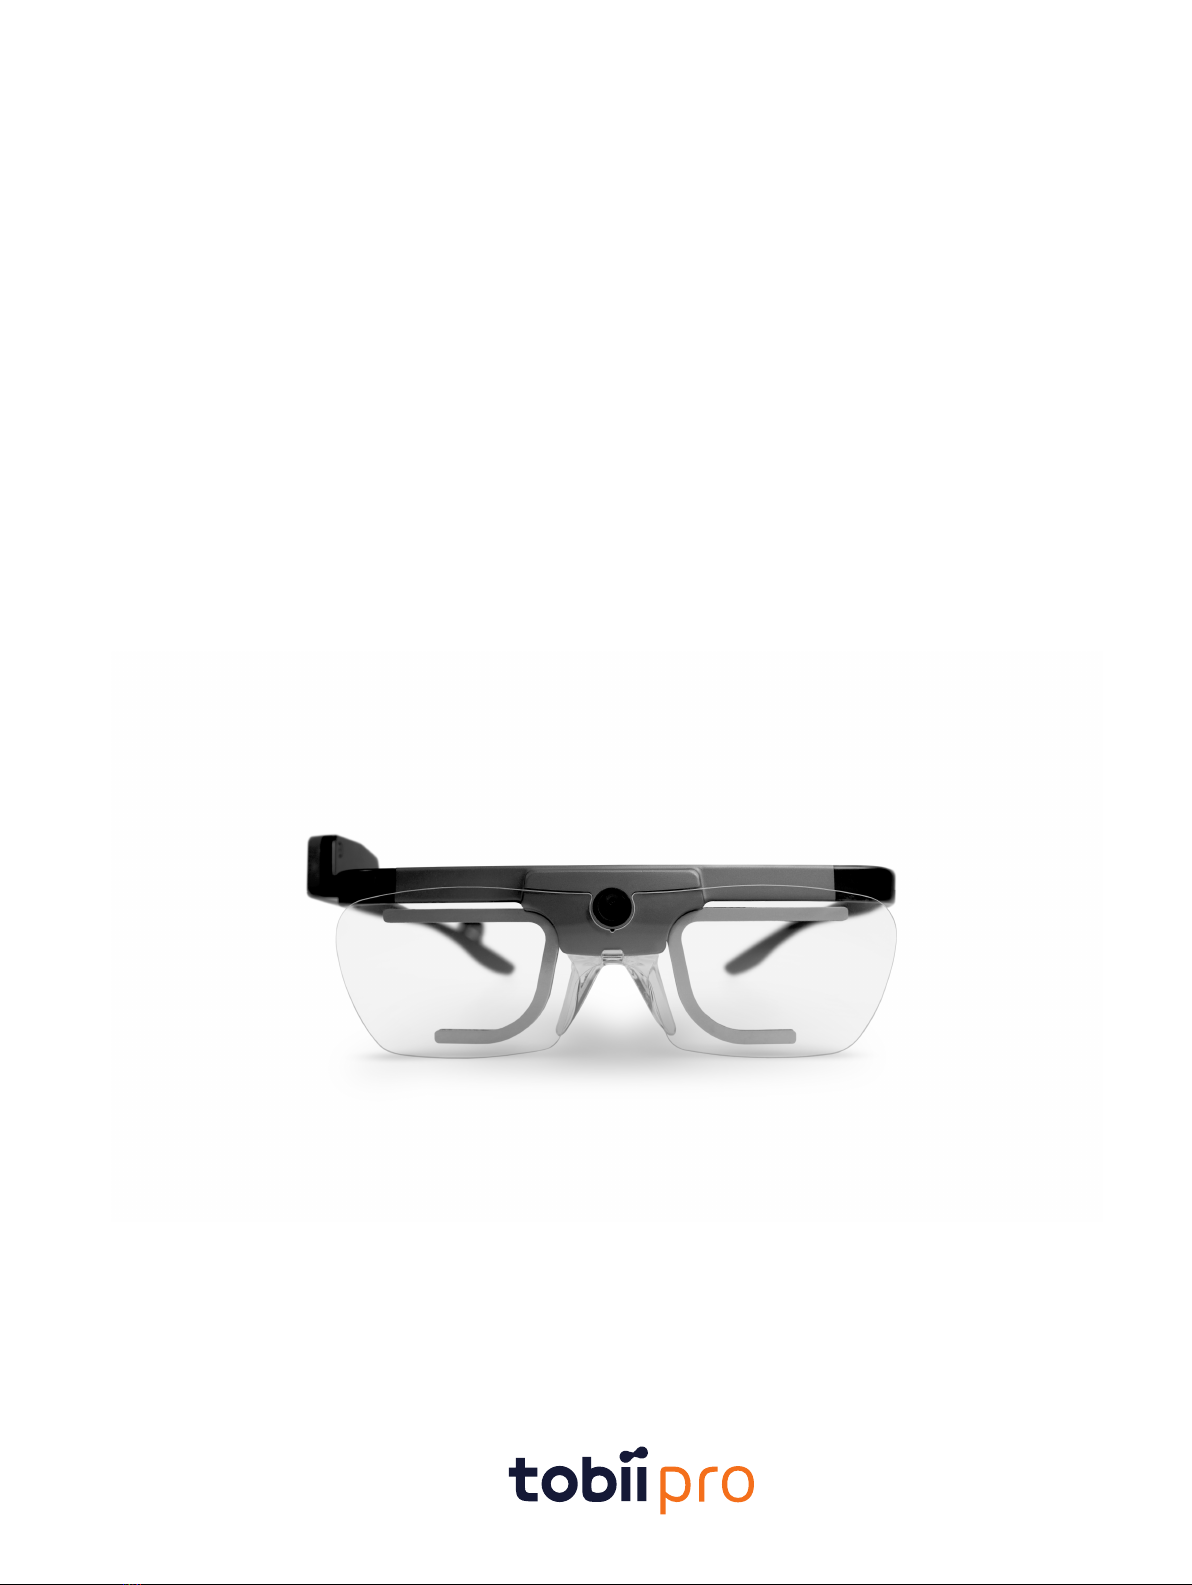
1.3 Connecting Pro Glasses 2 to your computer
Pro Glasses 2 can be connected to the computer running Controller via WLAN or an Ethernet cable, depending on what ver-
sion you use. Both options are described below. There is a guide on how to connect your Pro Glasses 2 to your Controller soft-
ware with tips for connectivity issues here.
1.3.1 Connecting Pro Glasses 2 to Controller via WLAN
1. Connect the Pro Glasses 2 recording unit to the head unit with the provided HDMI cable.
2. Switch on the Pro Glasses 2 recording unit.
3. Switch on the computer with Controller.
4. Click on the WLAN network icon at the bottom right of your screen.
a. If you see the network icon, the computer is already connected to a network via a cable. You can still connect to the
Pro Glasses 2 via WLAN by clicking on the Network icon.
b. A list of available WLAN networks appears. It may take up to two minutes for a newly started recording unit to ap-
pear in the list of available networks.
5. If no WLAN network appears, check whether your wireless adapter is activated in the Windows Device Manager.
a. Open the Windows Start menu, search for Device Manager and press Enter.
b. Go to Network adapters, locate your wireless network adapter in the list, right-click on it and select Enable. Make
sure Airplane mode is not activated.
c. Click on the WLAN network with the same name as the serial number of your recording unit (TG02B-XXX...). The
serial number is printed on the sticker at the back of the recording unit.
d. Secure a proper connection by setting the WLAN adapter settings on the computer to obtain an IP address
automatically.
e. Make sure that you always connect automatically to the recording unit by selecting the Connect automatically check
box.
f. Click Connect.
g. Enter the WLAN password TobiiGlasses into the network security key field and click Next. It may take up to two mi-
nutes for Controller to establish a connection to the recording unit.
6. When there is a connection between the software and the recording unit, the Controller Dashboard displays "Ready".
1.3.2 Connecting Pro Glasses 2 to Controller with an Ethernet cable
1. Connect the Pro Glasses 2 recording unit to the head unit.
2. Switch on the Pro Glasses 2 recording unit.
3. Switch on your computer with Controller.
4. Locate the Ethernet port on your computer.
5. If there is no Ethernet port, use an Ethernet-to-USB adapter.
6. Connect the Ethernet cable to the Ethernet ports on the computer and the recording unit.
7. Secure a proper connection by setting the Ethernet adapter settings on the computer to obtain an IP address
automatically.
8. When there is a connection between the software and the recording unit, the Controller Dashboard displays "Ready".
1.3.3 Basic trouble-shooting
• If you experience problems connecting your Pro Glasses 2 to the Controller, check this FAQ.
• The FAQs also provide details on the Glasses 2 wireless password,WLAN signal range,LAN and WLAN specifications,
and what it means when the connection of the Pro Glasses 2 is displayed as "limited" in Window.
Tobii Pro Glasses 2 Best Practices Guide v.1.0.2 - en-US 1 Tobii Pro Glasses 2: best practices 3