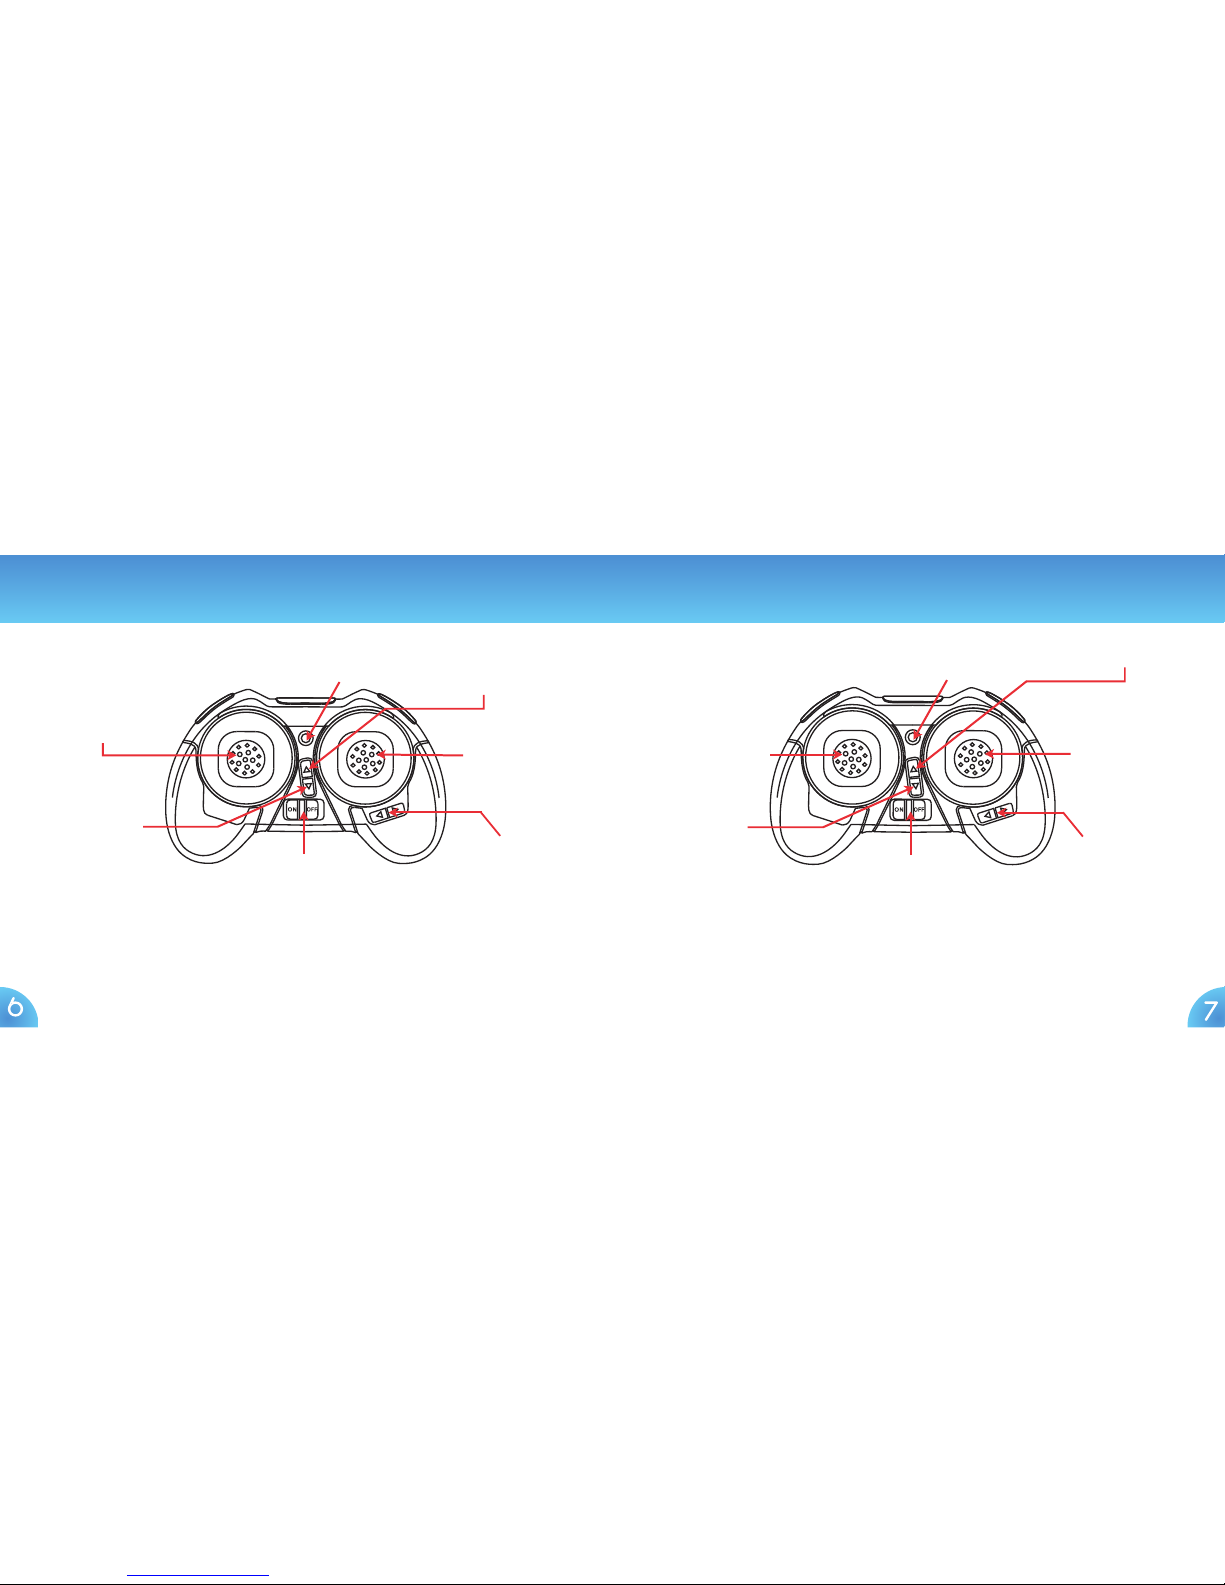
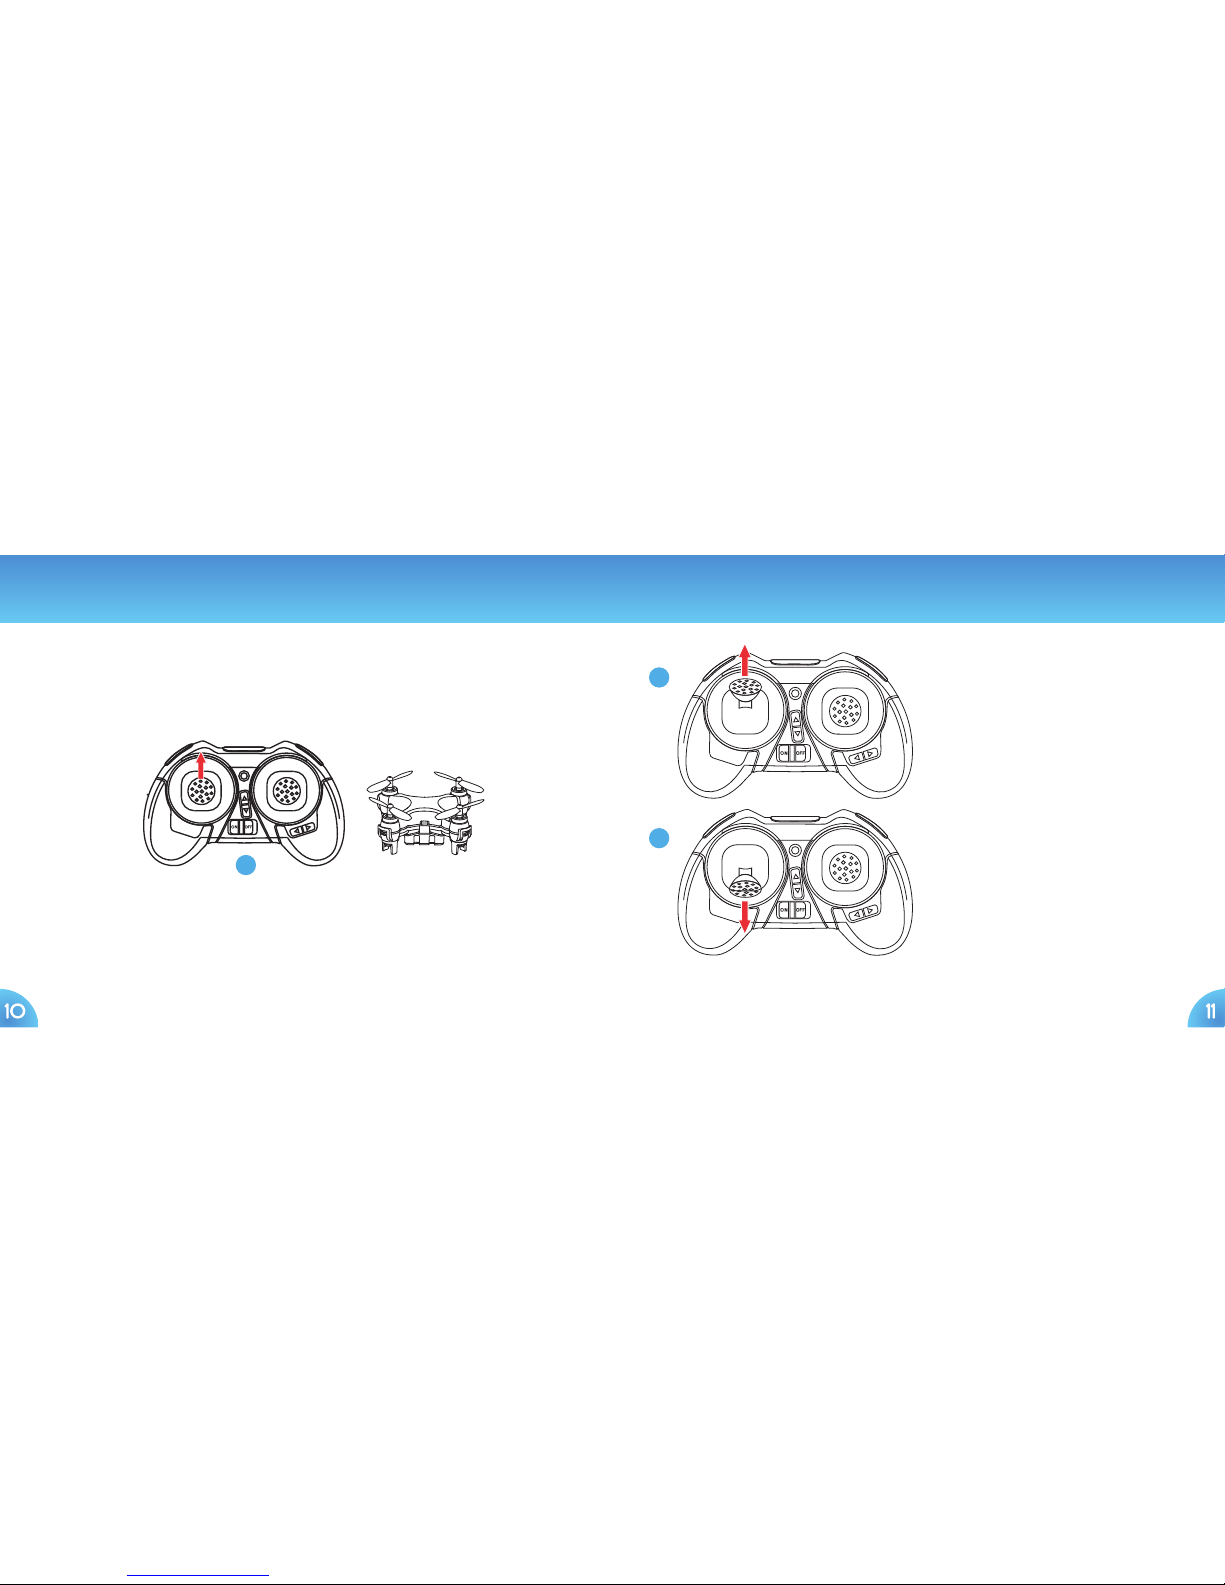
When your Drone is flying at a fixed altitude, push the Throttle Stick to the left to rotate the Drone
counter-clockwise, or push the Throttle Stick to the right to rotate the Drone clockwise.
Fast Rotation (Requires Advanced Mode setting)
You can perform flips and rolls in any of the three modes. Press the Directional Stick straight down and
release it. The Controller will beep once, indicating that Flip-Roll Mode is turned on. While the Controller
beeps, move the move the Directional Stick quickly in the direction in which the Flip-Roll is wanted (right or left).
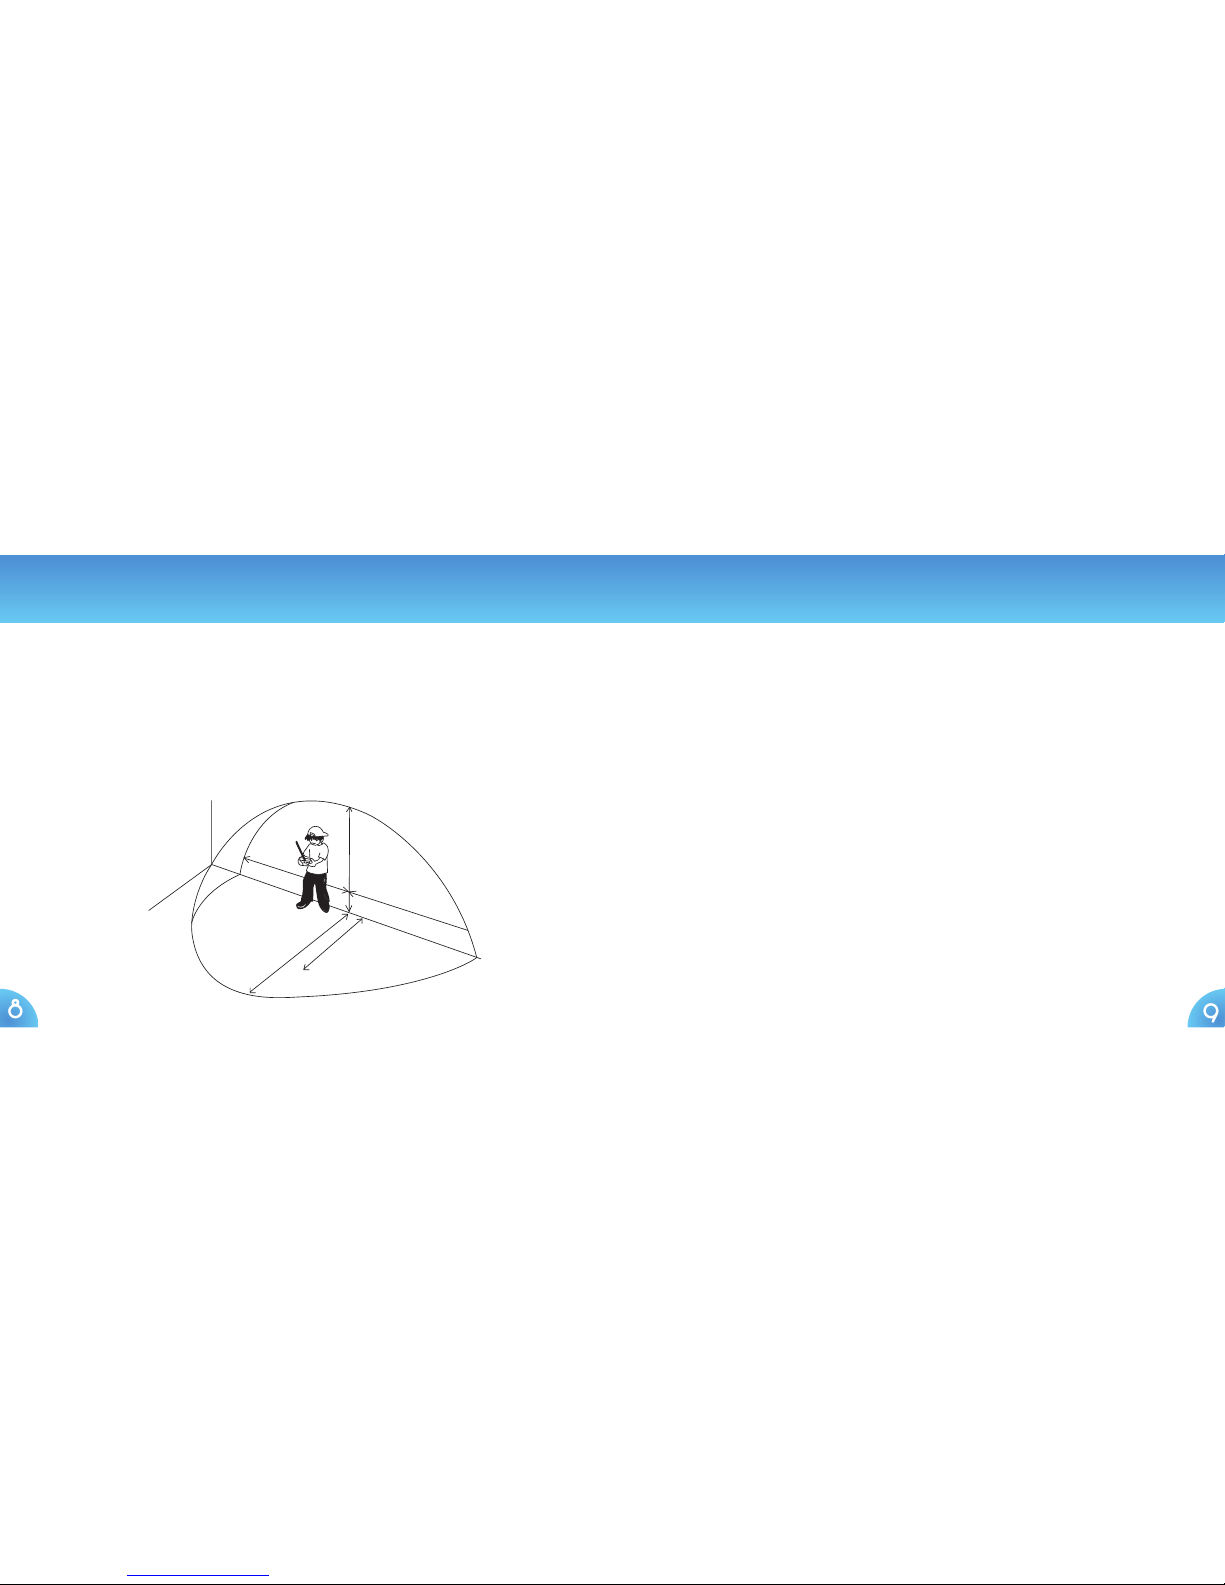
NOTE: Make sure there is enough space in each direction before performing a Flip-Roll, and keep a safe height of
at least 3 ½ feet. Flips and Rolls are better performed while ascending, as it is then easier to maintain altitude.
360º Flips & Rolls
Left Roll Left Roll Front Flip Back Flip
Mode Settings Advanced Features
You can fly in 3 unique modes: Beginner, Intermediate, or Advanced. Your unit is
in Beginner Mode as its default setting. To change flying modes, while the
Controller is on, gently press the Throttle Stick straight down. The Controller will
beep once, indicating it’s in Beginner Mode. Gently press the Throttle Stick
straight down again, and the Controller will beep twice, indicating it’s in
Intermediate Mode. Gently press the Throttle Stick straight down once more
time, and the Controller will beep three times, indicating it’s in Advanced Mode.
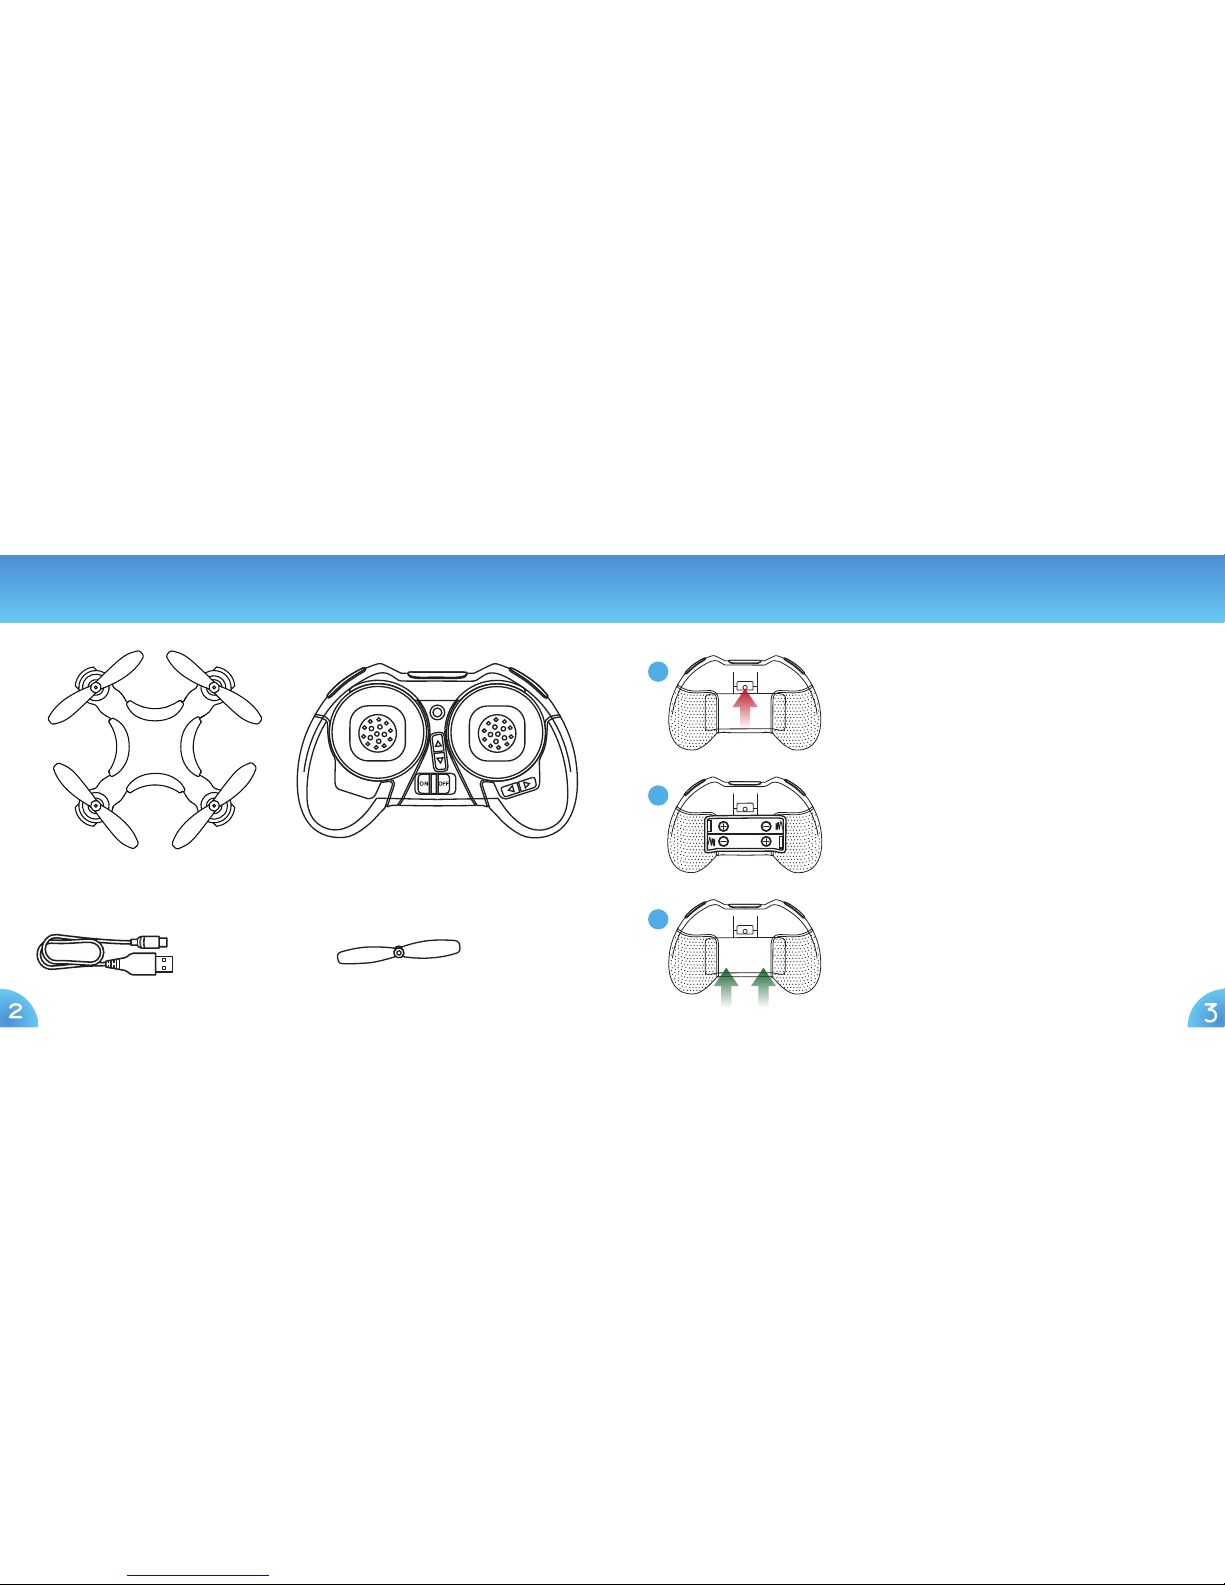
Left-Handed Throttle
(Mode 2)
Right-Handed Throttle
(Mode 1)
18 19


 user manual")