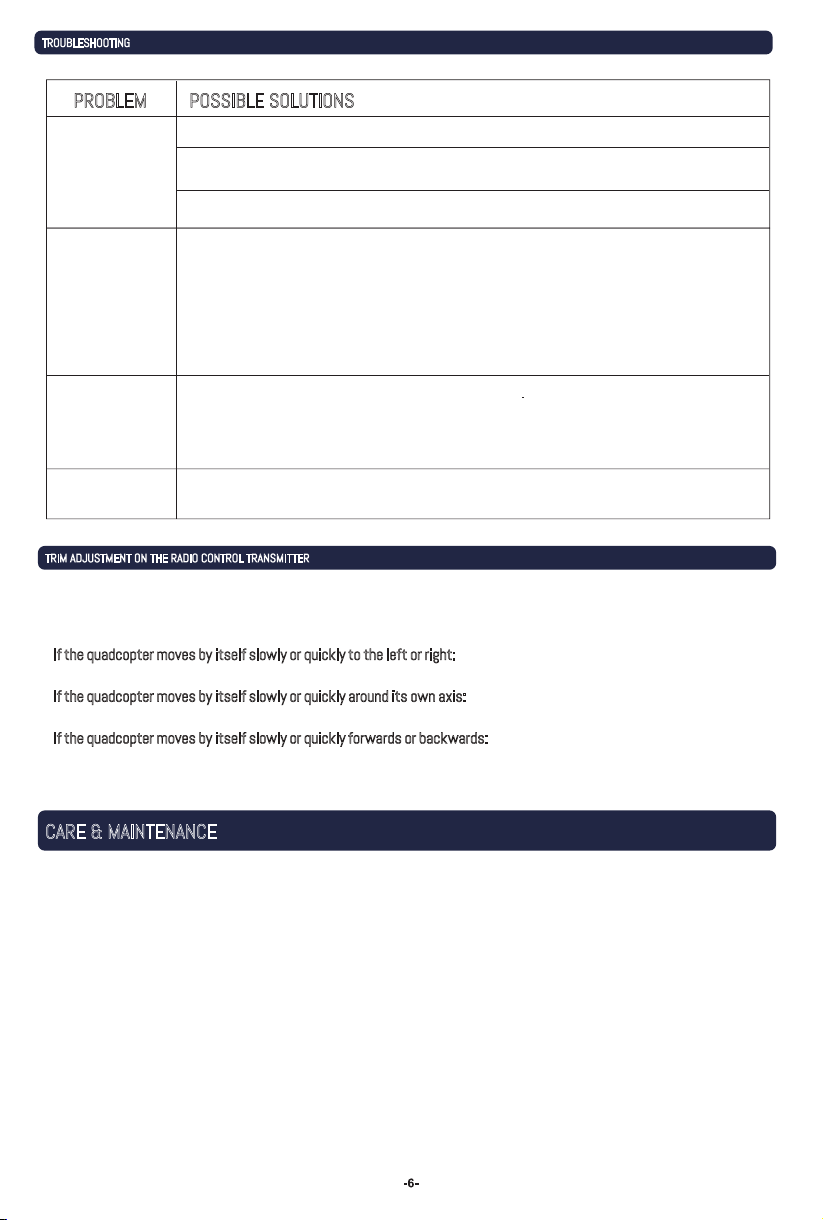
Odyssey StarChaser User manual

5
FOR AGES
14+
LIVE STREAMING HD VIDEO DRONE
with 3D VR HEADSET
WHAT’S IN THE BOX
1
2
3
4
5
StarChaser Drone Unit
2.4 Ghz Radio Transmitter
USB Charging Cable
3.7V Rechargeable Lithium Battery
4 GB Micro SD Card
360ºFLIP
(see page 4)
INITIATE HOMEBEACON®
(PRESS & HOLD FOR 3 SECONDS,
see page 5 for details)
INITIATE SMARTFLY®
(PRESS & HOLD FOR 3 SECONDS,
see page 5 for details)
IGNITION
SIDE TRIM
DIRECTION CONTROL STICK
FORWARDS / BACKWARDS TRIM
SPEED
(3 SETTINGS)
DIRECTION TRIM
POWER SWITCH
THROTTLE STICK
POWER LED
Thank you for your purchase of the StarChaser Live
Streaming HD Video Drone. You’re just moments away
from creating stunning aerial acrobatics!
6
INSTRUCTION & REFERENCE MANUAL • Model no. ODY-1940WIFI
Spare Propellers & Micro Screwdriver
6
7USB Micro SD Card Reader

CHARGING THE STAR CHASER DRONE
SETUP OVERVIEW RADIO CONTOL TRANSMITTER •BATTERY INSTALLATION
If the Radio Control Transmitter will not be used
for extended periods of time, please remove the
batteries.
Please use 4 AA batteries. Use
the polarity markings to install
in the correct orientation. Do
not mix batteries of different
types.
Unscrew the screw
holding the battery lid to
the body. Then lightly pull
the clip down to pull the
lid away from the
transmitter body.
Insert 4 x AA batteries into
the battery compartment,
making sure to match the polarities. Then replace the lid and
firmly tighten the screw to secure the battery compartment.
NOTICE
NOTICE
The Star Chaser battery comes partially charged and is ready to fly. Skip to Remote
Control Battery Installation section and use your Seeker now. Use this charge
completely before charging the Galaxy Seeker battery for the first time.
WE RECOMMEND!
1. Locate the battery compartment under the tail of the Drone. Open the lid by pulling up on the tab.
2. Gently extend the red connector without tugging on the wire.
3. Connect the red-and-black tip of the USB charging cable to the red connector in the tail of the Drone. Please note: Not all USB
ports provide power. Typically, only ports mounted on a computer and not through a peripheral will provide enough power for
charging.
4. After charging the battery, disconnect the USB cord and carefully, without pulling on the internal wire, disconnect the battery
cord and close the battery compartment lid.
CAUTION: Battery may be hot if being disconnected right after use. If hot, then wait a few minutes to let the battery cool down.
When charging with the included USB cable, the LED light will light up red,
indicating it is charging. Once charging is complete, the LED light will turn
off. Discontinue charging immediately.
Rechargeable Lithium
Polymer Battery
3.7V / 700 mAh
Please check the AA batteries routinely. If the AA
batteries are left within the Radio Control Transmitter,
potential leakage and/or corrosion may occur, which
can damage the transmitter and create a fire hazard.
Attach the X-Guard propeller defense system (if necessary).
STEP 1
Install batteries into the radio control transmitter.
STEP 2
Charge the StarChaser battery.
STEP 3
CAUTION
WARNING

ATTACHING YOUR SMARTPHONE to the PHONE HOLDER
PAIR THE UNITS & START TO FLY
Step 1: Switch on the Drone. The LED lights will start to blink.
Step 2: Turn on the Remote Transmitter. Its power light will illuminate. Wait 7 seconds for the electronic gyro to
stabilize*.
Step 3: Push the throttle (left) stick up to the 12 o'clock position and then down to the 6 o'clock position. As the remote
transmitter searches for the Drone, the power light on the transmitter blinks rapidly.
Step 4: Connection is complete once the power light and the LEDs on the Drone stop blinking. You're ready to fly!
Your StarChaser WiFi Live Streaming HD Drone comes with a plastic smartphone holder equipped with suction
cups that lets you view the StarChaser’s footage as it flies. This is done via the Odyssey VR 3D app that you can
download for free. Please refer to the Odyssey VR 3D App Guide included in your package for further instructions
on how to utilize the free app with your drone.
Take the back of your smartphone and press the back firmly into the suction cups to make sure it
has a secure hold. Attach the smartphone holder to your remote control transmitter, start up the
Odyssey VR 3D app and you are good to go!
Be sure to place the quadcopter on a level surface to ensure a proper and neutral alignment of the gyro.
NOTICE

4
ASCEND
DESCEND
FLYING,
DIRECTIONS,
& TURNING
GOING TO FLIGHT SCHOOL •CONTROLLING THE STARCHASER UNIT
ADVANCED FEATURES •ALWAYS-ON AUTO HOVER & 360º FLIPS
Ease the throttle (left
stick) upward in order
to make the
StarChaser go higher.
Ease the throttle
(left stick) downward
in order to make the
StarChaser lose
altitude.
Use the right stick,
(Directional Stick) to turn
left, right, move forward or
backward. Normally, the
StarChaser’s “front” is the
cockpit.
Pressing Right or Left on
the Throttle stick will
strafe in that direction
according to the cockpit.
360ºFLIP
Press the 360 button once on
the bottom right of the radio
control transmitter to have it
perform 360ºflip maneuvers!
ALWAYS-ON AUTO HOVER
Your StarChaser Drone features an Always-On Auto Hover mode. Just launch the Drone
into the sky, take it up to your desired altitude using the left joystick and then release
the joystick. The StarChaser will stay at the desired altitude without further commands
needed.

STARCHASER LIVE STREAMING HD VIDRO DRONE •ADVANCED FEATURES
By default, the clearly marked cockpit on the unit is
considered the front. When flying the unit, your
movements with the remote control will work
according to the direction of the cockpit. However,
this makes the unit very hard to fly at long range as it
becomes difficult to tell which direction the cockpit is
pointing.
SmartFly mode gives you sure control by making the
Drone respond to directions as if it's facing the way
you are facing. Your left, right, up, and down become
the same for you and your Drone!
To initiate this mode, press the SmartFly button on the
lower, left of the Remote Transmitter for 3 seconds. To
terminate the mode, press the button again for three
seconds.
HomeBeacon works with SmartFly mode to return your Drone to
you immediately. Once you've initiated SmartFly (see above), press
the HomeBeacon button on the lower, right side of Remote
Transmitter for 3 seconds, until you hear three "ticks." Your Drone
will automatically fly back in the direction of the Transmitter

TROUBLESHOOTING
CARE & MAINTENANCE
PROBLEM POSSIBLE SOLUTIONS
TRIM ADJUSTMENT ON THE RADIO CONTROL TRANSMITTER
Correct trim adjustment is required for error and erractic-free flying of the quadcopter. The adjustment is simple to do
on the radio control transmitter, but it requires some patience. Please follow the instructions precisely. For best
results, move the throttle up and raise the quadcopter approximately 2-3 feet (0.5-1 meter) in altitude.
If the quadcopter moves by itself slowly or quickly to the left or right:
Press the trim control for banking incrementally in the opposite direction of movement.
If the quadcopter moves by itself slowly or quickly around its own axis:
Press the trim control for rotation incrementally in the opposite direction of movement.
If the quadcopter moves by itself slowly or quickly forwards or backwards:
Press the trim control for forwards and backwards flight incrementally in the opposite direction of movement.
Check to make sure the power switch is in the ON position. If set to OFF, move to the ON position.
Check to make sure the batteries are installed correctly. Check to make sure they match the polarity markings.
If the batteries are installed correctly, they may be exhausted. Replace with new and fresh batteries.
If your Drone can't be controlled accurately:
•Make sure the radio control transmitter is set to the ON position
•Make sure the battery on the vehicle is installed correctly
•The vehicle may fly erratically if wind conditions are too strong. Fly the vehicle under calm conditions.
•Make sure the radio control transmitter has paired correctly with the vehicle. If not, power down the
vehicle and the radio control and start over.
The rotor speed may be too slow to lift the quadcopter sufficiently. Make sure the throttle is being raised
sufficiently. If the unit still does not go up or goes up too slowly, the battery of the quadcopter might be too
discharged for safe or satisfactory operation. Charge the battery before continuing to fly the unit.
If the unit fails to go up in altitude or goes up too slowly, try the following:
Landing the unit takes skill and practice. If your Drone comes down too fast, it could be damaged. Ease the Drone
down by slowly lowering the throttle (left) stick until the unit is safely on the ground.
• Do not submerge the unit in any liquids.
• Keep the unit dry.
• Disconnect the unit and monitor from USB power sources when not in use.
• Do not place the unit near powerful, un-shielded magnets.
• Do not expose the unit to extreme hot or cold temperatures.
• Do not hit, drop, or smash the unit.
• Do not disassemble the unit for any reason.
NOT FOLLOWING THESE PRECAUTIONS WILL VOID YOUR WARRANTY.
Transmitter won’t
power on
Lack of control
Failure to
gain altitude
Avoid crash landings!

7
FLYING SAFE •BE AWARE OF YOUR ENVIRONMENT and SURROUNDINGS
TECHNICAL SPECFICATIONS & PARAMETERS
CAUTIONS & WARNINGS
NOTICES
Always fly on a sunny, bright day with as little wind as
possible. Flying in extreme heat or cold can adversely
affect your flying control and response of the vehicle.
Charging Time: Approximately 60 minutes (dependent on usage)
Flying Time: Approximately above 6-9 minutes (dependent on flying conditions)
Radio Control monitor viewing distance limit: approx. 50 meters
•Suitable for ages 14 and up. Adult supervision is always recommended.
•This product contains small parts which are a choking hazard. Keep away from small children.
•Keep Quadcopter at least 10 feet away during use.
• Accurately assemble the quadcopter and fly it under the guidelines of this manual. Small parts should be installed by an
adult.
•Manufacturers and dealers disclaim all responsibility for damage caused by misuse.
•Keep hands, hair and loose clothing away from rotors when powered on to to prevent damage to the vehicle or serious
injury to oneself or others.
•The quadcopter should never be flown in high winds in excess of 5 MPH or near a pool.
•Never leave the device unattended when being charged.
This device complies with part 15 of the FCC Rules. Operation is subject to the following two
conditions: (1) This device may not cause harmful interference, and (2) this device must accept
any interference received, including interference that may cause undesired operation.

A division of Odyssey Toys
20855 NE 16 Avenue No. C22 • Miami, FL 33179 United States
For Customer Service please email: Care@OdysseyToys.com
Please note the units model number and name in your email.
Extra Parts Available!
Visit Odyssey online to order:
• Extra Batteries
• New rotor blades
• X-Guard components
Model no. ODY-1940WIFI
StarChaser Live Streamin HD Video Drone
Follow us at
Table of contents
Other Odyssey Drone manuals

Odyssey
Odyssey Oblivion NX User manual

Odyssey
Odyssey STARFALL X ODY-2222 User manual

Odyssey
Odyssey ODY-1717NX User manual

Odyssey
Odyssey Micro X-3 User manual

Odyssey
Odyssey Stellar NX User manual

Odyssey
Odyssey ODY-2016BF1 User manual

Odyssey
Odyssey XV-7 Microlite II User manual

Odyssey
Odyssey Spartan User manual

Odyssey
Odyssey StarChaser ODY-1940WIFI User manual

Odyssey
Odyssey STEALTH NX-2 ODY-1765 User manual