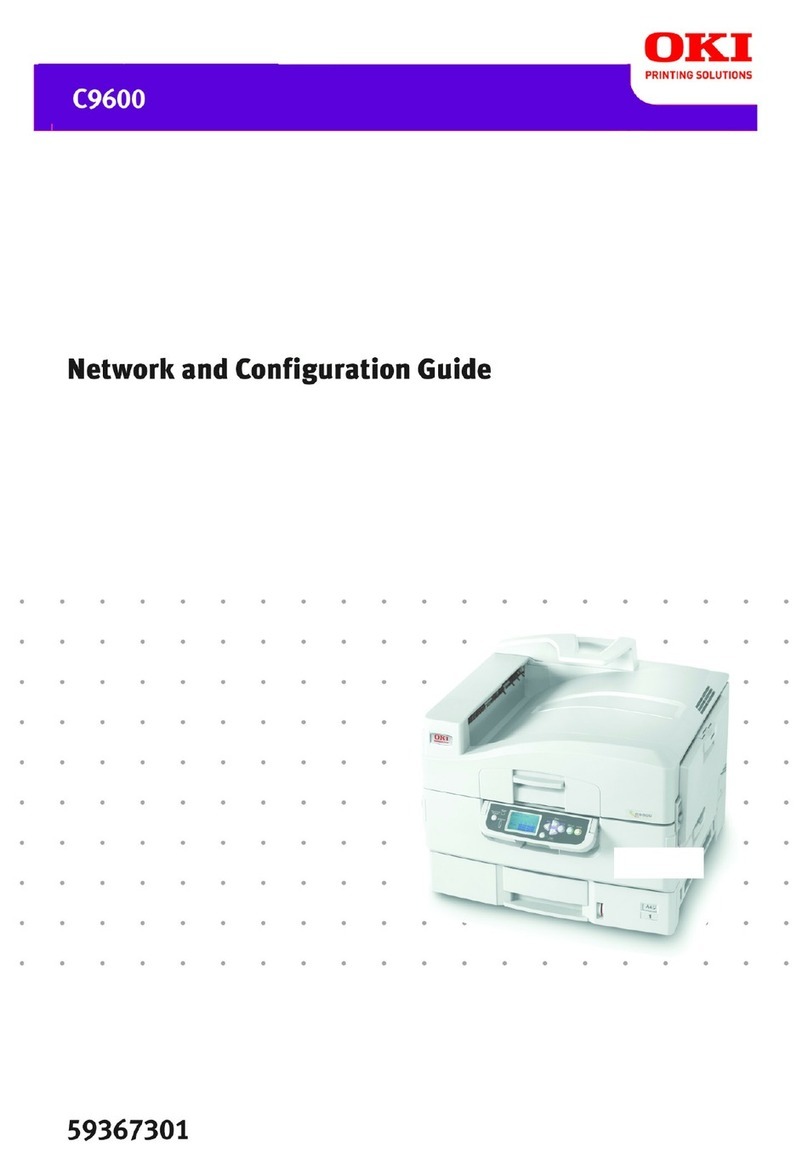
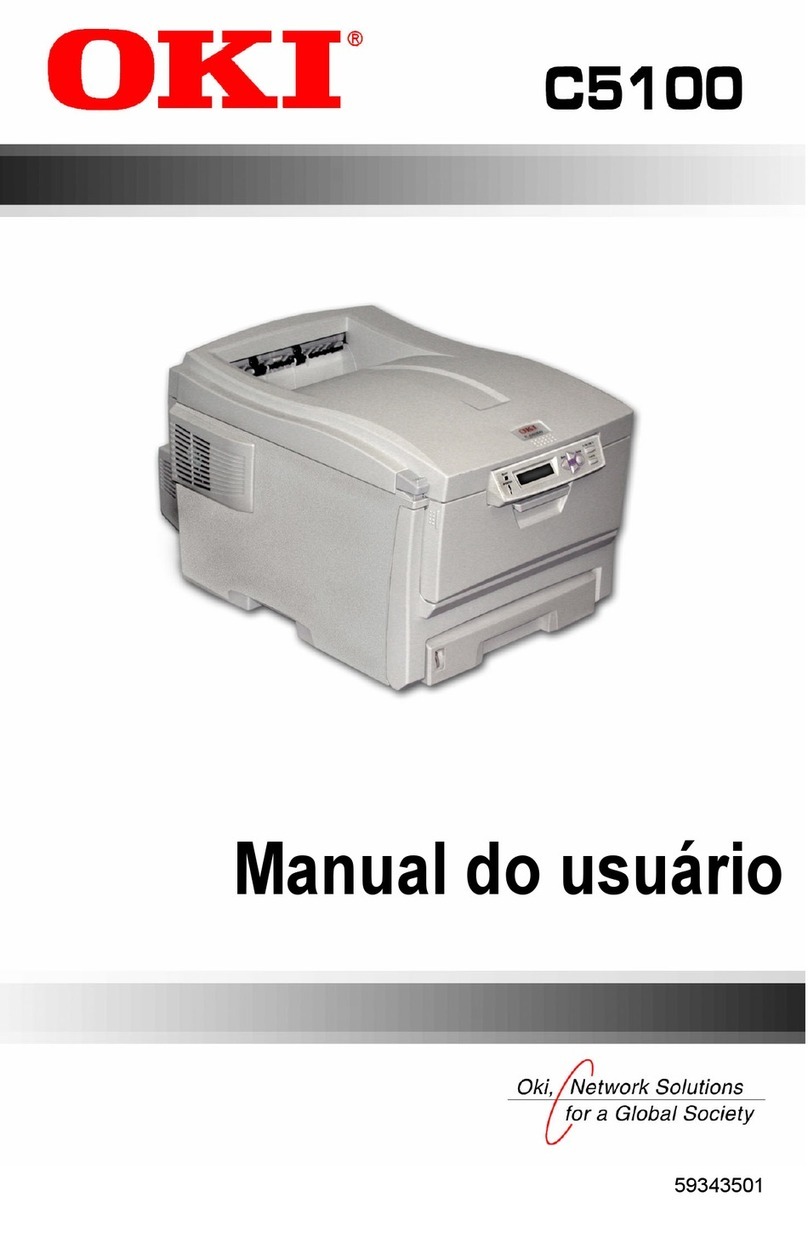
Oki C5300n User manual

1
C5300
Computer Connections & Software Install Guide
Installation Checklist
□Network Install: Hardware ..........................2
□Network Install: Software ...........................3
• TCP/IP ...............................................................3
• Novell.................................................................6
□Local Install: Windows USB Port...............7
• Computer Connection: Windows 98/Me ...........7
• Computer Connection: Windows 2000/XP .......8
• Software for Windows 98 ..................................9
• Software for Windows Me...............................11
• Software for Windows 2000 ............................13
• Software for Windows XP...............................14
□Local Install: Windows Parallel Port .......15
• Computer Connection ......................................15
• Software for Windows .....................................16
□Macintosh Install: Hardware ....................18
• Network ...........................................................18
• USB..................................................................19
□Macintosh Install: Software......................20
• OS 8.6 to 9.1 ....................................................20
• OS X.1 and X.2................................................22
USB Versus Parallel: Windows
Installation instructions are included for both USB and
parallel connections. Oki Data recommends using a USB
connection, as your printer is performance optimized for a
USB interface.
Printer Drivers Available
Which Printer Driver?
Your printer comes with Windows drivers for PCL and
Postscript. You can install either driver or both, depending
on your application.
When to Use the PCL Driver
If you use TrueType fonts and you do not print PostScript
graphics (including “.eps” files), choose the PCL driver.
This will be more efficient and give good results.
When to Use the Postscript Emulation
Driver
If you use PostScript fonts or you will be printing PostScript
graphics, choose the Postscript emulation driver.
Performance will be faster and graphics will be printed at
their best quality.
When to Install Both Drivers
If your applications vary, you could choose to install both
drivers, then select the one you plan to use most to be your
Windows default driver. Choose the alternate driver from
within the print dialog when you need to.
If you install both drivers, simply select the same printer
port (LPT1 or Network Port) during the installation.
Readme File
Please refer to the readme file on the Drivers CD
supplied with your printer for the latest information on
printer drivers.

2
Network Install: Hardware
Note: No Ethernet®cable is supplied with the printer. Use an Ethernet cable with two twisted wire pairs and an RJ45
plug.
□Turn off the printer.
□Remove the plug from the Ethernet port (1), then connect your Ethernet cable to the port.
□Connect the other end of the cable to the network port.
□Turn on the printer and wait for the print server’s STATUS light (2) to stop blinking.
□Press the TEST button (3) on the print server. The Network Information configuration sheets print. Keep these
sheets handy: they contain information you need to set up the printer on your network.

3
Network Install: Software
TCP/IP
Note: Installing a printer on a network is best handled by
someone familiar with networks (such as a network
Administrator).
For more detailed information on the OkiLAN®
8100, see the OkiLAN 8100 SoftNIC User’s Guide
on the Publications CD supplied with your printer.
Install the Drivers
The IP Address
An IP address is required to install the drivers. If you are
using DHCP, the IP address will automatically be detected.
If you are not using DHCP, you need to obtain the IP
Address from your network Administrator and enter it using
the front panel:
•Press +until you see NETWORK MENU on the display, then
press ENTER.
•Press +until you see IP ADDRESS SET, then press ENTER.
•Press +to change the setting to MANUAL, and press
ENTER, then BACK.
•Press +(IP ADDRESS APPEARS), then press ENTER.
•Use the +and –to set each set of digits in the IP Address,
pressing ENTER to go to the next set of digits.
•Press BACK, then press ON LINE.
To Install the PCL Driver
□Insert the Drivers CD supplied with your printer into the
CD-ROM drive.
The License Agreement appears
□Click Next.
The Menu Installer window appears.
□Click the Printer Driver Installer button.
The Local or network printer screen appears.
□Select Network Printer. Click Next.
The Connection type screen appears.
□Select Directly to the network ... and click Next.
The TCP/IP Connection screen appears.
□Follow the on-screen instructions to complete the
installation.
To Install the Postscript Emulation
Driver
Use the Add Printer wizard:
□Insert the Drivers CD supplied with your printer in your
CD-ROM drive.
□Click Next, then click Cancel.
□Click Start →Settings →Printers →Add Printer.
The Add Printer Wizard appears.
□Follow the on-screen instructions.
Note: When prompted to select a port, select LPT1
temporarily.
The Postscript emulation driver is located
under \drivers\network\2000_xp\ps.
□Click Finish.
Install the Oki LPR Utility:
Note: If you have installed the PCL driver using
the steps above, skip the next three steps and
launch the Oki LPR utility (Start →
Programs →Okidata →Oki LPR Utility →
Oki LPR Utility).
□Relaunch the Drivers CD. When the Menu Installer
screen appears, click Network Software.
□Click Installation/Config., then click Oki LPR and
wait for the utility to install.
□When the installation is complete, click Finish to
launch the Oki LPR utility.
Use the Oki LPR Utility to discover the printer:
□Click Remote Print, then click Add Printer.
□Select your printer model from the list, then either enter
the IP Address manually, or click Discover and wait
for the printer to be discovered.
□Click OK.

4
Network Install: Software
TCP/IP (cont.)
Network Client Distribution
If you are installing the software on a network for network
clients, the software must be installed on all clients’
workstations. The Network Installer utility automatically
notifies client users by email when a new printer is added to
the network.
To install and use the Network Installer utility:
Install the Network Installer Utility:
□In the Menu Installer, click the Network Software
button.
□Click the Administration Tools button.
□Click the Network Installer button and follow the
on-screen instructions
Set up existing server email accounts in
Network Installer.
Install the printer drivers:
□Install the printer on the network as a shared printer.
The client drivers for the printer are automatically
copied as well.
□Register the printer in Network Installer.
When the printer has been registered, Network Installer
sends an email to clients that were set up using the Network
Installer utility, informing them that the printer is available
on the network. Each client can install the appropriate driver
as follows:
•Windows 2000, XP, and NT 4.0 clients can install drivers
by opening the connectme.exe attachment to the email.
•Windows Me, 98, and 95 clients can install the drivers by
launching the Add Printer Wizard and following the
network administrator’s instructions for locating the
appropriate driver.
Configuring the Print Server via
the Embedded Web Page
Note: For more detailed information, see the OkiLAN
8100 SoftNIC User’s Guide on the Publications CD
supplied with your printer.
□Activate your web browser (Netscape Navigator®
version 4.0 or higher, or Microsoft®Internet Explorer®
version 4.0 or higher), then enter the IP Address for the
printer (this will be found on the Network Information
configuration sheets generated when you press the Test
button on the back of the printer).
□From this page you can
•Enable/disable protocols.
•Change the IP address, Subnet Mask and
default Gateway to meet the requirements for
your particular network environment.
□When done, save and submit your changes to the print
server to make them permanent. When prompted, enter
the following:
•User Name = Root.
•Password = Last 6 digits of the MAC Address
(this will be found on the Network
Information configuration sheets generated
when you press the Test button on the back of
the printer).

5
Network Install: Software
TCP/IP (cont.)
Activating the Duplex Unit,
Internal Hard Drive and
Second Paper Tray Options
If your printer has an optional duplex unit, internal hard
drive or second paper tray installed, you must enter the
driver and activate it.
To Activate in the Postscript Emulation
Driver:
□Click Start →Settings →Printer.
□Right click the Postscript emulation printer icon, then
click Properties.
Windows 2000, XP and NT 4.0:
□Click the Device Settings tab.
□Scroll down to Installable Options.
□Click Duplex, then click Installed. Do the same
thing for Hard Disk. If you have the optional
paper tray installed, click Available Tray and
select 2.
Windows Me, 98 and 95:
□Click the Device Options tab.
□Select Duplex Option Unit, Printer Hard Disk,
and select the optional second paper tray if
installed.
□Click OK, then close the Printers dialog box.
To Activate in the PCL Driver:
□Click Start →Settings →Printer.
□Right click the PCL printer icon, then click Properties
(Windows 2000/XP/Me/9x), or Document Defaults
(Windows NT 4.0).
□Click the Device Options tab.
□Select Duplex Option Unit, Printer Hard Disk, and/or
set Available Tray to 2.
□Click OK, then close the Printers dialog box.

6
Network Install: Software
Novell
Note: Installing a printer on a network is best handled by
someone familiar with networks (such as a network
Administrator).
For more detailed information on the OkiLAN®8100
SoftNIC internal print server, see the OkiLAN 8100
SoftNIC User’s Guide on the Publications CD
supplied with your printer.
This utility installs, configures, and manages Oki network
print server devices.
□Insert the Drivers CD supplied with your printer into
your CD-ROM drive. The CD will AutoPlay. (If it does
not AutoPlay, click Start →Run →Browse. Browse
to your CD-ROM drive and double-click Install.exe,
then click OK.)
□The Software License Agreement appears. Click Next.
□The Menu Installer Software Installation screen
appears.
□Click the Network Software button.
□Click the Installation/Config button.
□Click the Admin Mgr / Quick Setup button.
□Follow the on-screen instructions to complete the
installation.
Note: You can either install the software while running the
utility off the CD, or you can choose to install the
utility on your computer and then launch it from
there.
Install the Printer on a Novell®
Network
Note: Novell Client for Windows must be loaded, the
Admin Manager software must be running, and you
must be logged in to NDS.
□Run Discover.
□Select Setup from the menu.
□Click Create a NetWare Queue.
□Select NDS Mode. Click Next.
□Select the container. Click Next.
□Select Print Server Mode. Click Next.
□Select or create a queue. Click Execute.
Launching the Utility
To launch the utility click Start →Programs →Oki Setup
Utility →AdminManager.
Activating the Duplex Unit,
Hard Disk Drive and Second
Paper Tray Options
If your printer has an optional duplex unit, hard disk drive,
or second paper tray installed, you must enter the driver and
activate them. See page 5 for instructions on how to do this.

7
Local Install: Windows USB Port
Computer Connection: Windows 98/Me
Note: No USB interface cable is supplied with the printer.
Use a USB cable that is compatible with USB specification 1.1 or 2.0.
•A USB interface will only operate using Windows 2000, Windows XP, Windows Me, and Windows 98.
Windows 95 and NT 4.0 do not support USB.
•Printer operation is not assured if another USB compatible device is connected concurrently with it.
•If a USB hub is used, it must be connected directly to the computer.
□Turn off the printer, then connect the USB cable to the computer.
□Reboot the computer.
□Connect the USB cable to the white USB port (1)—not the black Ethernet port!—on the printer.
□Turn on the printer.

8
Local Install: Windows USB Port
Computer Connection: Windows 2000/XP
Note: No USB interface cable is supplied with the printer.
Use a USB cable that is compatible with USB specification 1.1 or 2.0.
•A USB interface will only operate using Windows 2000, Windows XP, Windows Me, and Windows 98.
Windows 95 and NT 4.0 do not support USB.
•Printer operation is not assured if another USB compatible device is connected concurrently with it.
•If a USB hub is used, it must be connected directly to the computer.
□Turn off the printer, then connect the USB cable to the computer.
□Reboot the computer.
□Connect the USB cable to the white USB port (1)—not the black Ethernet port!—on the printer.
□Turn on the printer.

9
Local Install: Windows USB Port
Software for Windows 98
Install the Driver of Your
Choice (PCL or Postscript)
Note: If at any time during this procedure the OKI Menu
Installer screen appears, click Cancel.
□Check that the USB cable is plugged in and the printer
is powered on.
□Reboot the computer.
The Add New Hardware Wizard appears.
□Click Next.
□Select Search for the best driver... Click Next.
□Insert the Drivers CD supplied with your printer in the
CD-ROM drive.
□Select CD-ROM Drive, clear other choices. Click
Next.
□The OKI USB device is detected. Click Next.
□The File is copied.
□Click Finish.
The Add New Hardware Wizard appears.
□Click Next.
□Select Search for the best driver... Click Next.
□Select CD-ROM Drive. Select Specify Location.
Uncheck other selections.
□Click Browse. Navigate to your CD-ROM drive:
•PCL driver: \drivers\parallel\win9xMe\pcl\
(ok715.inf).
•Postscript emulation driver:
\drivers\parallel\win9xMe\ps\ (OK715ps.inf).
□Click OK.
□Click Next.
□Click Next.
□Follow the on-screen instructions to complete the
installation.
□Click Finish.
To Install the Second Driver as
Well
□With the Drivers CD still in your CD-ROM drive, click
Start →Run.
□Browse to your CD-ROM drive and click
INSTALL.EXE, then click Open.
□Click OK.
The License Agreement appears.
□Click Next.
The Menu Installer Software Installation screen
appears.
□Click the Printer Driver Installer button.
□Follow the on-screen instructions.
Note: When prompted to select a port, select LPT1
temporarily.
□Click Finish.
When the installation is complete:
□Click Start →Settings →Printers.
□Right click the printer icon, then click Properties.
□On the Details tab, select USB01 port in the Print to
the following port drop-down list.
□Click OK, then close the Printers dialog box.

10
Local Install: Windows USB Port
Software for Windows 98 (cont.)
Install the Printer Software
Utilities
□With the Drivers CD installed in your CD-ROM drive,
click Start →Run →Browse. Browse to your
CD-ROM Drive and double-click INSTALL.EXE.
Click OK.
The License Agreement appears.
□Click Next.
□The Menu Installer displays. Click the Productivity
Software button.
□Install the utilities you want following the on-screen
instructions.
To access the utility programs from your desktop, click
Start →Programs →Okidata.
Activating the Duplex Unit,
Internal Hard Drive and
Second Paper Tray Options
If your printer has an optional duplex unit, internal hard
drive or second paper tray installed, you must enter the
driver and activate them. See page 5 for instructions on how
to do this.

11
Local Install: Windows USB Port
Software for Windows Me
Install the Driver of Your
Choice (PCL or Postscript)
□Check that the USB cable is plugged in and the printer
is powered on.
The Add New Hardware Wizard displays.
□Select “Specify the location of the Driver.” Click
Next.
□Insert the Drivers CD supplied with your printer in the
CD-ROM drive.
□Select “Specify a location.... select Removable
Media.”
□Click Browse. Navigate to your CD-ROM drive:
•PCL driver: \drivers\parallel\win9xMe\pcl\
(ok715.inf).
•Postscript emulation driver:
\drivers\parallel\win9xMe\ps\ (OK715ps.inf).
□Click OK.
□Click Next.
□Follow the on-screen instructions to complete the
installation.
□Click Finish.
□The Add New Hardware Wizard displays. Select
“Specify the location of the Driver.” Click Next.
□Select “Specify a location...” Click Next.
□Click Next to begin the install.
□Follow the on-screen instructions to complete the
installation.
□Click Finish.
To Install the Second Driver as
Well
□With the Drivers CD still in your CD-ROM drive, click
Start →Run.
□Browse to your CD-ROM drive and click
INSTALL.EXE, then click Open.
□Click OK.
□The License Agreement appears. Click Next.
□The Menu Installer Software Installation screen
appears.
□Click the Printer Driver Installer button.
□Follow the on-screen instructions.
Note: When prompted to select a port, select LPT1
temporarily.
□Click Finish.
When the installation is complete:
□Click Start →Settings →Printers.
□Right click the printer icon, then click Properties.
□On the Details tab, select USB01 port in the Print to
the following port drop-down list.
□Click OK, then close the Printers dialog box.

12
Local Install: Windows USB Port
Software for Windows Me (cont.)
Install Printer Software
Utilities
□With the Drivers CD installed in your CD-ROM drive,
click Start → Run. Browse to your CD-ROM Drive
and double-click INSTALL.EXE. Click OK.
□The License Agreement appears. Click Next.
□The Menu Installer appears. Click the Productivity
Software button.
□Install the utilities you want following the on-screen
instructions.
To access the utility programs from your desktop, click
Start →Programs →Okidata.
Activating the Duplex Unit,
Internal Hard Drive and
Second Paper Tray Options
If your printer has an optional duplex unit, internal hard
drive or second paper tray installed, you must enter the
driver and activate them. See page 5 for instructions on how
to do this.

13
Local Install: Windows USB Port
Software for Windows 2000
Install the Driver of Your
Choice (PCL or Postscript)
□Check that the USB cable is plugged in and the printer
is powered on.
The Found New Hardware Wizard displays.
□Click Next.
□Select Search for Driver... Click Next.
□Select Specify a location. Clear other selections. Click
Next.
□Insert the Drivers CD supplied with your printer in your
CD-ROM drive, then click Browse:
•To load the PCL driver, browse to
\drivers\parallel\win2k_xp\pcl (OK715.inf)
•To load the Postscript emulation driver,
browse to \drivers\network\win2k_xp\ps
(ok715ps.inf).
□Click Open.
□Click OK, then click Next.
Files are copied.
□Click Finish.
To Install the Second Driver as
Well
□With the Drivers CD still in your CD-ROM drive, click
Start →Run.
□Browse to your CD-ROM drive and click
INSTALL.EXE, then click Open.
□Click OK.
□The License Agreement appears. Click Next.
The Menu Installer Software Installation screen
appears.
□Click the Printer Driver Installer button.
□Follow the on-screen instructions.
Note: When prompted to select a port, select LPT1
temporarily.
□Click Finish.
When the installation is complete:
□Click Start →Settings →Printers.
□Right click the printer icon, then click Properties.
□On the Ports tab, select USB01 port in the Print to the
following port drop-down list.
□Click OK, then close the Printers dialog box.
Install Printer Software
Utilities
□With the Drivers CD installed in your CD-ROM drive,
click Start →Run. Browse to your CD-ROM Drive
and double-click Install. Click OK.
□The License Agreement appears. Click Next.
□The Menu Installer displays. Click the Productivity
Software button.
□Install the utilities you want to install following the
on-screen instructions.
To access the utility programs from your desktop, click
Start →Programs →Okidata.
Activating the Duplex Unit,
Internal Hard Drive and
Second Paper Tray Options
If your printer has an optional duplex unit, internal hard
drive or second paper tray installed, you must enter the
driver and activate them. See page 5 for instructions on how
to do this.

14
Local Install: Windows USB Port
Software for Windows XP
Install the Driver of Your
Choice (PCL or Postscript)
□Check that the USB cable is plugged in and the printer
is powered on.
□Found New Hardware appears.
□Insert the Drivers CD supplied with your printer into the
CD-ROM drive.
□Please select the best match for your hardware from
the list below appears.
•To load the PCL driver, select
\drivers\parallel\win2k_xp\pcl\OK715.inf.
•To load the Postscript emulation driver, select
\drivers\network\win2k_xp\ps\ok715ps.inf.
□Click Next.
□If the ...Windows Logo testing.. screen appears click
Continue Anyway. Installation is completed.
□Click Finish.
To Install the Second Driver as
Well
□With the Drivers CD still in your CD-ROM drive, click
Start →Run.
□Browse to your CD-ROM drive and click
INSTALL.EXE, then click Open.
□Click OK.
□The License Agreement appears. Click Next.
□The Menu Installer Software Installation screen
appears.
□Click the Printer Driver Installer button.
□Follow the on-screen instructions.
Note: When prompted to select a port, select LPT1
temporarily.
□Click Finish.
When the installation is complete:
□Click Start →Settings →Printers.
□Right click the printer icon, then click Properties.
□On the Ports tab, select USB01 port in the Print to the
following port drop-down list.
□Click OK, then close the Printers dialog box.
Install Printer Software
Utilities
□With the Drivers CD installed in your CD-ROM drive,
click Start →Run. Browse to your CD-ROM Drive and
double-click Install. Click OK.
□The Licence Agreement appears. Click Next.
□The Menu Installer displays. Click the Productivity
Software button.
□Install the utilities you want following the on-screen
instructions.
To access the utility programs from your desktop, click
Start →Programs →Okidata.
Activating the Duplex Unit,
Internal Hard Drive and
Second Paper Tray Options
If your printer has an optional duplex unit, internal hard
drive or second paper tray installed, you must enter the
driver and activate them. See page 5 for instructions on how
to do this.

15
Local Install: Windows Parallel Port
Computer Connection
□Turn off both the computer and the printer.
□Attach a standard IEEE-1284 parallel cable (not supplied) to the parallel port (1) on the printer, securing it with the
spring clips.
□Attach the other end to the parallel port on the computer and secure it in place with the screws.
□Turn on the computer and the printer.

16
Local Install: Windows Parallel Port
Software for Windows
Install the Driver(s),
Windows 98/Me
□Insert the Drivers CD supplied with your printer into
your CD-ROM drive. The CD will AutoPlay. (If the CD
does not AutoPlay, click Start →Run →Browse.
Browse to your CD-ROM drive and double-click
Install.exe, then click OK.)
□The License Agreement appears. Click Next.
□The Menu Installer Software Installation screen
appears.
□Click the Printer Driver Installer button.
□Follow the on-screen instructions to complete the
installation.
□To install additional software utilities, click the
Productivity Software button, then select and install
the utilities you want.
Install the Driver(s),
Windows XP
Note: Two Postscript emulation drivers are available:
•AnECP-enabled driver (recommended), which
provides faster printing. To use this driver, make
sure the ECP setting in your system BIOS is
enabled. See your computer’s manual for
information on how to do this.
•AMicrosoft-certified driver.
To install drivers in Windows XP, use the Windows Plug
and Play feature.
□Be sure the parallel cable is installed and the printer is
powered on.
The Found New Hardware Wizard appears.
□Click Next.
□Place the Drivers CD supplied with your printer in your
CD-ROM drive and wait while the Wizard searches the
CD.
□Select the driver you wish to install:
•For the PCL driver, click OKI C5300(PCL)
[drivers\parallel\win2k_xp\pcl\ok715.inf]
•For the ECP-enabled Postscript emulation driver,
click OKI C5300(PS)
[drivers\parallel\win2k_xp\ps\OK715ps.inf]
•For the Microsoft-certified Postscript emulation
driver, click OKI C5300(PS)
[drivers\network\win2k_xp\ps\OK715ps.inf]
□If the ...Windows Logo testing... screen appears, click
Continue Anyway.
□Files are copied.
□Click Finish.
□To install the second driver as well, start the Add Printer
Wizard (Start →Settings →Printers and Faxes →
Add a printer) and follow the on-screen instructions.
When prompted, click Have Disk, browse to the
appropriate CD directory given above and double click
the appropriate inf file.

17
Local Install: Windows Parallel Port
Software for Windows (cont.)
Install the Driver(s),
Windows 2000
Note: Two Postscript emulation drivers are available:
•AnECP-enabled driver (recommended), which
provides faster printing. To use this driver, make
sure the ECP setting in your system BIOS is
enabled. See your computer’s manual for
information on how to do this.
•AMicrosoft-certified driver.
Use the Add Printer Wizard.
□Insert the Drivers CD supplied with your printer in your
CD-ROM drive. Click Next, then click Cancel.
□Click Start →Settings →Printers →Add Printer.
The Add Printer Wizard appears.
□Click Next.
□Click Local Printer... Click Next.
□Click the LPT1: printer port. Click Next.
□Click Have Disk, then click Browse. Browse to your
CD-ROM drive:
•PCL driver, browse to
[drivers\parallel\win2k_xp\pcl\ok715.inf]
•ECP-enabled Postscript emulation driver, browse
to [drivers\parallel\win2k_xp\ps\OK715ps.inf]
•Microsoft-certified Postscript emulation driver,
browse to
[drivers\network\win2k_xp\ps\OK715ps.inf]
□Click Open. Click OK.
□Select the appropriate driver and click Next and follow
the on-screen instructions.
Note: If the Digital Signature Not Found window
appears, click Continue Anyway or Yes.
□Click Finish.
□To install additional software utilities, click the
Productivity Software button.
Install the Driver(s),
Windows NT 4.0 (SR 6)
Use the Add Printer Wizard.
□Insert the Drivers CD supplied with your printer in your
CD-ROM drive. When the Menu Installer screen
appears, click Cancel.
□Click Start →Settings →Printers →Add Printer.
The Add Printer Wizard appears.
□Click Next.
□Click Local Printer... Click Next.
□Click the LPT1: printer port. Click Next.
□Click Have Disk, then click Browse. Browse to your
CD-ROM drive:
•For the PCL driver, browse to
[drivers\parallel\nt4\pcl\ok715.inf]
•For the Postscript emulation driver,
[drivers\parallel\nt4\ps\OK715ps.inf]
□Click Open. Click OK.
□Select the appropriate driver and click Next.
□Follow the on-screen instructions.
□Click Finish.
□To install additional software utilities, click the
Productivity Software button.
Activating the Duplex Unit,
Internal Hard Drive and
Second Paper Tray Options
If your printer has an optional duplex unit, internal hard
drive or second paper tray installed, you must enter the
driver and activate it. See page 5 for instructions on how to
do this.

18
Macintosh Install: Hardware
Network
Note: Requires Mac OS 8.6 or above, running on a Macintosh®computer with EtherTalk interface.
The Ethernet cable is not supplied with the printer. Use an Ethernet crossover cable with RJ45 connectors at
either end.
□Turn off the printer.
□Connect your Ethernet cable to the network port on the printer server.
□Remove the plug from the Ethernet port (1) on the printer, then connect the other end of the Ethernet cable to the
port.
□Turn on the printer and wait for the print server status light (2) to stop blinking.
□Press the Test button (3) on the print server. The Network Information configuration sheets print. Keep these sheets
handy: they contain information you need to set up the printer on your network.

19
Macintosh Install: Hardware
USB
Note: No USB interface cable is supplied with the printer. Use a cable that is compatible with USB specification 1.1
or 2.0.
•Requires Mac OS 9.04 or higher
•Printer operation is not assured if another USB compatible device is connected concurrently with it.
•If a USB hub is used, the hub must be connected directly to the computer.
•Depending upon the size of the document, if the memory setting for the print monitor is low, you may not be
able to print in the background. To correct for this, increase the memory setting for the print monitor.
•Depending on the model you have, you may need to install updates to the operating system in order to use
USB: e.g., iMac Update 1.0, iMac Update 1.1, iMac Firmware Update, etc. For further information, contact
Apple Computers.
□Turn off the computer and the printer.
□Connect the USB cable to the USB port on the computer.
□Connect the other end of the cable to the white USB Port (1)—not the black Ethernet port!—on the printer.

20
Macintosh Install: Software
OS 8.6 to 9.1
Install the Driver
□Turn on the printer, then turn on the computer.
□Place the Drivers CD supplied with your printer into the
CD-ROM drive.
□Double-click the CD icon that appears on the desktop.
□Open the MAC folder.
□Double-click the MAC Installer icon, then click
Continue and accept the License agreement.
□Select Mac OS 8.6-9.2 from the drop-down box located
in the left corner. This will install printer drivers,
utilities, and plug-ins including Job Accounting and Job
type. (Plug-ins will only install in OS 9.x and above, but
not OSX.)
□Click Install.
□When the installation is complete, click Quit.
Create the Desktop Printer
for a Network
□Activate Chooser from the Apple menu, then wait for
the network printer to appear.
□Select the LaserWriter8 icon and highlight the printer
name (print server ID#).
□Click Create.
□Close Chooser.
Note: If you need to verify the printer name, press the print
server test button (1) to print the Network
Information configuration sheets.
Create the Desktop Printer For
USB
□Mac OS 9.0.4: Navigate to your local hard drive →
Apple Extras →Apple LaserWriter Software.
Mac OS 9.1: Navigate to your local hard drive →
Application (Mac OS 9) →Utilities.
□Double-click the Desktop Printer Utility icon.
□Highlight Printer (USB) under Create Desktop.
□In the drop-down box, select LaserWriter 8 and click
OK.
□Under PostScript Printer Description (PPD) file,
click Change.
□Make sure the Printer Descriptions folder is selected
in the drop-down box.
□Highlight your printer model, then click Select.
□Under USB Printer Selection, click Change.
□Highlight the printer model you have, then click OK.
□Click Create. The printer icon appears on the desktop.
□Click Save.
Other manuals for C5300n
7
This manual suits for next models
1
Table of contents
Other Oki Printer manuals

Oki
Oki PT341 Installation and operating instructions

Oki
Oki proColor pro900DP User manual

Oki
Oki OKIOFFICE84 Instruction Manual

Oki
Oki C9650hdn User manual

Oki
Oki ES6150 User manual

Oki
Oki C9600hdn User manual

Oki
Oki B820N User manual

Oki
Oki ES2024 Firmware update

Oki
Oki C3400n User manual

Oki
Oki OKIPOS X400 User manual