9
USB
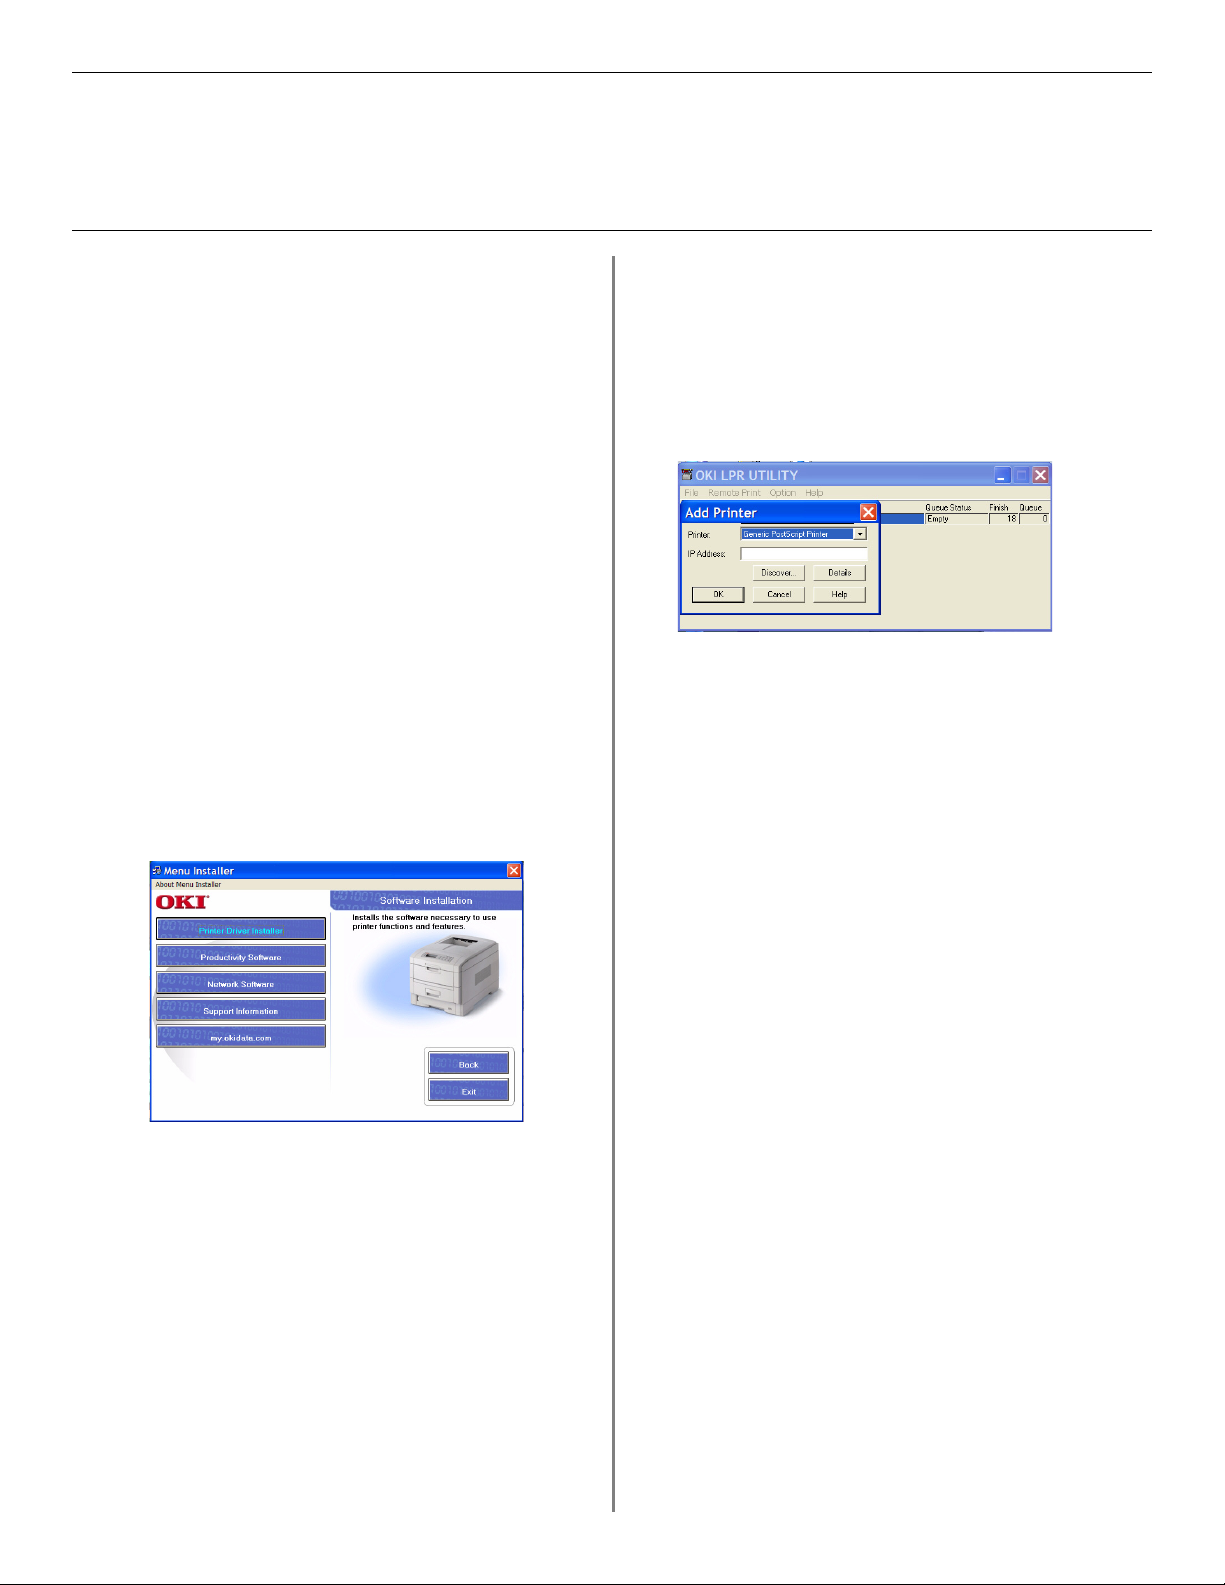
Install Printer Software
for Windows 98
Install the PostScript Driver
□Make sure the USB cable is connected to your printer
and PC and your printer is turned OFF.
□Insert the driver CD supplied with your printer into
your CD-ROM drive. The CD will autorun.
If it doesn’t, click Start →Run →Browse.
Browse to your CD-ROM drive and double-click
Install.exe, click OK.
□The License Agreement appears. Click Next to accept.
□The Menu Installer Software Installation screen
appears. Select your language.
□Select Custom Install to install the printer driver and
the software utilities. To install only the printer driver,
select Quick Install and skip the next step.
□Click the Printer Driver Installer button (Custom
Install only).
□Click Local printer. Click Next.
□Select the USB port. Click Next.
□Select your printer model and PostScript (PS)
emulation type (the default setting). Click Next. The
printer driver installs.
□Connect cable screen displays. Click Finish.
□Switch your printer ON.
□Add New Hardware wizard starts. Click Next.
□Select “Search for the best driver for your device.”
Click Next.
□Select CD-ROM drive. Clear other choices. Click Next.
□The USB driver is located. Click Next. Click
Finish.
Print a Test Page
□Click Start →Settings →Printers.
□Right-click the printer icon.
□Click Properties.
□Click the Print Test Page button.
Install the Printer Software Utilities
Return to the Menu Installer and click the Productivity
Software button. Install each utility you want following the
on-screen instructions.
To access the utility programs from your desktop, click
Start →Programs →OkiData.
Activating the Duplex Unit, Internal Hard
Drive and 0ptional Paper Trays
If your printer has a duplex unit or internal hard drive
or optional paper trays, you must enter the driver and
activate them. See page 6 for instructions on how to do this.
To Install the PCL Driver as Well
□If you have installed the PostScript driver, you must
reboot your system.
□Make sure the printer is powered OFF.
□Follow the instructions to install the PostScript driver.
When prompted to select a port you want your printer
to use, select LPT1 temporarily.
□When prompted to select the printer emulation type,
select PCL.
□When installation is complete, click Finish.
To enable the USB port:
□Click Start →Settings →Printers.
□Right click the printer icon, then click Properties.
□On the Ports tab, select USB001 port in the Print to
the following port list.
□Click OK, then close the Printers dialog box.
To print a test page:
□Click the General Tab, click the Print Test Page button.