number key types their designated
number or letter as displayed on the
key. When “1” is pressed for 3 seconds
it dials voicemail.
When 2-9 are pressed for 3 seconds
they dial their allocated photo speed
dial number.
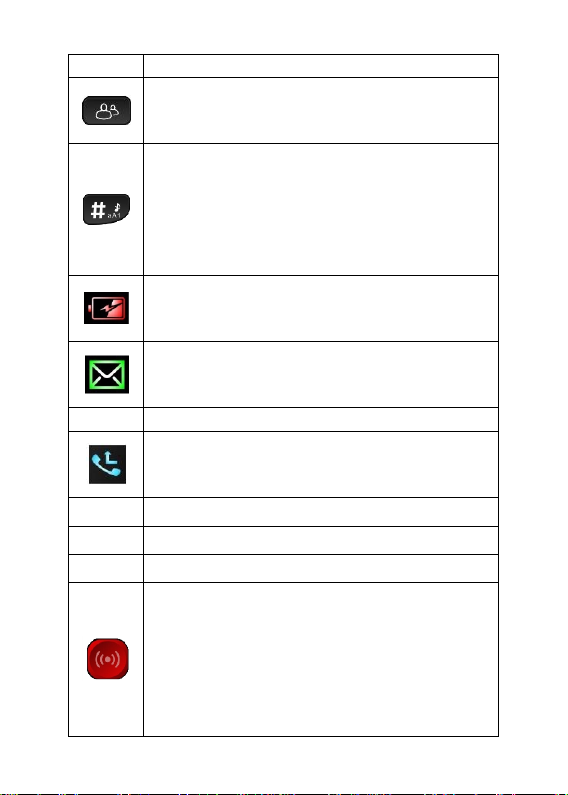
9. Star (*) key
When typing, a single press will show
symbol options
If pressed for 2+ seconds navigation
method changes to manual navigation
mode (“computer mouse” style black
arrow appears). In manual navigation
mode the navigation keys move the
computer mouse icon, not the highlight
on screen). Not recommended.
10. Back key
Used to go back to previous screen OR
delete a letter/number when typing.
11. Up Volume and Torch key:
Single press turns volume up; press
and hold for 3 seconds to turn
flashlight on/off. Can be deactivated.
12. Power key/End call key:
Single press during an active call will
end call; When pressed and held for
3-4 seconds the phone will power
off/on.
13. Down Volume Key
Single press turns volume down. Long