Important Safety Instructions Continued
• THIS MACHINE IS DESIGNED FOR CUTTING WOOD PRODUCTS ONLY. Do not
use this Oliver table saw for other than its intended use. Do not use this machine to
cut any kind of metal or substance other than wood. If used for other purposes,
Oliver disclaims any real or implied warranty, and guarantee is null and void.
• KEEP THE SAW TABLE CLEAR of other tools, workpieces and debris.
• CHILDREN, BYSTANDERS AND VISITORS SHOULD BE KEPT OUT of the work
area. They may distract the operator leading to an accident.
• NEVER START THE SAW while a workpiece is in contact with the blade.
• RAISE OR LOWER THE BLADE ONLY WHEN the machine has been turned off and
the blade has come to a complete stop.
• NEVER USE A DAMAGED SAW BLADE or one that has been dropped. Check the
saw blade for cracks or missing teeth. Do not use a cracked or dull blade or one
with missing teeth. Make sure the blade is securely locked on the arbor.
• HEALTH HAZARDS. Some dust created by power sanding, sawing, grinding,
drilling and other construction activities contains chemicals known to cause cancer,
birth defects or other reproductive harm. Some examples of these chemicals are:
§ Lead from lead-based paint
§ Crystalline silica from bricks and cement and other masonry products
§ Arsenic and chromium from chemically-treated lumber
Your risk from these exposures varies depending on how often you do this type of
work. To reduce your exposure to these chemicals, work in a well-ventilated area,
and work with an approved safety mask or respirator specifically designed to filter
out microscopic particles in dusty work conditions.
• DISCONNECT ALL POWER SOURCE BEFORE PERFORMING ANY SERVICE,
maintenance, adjustments or when changing blades. A machine under repair should
be RED TAGGED to show it should not be used until the maintenance is complete.
• REPLACEMENT PARTS. Use only genuine Oliver Machinery factory authorized
replacement parts and accessories; otherwise, the warranty and guarantee are null
and void.
• MATERIAL CONDITION. Do not attempt to saw boards with loose knots or with
nails or other foreign materials. Do not attempt to saw twisted, warped or bowed
stocks. Do not cut web wood due to higher friction produced against the blade.
Avoid cutting small pieces of material which cannot be properly secured.
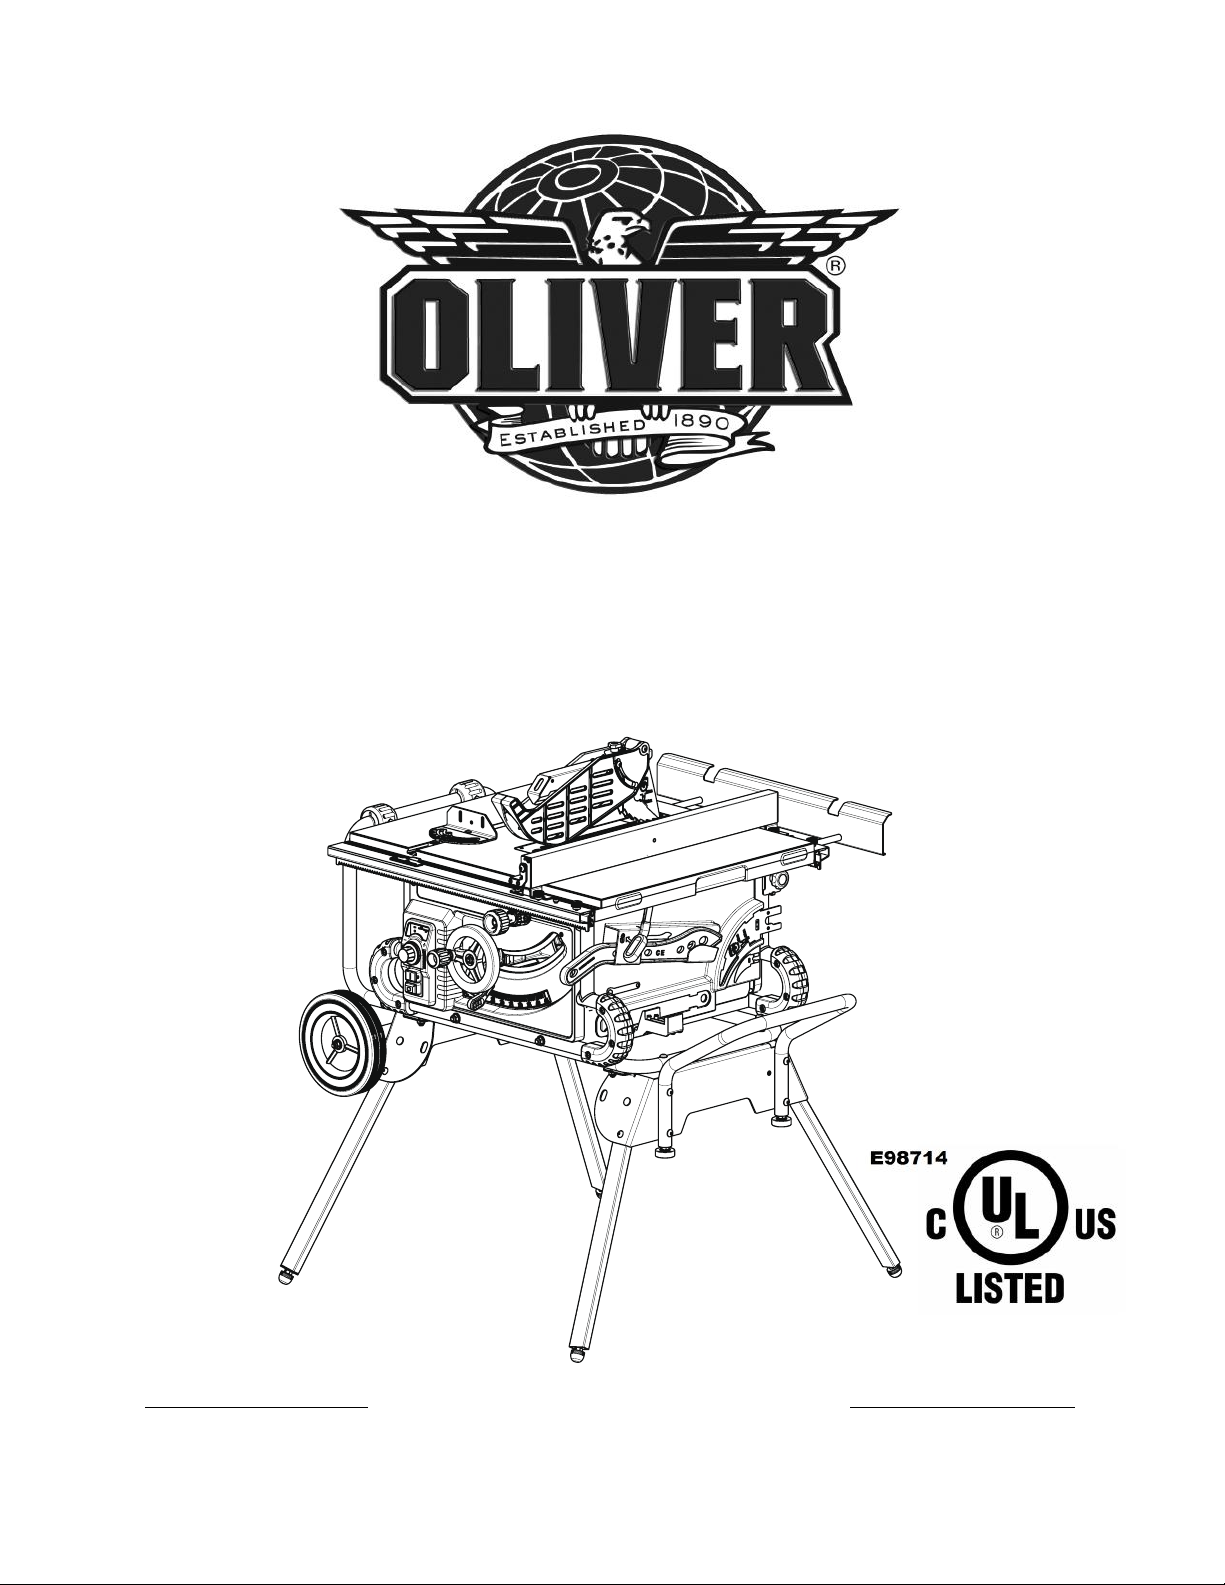
Oliver 10010 10" Job Site Saw Owner's Manual