olympia electronics GR-6500 User manual

1 923650001_90_004
Emergency lighting addressable panel GR-6500
Quick Installation Guide & Generic Design
LIGHTING
ADR

2 923650001_90_004
DESCRIPTION
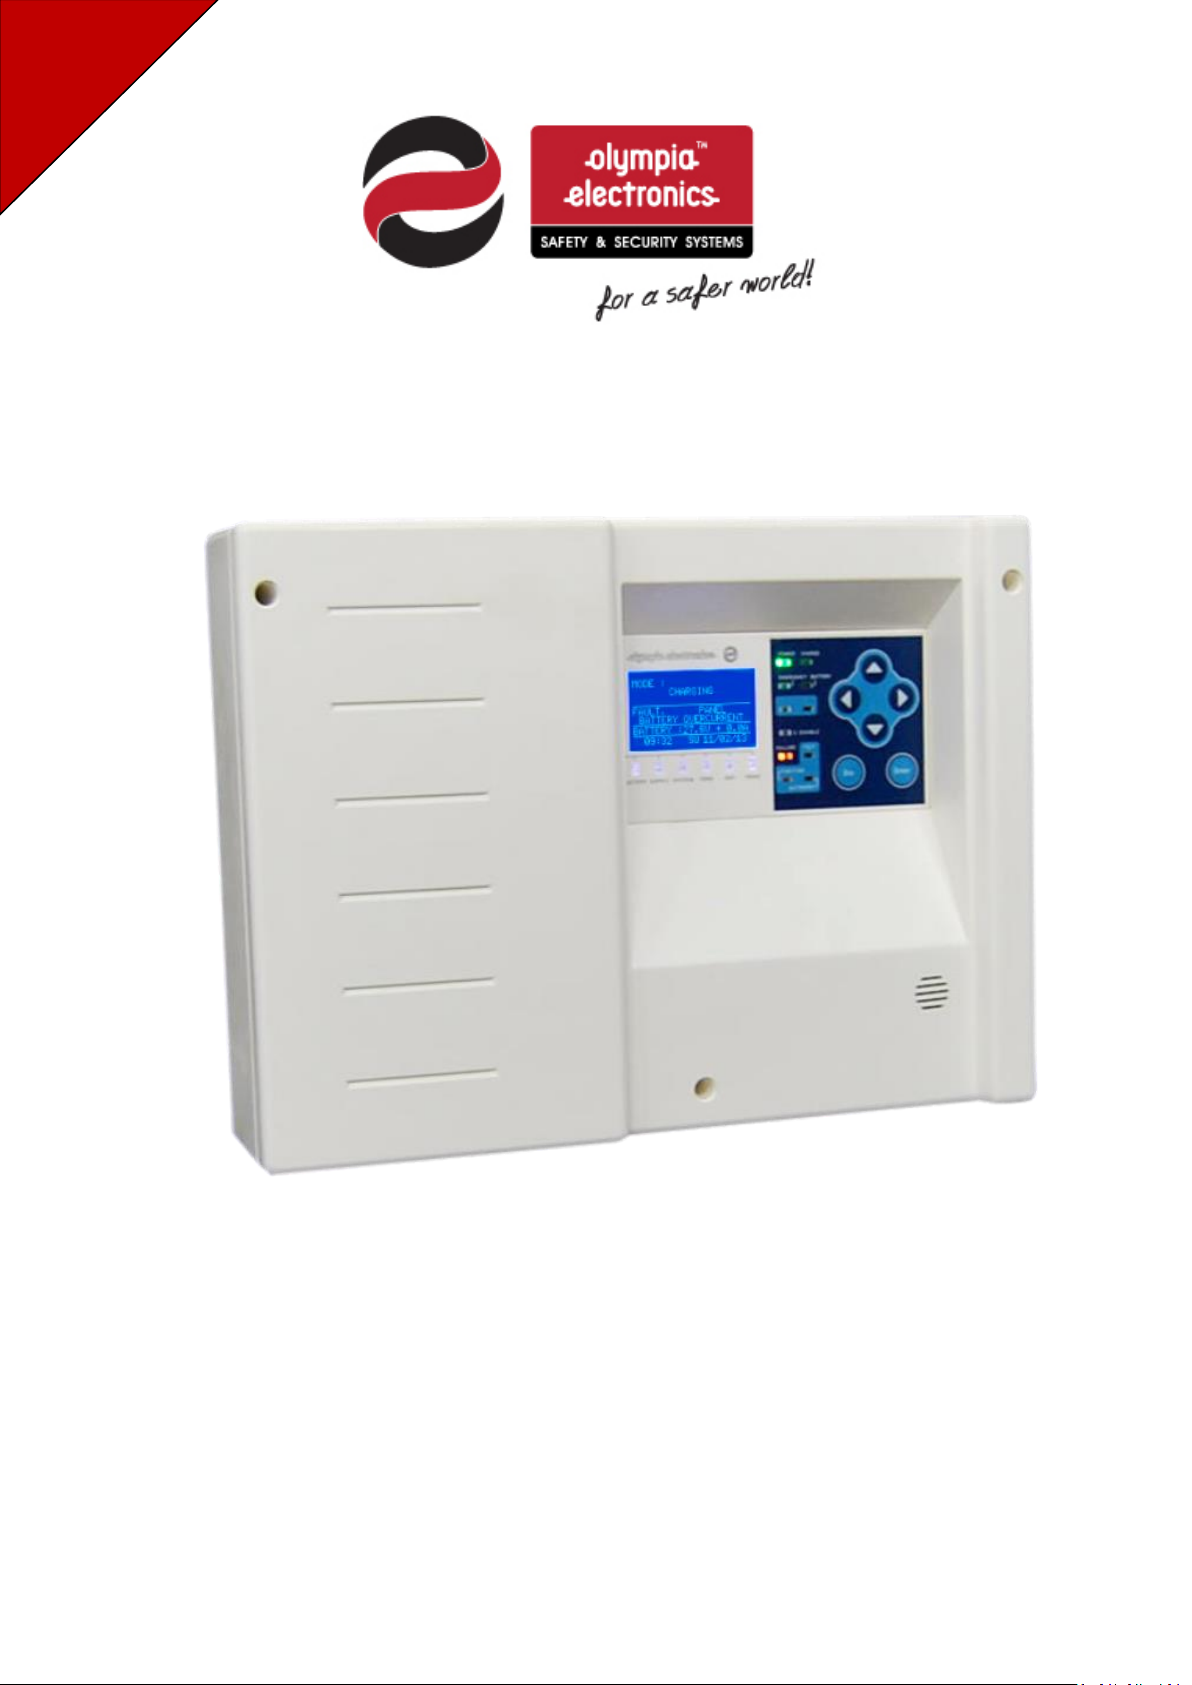
With Olympia Electronics emergency lighting
addressable panel GR-6500, the light system
becomes more optimal, simple and provides the
user valuable information, not only for the entire
network, but also for each luminaire individually.
The ease of access of GR-6500 helps you to
retrieve information and control the system light
network with simple actions as well as remotely
via Ethernet.
Our software application makes things way more
simple. You create the plan, you set up each
luminaire and zone according to your needs and
eventually you upload the whole plan via USB
cable.
PRODUCTS
-GR-6500 250 devices. 16 Zones.
SPECIFICATIONS
Dimensions: 322 x 241 x 97 mm
Weight : < 2Kg (Without battery)
Input Power: 230VAC, 50-60Hz, <25W
Operating Temperature: 5° - 40°C (41°F – 104°F)
Degrees of cover protection : IP30
CAUTION
- This product may only be installed or
maintained by a qualified Electrician.
- The system must be installed in accordance
with national regulations and requirements.
-All power must be disconnected before
installation or maintenance.
- Only original spare parts must be used for this
product.
- The panel is compatible only with the
corresponding Olympia Electronics addressable
luminaires.
NEEDED MATERIALS
- Mounting Hardware.
- Screwdrivers
- Multi-meter
- Pliers
- Cutter
MAINTENANCE
The periodical checks must follow the EN50172
or be verified according to local regulations.
WARRANTY
Olympia Electronics guarantees the quality,
condition and operation of the goods. The
period of warranty is specified in the official
catalogue of Olympia Electronics and also in the
technical leaflet, which accompanies each
product. This warranty ceases to exist if the
buyer does not follow the technical instructions
included in official documents given by Olympia
Electronics or if the buyer modifies the goods
provided or has any repairs or re-setting done by
a third party, unless Olympia Electronics has fully
agreed to them in writing. Products that have
been damaged can be returned to
the premises of our company for repair or
replacement, as long as the warranty period is
valid. Olympia Electronics reserves the right to
repair or to replace the returned goods and to or
not charge the buyer depending on the reason
of defection. Olympia Electronics reserves the
right to charge or not the buyer the
transportation cost.
CONTACT DETAILS
72nd km. O.N.R. Thessaloniki-Katerini
P.C. 60300 P.O. Box 06 Εginio Pierias Greece
www.olympia-electronics.gr
info@olympia-electronics.gr
Tel. +30 23530 51200

3 923650001_90_004
MOUNTING THE PANEL
•The panel must be installed in a suitable area and must not be obscured. Also it must be
powered by a permanent 230V power connection from the fuse panel and not via a power
outlet or a wall switch.
PREREQUISITE REQUIREMENTS AND PRELIMINARY PROCEDURES
Addressable Luminaire Connections
•16 available Zones.
•The GR-6500 can support up to 250 points.
•The maximum connected points to each LOOP must not exceed the 150.
•Each point must have unique non repeatable address.
•No arithmetic address sequence is obligatory.
•Keep a record of points’addresses and names.
Mounting Holes
Battery compartment
A-986 (12V/7Ah Pb)
BMS relay
Generaloutputs
(Sirens,optical indicators - 24V/0.3Amaximum)
Fused terminal block (220-240V AC)
Fuse T V 0 . 6 3 Α/ 2 5 0
Mounting hole
Communication outputs
Z1A, Z1B, Z1C, Z1D
Mini USB

4 923650001_90_004
Correct cable and connection
•The installation cable must be suitable for data transfer.
•We recommend: - LiYCY - YSLY-OZ
•The communication cables must be placed 40cm away from any MAINS cable.
•The communication cables must be placed 5m away from any motors or power station.
•The cross section depends on the distance and the number of installed points. The
communication cable must contain 2 conductors, a shield and no additional unused conductors.
•Select shielded cable for every installation.
•The cable shield must be reconnected in every cut during the length of the loop and must be
terminated to the «PE» (Power Earth).
•The positive and negative polarity must be maintained throughout the installation.
•All points must be connected in parallel with the output.
+L
-L N
L
+L
-L N
L
+L
-L N
L
Luminaire 1.
Luminaire.2
Luminaire 3.
ADR communication
line power
supply
Length of
cable
Luminaires
200m
500m
1000m
1500m
2000m
50
0.75 mm2
1 mm2
1 mm2
1.5 mm2
2.5 mm2
100
1 mm2
1 mm2
1.5 mm2
1.5 mm2
2.5 mm2
150
1.5 mm2
1.5 mm2
2.5 mm2
2.5 mm2
2.5 mm2

5 923650001_90_004
•If 4 contacts on the communication terminal blocks, the L+ are linked together as well as the L-.
•Loop topology. Note: Max 250points in total.
Point 1 Point 2 Point 3 Point 4 Point 5
+L -L +L -L +L -L +L -L+L -L +L -L +L -L +L -L +L -L +L -L +L -L +L -L+L -L +L -L +L -L +L -L +L -L +L -L +L -L +L -L
Z1AZ1B
+
-
+
-
Point
Point
Point Point
Point Point
+
-
+
-
+
-
150 luminaires maximum per loop
Z1CZ1D
+
-
+
-
Point
Point
Point Point
Point Point
+
-
+
-
+
-
150 luminaires maximum per loop
+L -L +L -L

6 923650001_90_004
•In- line topology(or Star). Note: Max. 75 points per line / Max 250points in total.
STEP BY STEP INSTALLATION ISTRUCTIONS
•Mount the panel on a surface, able to support 10Kgs at least.
•Connect the each zone to the corresponding output of the panel.
•Connect the monitoring Relays. (Optional)
•Connect the 12V / 7Ah Lead Acid battery with the correct polarity.
ACTIVATION
•Make sure there is no short circuit and the POWER EARTH is connected to EARTH terminal.
•Connect the panel to power Mains.
Z1AZ1B
+
-
+
-
Point
Point
Point Point
Point Point
+
-
Z1CZ1D
+
-
+
-
Point
Point
Point Point
Point Point
+
-
+
-
+
-

7 923650001_90_004
INSTALLATION PROCEDURE
.
PREPARATION
•Set the address of each luminaire, setting up the DIP switch inside of the luminaire.
PREPARATION
•Certain models, such as ZLD-34, do not contain DIP switches. In this case, the
address should be set through the panel, connecting and setting the luminaires one-
by-one.
ADDRESSING
LUMINAIRES
•TECHNICIAN MENU > SETTINGS > CHANGE ADDRESS POINT.
Note: It is not required to connect the 230VAC power on the luminaire
in order to set the address. Only the communication line.
PREPARATION
•Keep a record of the points’ addresses and names.
USER MENU
<TEST>
•TEST LED to inspect them visually for proper operation.
TECHNICIAN MENU
<SETTINGS>
•Set the DAY, DATE and TIME.

8 923650001_90_004
TECHNICIAN MENU
<SYSTEM>
•FIND ALL POINTS to register all the points to the panel.
TECHNICIAN MENU
<POINTS>
•Assign a Zone for each point.(Optional).
TECHNICIAN MENU
•Program FUNCTION TEST.
TECHNICIAN MENU
•Program CAPACITY TEST.
TECHNICIAN MENU
<NETWORK>
•Set ETHERNET PCB. Enable or Disable the ethernet adaptor GR-8530. If applicable.
TECHNICIAN MENU
<NETWORK>
•Set IP ADDRESS.

9 923650001_90_004
TROUBLESHOOTING
FAULT
PROBABLE CAUSE
ACTION
THE PANEL REPORTS:
«PANEL
DISCONNECTED
BATTERY»
The internal battery of the panel is not
connected
Connect the battery.
THE PANEL REPORTS:
«POINT Χ,WRONG
LUMINARY»
1) The luminaire type was changed in
the specific address.
2) During the first detection, the
luminaire was OFF.
Re execute the automatic point
recognition via the technician menu
(SYSTEM > FIND ALL POINTS), or
install manually the luminaire type
via the option POINTS.
THE PANEL REPORTS:
«POINT Χ, LUMINARY
COMM.»
1) The luminaire is probably OFF
(without battery or 230V power)
or there is an internal
malfunction.
2) Probable noise on the
communication line due to nearby
electromagnetic interference.
3) Bad communication due to long
distance and small cable cross
section.
Verify the good operation of the
luminaire. Inspect for internal faults
such as disconnected wiring.
Check for probable nearby
electromagnetic interference.
Verify the specifications of the
communication cable.
THE PANEL REPORTS:
«POINT Χ,
LAMP/BATTERY
FAULT»
As mentioned, the error comes from
either an unconnected battery or a
lamp/led error.
Inspect for probable faults or
insufficient connection at the
specified points.
THE PANEL REPORTS:
«OUTPUT Χ, SHORT
CIRCUIT»
There is a short circuit along the
length of the loop / communication
line.
Disconnect the output terminal
block and inspect for probable short
circuits along the line connect on the
specific output.
THE PANEL REPORTS:
«POINT Χ,
DISCONNECTED»
The panel can’t detect a luminaire that
was previously registered.
Inspect for probably disconnection
at the specific point.
THE PANEL REPORTS:
«POINT X, NOT
REGISTERED»
The point has been detected after
automatic point recognition but is not
registered in memory.
Conduct automatic point recognition
or manually install the point.
THE PANEL REPORTS:
«POINT X, BATTERY
CAPACITY FAULT»
During the last duration test of the
luminaire a problem was found. The
real duration is smaller that the stated
duration.
Replace the luminaire battery with
one of the same type and rating.
(see the luminaries user manual)

10 923650001_90_004
THE PANEL FINDS
ONLY CERTAIN
LUMINAIRES
1) There is an open circuit in the
communication line. If the
connection is done using the loop
topology then there might be
more than one open circuit.
2) Another cause might be wrong
addressing of non detected points.
Find the open circuit, between the
last detected point and the first un
detected. To easily see the
communication indication go to
MENU>TEST>POINTS IN TEST and by
using the up/down arrows go to the
address where the problem is. By
repairing the connection problem,
on point Χwe can now see only
«GOOD» packets increasing, we can
see the name of the luminaire as
well as the battery voltage and
charge or lamp current.
(any connection open circuit can be
located in section 5, CABLE
INSPECTION)
If there is no open circuit then test
for wrong addressing.
THE PANEL REPORTS:
«POINT Χ, CONFLICT
DATA»
The panel detects more that one
points with the same address.
Inspect the adjusted addresses for
errors. The point that can’t be
recognized in the desired address via
the operation
MENU>TEST>POINTS IN TEST as
mentioned above probably has a
conflicting address with another
point.
Other manuals for GR-6500
1
Table of contents
Other olympia electronics Control Panel manuals

olympia electronics
olympia electronics BS-746 User manual

olympia electronics
olympia electronics BS-316 User manual

olympia electronics
olympia electronics BS-1632 User manual

olympia electronics
olympia electronics BS-627 User manual

olympia electronics
olympia electronics GR-750 Series User manual

olympia electronics
olympia electronics GR-750 Series User manual

olympia electronics
olympia electronics GR-6500 User manual