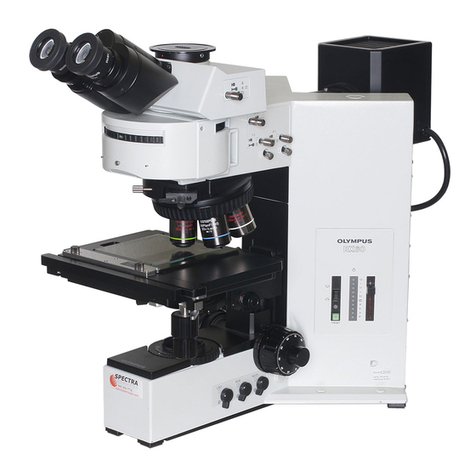
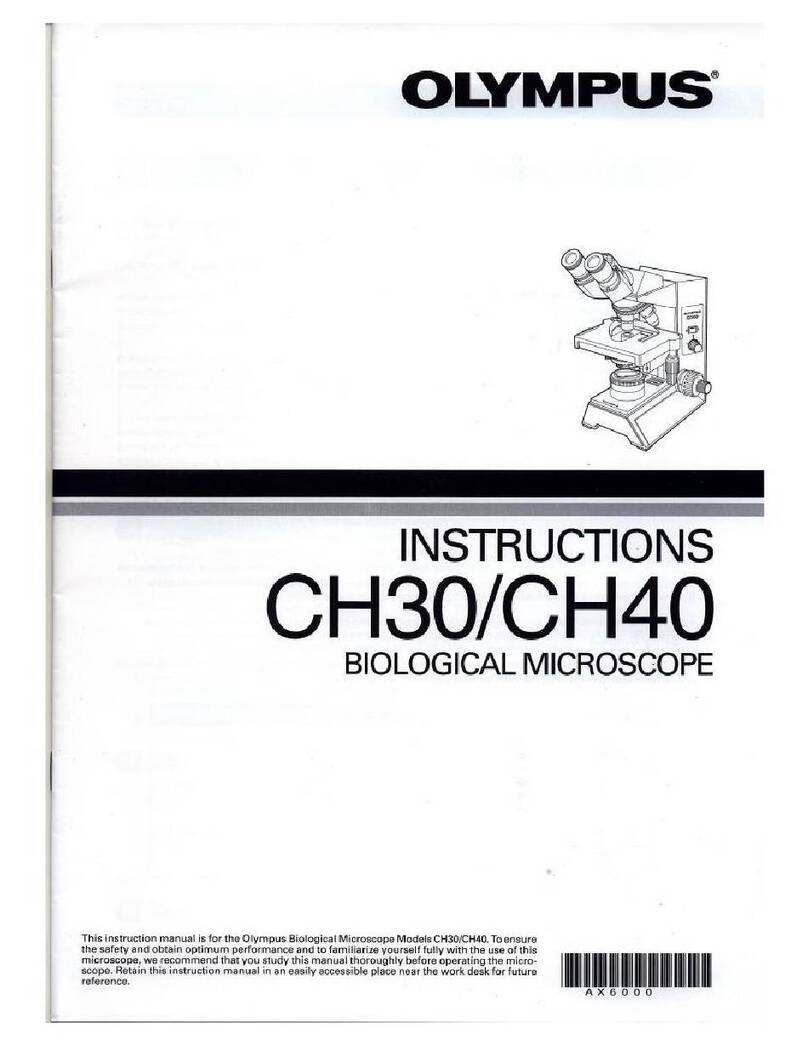
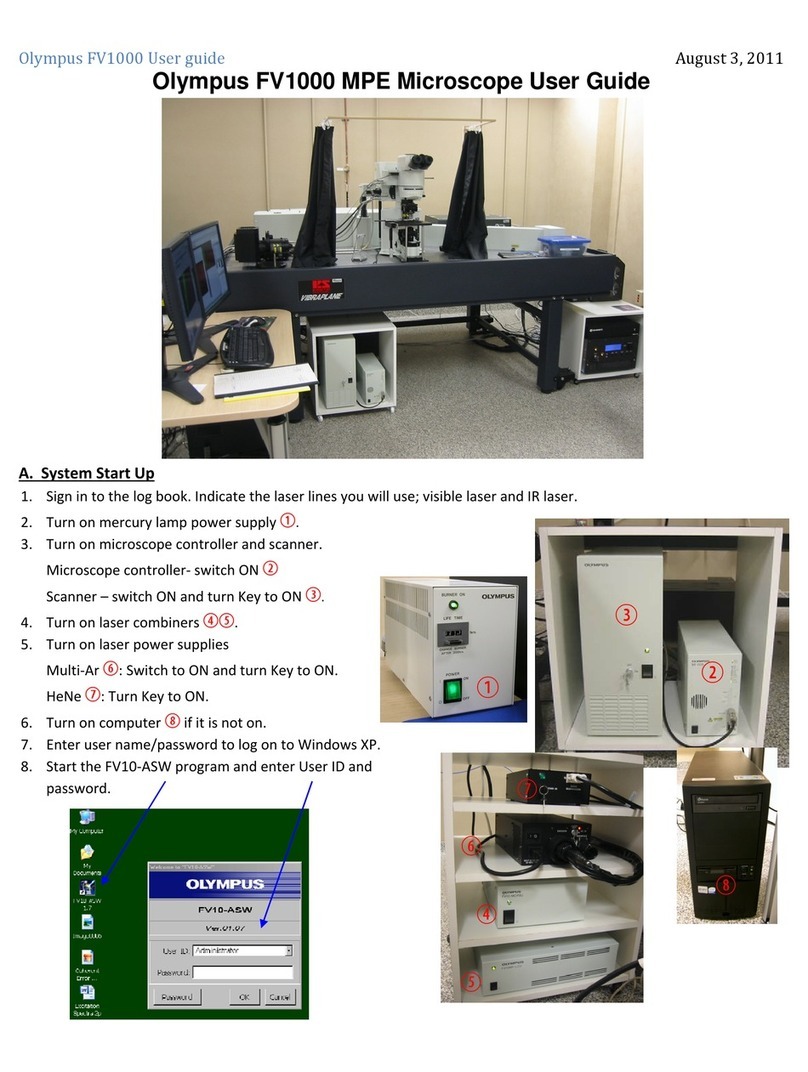
Olympus 1X71 User manual

Revised December 2014
UCL Institute of Child Health
User guide
Olympus 1X71
Dr Bertrand Vernay
Light Microscopy Facility Manager
Wellcome building, Office W2.09
Tel Office: 42224
Tel Mobile: 07582249337
Email: b.vernay@ucl.ac.uk

2
Table of contents
page 3.........Ownership
page 3........ Access Rules
page 3.........Olympus Customer Support Contact
page 4 ........ General Specifications
Microscopy Techniques Available
Objectives
Filter Cubes
Camera
Fluorescence Illumination
Pixels to Microns Calibration
Consumables List
page 5......... Quick User Guides
Transmitted Light
Epifluorescence
Image Capture
page 6......... Halogen Lamp Operation
page 7 .... Kohler Illumination
page 8........ Adjusting the Objective Correction Collar
page 9........ Prior Lumen200 Metal Halide Lamp Operation
page 10 .. Image Capture with HClmage
page 11 ... Selecting the Right Fluorochrome/Filter Set
page 11 DAPI
page 12 Endow GFP/EGFP Bandpass
page 13 DsRed(TRITC/Cy3)
page 14 Cy5
page 15 Cy7
page 16 ....Prior Lumen200 Spectral Output
page 17 ... Hamamatsu ORCA-R
2
Spectral Response

3
Ownership
Prof. Jane Sowden, Developmental Biology Unit (Purchased in 2011)
Access Rules
No access without prior training by the Light Microscopy Facility Staff
Free of hourly charge for Sowden and Ferretti groups, £1 hourly charge for
all other users towards the cost of the consumables is expected
Prof. Sowden team has priority over other users.
Users must always record their activity in the Log book
Problem(s) with the microscope should be reported as soon as they are
noticed
Olympus customer support service: http://www.olympus.co.uk/microscopy
The system is not covered by a maintenance contract
Olympus requires a PO number before sending an engineer

4
General specifications
Microscopy techniques available
Brightfield
Phase contrast
Epitluorescence
Objectives
O l y mp u s U P l an F L N 1 0 x P h 1 NA 0 . 3 WD 1 0 . 0 m m
Olympus LUCPlanFLN 20x Ph1 NA 0.45 WD 6.6 -7.8 with correction collar
Olympus LUCPlanFLN 40x Ph2 NA 0.6 WD 3.0-4.2 with correction collar
Z e i s s o b j e c t iv e s c a n a l s o b e u s e d
Filter cubes (see p11-15)
Position
Filter set name
Exciter
Beamsplitter
Emitter
1
DAPI
350/50x
400LP
ET460/50m
2
GFP
ET470/40x
495LP
ET 525/50m
3
DsRed (TRITC/Cy3)
ET545/30x
T570LPXR
ET620/60m
4
Cy5
ET620/60x
T660LPXR
ET700/75m
5
Cy7
ET710/75x
T760LPXR
ET810/90m
6
empty (brightfield)
Camera (see p16)
Hamamatsu ORCA R2CCD Camera with HClmage Capture Software
Fluorescence illumination (see p16)
Prior Lumen 200 Metal Halide Light Source (2000 hours/bulb)
Pixels to Microns calibration
5x objective binning 1x1 1 pixel = 1.88 um
10x objective binning 1x1 1 pixel = 1.03 um
20x objective binning 1x1 1 pixel = 0.514 um
40x objective binning 1x1 1 pixel = 0.256 um
Calibration with a micrometer under transmitted white ligh t
Consumables list
Price correct as of November 2013
Prior Lumen 200 bulb LM375 (£550, Prior Scientific Instruments Ltd)
Prior Lumen 200 light guide LM587 (£400, Prior Scientific Instruments Ltd)
Halogen bulb 12V/100W (£1.8, Technical Lamp Supplies UK)

5
Quick user guides
Users must always record their activity in the Log book
Transmitted light
1. Halogen Lamp Pow er Su pply Unit TH4 "O N"
2. Light Path se lector on "Ocular"
3. Koh l e r i l lumin a tion ad j u s te d
4. Correct phase ring in position (10x & 20x Ph1, 40x Ph2)
5. Fil t e r c u be on p o sit ion #6
Epifluorescence
Warnings:
Do not shut the unit down within 30 minutes of powering up the unit.
After shutting down the unit allow 30 minutes before re-powering up
After shutting down the unit allow 30 minutes before changing the bulb.
Failure to do so is likely to result in damage to the bulb.
1. Prior Lumen 200 module on
2. Prior Lumen 200 intensity knob >0%
3. Light Path selector lever on "Ocular"
4. Correct filter cube in position
5. Fluorescence shutter open
Image Capture
1. Start Camera controller (press until LED turns green)
2. Compu te r on (Logi n: Jane / Password: Ja*e)
3. HClmage software open
4. Light Path se lector lever on Camera
5. Correc t transmitted ligh t/e pifluores cence set -up
6. " L i v e " m o d e
7. Adjust exposure time accordingly. Make use of the Histogram and the Saturatio n
options
8. " A b o r t "
9. " C a p t u r e l "
1 0 . S a v e a s i n M y D o c u m e n t s > U s e r N a m e _ U n i t > F i l e N a m e . t i f
1 1 . Shut-down: exit HClmage, log out windows session, camera on stand -by (press
until LED turns orange)

Halogen lamp operation:
Turning on the lamp
6
1. Make sure the light intensity control knob
(5)
is in the MIN (minimum intensity)
position on the microscope frame.
2. Make sure the light intensity control knob
(1)
is in the MIN (minimum intensity)
position on the TH4 module.
3. Set the main switch
(2)
to
"I"
(ON) on the TH4 module.
4. On the microscope front, press the transmitted light ON-OFF button
(6)
so that
the button is illuminated.
5.
Adjust the brightness with the light intensity control knob
(5).
6. To turn OFF, set the transmitted light ON-OFF button
(6)
to OFF

Halogen lamp operation:
Turning off the lamp
1. Set the light intensity control knob (5) to the MIN (minimum intensity) position on
the microscope frame.
2. Set the light intensity control knob (1) to the MIN (minimum intensity) position on
the TH4 module.
3. Set the main switch (2) to "0" (OFF) on the TH4 module.

8
Kohler illumination:
1. Rotate the turret (1) to the "BF" position. (Any of positions 3,4 or 5, position 1=Ph1, 2 = Ph2)
2. Sli de t he ape rture iris diap hr agm lever ( 2) t o fully open the d iaphragm .
3. Sli de th e field iris diaph r agm le ve r (3) to the fully open posi ti on .
4. En ga ge th e 1 0x obj ective and br ing t h e spe cim en in to foc u s.
5. Using the field iris diaphragm lever (3) , completly close the field iris diaphragm.
6. Rotate the condensor height adjustment knob (4) to bring the field iris diaphragm
image into focus.
7. Cen ter the fie ld iris diaphr agm ( 3) using the conden ser centerin g kno bs (5).
8. Open the field iris diaphragm (3) until its image reach the limits of the field of view,
adjust the centering if necessary.
9. Ope n the f ie l d ir is d iaphr a gm (3) u n t il n o t v isible .
Step 6 Step 7 Step 8 Step 9

9
Adjusting the objective correction collar
Correction is possible according to the vessel bottom thickness.
1. When the thickness of the vessel bottom is known, match the scale reading of the
correction collar to the thickness of the vessel in use.
or
2. If the thickness of the vessel is unknown or diverge from the manufacturer
specifications, the optimum position for the correction collar can be obtained by
judging the image resolution and contrast. When a satisfactory image is not obtain
after focusing:
1. Rotate the correction collar to the left and right, refocus each time and
compare the images.
2 Then rotate the collar in the direction yielding a better image, rotate the
correction collar to the left and right, refocus each time and compare the
images.
3 Repeat this cycle until the position with the optimum image is found.
20x Correction Collar 40x Correction Collar
Correction Collar Scale
0 mm
0.17 mm (glass coverslip #1.5)
0.5 mm
1 mm (most tissue culture plates)
1.5 mm
2 mm

Prior Lumen200 Metal Halide Lamp Operation:
Starting Up the Lumen
1. Switch the Lumen power switch on.
2. Make sure the ventilation vent on the left hand side is unobstructed or the lamp
will overheat resulting in automatic shutdown and damage to the module.
3. Allow 1-5 minutes for light to reach 70% of output.
4. Allow 30 minutes for the Lumen to reach operational temperature.
5.
Warning:
Do not power down the unit within 30 mins of power up. This may re-
duce the effective lifetime of the bulb.
Shutting down the Lumen
The following warnings apply as damage to the bulb may result if instructions not
followed:
1. Warning: Do not shut the unit down within 30 minutes of powering up the unit.
2. Warning: After shutting down the unit allow 30 minutes before re-powering up or
changing the bulb. Failure to do so is likely to result in damage to the bulb.
Warning: the air
outlet for heat
ventilation must
not but obstructed

11
[Mono: 1 Channel
Mono: 1 Channel
v•
[C10600-100 (ORCA-R2) SIN:011316
.C10600-106 (CIRCA-R2) SP!: 011316
--- —
X Capture
X
Binning and SubArray
Advanced Camera Properties
Binning and SubArray
Advanced Camera Properties
•I•
us
LI
Processing
IF!0
uL
Processing
Depth 16bit
Binning and SubArray
Binning
[1
Sub-Array
Reset
Preset Sizes
[1344 x 1024
X0 0
L
iedag.:
Width 1344
Image Capture with HClmage
1. Click the
Capture
pane.
2. Click
Live
for a live image from the camera
3. Camera binning or image sub-array can be set in the
Binning SubArray
panel.
4. In the
Camera Control panel,
adjust exposure/gain manually or automatically by
clicking on Auto Expose; view the intensity distribution in the histogram.
5. Check Sat. (saturation) in the histogram of the Image Display to guard against
image saturation. Saturated pixel are indicated in Red. Yellow indicates pixels ap -
proaching saturation.
6. Adjust camera exposure and gain settings as necessary
7. Click Abort.
8. Click Capture1 to acquire an image.
9. Click the Save icon to save the image in My Documents>UserName_Unit>file
name.tif
Capture
MEM
Capturel
Abort
1
Capture1
iY
2
/
CameraControl
1 Lin 1,1.A.M.Pin M.,11
Auto Expose
AutoExpose
Temperature[C]
Current
100
Camera Control
Temperature [C]
Offset
B
4
U
0
Default
Default
Gain Exposure
0 0.10000(
Offset Gain Exposure
0 ! ; 0 0.10400C
1
Ilkstogurs
r;401 Lop
g:• ItE•
4
,1
• a-
YO 0 Height 1024
I
lb O.. ^ • la C o ort o0w p o • d • It
I P f o r H O V I . M o o n . . t l e f r a
8
9

12
Selecting the right fluorochrome/filter set
Position #1
49000 - ET - DAPI
Exciter 350/50x
beamsplitter 40011
3
Emitter ET460/50m
AT350/50x T4001p
ET460/50m
Fluorochrome
EX
EM
Use
Alexa Fluor 350TM
346
442
Recommended
Coumarin
384
470
Recommended
DAPI
359
461
Recommended
DyLight 350
352
435
Recommended
Hoechst 33258
352
461
Recommended
LysoTracker Blue/Me0H
373
425
Recommended
550
Wavelength (nm)

13
Position #2
41017 EndowGFP/EGFP Bandpass
Emitter ET470/40x
Beamsplitter 495LP
Emitter ET 525/50m
Wavelength (nm)
H0470/40x Q4951p
HQ525/50m
Fluorochrome
EX
EM
Use
Acridine Orange + DNA
500
526
Alternative
Alexa Fluor 488T"
498
520
Alternative
Azami Green
492
505
Alternative
BODIPY FL/pH7.2
505
512
Alternative
Calcein
494
517
Alternative
Calcium GreenTM-1
506
531
Alternative
Cy2TM
489
506
Alternative
DiO
484
502
Alternative
DyLight 488
492
517
Alternative
EGFP
488
507
Alternative
Emerald GFP
489
510
Alternative
FAM
492
518
Alternative
FITC
490
525
Alternative
Fluo-4
494
516
Alternative
GFP
488
507
Alternative
MitoTracker Green FM/MeOH
490
516
Alternative
mWasabi
493
509
Alternative
Oregon GreenTM 488
490
514
Alternative
ZsGreenl
493
505
Alternative
0
400 450 500 550 600 650

14
Position #3
49005 - ET - DSRed (TRITC/Cy3)
Exciter ET545/30x
Beamsplitter T570LPXR
Emitter ET620/60m
Wavelength (nm)
-- ET545/30x --- T5701p
-- ET620/60m
Fluorochrome
EX
EM
Use
AsRed2
576
592
Recommended
Ethidium Bromide
520
603
Recommended
Ethidium homidimer-1/DNA
527
617
Recommended
Propidium Iodide
536
617
Recommended
Resorufin
571
585
Recommended
Alexa Fluor 568TM
78
603
Alternative
Cy3TM
552
570
Alternative
Rhod-2
540
576
Alternative
TAM RA
555
580
Alternative
Tetramethylrhodamine isothio-
cyanate
555
580
Alternative
TRITC
555
580
Alternative
I—
50
100
10
40
30
20
60
80
70
90
0 ____________________
450 500
550
600
650
700

15
Position #4 49006 - ET - Cy5
emitter ET620/60x
Beamsplitter T660LPXR
Emitter ET700/75n,
100
90
Fluorochrome
EX
EM
Use
Alexa Fluor 647TM
649
666
Recommended
Allophycocyanin (APC)
630
660
Recommended
Atto 647N
644
669
Recommended
Cy5TM
649
670
Recommended
DiD
644
665
Recommended
Draq5
647
683
Recommended
DyLight 649
652
667
Recommended
MitoTracker Deep Red 633/MeOH
644
665
Recommended
Nile Blue
631
660
Recommended
SYTO® 60
652
678
Recommended
TO-PRO TM-3
642
661
Recommended
750 800

Position #5
16
49007 - ET - Cy7
Exciter ET710/75x
Beamsplitter T760LPXR
Emitter ET810/90m
100
90
80
70
60
I—
50
;st
40
30
20
10
0 ______
600
650 700 750 800 850 900
Wavelength (nm)
-- ET710/75x -- —T7601pxr
-- ET810/90m
Fluorochrome
EX
EM
Use
Alexa Fluor 750TM
752
779
Recommended
Cy7TM
743
767
Recommended
DiR
748
780
Recommended
DyLight 750
751
772
Recommended

HClmage Live
Table of contents
Other Olympus Microscope manuals

Olympus
Olympus SZX-DA User manual

Olympus
Olympus Fluoview FV1000 Manual

Olympus
Olympus U-FWT User manual

Olympus
Olympus SZX7 User manual

Olympus
Olympus BX61 User manual

Olympus
Olympus VANOX Operating instructions

Olympus
Olympus CX33 User manual

Olympus
Olympus Fluoview FV1000 Installation guide

Olympus
Olympus BX2 SERIES User manual

Olympus
Olympus SZX16 Installation guide

Olympus
Olympus Pom User manual

Olympus
Olympus CHA User manual

Olympus
Olympus VMF User manual

Olympus
Olympus BX53 User manual

Olympus
Olympus VM Series User manual

Olympus
Olympus BX60 User manual
Olympus
Olympus U-D7RES User manual

Olympus
Olympus BHSP User manual

Olympus
Olympus CHD User manual

Olympus
Olympus KHC User manual