manuals.online logo
Brands
  1. Home
  2. •
  3. Brands
  4. •
  5. Omega
  6. •
  7. Accessories
  8. •
  9. Omega Cylinder User manual

Omega Cylinder User manual

1
TABLE OF CONTENTS
1. THE PRODUCT
1.1 PRODUCT SNAPSHOT 2
1.2 OPERATION 2
2. INSTRUCTIONS FOR USE
2.1 SWITCHING THE OMEGACYLINDER ON/OFF 3
2.2 PUTTING A WATCH INTO THE OMEGA
CYLINDER OR REMOVING IT 5
2.3 TORQUE LIMITER (protection against jamming) 6
2.4 CHANGING THE BATTERIES 6
2.5 BATTERY POLARITY 8
3. BLUETOOTH CONFIGURATION
3.1 ACTIVATING BLUETOOTH MODE 8
3.2 CONFIGURING STANDARD SETTINGS 10
3.3 CONFIGURING ADVANCED SETTINGS 12
4. SPECIFICATIONS 14
2 3
A motor current control function stops the system if the
movement jams. Once the device has detected a problem,
it can only be restarted by pressing the button.
The number of rotations and the wait time can be confi-
gured using a computer interface that connects to the
device via Bluetooth. There is even an advanced mode
that also configures motor torque (which can influence
rotation speed), torque limitation and the watch detec-
tion threshold.
2. INSTRUCTIONS FOR USE
2.1 SWITCHING THE OMEGA CYLINDER ON /OFF
To switch the OMEGA Cylinder on, press the ON/ OFF
button (number 3 in figure 1.1). The white LED lights up
to confirm that the button has been pressed. The LED will
remain lit while the button is being pressed. The device
will not start until the button is released. Do not press the
button for more than four seconds, as this will activate the
Bluetooth configuration mode (see chapter 3).
The device’s LED flashes to indicate the status of the
batteries:
4 flashes: batteries 100% charged
3 flashes: batteries more than 60% charged
2 flashes: batteries more than 30% charged
1 flash: batteries nearly flat (<30% charged)
1. THE PRODUCT
1.1 PRODUCT SNAPSHOT
1 Watch holder.
2 Top lid screw
(for changing the battery).
3 ON/OFF button
+ LED indicator.
1.2 OPERATION
The OMEGA Cylinder watch winder winds automatic
watches, keeping them charged and showing the
correct time. It can be turned on and off by simply
pressing a button. When it is switched on, the white LED
indicates the status of the batteries. The device then
positions itself vertically.
The watch winder is equipped with an infrared sensor
that detects the presence of a watch in the device. If
there is no watch in the winder, it will remain in standby
mode without draining its batteries.
1
2
3
4 5
The OMEGA Cylinder only checks for the presence of
a watch when it begins to rotate. If the watch is removed
while it is rotating, the device will not detect this until it
starts a new movement (new cycle or change of direction).
If the watch winder is turning, we recommend turning it
off before removing the watch.
To turn the device off, push the button briefly. If the device
is moving, it will stop immediately.
It will not turn off completely until the button is released.
(Until the button is released, the LED remains lit to indi-
cate that it is being pressed.)
2.2 PUTTING A WATCH INTO THE OMEGA CYLINDER
OR REMOVING IT
To put the watch into the
OMEGA Cylinder, we
recommend turning it off
so that it does not rotate.
To do so, press the button
once. If it was already
turned off, it will turn on
again, showing the bat-
tery level. Turn the device
off again.
Once the watch winder is turned off, pull on the watch
holder to unclip it. Slide the watch onto the holder. It may
be necessary to adjust the strap if it is set for a small wrist.
Put the watch and the holder back into the device, ensu-
ring that the watch is positioned with midday upwards
(otherwise it will stop upside down).
When the batteries are nearly flat, the LED may no
longer light up. The motor will continue to turn, but can
be expected to do so more slowly. The batteries should
be replaced to ensure that the device functions correctly.
Once the battery level indicator has finished flashing,
the watch winder will position itself vertically, whether it
contains a watch or not. If the device is already vertical,
it will not move.
The pre-programmed cycle will then begin. The watch
winder will start the cycle by checking for the presence
of a watch. If no watch is detected, it will go into standby
mode for the wait time previously defined in the settings
(see chapter 3.2) before checking once again whether
a watch is present.
If a watch is detected, the device will rotate 12 turns in
each direction (only at its start-up) and then perform
the defined number of rotations. If the movement chosen
includes both clockwise and anticlockwise rotations, the
watch winder will begin by turning anticlockwise. Once
it has completed the defined number of anticlockwise
rotations, it will stop in a vertical position for one second,
and will then start rotating clockwise the defined
number of times.
Once all the programmed rotations have been com-
pleted, the device will stop in a vertical position and go
into standby mode for the defined length of time.
6 7
a Remove the watch holder (1)
by unclipping it and pulling it
straight from the device.
b Using the special tool provided
(2), unscrew the central screw (3)
as shown.
c Remove the cover (4).
d Insert 4 AA lithium/alkaline 1.5V
(LR6) batteries into the housings
(5), ensuring that they are the
right way round. (Check the
markings on the battery housings.)
e Replace the lid carefully.
f Tighten the central screw using
the special tool.
g Ensure that the cover turns freely.
h Press the button on the front
to ensure that the device
is charged and start the cycle.
(N.B. The cycle will only begin
if there is a watch in the watch
holder.)
Press the button to turn the winder on. The pre-programmed
cycle will begin immediately.
If the device does not detect the watch correctly (it does
not move despite the fact that there is a watch on the
holder) the detection setting can be adjusted using
the configuration tool’s advanced mode (refer to
chapter 3.3).
2.3 TORQUE LIMITER (protection against jamming)
The OMEGA Cylinder has a motor current controller that
protects against jamming. If the motor current exceeds a
predefined value (see chapter 3.3), it will turn off com-
pletely to protect the mechanism and avoid draining
the batteries.
The current is measured every two seconds, meaning
that the device can take up to two seconds to detect a
jam. It will not start up again until the user presses the
button, after having ensured that nothing is stopping
the mechanism from moving freely.
2.4 CHANGING THE BATTERIES
The batteries need to be replaced when they are no lon-
ger capable of turning the OMEGA Cylinder (once every
two years with average use). To avoid reaching the point
where the batteries are no longer able to turn the device
on, they should be replaced once there is less than
30% charge remaining (one single flash on start-up).
To replace the batteries, proceed as follows:
1
2
3
4
5
5
5
5
8 9
The white LED will indicate that Bluetooth mode has been
activated. When the button is held down, it will initially
be lit, then will go out before starting to flash after four
seconds. The button can then be released. The rotating
winder can now be detected with a Bluetooth device.
It will remain in this mode for one minute. If no computer
has connected to it within this time (Bluetooth connection
established and interface paired), the winder will revert
to standard mode and resume its cycle.
Connecting to the rotating winder requires a computer
(PC or Mac) with an installed Bluetooth peripheral (dongle
or integrated module). The access code to establish the
connection is: 1234 (requested at the first connection only).
Launch the application and a window will appear:
“Welcome to Cylinder Configuration Tool”.
Then press the “Open” button to launch the detection of
the rotating winder. This will only succeed if the winder
is properly connected to the computer. Once the appli-
cation has been located and connected, the winder will
remain in Bluetooth mode as long as the application
stays open. If the application is closed, or if the winder
is disconnected, it will revert to its normal mode. If the
ON/OFF button is pressed while the Bluetooth mode is
active, the rotating winder will switch off immediately,
whether the application is connected or not.
2.5 BATTERY POLARITY
3. BLUETOOTH CONFIGURATION
3.1 ACTIVATING BLUETOOTH MODE
Before activating the Bluetooth mode on the rotating
watch winder, download the application “OMEGA
LE CYLINDER” to your computer. It can be found at:
www.omegawatches.com/omega-lecylinder.
By default, the Bluetooth mode of the rotating winder
is deactivated, making it invisible to other Bluetooth
devices. To activate the Bluetooth mode, hold down the
ON/OFF button for more than four seconds. Activation
can only be done when the winder is switched off.
10 11
This window can be used to select the direction of rota-
tion (clockwise, “CW”, anti-clockwise “CCW”, or both)
as well as the number of rotations. If only one direction is
selected, the corresponding box for the opposite direc-
tion will be greyed out. Otherwise, both settings can be
edited. The number of clockwise turns and the number
of anti-clockwise turns are entirely independent of each
other. For example, the rotating winder can be set to
500 clockwise turns and 200 anti-clockwise turns. The
maximum number of turns in either direction is 65,535.
The final setting “Wait Time” is used to define the length
of time between the two cycles. This is measured from
the end of one set of revolutions to the start of the next.
If the turn cycle lasts 1 hour and the wait time is 23 hours,
the complete cycle will be repeated once every 24 hours.
The maximum wait time is 1,092 hours and 15 minutes.
When the desired settings have been configured, press
the “Update” button to transfer them to the rotating
winder. Once the transfer is complete, click on “Save
and Disconnect”. The settings will not be saved by the
rotating winder until this has been done. This action will
deactivate Bluetooth mode and return the winder to nor-
mal mode. The rotating winder will start operating with
an initial series of 12 clockwise rotations and 12 anti-clo-
ckwise rotations. Then it will follow the new settings for
the wait time and the number of rotations. If the ON/OFF
button is pressed before the interface is disconnected,
the new settings will not be saved.
3.2 CONFIGURING STANDARD SETTINGS
Once the application is launched, click the “Open”
button. The interface will automatically retrieve the
settings saved in the rotating winder and display them in
the appropriate fields. If these fields remain empty, press
the “Refresh” button. If an error message appears, check
that the winder is still in Bluetooth mode (LED flashing
every two seconds). If the winder has reverted to nor-
mal mode (because the connection was not established
within one minute), switch it off with a short press of the
button. The Bluetooth mode can then be reactivated by
holding the button down for four seconds.
MAC APPLICATION WINDOWS APPLICATION
12 13
Monitoring
The “Monitoring” field allows continuous checking of
certain settings read by the rotating winder. “Motor cur-
rent” indicates the motor current during 2 clockwise and
anti-clockwise rotations. “Position Sensor” indicates the
position of the moving part of the winder. “IR Sensor”
relates to the watch-detection sensor, indicating the
presence or absence of the watch.
Motor Torque
This setting adjusts the motor torque by acting on the
motor’s PWM. This value can be configured between 30
(minimum value) and 100 (maximum value). The higher
the value, the more torque the motor will have, but the
more power it will use. If the rotating winder has diffi-
culty turning (heavy watch, etc.), the torque setting can
be increased. To do this, press “Update” and disconnect
the winder in order to check if the increase is sufficient.
Motor Protection
This setting shows the level of current above which the
motor goes into auto-protection. Do not change this
factory setting – it can indicate if the motor is damaged.
Detection Threshold
This final setting is used to alter the level at which the
watch is detected in the rotating winder. If the sensor
does not detect the watch, this setting can be lowe-
red. Select “Monitoring” then “IR Sensor”, place the
watch in the winder and read the value shown. Then
3.3 CONFIGURING ADVANCED SETTINGS
The advanced settings mode can be used to adapt the
rotating watch winder to specific situations (e.g. the
watch not being detected due to a special strap or
bracelet, insufficient torque to drive the winder, torque
limit too low, etc.). To access this mode, click on the
advanced settings tab and enter the password: 9876.
The current settings for the winder are shown in the
appropriate fields. It is recommended to write down
these factory settings on paper so as not to lose them
before making any changes. In the same way as for
standard settings, changes are sent to the rotating
winder by using the “Update” button. They are only
saved once the interface has been disconnected. If
the winder is turned off manually (using the ON/OFF
button) the changes will not be saved.
MAC APPLICATION WINDOWS APPLICATION
14
select a “Detection Threshold” value about 20% lower.
For example, if you read “100” reduce it to “80”. Then
press “Update” and disconnect the winder.
4. SPECIFICATIONS
Power supply FourAA LR6 lithium/alkaline 1.5V batteries
Battery life Around 2 years (at 700 turns per day)
Rotation speed 10 turns per minute
Configuration By Bluetooth connection
Protection Motor torque limiter
Watch detection By IR sensor

Other Omega Accessories manuals

Omega OS35 User manual

Omega

Omega OS35 User manual

Omega SP-013 User manual

Omega

Omega SP-013 User manual

Omega LV800 SERIES User manual

Omega

Omega LV800 SERIES User manual

Omega OS-MINIUSB series User manual

Omega

Omega OS-MINIUSB series User manual

Omega FTB600B Series User manual

Omega

Omega FTB600B Series User manual

Omega FTB300 Series User manual

Omega

Omega FTB300 Series User manual

Omega TQ514 Series User manual

Omega

Omega TQ514 Series User manual

Omega zED User manual

Omega

Omega zED User manual

Omega DMD-476 User manual

Omega

Omega DMD-476 User manual

Omega CDE683 Series User manual

Omega

Omega CDE683 Series User manual

Omega HFS-5 User manual

Omega

Omega HFS-5 User manual

Omega FMG70B Series User manual

Omega

Omega FMG70B Series User manual

Omega OM-EL-WiFi-T-Plus User manual

Omega

Omega OM-EL-WiFi-T-Plus User manual

Omega OS-MINI SERIES User manual

Omega

Omega OS-MINI SERIES User manual

Omega ZW-CM User manual

Omega

Omega ZW-CM User manual

Omega FCLTX-100 Series User manual

Omega

Omega FCLTX-100 Series User manual

Omega SS-015-NA User manual

Omega

Omega SS-015-NA User manual

Omega FP-5070 Series User manual

Omega

Omega FP-5070 Series User manual

Omega RH-USB User manual

Omega

Omega RH-USB User manual

Omega SS-002 User manual

Omega

Omega SS-002 User manual

Omega RG-2501 Series User manual

Omega

Omega RG-2501 Series User manual

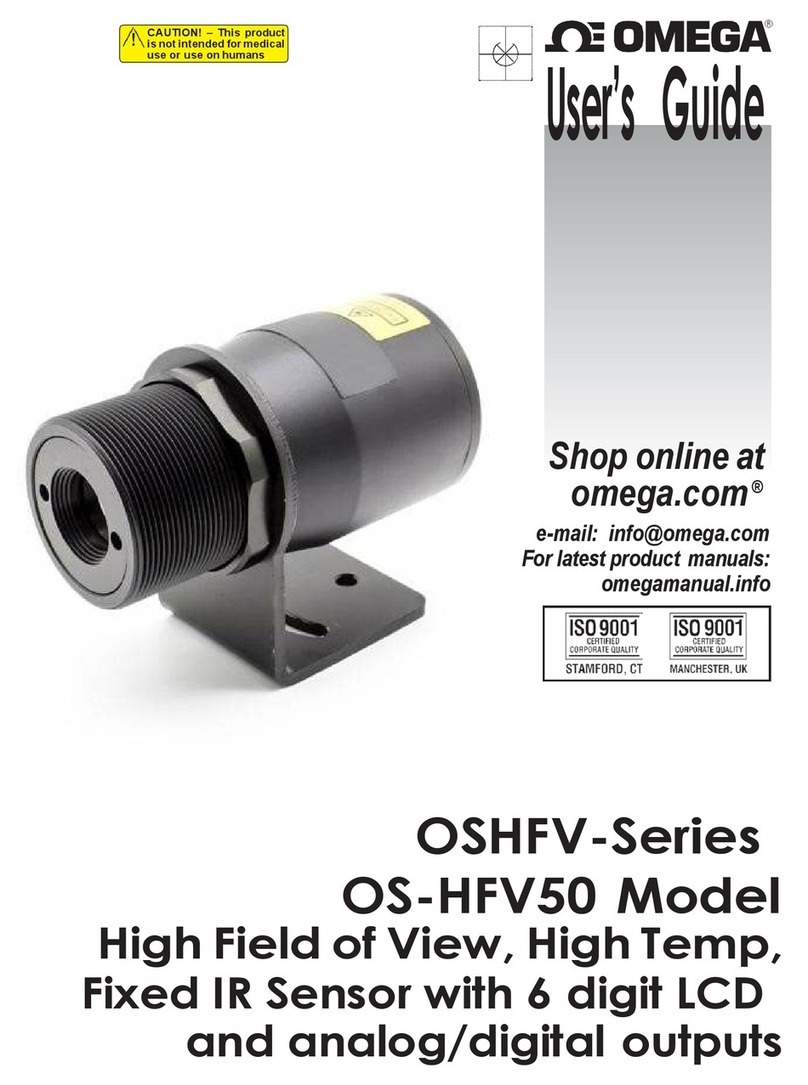
Omega OSHFV Series User manual

Omega

Omega OSHFV Series User manual

Omega HTWT SERIES User manual

Omega

Omega HTWT SERIES User manual

Popular Accessories manuals by other brands

Quincy lab 140AE-1 operating manual

Quincy lab

Quincy lab 140AE-1 operating manual

HomePro ZIR000 user manual

HomePro

HomePro ZIR000 user manual

DOL 20SCR Technical user guide

DOL

DOL 20SCR Technical user guide

RAB Smart Task installation manual

RAB

RAB Smart Task installation manual

Kemppi KMS 300 quick guide

Kemppi

Kemppi KMS 300 quick guide

Stearns 57,500 Series Installation and service instructions

Stearns

Stearns 57,500 Series Installation and service instructions

iGuzzini TWILIGHT COPENAGHEN manual

iGuzzini

iGuzzini TWILIGHT COPENAGHEN manual

Adelaide Annexe & Canvas Avan Deluxe installation guide

Adelaide Annexe & Canvas

Adelaide Annexe & Canvas Avan Deluxe installation guide

OHAUS 5000 instruction manual

OHAUS

OHAUS 5000 instruction manual

HOME8 WLS1300 quick start guide

HOME8

HOME8 WLS1300 quick start guide

MAXBOTIX MaxSonar quick start guide

MAXBOTIX

MAXBOTIX MaxSonar quick start guide

ioSmart iSmart56 Installation and user guide

ioSmart

ioSmart iSmart56 Installation and user guide

Focusrite Scarlett 18i8 user guide

Focusrite

Focusrite Scarlett 18i8 user guide

Velleman ED38105 user manual

Velleman

Velleman ED38105 user manual

JumpSport SkyBounce user manual

JumpSport

JumpSport SkyBounce user manual

Prima-Temp PRIYA Instructions for use

Prima-Temp

Prima-Temp PRIYA Instructions for use

Tefcold BC85I-BC85I W user manual

Tefcold

Tefcold BC85I-BC85I W user manual

Vaisala WMS302 user guide

Vaisala

Vaisala WMS302 user guide

manuals.online logo
manuals.online logoBrands
  • About & Mission
  • Contact us
  • Privacy Policy
  • Terms and Conditions

Copyright 2025 Manuals.Online. All Rights Reserved.