Plant Clip
x10pcs
Drain Pipe
x1pc
Climb Net
x2pcs
Cable Ties
x10pcs
pH test
paper x1pc
H tube(2)
Frame tube
(L1)
Frame tube
(L2)
Frame tube
(L3)
Frame tube
(L4)
H tube(L1)
Frame tube
(L1) x4pcs
Frame tube
(L2) x4pcs
Frame tube
(L3) x4pcs
Frame tube
(L4) x4pcs
Square frame(L2)
Square tube(1)
B1. Germination Stage
B2.Young Plant Stage
B3.Growing Stage
B4.Blossom Stage
B5.Fruit Stage
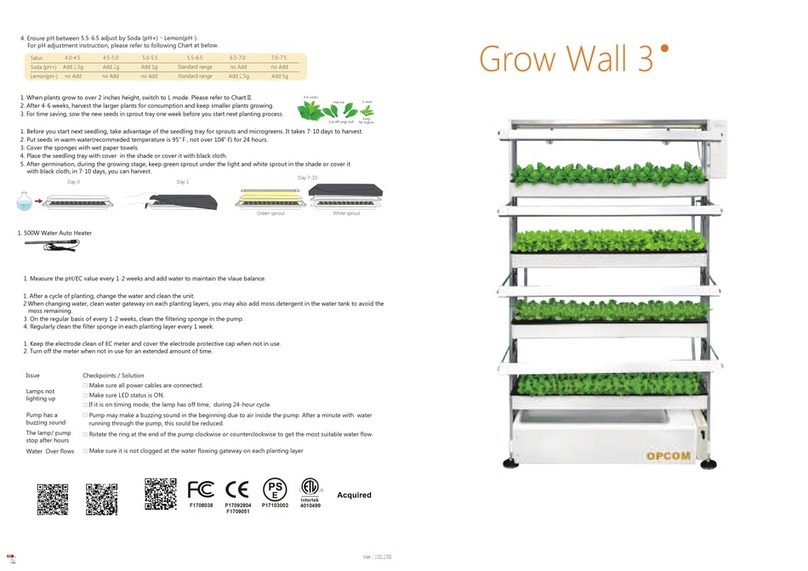
1. 500W Water Auto Heater
1.Open rockwool sponge package, wet the sponge(Fig1)
2.Open podstick package, put into each planting basket(Fig2)
3.PUt into the seedling tray.(Fig3) Spray water and keep the sponge wet every day.
4.Place the seedling tray with cover in the shade or cover it with black cloth.
5. In each sponge, keep strong plants and cut the other weak plants.
1.Add 21 galons water to the water tank(Fig4).
2.Add salt #1(Nutrient) into the water tank and ensure EC value between(+1.0mS/cm)(Fig4)
B spoon=5g
B spoon=5g
3.Ensure ph between 5.5-6.5 abjust by soda(pH+) and lemon(pH-). For pH abjustment instruction, please refer
to the following chart (Fig4).
4.During young plant stage (around 2 inches), turn on LED and Pump. Please refer to the ChartII.
5.You can choose different light hanging methods/positions for various plants base on you needs.(Fig5)
6.Change or adjust water every 1-2 weeks according to above item 3&4. Some flowers/ fruit plants
may need higher EC(over 2.0) at flower/ fruit stage. Please refer to plants information before you
choose and plant.
1.Growtank can accommodate up to 8 plants, set up the climbing net around the 4 tubes in the
grow tank to allow the plants to climb(Fig6).
2.Choose 4 plants and move them to suitable holes for better growing.
3.Keep the rock wool wet and stop moss growing up and stable them by suing climbing net or clip them on
the poles.
4.When young plants grow to 3-4 inches height, switch control box to growing mode. Please refer to Chart II.
5.After 4-6 weeks, harvest the larger plants for consumption and keep smaller plants growing.
6.To save time, sow the new seeds in sprout tray one week before you restart the planting process.
1.After about 6 weeks, add NT-adjuster to raise EC value to 2-2.5 for flower stage of the plants.
2.Ensure pH value betteen 5.5-6.5 (adjust by pH+/-). For EC and pH instructions, please refer to Chart II.
1.Note to add salt #1(Nutrient) and water to raise EC value to 2.5-3 for fruit stage of the plants.
Grow Sponge
10pk x2pcs
Pod Stick 10pk x1pc
(OASS026 for
Cucumber)
Pod Stick 10pk x1pc
(OASS030 for
Tomato)
Cleaning
Sponge x1pc
Growing
Basket x30pcs
Screwdriver
Cross-Head x1pc
Warranty
Card
Manual
Quick Guide Manual
1. Please keep the Pod stick package in refrigerator if you don’t use it.Recommended temperture is41°F-50°F.
2. LED light moder1 :R:B=7:1 is sutable for plant leaf growth stage,moder2 : R:B=5:1 is suitable for plant blossom and fruit stage.
Keep th e sponge wet.
Temp
EC meter
x1pc
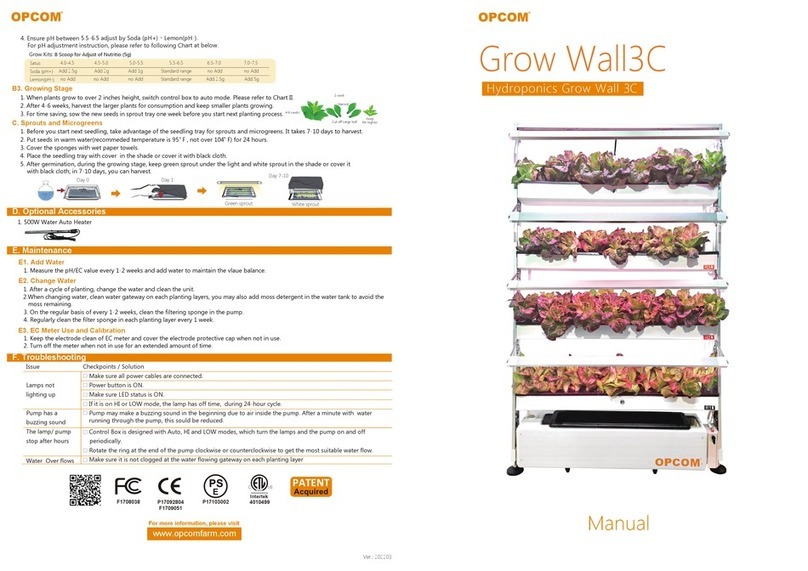
Thank you for purchasing OPCOM GrowTank, the indoor hydrop onics growing system. It is designed for easy to use and efficient growing
system by one-touch AUTO mode. It holds up to 8 plants capacity. Please read the quick guide carefully before setting it up. For detailed user
guide video, please visit Official Website: http://www.opcomfarm.com
A1.Remove all parts from box and check all accessories.
Chart l: Control Box Mode
Chart lI: Plant Stage
Please read and follow every steps to avoid any malfunction.
(Fig1) (Fig2) (Fig3)
Status
salt #1(Nutrient) Add 3g Add 1.5g Add waterStandard range
0.0-0.5 0.5-1.0 1.0-2.0 over 2.0
Add 5g
No add No add No add
No add No addAdd 3g Add 1.5g Standard range
Standard range Add 5g Add 10g
Status
soda (pH+)
lemon (pH-)
4.0-4.5 4.5-5.0 5.0-5.5 5.5-6.5 6.5-7.0 7.0-7.5
Soda(pH+)
50ml x1pc
Lemon(pH-)
50ml x3pcs
Scoop for Adjust
of Nutritio(5g)
Salt #1(Nutrient)
250ml x3pcs
7:1
Control Box x1pc
Remote
Controller
x1pc
DC Adpater
x1pc
Seedling tray x1pc Hanging rope x1pc Hanging
ring x1pc
LED Grow Light
L200B x1pc
LED Grow
Light screw
x1pcWater tank x1pc
Screw x5pcs
Rock Wool & Grow
Basket 24x10pk
9
5
6
7
8
4
3
3
2
1
Add 21 gallons/ 80L(80% full) water to water tank.
Extend upper 4 plastic Frame tube(L2) and 4 plastic Frame tube (L3) by aligning
and twisting in the treads on the poles of step 2.
Insert 4 aluminum Frame tube(L1) and secure its position.
Lock the Hanging ring on the H tube(L1), then lock the LED Grow Light screw
on the LED Grow Light L200B, and use the two ends of the Hanging rope to
fasten the Hanging ring and Light screw together. Decrease the height of the
LED light through the adjustment buckle in the middle of the Hanging rope,
and raise the height of the LED light height by pulling the rope of the Hanging
rope.
Use Square tube(L2) and Frame tube(L4) to assemble exteded poles of step 3
together and screw closely.
Connect the H tube(L2) assemble it on the top of the plastic tubes, screw colsely.
After adjusting the height of LED, wind the lifting rope around.
Connect L200B LED lighe quick release adapter to the cable on the control box.
L200B can adjust 2 kinds of grow light, R:B(5:1)/R:B(7:1), to meet different
planting stage requirement.
Connect control box to the front tube of the square frame.
A2.Assemble GrowTanK
1.Assembley
2.Electric line setup
3.Other Installation
1
2
3
4
5
6
7
8
9
Hydroponics Garden
POWER AUTO LED
PUMP
ON HI LOW OFF ON HI LOW OFF
* When Power On, press hold POWER button until 2 beep
sound (About 5 second) to reset power on timeline.
* Most plants can be grown using the AUTO mode.
* Remote controller support wireless remote control.
* When Power Off, press hold POWER button until 2 beep
sound (About 5 second) to reset power off timeline.
Status Operation Light
Fuction
ON
High
Low
OFF
ON
High
Low
OFF
One Press
One Press
One Press
One Press
One Press
One Press
One Press
One Press
LED
Pump
On
Off
On
Off
One Press
One Press
One Press
One Press
Power
Auto
Time
24Hr/day
18Hr/day
10Hr/day
Follow last mode before turn off
Off
LED: 16Hr/day ON mode of LED, 10mins/2 hour ON mode of Pump
Follow LED and Pump manual mode seting
0Hr/day
30mins/ 1hour
30mins/ 2hours
30mins/ 3hours
always Off
ON HI LOW OFF
ON HI LOW OFF
ON HI LOW OFF
ON HI LOW OFF
ON HI LOW OFF
ON HI LOW OFF
ON HI LOW OFF
ON HI LOW OFF
Salt #1
Adjustment
Soda
Adjustment+
Lemon
Adjustment-
