POWER
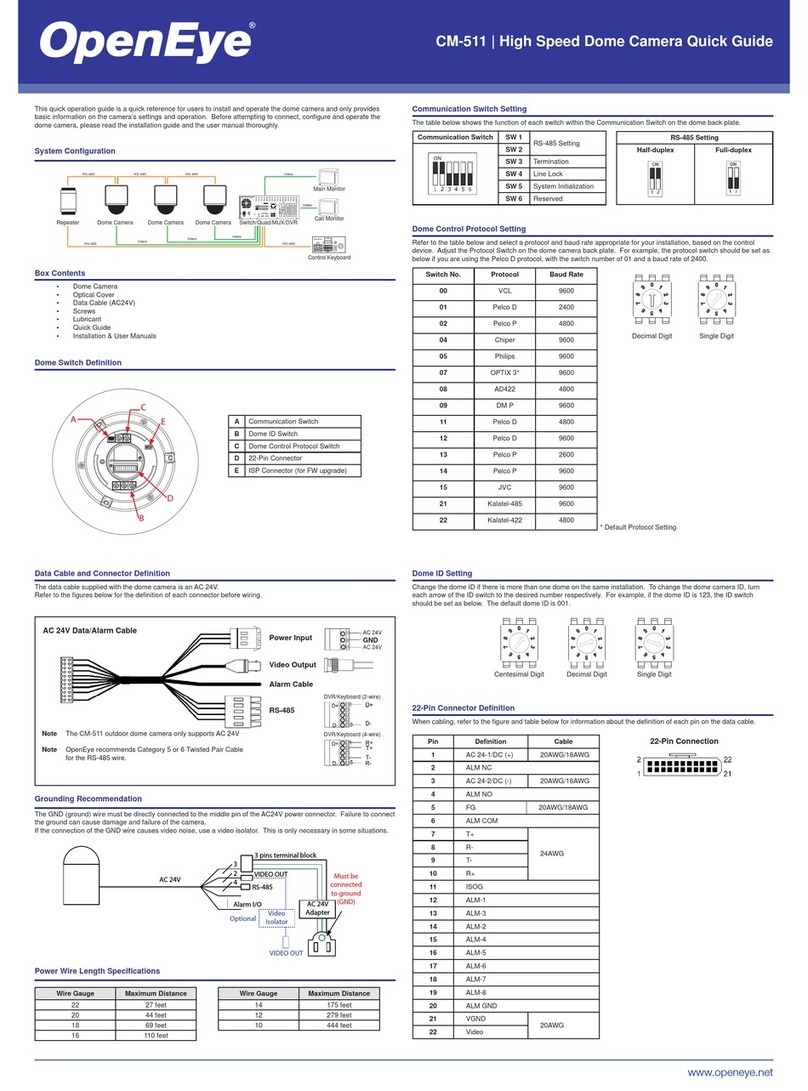
This camera is compatible with 12vDC
and Power over Ethernet (PoE). Con-
nect power to the camera using the
provided power connector lead, or the
terminal connector blocks. If you are
connecting 12vDC power, verify the
polarity of the power connection. If you
are using PoE, make sure the Power
Sourcing Equipment (PSE) is in use in
the network.
CONNECTING TO THE
IP CAMERA
To access the camera setup menu,
you need to install the OpenEye
Network Camera Manager on your
PC or recorder. To install the OpenEye
Network Camera Manager application
on your PC, insert the included software
CD, or download the program from
openeye.net, and follow the prompts.
1. Open Network Camera Manager,
and click Find Devices.
2. Locate your camera on the
Network Camera Manager list.
3. To open the viewer software in
your web browser, double-click the
camera, and then click Browse.
To add the camera to your trusted
sites:
1. From the Tools menu, click
Internet Options.
2. Click the Security tab and then
click the Trusted Sites icon.
3. Click Sites.
4. Type the IP Address of the
camera. Ensure that the Require
server verification check box is
cleared.
CONTENTS
ETHERNET CABLE
CONNECTIONS
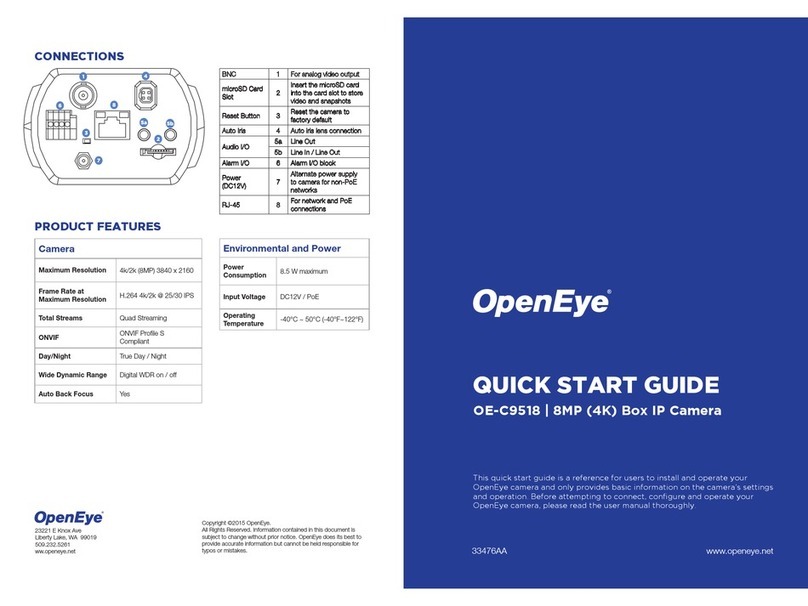
Connect a network cable to the camera
using the RJ45 input and connect the
other end of the cable to your network
switch or recorder.
NOTE: If you are connecting the camera directly
to a recorder, a crossover cable is
necessary for most configurations.
For additional information on adjusting
the settings of your internet browser
contact your system administrator or
refer to the FAQs at openeye.net.
Default username and password
The username and password are case
sensitive. It is strongly recommended
that the password be changed after
the initial setup to prevent unauthorized
access.
Username Admin
Password 1234
ASSIGNING AN
IP ADDRESS
OpenEye IP cameras come with the
default IP address 192.168.0.250. To
reset the IP address, use the OpenEye
Network Camera Manager application
to set a new static IP, or use DHCP.
1. Open the Network Camera
Manager application.
2. Click Find Devices, and then
double-click your camera.
3. Click Network Setup.
4. Select Static IP and type the new
IP address and other network
information in the appropriate
boxes.
- or - Select DHCP.
5. Click Apply.
6. Click OK to acknowledge the
change.
7. After one minute, click Find
Devices to search for all
connected IP devices.
8. Double-click the camera, and then
click Browse.
9. Type the Username and
Password to access the camera.
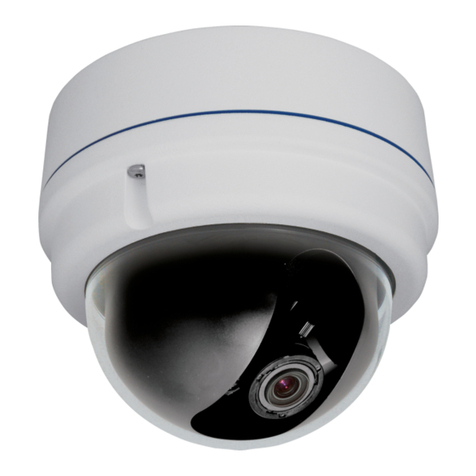
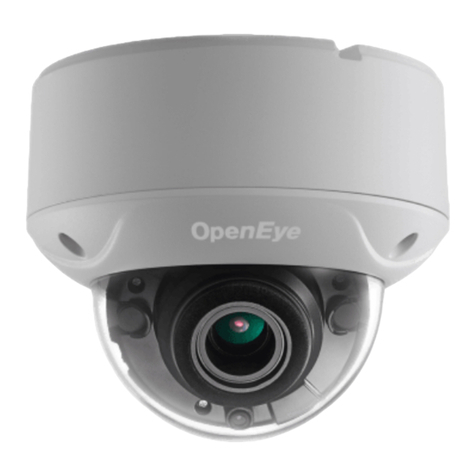
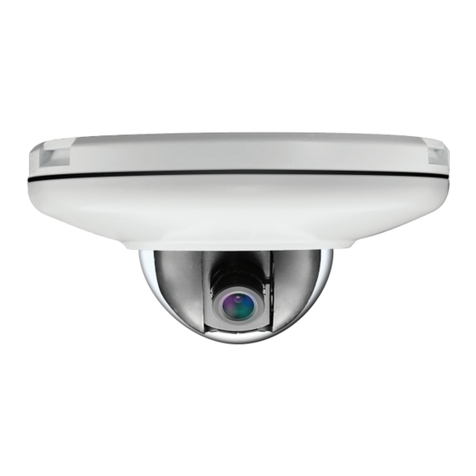
OE-C7032-WR
Dome Camera
PRODUCT FEATURES
Camera
Maximum Resolution 2MP
Frame Rate at
Maximum Resolution 30 IPS @ 2MP H.264
Total Streams Dual Streaming
ONVIF ONVIF Profile S
Compliant
Day/Night True Day / Night
Wide Dynamic Range Yes
Environmental and Power
Power
Consumption 5.5 W maximum
Input Voltage 12vDC / PoE
Operating
Temperature
-31 ~140 °F (-35 ~ 60
°C )
Waterproof Cable
Connector
Self-Tapping
Screws &
Plastic Anchors
Security Torx
Tool
