manuals.online logo
Brands
  1. Home
  2. •
  3. Brands
  4. •
  5. Opitec
  6. •
  7. Toy
  8. •
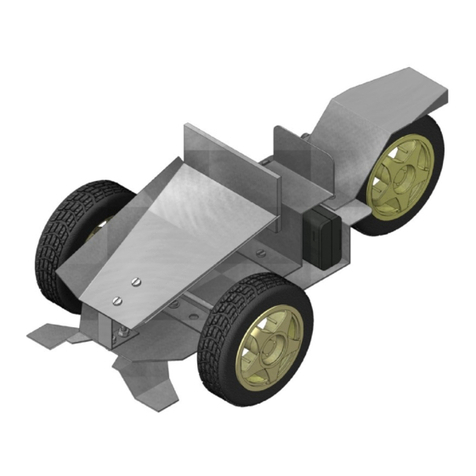
  9. Opitec Solar Auto with gearbox User manual

Opitec Solar Auto with gearbox User manual

1
E109793#1
109.793
PART LIST
Description
Polystyrol 1 130x60x2 Base chassis 1
Holed metal strip 2 150x10x0,5 Fixing 2
Welding rod 1 200x2 Axle & bumper 3
Motor & gearbox 1 Drive 4
Steering wheels 4 ø37 Wheels 5
Solar cell 1 Electricity source 6
Machine screws 2 10x3 Fixings 7
Machine screws 8 8x3 Fixing Drive/Axle/Solar cell 8
Machine screws 2 6x3 Fixing bumper/connector block 9
Solarmotor 1 Drive 10
Nuts 10 M3 Fixing 11
Connecter block 2 Fixing bumper 12
Reducers 4 3/2 Fitting Axle and wheels 13
Necessary tools:
Pencil,ruler,
Fretsaw,sandpaper and block
File,Drill ø 3 mm
Plastc former
Screwdriver, Side cutters (Metal shears ),
Spanner 5,5
Pliers, Round nose pliers
Solar Auto with gearbox
Please Note
The OPITEC range of projects is not intended as play
toys for young children.They are teaching aids for young
people learning the skills of Craft, Design and Technolo-
gy.These projects should only be undertaken and tested
with the guidance of a fully qualified adult.
The finished projects are not suitable to give to children
under 3 years old. Some parts can be swallowed. Dan-
ger of suffocation!
2E109793#1
60
45
Ø 3
20 65
15
45
15
45
65
45°
135°
22
25
36
INSTRUCTIONS
1. Mark out on the chassis (1) the holes ( See page 5
for patterns ) Drill the 3mm diameter holes and cut
out the shape with a Fretsaw. File the sawn deges to
nish .
2. Use the pattern to fold the chassis (Seite 5). Bend the chassis at 45 degrees using a plastic former ( Heated plastic forming
machine)
Then bend the second fold in the opposite direction.
3. Before asembling the gearbox (6) mount the holed metal strip (2) with screws ( See photo,a) Use the 4th hole of the holed
strip to drill a 3mm hole through the gearbox housing (6) Assemble the the solar gearbox and test !
4. From the holed metal strip (2) cut 2 metal strips each 4 holes long- use metal shears. Bend each piece after 1 hole at 90
degrees . (See pattern on page 5 )
Mount the strips (b) with 2 screws (8) and two nuts (11) on the solar gearbox.
Mount the solar gearbox on the chassis with 2 machine screws (8) &2 nuts(11) /
Abb. b Abb. c
Screw holed
metal pieces
here
Fix to the top with
nuts
Mount Solar-mo-
tor and gearbox
on the chassis
Underne-
ath view Top view
General :
The base chassis (1) can be folded or left at. The instructions show how to fold the chassis.
1
2
34
5
6
Abb. a
Abb. d
3
E109793#1
INSTRUCTIONS
5. From the square holed metal strip (2) cut two lengths each 9 holes long and bend them as shown in the pattern on page (5)
Mount the metal strips as shown (e) using a machine screw (8) and a nut (11) see abb. (f )
Abb. e Abb. f
Fix metal strip
here Add nuts to the ma-
chine screws from
underneath!
Top view
Underne-
ath view
6. Cut fron the square holed metal (2) a strip 8 holes long.
Use the pattern on page (5) to make the "U" shaped axle holder.
Use the machine screw (8) to t the axle holder xing it with two nuts (11) from underneath (Abb i)
Abb. g
Abb. h
Top view
Underne-
ath view
Top view
Abb. i
Abb. j
8. Use the remainder of the welding rod and bend it as shown
in the pattern ( page 5) with round nosed pliers.
Axle holder
7. Cut from the welding rod (3) cut 40mm. File the ends to re-
move any burr. Insert the rod in the front axle holder (Abb. j)
Axle
4E109793#1
INSTRUCTIONS
9. Screw the connector block (12) as shown in Abb. (k) to the
underside of the chassis with the machine screws (7) and
nuts (11) tighten.
Abb. k
Underne-
ath view
11. Place a reducer (13) in the centre of each wheel (5) Place
the wheels on a an axles ( Abb. m)
Abb. m
13. Check the drive direction before fastening the solar cell.
If the drive rotates in a forward direction, the solar cell
(6) can be to the holder using a hot glue gun
Abb. o
Abb. n
12. Remove 10mm of the insulation from the end of the red cable on
the solar motor.
Thread it through the hole and connect it to the screw on the solar
cell. The red cable is connected to the minus pole and the black
cable to plus pole. (siehe Abb. n)
10.Insert the wire rod bumper in the connector block and screw
in place (9) (siehe Abb. l)
Abb. l
5
13
5
E109793#1
60
45
Ø 3
20 65
15
45
15
45
65
45°
135°
22
25
36
INSTRUCTIONS
Chassis plan M 1:1
Pattern for the bumper M1:1
Bending pattern M1:1
Bending patterrn for the chassis Scale 1:1
Right angle for
xing the motor
Axle holder Solar axle holder
Bend here

Other Opitec Toy manuals

Opitec Hobbyfix Cloud User manual

Opitec

Opitec Hobbyfix Cloud User manual
Opitec 114.066 User manual

Opitec

Opitec 114.066 User manual

Opitec Hobbyfix Flip User manual

Opitec

Opitec Hobbyfix Flip User manual

Opitec Hobbyfix 101.706 User manual

Opitec

Opitec Hobbyfix 101.706 User manual

Opitec 102.320 Nummer II User manual

Opitec

Opitec 102.320 Nummer II User manual

Opitec Recycling Rowing Boat User manual

Opitec

Opitec Recycling Rowing Boat User manual

Opitec Rattle Snake User manual

Opitec

Opitec Rattle Snake User manual

Opitec Floating Ball User manual

Opitec

Opitec Floating Ball User manual

Opitec Hobbyfix User manual

Opitec

Opitec Hobbyfix User manual

Opitec 116415 User manual

Opitec

Opitec 116415 User manual

Opitec Dragonfly 102.894 User manual

Opitec

Opitec Dragonfly 102.894 User manual

Opitec Wind Machine User manual

Opitec

Opitec Wind Machine User manual

Opitec Running worker with wheelbarrow User manual

Opitec

Opitec Running worker with wheelbarrow User manual

Opitec Hobbyfix Stiletto 105.755 User manual
Opitec

Opitec Hobbyfix Stiletto 105.755 User manual

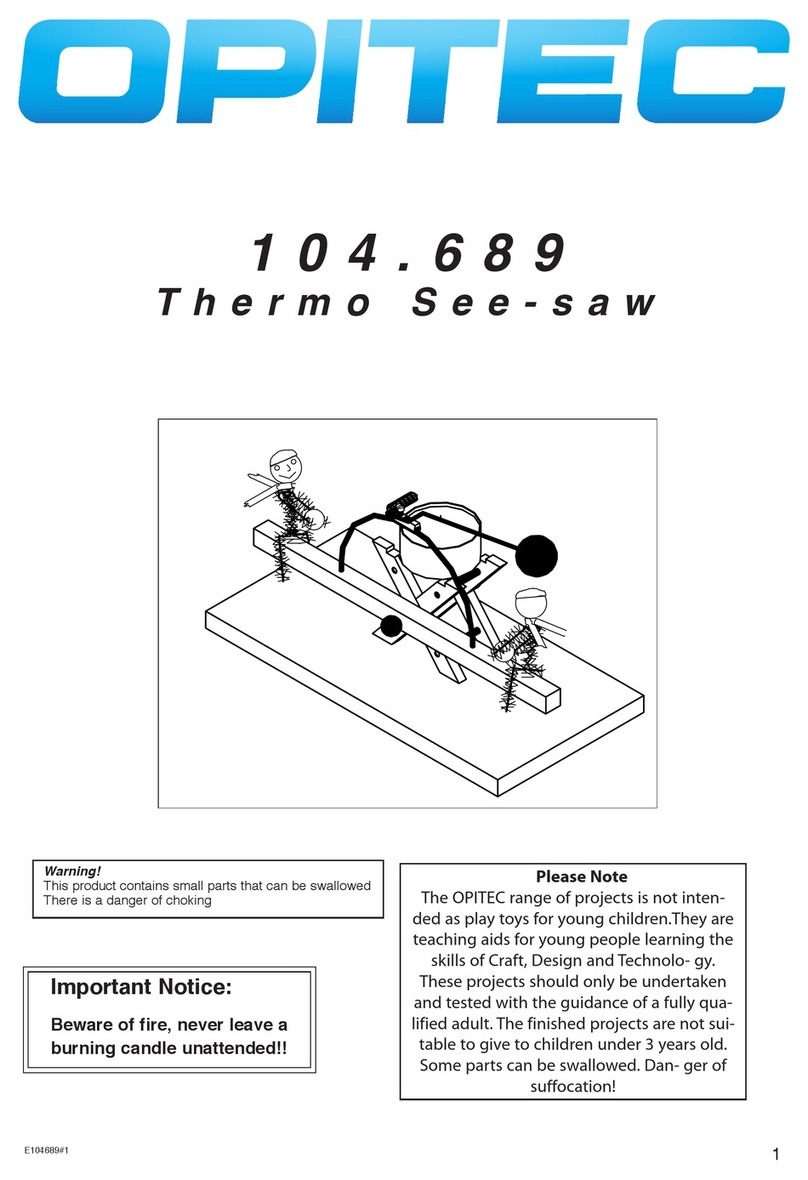
Opitec 104.689 User manual

Opitec

Opitec 104.689 User manual

Opitec Wasp User manual

Opitec

Opitec Wasp User manual

Opitec 115.305 User manual

Opitec

Opitec 115.305 User manual

Opitec 113.141 User manual

Opitec

Opitec 113.141 User manual

Opitec Hobbyfix 113.727 User manual

Opitec

Opitec Hobbyfix 113.727 User manual

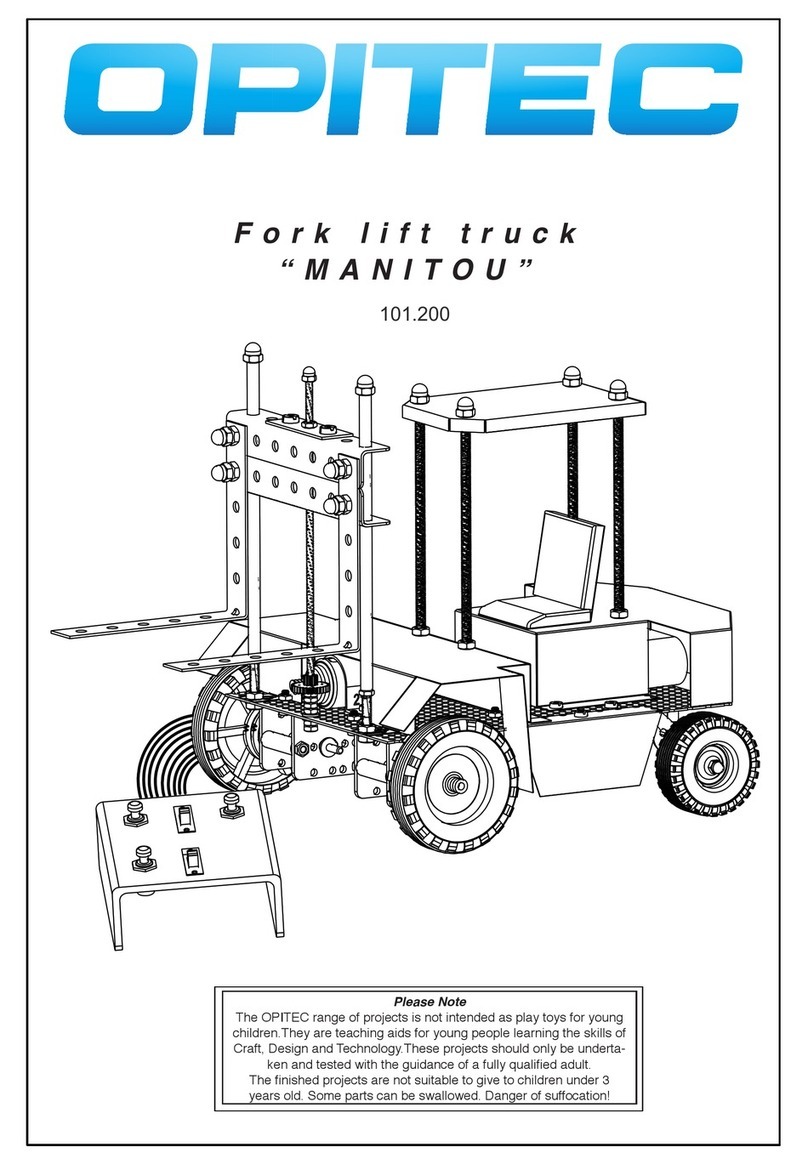
Opitec MANITOU 101.200 User manual

Opitec

Opitec MANITOU 101.200 User manual

Opitec Hobbyfix Cube User manual

Opitec

Opitec Hobbyfix Cube User manual

Opitec Windflyer II User manual

Opitec

Opitec Windflyer II User manual
Opitec 111.714 User manual

Opitec

Opitec 111.714 User manual

Opitec 114.033 User manual

Opitec

Opitec 114.033 User manual
Popular Toy manuals by other brands

HOMCOM 390-006 Assembly instruction

HOMCOM

HOMCOM 390-006 Assembly instruction

Crayola My First Wood Easel 5048 instruction manual

Crayola

Crayola My First Wood Easel 5048 instruction manual

marklin 74613 manual

marklin

marklin 74613 manual

Lionel Playtime Playground owner's manual

Lionel

Lionel Playtime Playground owner's manual

Eduard MiG-29A interior 1/32 quick start guide

Eduard

Eduard MiG-29A interior 1/32 quick start guide

Fisher-Price DFN40 quick guide

Fisher-Price

Fisher-Price DFN40 quick guide

REVELL KIT 5864 Assembly manual

REVELL

REVELL KIT 5864 Assembly manual

Mattel HotWheels BULL RUN BATTLE instructions

Mattel

Mattel HotWheels BULL RUN BATTLE instructions

TILLIG BAHN 83410 manual

TILLIG BAHN

TILLIG BAHN 83410 manual

Hasbro TRANSFORMERS HEROIC AUTOBOT WARRIOR... manual

Hasbro

Hasbro TRANSFORMERS HEROIC AUTOBOT WARRIOR... manual

roco 111 DR operating manual

roco

roco 111 DR operating manual

Eduard SBD-3 Dauntless manual

Eduard

Eduard SBD-3 Dauntless manual

Dromida Twin Explorer instructions

Dromida

Dromida Twin Explorer instructions

Mattel Barbie FXT25-4B70 instructions

Mattel

Mattel Barbie FXT25-4B70 instructions

Mattel Polly Pocket quick start guide

Mattel

Mattel Polly Pocket quick start guide

Cessna 162 SKYLANE owner's manual

Cessna

Cessna 162 SKYLANE owner's manual

Eduard Weekend I-16 TYPE 10 quick start guide

Eduard

Eduard Weekend I-16 TYPE 10 quick start guide

Madcow Rocketry Frenzy instructions

Madcow Rocketry

Madcow Rocketry Frenzy instructions

manuals.online logo
manuals.online logoBrands
  • About & Mission
  • Contact us
  • Privacy Policy
  • Terms and Conditions

Copyright 2025 Manuals.Online. All Rights Reserved.