manuals.online logo
Brands
  1. Home
  2. •
  3. Brands
  4. •
  5. Opitec
  6. •
  7. Toy
  8. •
  9. Opitec 113.141 User manual

Opitec 113.141 User manual

1
E113141#1
113.141
Seaplane
Necessary tools:
Pencil,ruler
Fretwaw
Workshop le
Sand paper
Glue ( waterproof)
Hot glue gun
Drill ø2 mm
Crosshead screwdriver
Scissors, craft knife
Soldering iron,solder
Paints, Brush
PARTS LIST
Quantity Size (mm) Description Part-Nr.
Plywood 1 300x210x4 Basic form, Wings, Rudder 1
Styrodur 1 200x200x30 Basic form 2
Wood strip 1 75x10x5 Support,Rudder 3
Self tappers 5 Joining 4
Motor 1 ø20 Motor 6
Micro switch 1 19x6 Switch 7
Battey battery 1 Energy source 8
Wiring 1 500 Cable 9
Propeller 1 Propeller 10
Distance piece 1 Spacer 11
Please Note
The OPITEC range of projects is not intended as play
toys for young children.They are teaching aids for young
people learning the skills of Craft, Design and Technolo-
gy.These projects should only be undertaken and tested
with the guidance of a fully qualified adult.
The finished projects are not suitable to give to children
under 3 years old. Some parts can be swallowed. Dan-
ger of suffocation!
2E113141#1
20°
20°
40 20
197
Ø 2
300
210
100 100
200
200
Ø 2
Ø 2
Ø 2
Ø 2
300
210
100 100
200
200
Ø 2
Ø 2
Ø 2
Ø 2
300
210
100 100
200
200
Ø 2
Ø 2
Ø 2
35
65,00°
Instructions
1. The pattern s for the hull construction (4) can be traced on to the Styrodur foam (2) and cut out with a Fretsaw.
Angle the front and rear ca 20 degrees with a worshop le as shown.
Trace the parts (b+c) from the plans on the styrodur remainder and cut them out
Front Rear
Rear
Front
Front Rear
2. Trace the patterns (Page 5/7) on to the wooden ply-
wood sheet (1). Mark out and drill the 2mm hole then
cut the pieces out.
Sand the edges clean
Pattern layout (Plywood):
Cutting plan (Styrodur):
a
bc
d
e
fg
h
i
j
3. Take the plywood part (d) and join it to
the Styrodur-part (a) with a waterproof
glue. Leave to dry.
d
a
4. The Styrodur-parts (b+c) should be glued together with a waterproof
glue. Leave to dry. Then cut a ca. 65x20 große slot with a Fretsaw. Saw
plywood part (e) and glue it lined up to the rear. When dry, le the
sloped front cleanly at 65°
e
65
65°
20
30
35
100
3
E113141#1
Instructions
5. Assemble and glue the parts together as shown.
Leave to dry thoroughly.
6. Take the wings (g+h) and glue them in place as shown.
Make sure that the slot for the switch faces forward and that
the wings line up with each other (See diagram).
7. Cut from the electric cable (9) a 120mm long piece, and
remove ca.5mm of insulation from each end, tin the ends
and solder one end to the outer connectuion on the slide
switch (7) Then cut a 80mm piece of cable, remove 5mm
insulation from the ends, tin,and solder it to the middle
connection on the switch. Insert the switch (7) in the slot in
part f, glue it in place and guide the cable through the hole
in part e ,then underneath
Fix part (f) onto the wings (g+h) using the screws (4) so
that the wings are in line with each other.
g
h
8. Slide the propeller (10) on the motor shaft (6) and
glue it on part f with a hot glue
f
j
9. Glue the tailplane (j) in place as shown in the diagram..
see broken line Make sure that is central. Leave to dry
well.
f
4E113141#1
54
60
75
10
Ø 2
54
60
75
10
Ø 2
54
60
75
10
Ø 2
54
60
75
10
Ø 2
Instructions
9. Take the wooden strip (3) and cut it to
60mm long and round the ends. Drill
the 2mm hole.
Glue the tail n (i) on the wooden strip
(3) glue it in the middle of the strip
lined up with the back.
Lay the distance piece (11) under the
tail n as shown and screw(4) the n in
place so that it can be adjusted from
one side to the other.
11. Join/ solder the black cable from the battery holder (8) to the
80mm long cable from the switch (7) Solder the red cable from
the battery holder (8) with the plus pole of the motor(6). Then
solder the long cable from the switch (7) to the minus pole of the
motor.
Fucntion control:
Place the batteries in the holder and switch it on.
The propeller shoud now blow the airstream backwards so that
the seaplane travels forward. The direction can be set by adjus-
ting the tail n. If all goes well the battery box can be placed in its
opening.
Ready!
10. Paint the seaplane as you wish.
We recommend a coat of clear varnish to nish to ensure that your
model is water resistant
5
E113141#1
Ø 2
Ø 2
Ø 2
Ø 2
Ø 2
Ø 2
Instructions
Wings + Base
Scale1:1
d
g
h
Patterns
Styrodur + Plywood
Scale 1:1
Wing
2mm-hole ..drill only in the plywood!
Wing
6E113141#1
7
E113141#1
Ø 2
Ø 2
Ø 2
Instructions
Pattern
Cover, Roof, Fin
Scale 1:1
Roof
Cover
Fin
tail plane
e
f
i
j

Other Opitec Toy manuals

Opitec Hobbyfix Stiletto 105.755 User manual

Opitec

Opitec Hobbyfix Stiletto 105.755 User manual

Opitec 115.305 User manual

Opitec

Opitec 115.305 User manual
Opitec Rattle Snake User manual

Opitec

Opitec Rattle Snake User manual

Opitec Hobbyfix Flip User manual

Opitec

Opitec Hobbyfix Flip User manual
Opitec 117167 User manual

Opitec

Opitec 117167 User manual

Opitec Floating Ball User manual

Opitec

Opitec Floating Ball User manual

Opitec 114.033 User manual

Opitec

Opitec 114.033 User manual

Opitec Dragonfly 102.894 User manual

Opitec

Opitec Dragonfly 102.894 User manual

Opitec Windflyer II User manual

Opitec

Opitec Windflyer II User manual

Opitec Solar Auto with gearbox User manual

Opitec

Opitec Solar Auto with gearbox User manual

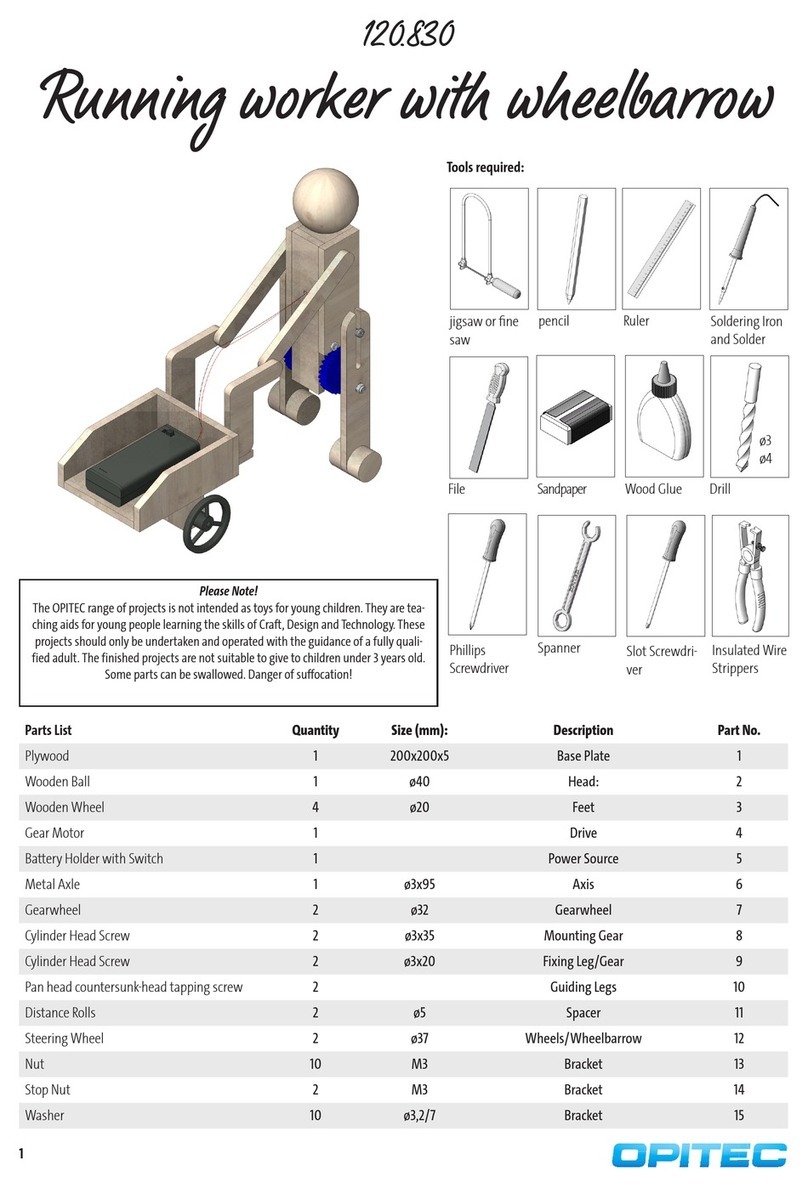
Opitec Running worker with wheelbarrow User manual

Opitec

Opitec Running worker with wheelbarrow User manual

Opitec Wind Machine User manual

Opitec

Opitec Wind Machine User manual

Opitec 102.320 Nummer II User manual

Opitec

Opitec 102.320 Nummer II User manual
Opitec 111.714 User manual

Opitec

Opitec 111.714 User manual

Opitec Easy-Line Wind Generator User manual

Opitec

Opitec Easy-Line Wind Generator User manual

Opitec Hobbyfix Cloud User manual

Opitec

Opitec Hobbyfix Cloud User manual

Opitec Hobbyfix Cube User manual

Opitec

Opitec Hobbyfix Cube User manual

Opitec 104.689 User manual

Opitec

Opitec 104.689 User manual
Opitec 116415 User manual

Opitec

Opitec 116415 User manual

Opitec Recycling Rowing Boat User manual

Opitec

Opitec Recycling Rowing Boat User manual

Opitec 112.994 User manual

Opitec

Opitec 112.994 User manual

Opitec Hobbyfix User manual

Opitec

Opitec Hobbyfix User manual

Opitec 120.852 User manual

Opitec

Opitec 120.852 User manual

Opitec Hobbyfix 113.727 User manual

Opitec

Opitec Hobbyfix 113.727 User manual
Popular Toy manuals by other brands

Fisher-Price Barbie Tough Trike manual

Fisher-Price

Fisher-Price Barbie Tough Trike manual

MOKIDA ZM2603409WOW-000-000 user manual

MOKIDA

MOKIDA ZM2603409WOW-000-000 user manual

Goosky S2 quick start guide

Goosky

Goosky S2 quick start guide

RC Factory Clik Evo Building instructions

RC Factory

RC Factory Clik Evo Building instructions

X-Treme Jets F-16C instruction manual

X-Treme Jets

X-Treme Jets F-16C instruction manual

LGB Elektrolok Ge 4/4 III manual

LGB

LGB Elektrolok Ge 4/4 III manual

Kyosho 32T instruction sheet

Kyosho

Kyosho 32T instruction sheet

Eduard MLRS NATO exterior quick start guide

Eduard

Eduard MLRS NATO exterior quick start guide

Fisher-Price Imaginext H5341 instruction sheet

Fisher-Price

Fisher-Price Imaginext H5341 instruction sheet

Trix Minitrix BR182 Assembly instructions

Trix

Trix Minitrix BR182 Assembly instructions

Fisher-Price PowerTouch Learn to Write Numbers manual

Fisher-Price

Fisher-Price PowerTouch Learn to Write Numbers manual

marklin 78752 user manual

marklin

marklin 78752 user manual

Fisher-Price Fun2Learn Laughtop Ordinateur Malin manual

Fisher-Price

Fisher-Price Fun2Learn Laughtop Ordinateur Malin manual

Forpost Arena LaserPro user manual

Forpost Arena

Forpost Arena LaserPro user manual

Lionel Helicopter Launch Car 72-9313-250 owner's manual

Lionel

Lionel Helicopter Launch Car 72-9313-250 owner's manual

Flex innovations Twin Otter 80E Quick assembly guide

Flex innovations

Flex innovations Twin Otter 80E Quick assembly guide

Kyosho VIPER manual

Kyosho

Kyosho VIPER manual

Topmodel SKY WING SLICK 360 manual

Topmodel

Topmodel SKY WING SLICK 360 manual

manuals.online logo
manuals.online logoBrands
  • About & Mission
  • Contact us
  • Privacy Policy
  • Terms and Conditions

Copyright 2025 Manuals.Online. All Rights Reserved.