manuals.online logo
Brands
  1. Home
  2. •
  3. Brands
  4. •
  5. Opitec
  6. •
  7. Toy
  8. •
  9. Opitec 114.066 User manual

Opitec 114.066 User manual

1
E114066#2
114.066
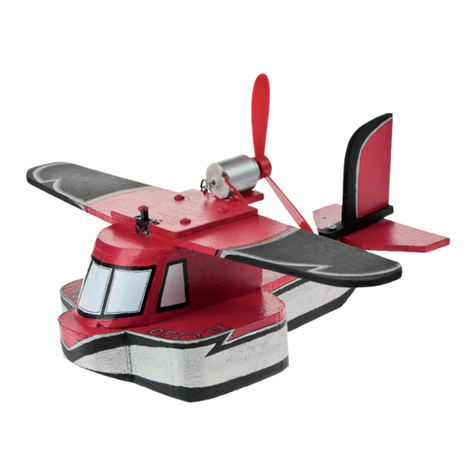
Metal Aeroplane
with Solar Drive
Necessary tools:
Pencil & ruler
Fretsaw
with wood and metal working blades
File
Drill 3,5/4/5 dia
Vice with soft jaws
Metal folder
Screwdriver
Spanner
Countersink
Scissors
Edding pen
PARTS LIST
Description
Aluminium sheet 1 200x200x0,8 Aeroplane 1
PLywood 1 260x120x8 Stand 2
Wooden ball 1 ø 12 Pilot head 3
Wooden ball 1 ø 25 Stand 4
Vacuum forming plastic 1 125x125x0,3 Cockpit 5
Spring clip 1 Motorhalterung 6
Solarmotor RF 300 1 Motor 7
Propellor 1 Propeller 8
Screw 2 20x3 Fixing 9
Screw 1 40x4 Fixing 10
Machine screw 2 35x3 Fixing 11
Machine screw 3 8x3 Fixing 12
Nuts 5 M3 Fixing 13
Washers 5 7/3,2 Fixing 14
Solar cell 0,5 V, 200mA 1 Power source 15
Cable 1 500 Wiring 16
Please Note
The OPITEC range of projects are not intended as toys for
young children.
They are primarily designed as a teaching aid for Design
Technology and to encourage children in practical skills.They
should not be attempted without the supervision of a qualied
adult . The are NOT suitable for children under
3 years old, they contain small parts that can be swallowed
2E114066#1
200
200
260
120
Ø 3
Ø 6
ø3
20
Step 1:
Instructions
Cut out the patterns (Page 5/7) for the aeroplane and glue them
together along the broken line. Transfer (see diagram) the plans
on to the aluminium sheet (1)
Drill all the marked holesand cut out the parts with metal shears
or afretsaw with a metal working blade
Clean up all the parts with le and remove any burr a
b
c
d
e
Step 2:
Fold the parts (a-d) as shown, use a vice with soft jaws or
folding bars.
Note: Bend in the correct direction!
a
b
cd
Step 3:
Trace the patterns for the stand ( page 9) on to the plywood
sheet(2) . Drill the 3mm holes in the base part (f) Use a counte-
sink on the 6mm dia holes. Cut out all the parts with a Fretsaw
and sand to nish.
fg
i
h
Step 5:
Mount the wings (Parts b/c) as shown using the machine screws (11)
M3x35 and nuts (13) to the fuselage body (Part a) ( straight edges on
the wings point backwards.)
straight edges
Step 4:
In the stand (g) (see patterns) drill the ø3,5 mm ca. hole 20mm
deep. Finally add the ball (4) ø 25mm with a screw (10) 4x40mm
in part (g)
Part (f) with screws (9) ø 3x20mm from underneath (g) (The
countersink holes are underneath!)
Flat edges
ø 3,5mm
g
f
3
E114066#2
Instructions
Step 6:
The tailpane (Part e) and the tail n
(Part d) are tted using two screws
(12) and 2 nuts (13) on the back of the
fuselage (a)
Step 7:
The wooden parts (i/h) are glued
together as shown on page 5/7 as
marked, use an all purpose glue!
Schritt 8:
The wooden ball (3) once all the parts
(i/h) are on the body (a) is tted with an
all purpose glue.
Schritt 9:
The spring clip (6) is tted as shown
with a machine screw (12) and a nut
(13) in place
Schritt 10:
Place the motor (7) with spindle to the
front, in the spring clip (6)see diagram
Cut out and fold the cockpit shape from the plastic sheet(5). Fix the parts together with sellotape (see diagram)Use sellota-
pe to hold it on the fuselage .
Step 12:
Pattern for the cockpit
Scale 1:1
Step 11:
Mount the propellor on the motor
spindle (8) as shown
4E114066#1
Instructions
Step 13:
Cut o two ca. 200mm long pieces of cab-
le (16) remove insualation from the ends.
Connect one piece to the red wire from
the motor with the red cable of the motor
and the other end to the pus pole on solar
cell (15) The other wire cionnectsfrom
the black cable of the motor to the other
connection on the cell (15) . Fix the wire to
the stand with sellotape.
Step 14
Loosen the nut (14) from the machine
screw (13) and guide the ball for the pilot
in place.. retighten .
Step 15:
Paint to nnish. Place the model in a sun-
ny place and as soon as enough light falls
on the solar cell the propeller will turn.
Fertig!
5
E114066#2
200
200
Instructions
Pattern Aluminium sheet
E 1:1
b
c
d
e
6E114066#1
7
E114066#2
200
200
Instructions
Pattern Aluminium sheet
E1:1
a
8E114066#1
9
E114066#2
260
120
Ø 3
Ø 6
ø3
20
Pattern for stand
E 1:1
i
f
g
h

Other Opitec Toy manuals

Opitec 104.689 User manual

Opitec

Opitec 104.689 User manual

Opitec Dragonfly 102.894 User manual

Opitec

Opitec Dragonfly 102.894 User manual

Opitec Hobbyfix User manual

Opitec

Opitec Hobbyfix User manual

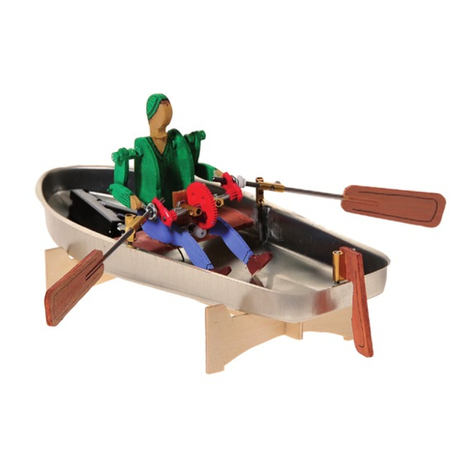
Opitec Recycling Rowing Boat User manual

Opitec

Opitec Recycling Rowing Boat User manual

Opitec Hobbyfix 113.727 User manual

Opitec

Opitec Hobbyfix 113.727 User manual

Opitec Windflyer II User manual

Opitec

Opitec Windflyer II User manual

Opitec Floating Ball User manual

Opitec

Opitec Floating Ball User manual

Opitec 114.033 User manual

Opitec

Opitec 114.033 User manual

Opitec 120.852 User manual

Opitec

Opitec 120.852 User manual

Opitec 116415 User manual

Opitec

Opitec 116415 User manual

Opitec Hobbyfix 101.706 User manual

Opitec

Opitec Hobbyfix 101.706 User manual

Opitec 117167 User manual

Opitec

Opitec 117167 User manual

Opitec Hobbyfix Stiletto 105.755 User manual

Opitec

Opitec Hobbyfix Stiletto 105.755 User manual

Opitec MANITOU 101.200 User manual

Opitec

Opitec MANITOU 101.200 User manual

Opitec Wind Machine User manual

Opitec

Opitec Wind Machine User manual

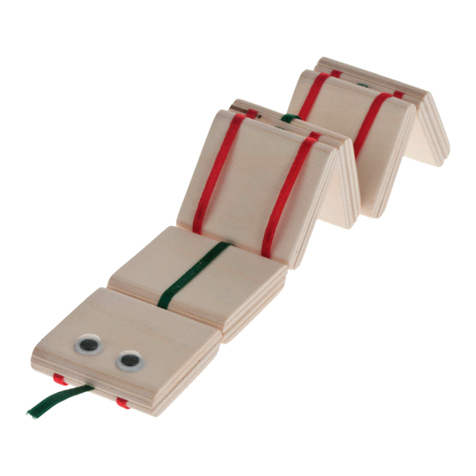
Opitec Rattle Snake User manual

Opitec

Opitec Rattle Snake User manual

Opitec 106.809 User manual

Opitec

Opitec 106.809 User manual

Opitec 112.994 User manual

Opitec

Opitec 112.994 User manual

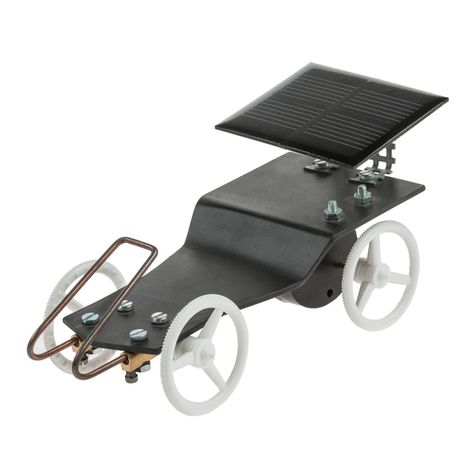
Opitec Solar Auto with gearbox User manual

Opitec

Opitec Solar Auto with gearbox User manual

Opitec Hobbyfix Cube User manual

Opitec

Opitec Hobbyfix Cube User manual

Opitec 111.714 User manual

Opitec

Opitec 111.714 User manual

Opitec 113.141 User manual

Opitec

Opitec 113.141 User manual

Opitec Wasp User manual

Opitec

Opitec Wasp User manual

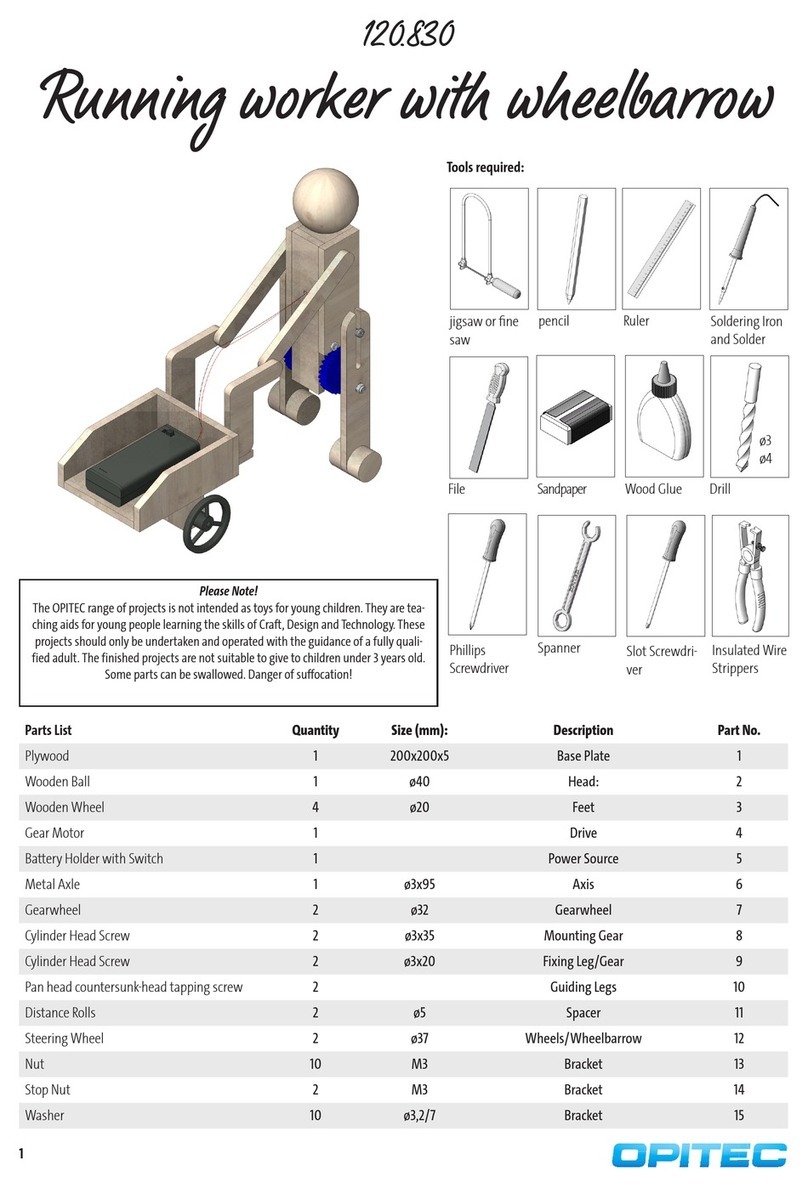
Opitec Running worker with wheelbarrow User manual
Opitec

Opitec Running worker with wheelbarrow User manual

Popular Toy manuals by other brands

Mega MEGA BLOCKS Barbie 80280 manual

Mega

Mega MEGA BLOCKS Barbie 80280 manual

Eduard Kittyhawk Mk.I/Mk.III exterior manual

Eduard

Eduard Kittyhawk Mk.I/Mk.III exterior manual

ATOMIC MASS GAMES STAR WARS SHATTERPOINT GENERAL GRIEVOUS... Assembly

ATOMIC MASS GAMES

ATOMIC MASS GAMES STAR WARS SHATTERPOINT GENERAL GRIEVOUS... Assembly

arf BO-209 MONSUN Instruction manual book

arf

arf BO-209 MONSUN Instruction manual book

M.T.H. PREMIER E8 ABA DIESEL ENGINE operating instructions

M.T.H.

M.T.H. PREMIER E8 ABA DIESEL ENGINE operating instructions

hex3 apptag quick start guide

hex3

hex3 apptag quick start guide

Smoby 311025 quick start guide

Smoby

Smoby 311025 quick start guide

Plum plaza dolls house 41020 Assembly instructions

Plum

Plum plaza dolls house 41020 Assembly instructions

Fisher-Price K8748-0920 user manual

Fisher-Price

Fisher-Price K8748-0920 user manual

BS Diving Memo manual

BS

BS Diving Memo manual

Monogram F-80 Shooting Star Assembly manual

Monogram

Monogram F-80 Shooting Star Assembly manual

Faller 272453 manual

Faller

Faller 272453 manual

Mattel Mega Bloks Hot Wheels 24 Ours manual

Mattel

Mattel Mega Bloks Hot Wheels 24 Ours manual

Phoenix Model decathlon - EP instruction manual

Phoenix Model

Phoenix Model decathlon - EP instruction manual

FrontLine Large Corrupted RUIN Assembly instructions

FrontLine

FrontLine Large Corrupted RUIN Assembly instructions

LEGO City 3677 Building instructions

LEGO

LEGO City 3677 Building instructions

PARKZONE F4F Wildcat instruction manual

PARKZONE

PARKZONE F4F Wildcat instruction manual

Trix Minitrix 66322 instructions

Trix

Trix Minitrix 66322 instructions

manuals.online logo
manuals.online logoBrands
  • About & Mission
  • Contact us
  • Privacy Policy
  • Terms and Conditions

Copyright 2025 Manuals.Online. All Rights Reserved.