manuals.online logo
Brands
  1. Home
  2. •
  3. Brands
  4. •
  5. Opitec
  6. •
  7. Toy
  8. •
  9. Opitec 117167 User manual

Opitec 117167 User manual

1
117.167
Paddle Wheel Steamer with Solar
Gear Drive
Content Quantity Size (mm) Description Part-No
Plywood 1 400x200x3 Base Plate1 1
Plywood 1 300x210x3 Base Plate2 2
Boat Hull 1Hull 3
Alu-Sheet 1 200x200x0,3 Cover 4
Polystyrene 1 100x100x2 Drive 5
Gearwheel 2 ø 60 Drive 6
Gearwheel 1 ø 20 Stern Rudder 7
Solar Gear Kit 1Drive 8
Tools Required:
Scissors
Water-Resi-
stant Wood
Glue
Please Note
The OPITEC handicraft packs are not toys in a typical off-the-shelf sense, but rather additional teaching and learning
material for educational purposes. This craft pack may only be constructed by children and adolescents under the
guidance and supervision of experienced adults. Not suitable for children under 36 months. Choking hazard!
Ruler Pencil
Fretsaw
Drill Sandpaper Superglue
Machine Vice
Pair of Snips Slot
Screwdriver
Adhesive Tape
Phillips Head
Screwdriver
ø1
ø2
ø3
ø5
Engineer‘s File
Hand-Drill
ø3
2
2 3
1
Ø 6
Ø 5
Ø 1
Ø 1
Ø 2
Ø 2
Ø 2
Ø 2
Ø 6
Ø 5
Ø 1
Ø 1
Ø 2
Ø 2
Ø 2
Ø 2
D3 D4
E1
E2
E3
E4
ø3
1
2
A
B1
B2
C1 C2
C3 C4
C
D
D1
D2
Glue the plan together at its dividing lines. Transfer all individual parts from the stencil (pg. 7-15) onto the plywood panel 1+2. Subsequently, saw out
all items and clean the sawn edges with sandpaper.
auge 25 mm on both sides of the polystyrene (5) and draw a raster
with 16 square components. Those are being sawn with a fretsaw
Transfer the stencil (pg. 19) for the aluminium parts onto the alumini-
um sheet and cut them with the tinsnips afterwards
Instructions 117.167
Paddle Wheel Steamer with Solar Gear Drive
Content Quantity Size (mm) Description Part-No
Solar Cell 1 1V 250mA Drive 9
Brass Tube 1 100x3 Guide Shaft 10
Welding Rod 3 250x2 Shaft/Roof 11
Cardboard Tube 1 ø19,5x65 Chimney 12
Metal Axle 1 3x70 Fixture Rudder 13
Terminal Insert with Lateral Hole 1Fixture Rudder 14
Washers 10 7/3,2 Washers 15
Phillips.Screw 2 2,9x9,5 Fixture 16
Reducer 23/2 Fixture Cog 17
Cylinder Head Bolt 2 3x6 Fixture Rudder 18
4
4a
4b
4c
4d
4e
3
45
6
6
7
9
A
8
7
4e
13
4x
5x
5
8
5
8
Saw six slots at a distance of 60° with a fretsaw on both cogwheels.Cut one of the welding wires (11) to 120mm and deburr both ends. Put
the solar gear together as depicted so that it is positioned centrally
onto the shaft.
Hint: Check function in advance of assembling! !
Cut the edge of the hull to 5mm. Drill 2 holes (ø 3mm) centered
according to the dimensioning at the rear of the hull. Fix the terminal
(14) with 5 washers (15 – top bolt), 4 washers (15 – bottom bolt) as well
as 2 bolts (18)..
Glue the base plate centred (part A) onto the hull as depicted using
universal glue. Hint: In order to fix the bore, insert the metal shaft into
the terminal.
Cut off 2 pieces at 15 mm from the brass tube (10) and deburr them.
Attach it 10 mm inserted to both sides of the solar gear axle. Glue the
brass pieces centered onto the base plate with universal glue, so that
they do not protrude over the edge of the boat.
Instructions 117.167
Paddle Wheel Steamer with Solar Gear Drive
Solar Motor
Upper
casing
Lower
casing
Double gears
Drive shaft
Motor drive
gear
Drll ø 3mm
Cut the shaft (13) to 50mm and deburr it. Put the rudder (4e) to the
straight edge in a 90° angle. Wrap the shaft up with aluminum sheet
and fix it wit universal glue. Insert the rudder into the terminal (14)
and tighten the bolts (18). Finally, attach the cogwheel (10).
Übersetzung: 1:27
5
4
15
C
14
13
12
E3 E4
E1 E2
4c 4d
11
10
5
6
Seitenansicht
Glue the lid/roof onto the base of the cabin. Let it dry thoroughly.
Sand off the excess pieces.
C1
C2
C3
C4
Glue a frame using the parts C1-C4. Let it dry thoroughly. Next, glue
the frame onto the marking lines (see stencil) of part B1+B2 with the
result that there is a 5 mm gap between B1+B2
Instructions 117.167
Paddle Wheel Steamer with Solar Gear Drive
Put the finished paddle wheel cover above the paddle wheels and
glue it onto the base plate by using universal glue or water-resistant
wood glue
Glue the bended aluminum piece (4c) succinctly onto the pieces E1+E3
as well as E2+E4 as depicted using universal glue. Allow it to dry tho-
roughly.
+
+
+
Bend both aluminum parts (4c+4d) with a diameter of 60 mm around
the bottle, so that the aluminum strips assume its form
Glue 1 of the 12 polystyrene pieces (5) with universal glue into each of
the sawn slots of both cogwheels (6). Next, insert one reducer (17) into
the bore of the two cogwheels and slip them over the axle from both
sides.
5
16
C1
C2
D2
D1
D3
D4
C
17
Glue the lid/roof onto the cabin and let it dry thoroughly
D
18 11a
11b
11b
11a
19 20
Bend the zigzag edging of the tailored metal sheets (4a+4b) at the
dashed line through 90°.Subsequently, glue it onto the dedicated hol-
der (11a+11b).
Insert and glue the bended wires (11a+11b) into the dedicated holes
Now, glue another frame using the parts D1-D4. After letting it dry,
glue it onto the marking lines of piece C.
Gauge and cut 145mm off the welding wire (11). Two pieces at 105mm are left over. Bend the two 145mm pieces (11a) according to the bending templa-
te at 115mm through 90°. Bend the two 105mm wires (11b) at 75mm through 90° as well
2x
2x
Instructions 117.167
Paddle Wheel Steamer with Solar Gear Drive
6
21 22
2423
Instructions 117.167
Paddle Wheel Steamer with Solar Gear Drive
Thread the connection cables of the solar motor through the bores of
the covering lids/roofs (C+D) and at the same time position the top
section in a manner that the axle fits the 5mm gap between B1+B2.
Connect the red cable to the positive pole and the black one to the ne-
gative pole. Attach both connection cables to the solar cell using the
bolts. Next, stuff the connections of the solar cell into the bores and
glue the solar cell onto the cabin. Functional check!
Use sandpaper to sand the cardboard tube to a slant and stick it cente-
red behind the cabin
If the steamer works properly, the deck is screwed with 2 screws onto
the base plate.
Done!
Please note:
The steamer’s center of gravity is adjusted by filling sand into the hull and trim it horizontally until the steamer lies even in the water. Afterwards, di-
lute wood glue with water, pour it over the sand and let it harden.
7
Ø 6
Ø 5
Ø 1
Ø 1
Ø 2
Ø 2
Ø 2
Ø 2
E3
E1
E4
E2
Trennlinie
Instructions 117.167
Paddle Wheel Steamer with Solar Gear Drive
Plan 1 Base 1
8
9
Ø 6
Ø 5
Ø 1
Ø 1
Ø 2
Ø 2
Ø 2
Ø 2
Instructions 117.167
Paddle Wheel Steamer with Solar Gear Drive
Plan 2 Base 1
A
Trennlinie
Trennlinie
10
11
Ø 6
Ø 5
Ø 1
Ø 1
Ø 2
Ø 2
Ø 2
Ø 2
Instructions 117.167
Paddle Wheel Steamer with Solar Gear Drive
Plan 3 Base 1
D3
D4
A
Trennlinie
12
13
Ø 6
Ø 5
Ø 1
Ø 1
Ø 2
Ø 2
Ø 2
Ø 2
Instructions 117.167
Paddle Wheel Steamer with Solar Gear Drive
Plan 1 Base 2
D1
B1
C
D
14
15
Ø 6
Ø 5
Ø 1
Ø 1
Ø 2
Ø 2
Ø 2
Ø 2
Instructions 117.167
Paddle Wheel Steamer with Solar Gear Drive
Plan 2 Base 2
B2
D2
C3
C4
C2
C1
16
17
Instructions 117.167
Paddle Wheel Steamer with Solar Gear Drive
Plan 1 Aluminiumsheet
18
19
Instructions 117.167
Paddle Wheel Steamer with Solar Gear Drive
Plan 2 Aluminiumsheet

Other Opitec Toy manuals

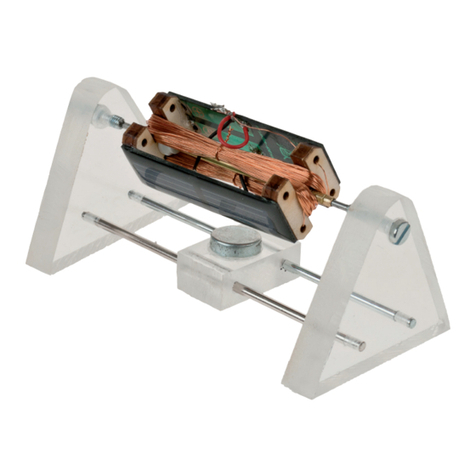
Opitec Wind Machine User manual

Opitec

Opitec Wind Machine User manual

Opitec 120.852 User manual

Opitec

Opitec 120.852 User manual

Opitec Hobbyfix Flip User manual

Opitec

Opitec Hobbyfix Flip User manual

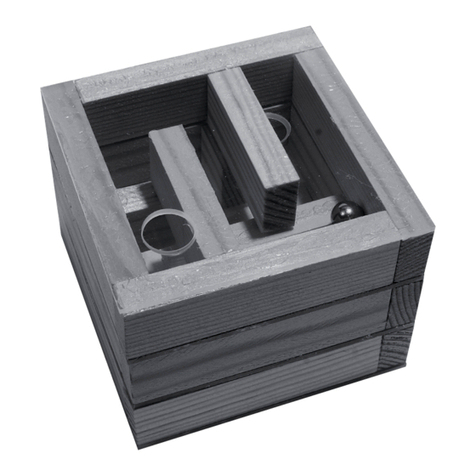
Opitec Hobbyfix Cube User manual

Opitec

Opitec Hobbyfix Cube User manual

Opitec 114.066 User manual

Opitec

Opitec 114.066 User manual

Opitec 114.033 User manual

Opitec

Opitec 114.033 User manual

Opitec 104.689 User manual

Opitec

Opitec 104.689 User manual

Opitec Dragonfly 102.894 User manual

Opitec

Opitec Dragonfly 102.894 User manual

Opitec Hobbyfix Cloud User manual

Opitec

Opitec Hobbyfix Cloud User manual

Opitec Rattle Snake User manual

Opitec

Opitec Rattle Snake User manual
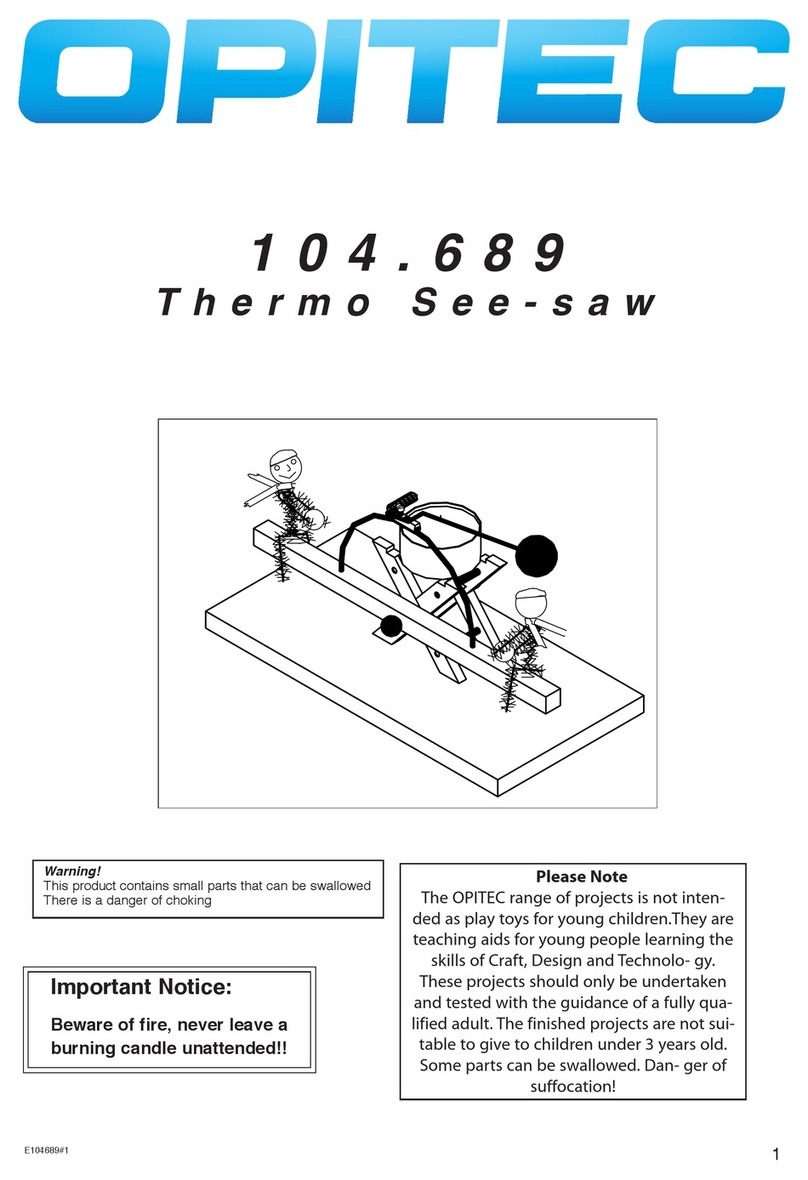
Opitec Hobbyfix User manual

Opitec

Opitec Hobbyfix User manual

Opitec MANITOU 101.200 User manual

Opitec

Opitec MANITOU 101.200 User manual

Opitec 111.714 User manual

Opitec

Opitec 111.714 User manual

Opitec Hobbyfix Stiletto 105.755 User manual

Opitec

Opitec Hobbyfix Stiletto 105.755 User manual

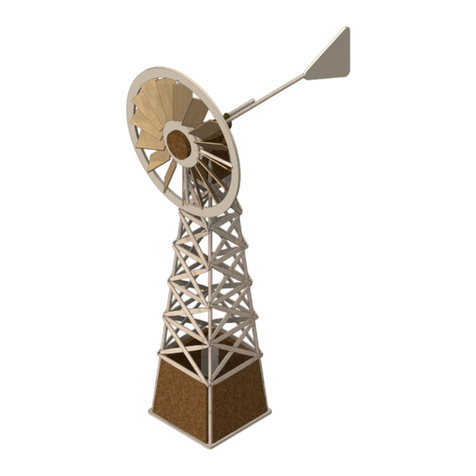
Opitec Easy-Line Wind Generator User manual

Opitec

Opitec Easy-Line Wind Generator User manual

Opitec 112.994 User manual

Opitec

Opitec 112.994 User manual

Opitec Recycling Rowing Boat User manual

Opitec

Opitec Recycling Rowing Boat User manual

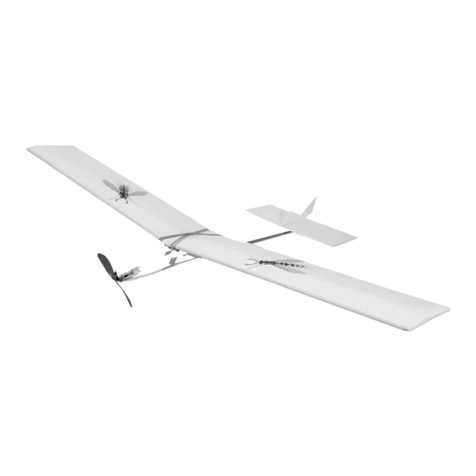
Opitec Wasp User manual

Opitec

Opitec Wasp User manual

Opitec 115.305 User manual

Opitec

Opitec 115.305 User manual

Opitec Solar Auto with gearbox User manual

Opitec

Opitec Solar Auto with gearbox User manual

Opitec 102.320 Nummer II User manual

Opitec

Opitec 102.320 Nummer II User manual

Opitec Windflyer II User manual

Opitec

Opitec Windflyer II User manual
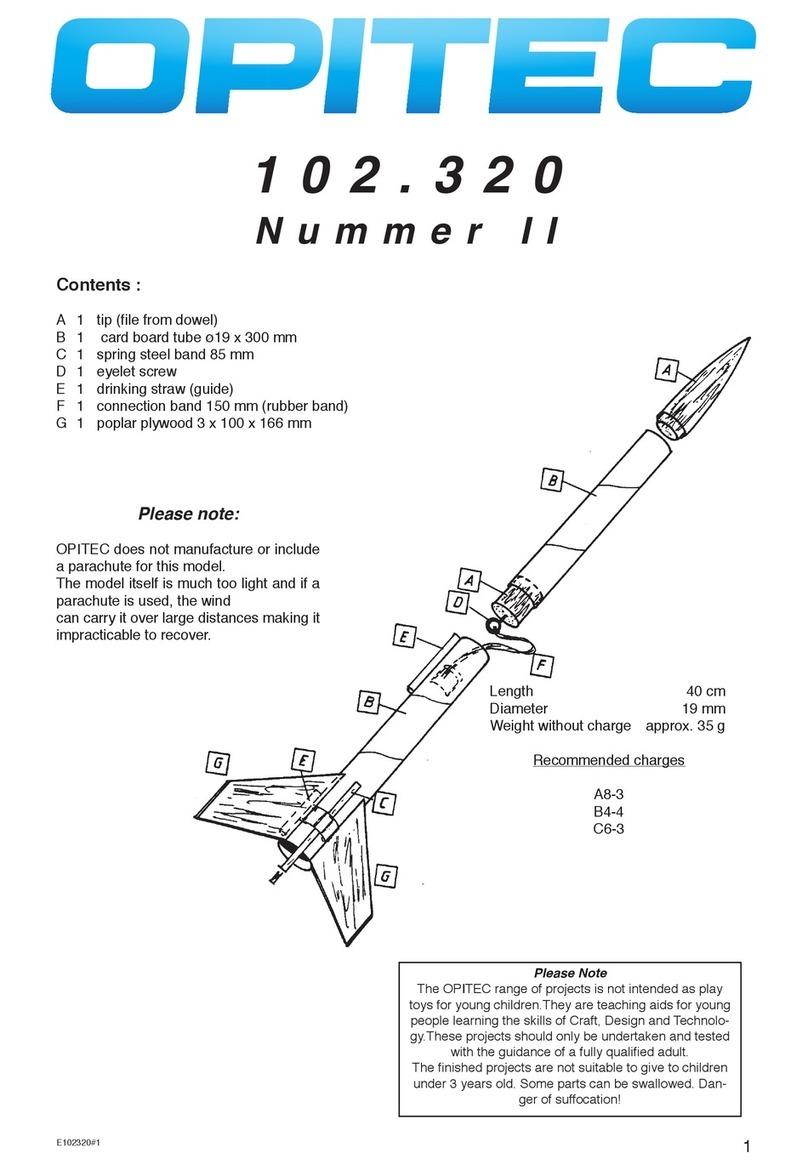
Opitec 106.809 User manual

Opitec

Opitec 106.809 User manual

Opitec Hobbyfix 113.727 User manual

Opitec

Opitec Hobbyfix 113.727 User manual

Popular Toy manuals by other brands

Eduard 49 696 quick start guide

Eduard

Eduard 49 696 quick start guide

LEGO FIRST Mission Moon Build instructions

LEGO

LEGO FIRST Mission Moon Build instructions

TILLIG Modellbahnen H0-ELITE-ABW 12/15 manual

TILLIG Modellbahnen

TILLIG Modellbahnen H0-ELITE-ABW 12/15 manual

Horizon Hobby UMX P3 Revolution instruction manual

Horizon Hobby

Horizon Hobby UMX P3 Revolution instruction manual

LEGO HOBBIT 79003 Building instructions

LEGO

LEGO HOBBIT 79003 Building instructions

Winfun Little Piano Tunes manual

Winfun

Winfun Little Piano Tunes manual

Hasbro Bop It! Star Wars Chewie Edition manual

Hasbro

Hasbro Bop It! Star Wars Chewie Edition manual

Seagull Models Extra 260 instruction manual

Seagull Models

Seagull Models Extra 260 instruction manual

Eduard P-39Q/N landing gear quick start guide

Eduard

Eduard P-39Q/N landing gear quick start guide

Real Good Toys Special Edition Princess Anne instructions

Real Good Toys

Real Good Toys Special Edition Princess Anne instructions

Hangar 9 ShowTime 50 ARF Assembly manual

Hangar 9

Hangar 9 ShowTime 50 ARF Assembly manual

Beyblade Wolborg instructions

Beyblade

Beyblade Wolborg instructions

Hongda USA Gibbon Sushi M2011 instruction manual

Hongda USA

Hongda USA Gibbon Sushi M2011 instruction manual

marklin 37257 instruction manual

marklin

marklin 37257 instruction manual

marklin Baureihe 18.4 user guide

marklin

marklin Baureihe 18.4 user guide

Canon Lunar Globe Assembly instructions

Canon

Canon Lunar Globe Assembly instructions

Fisher-Price STRIDE-TO-RIDE WALKER 73499 manual

Fisher-Price

Fisher-Price STRIDE-TO-RIDE WALKER 73499 manual

CTC Union CLATRONIC CR 464 Instruction manual & guarantee

CTC Union

CTC Union CLATRONIC CR 464 Instruction manual & guarantee

manuals.online logo
manuals.online logoBrands
  • About & Mission
  • Contact us
  • Privacy Policy
  • Terms and Conditions

Copyright 2025 Manuals.Online. All Rights Reserved.