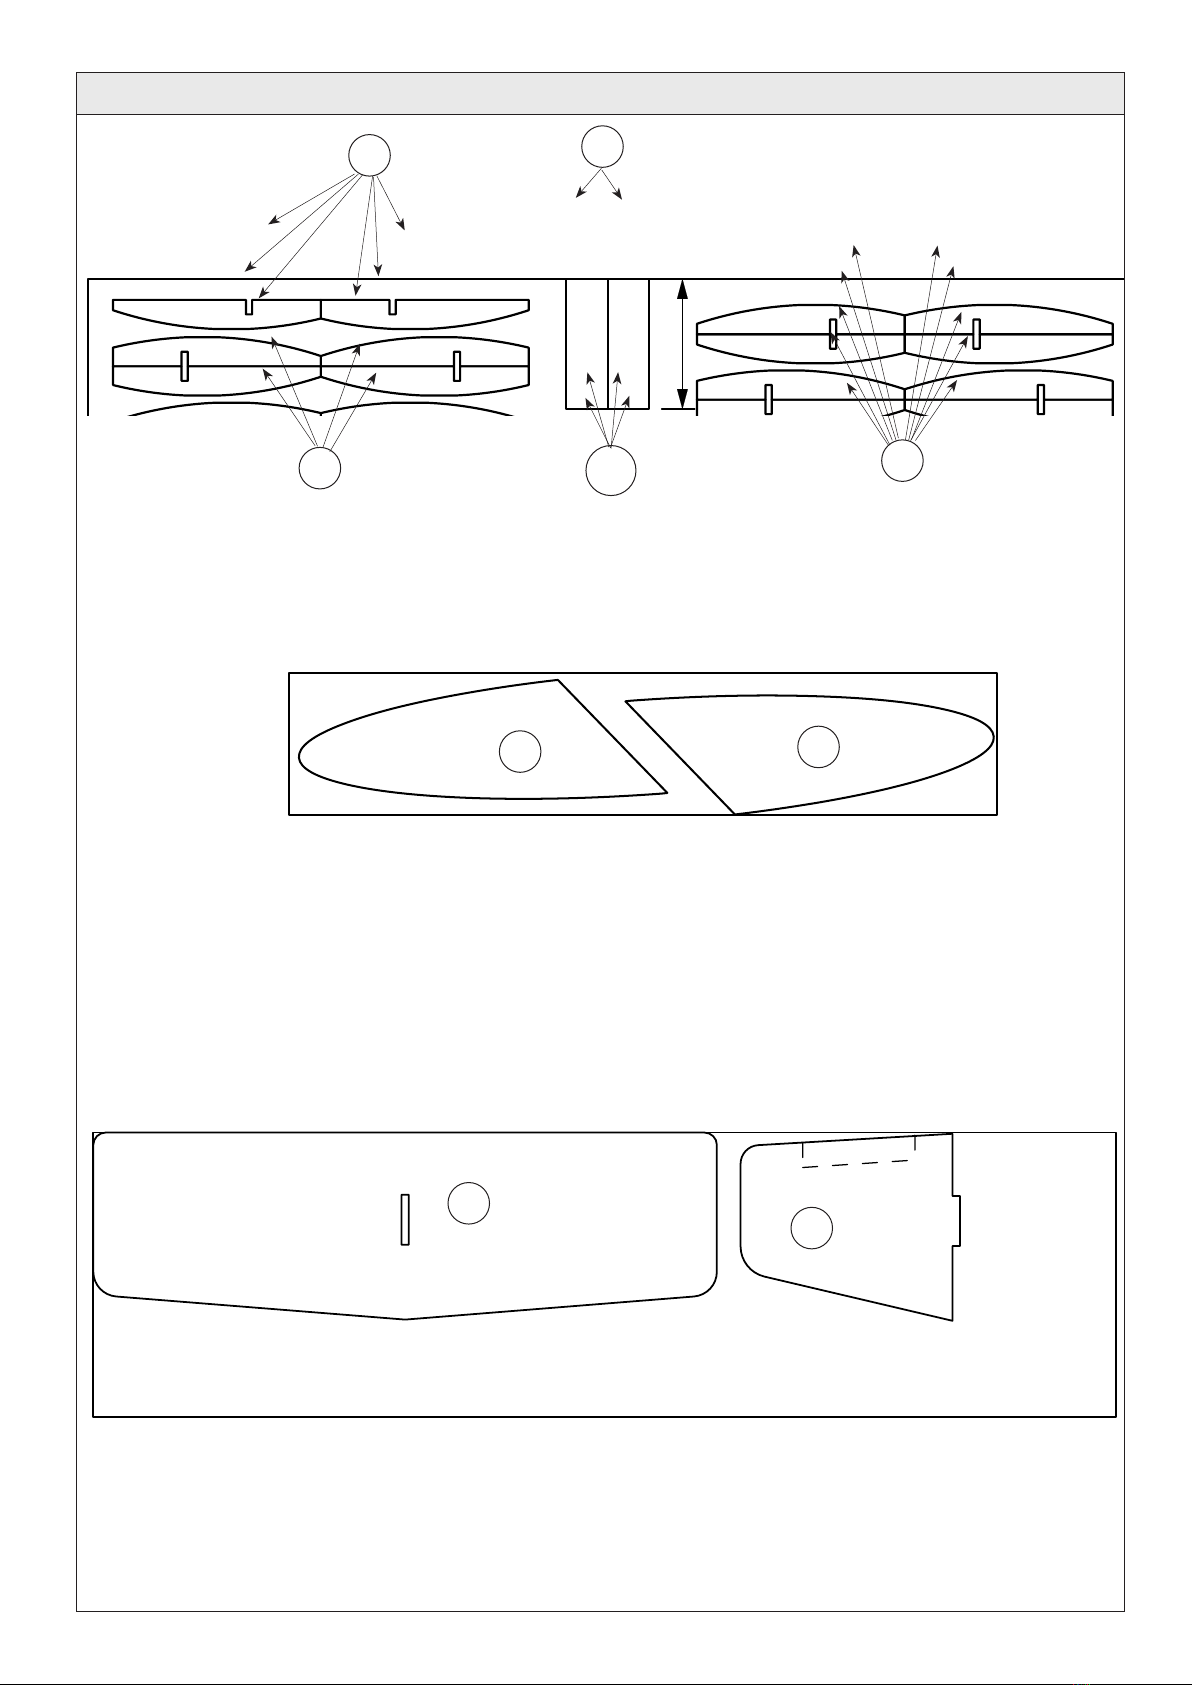
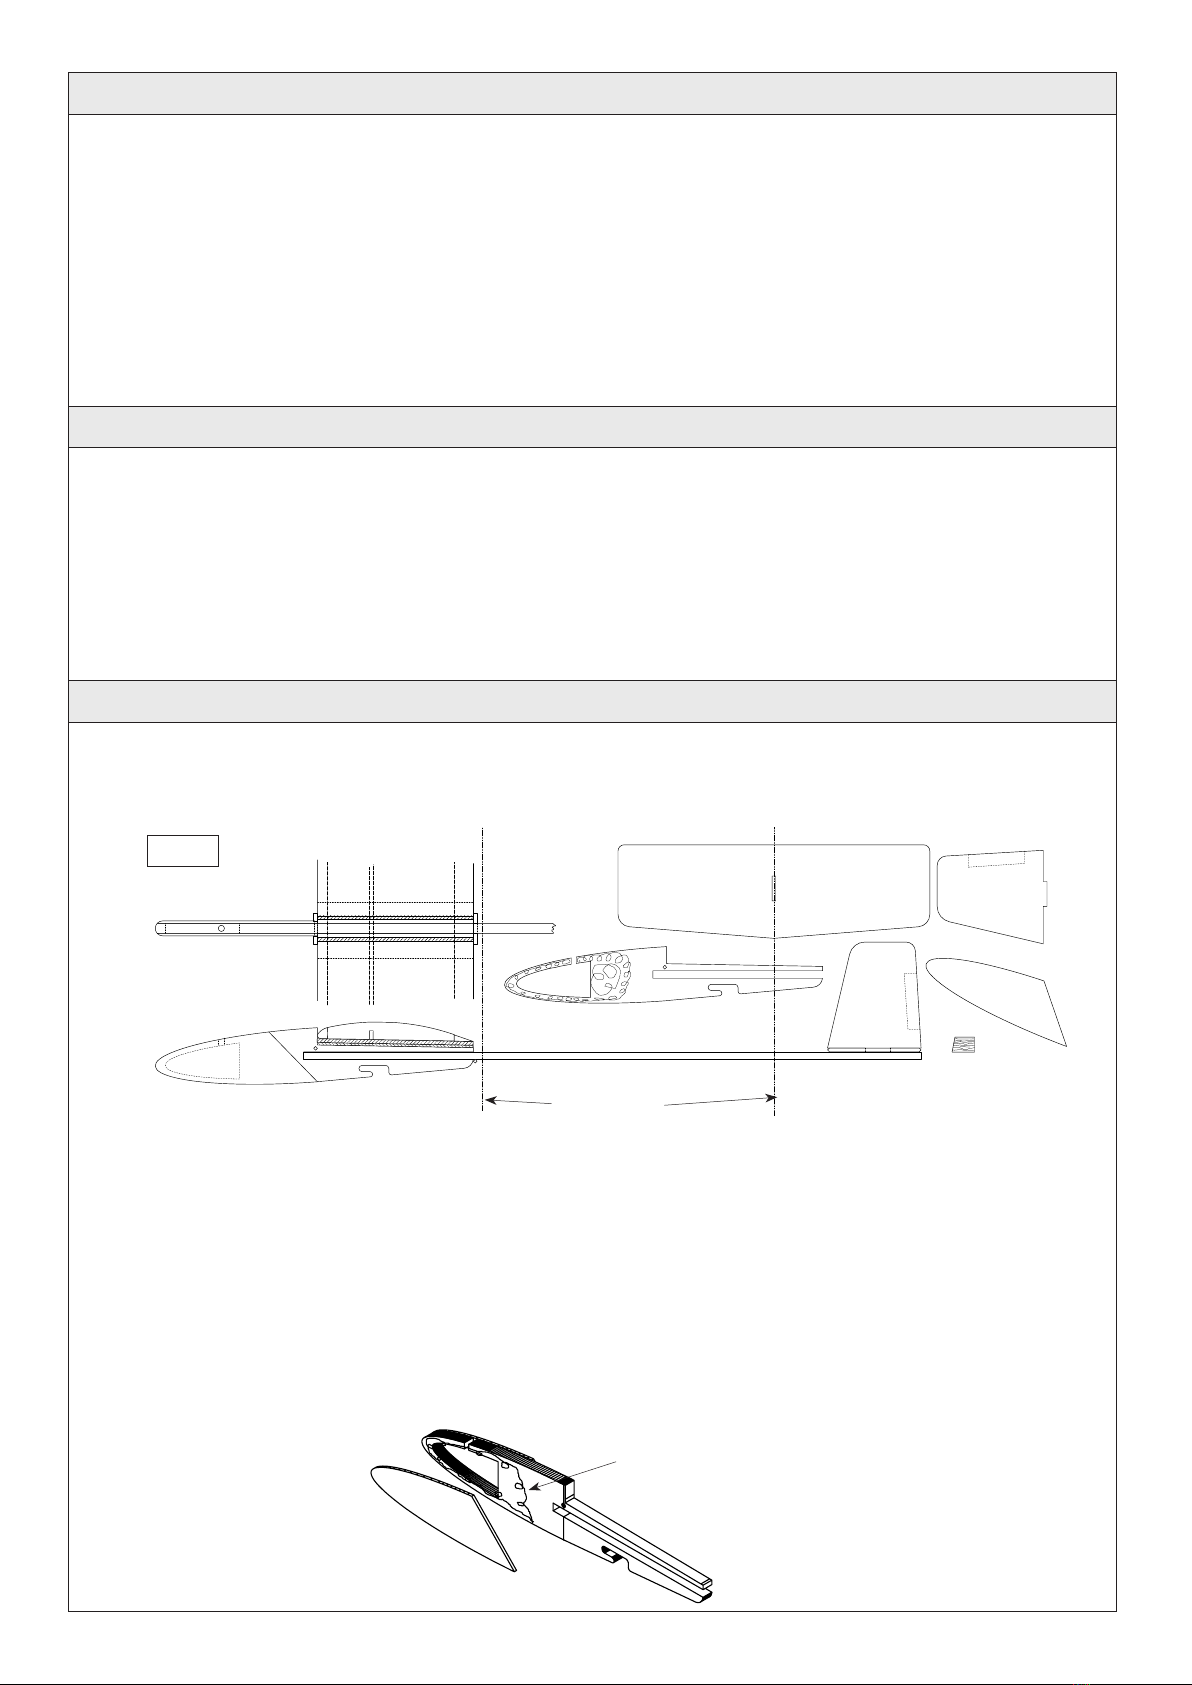
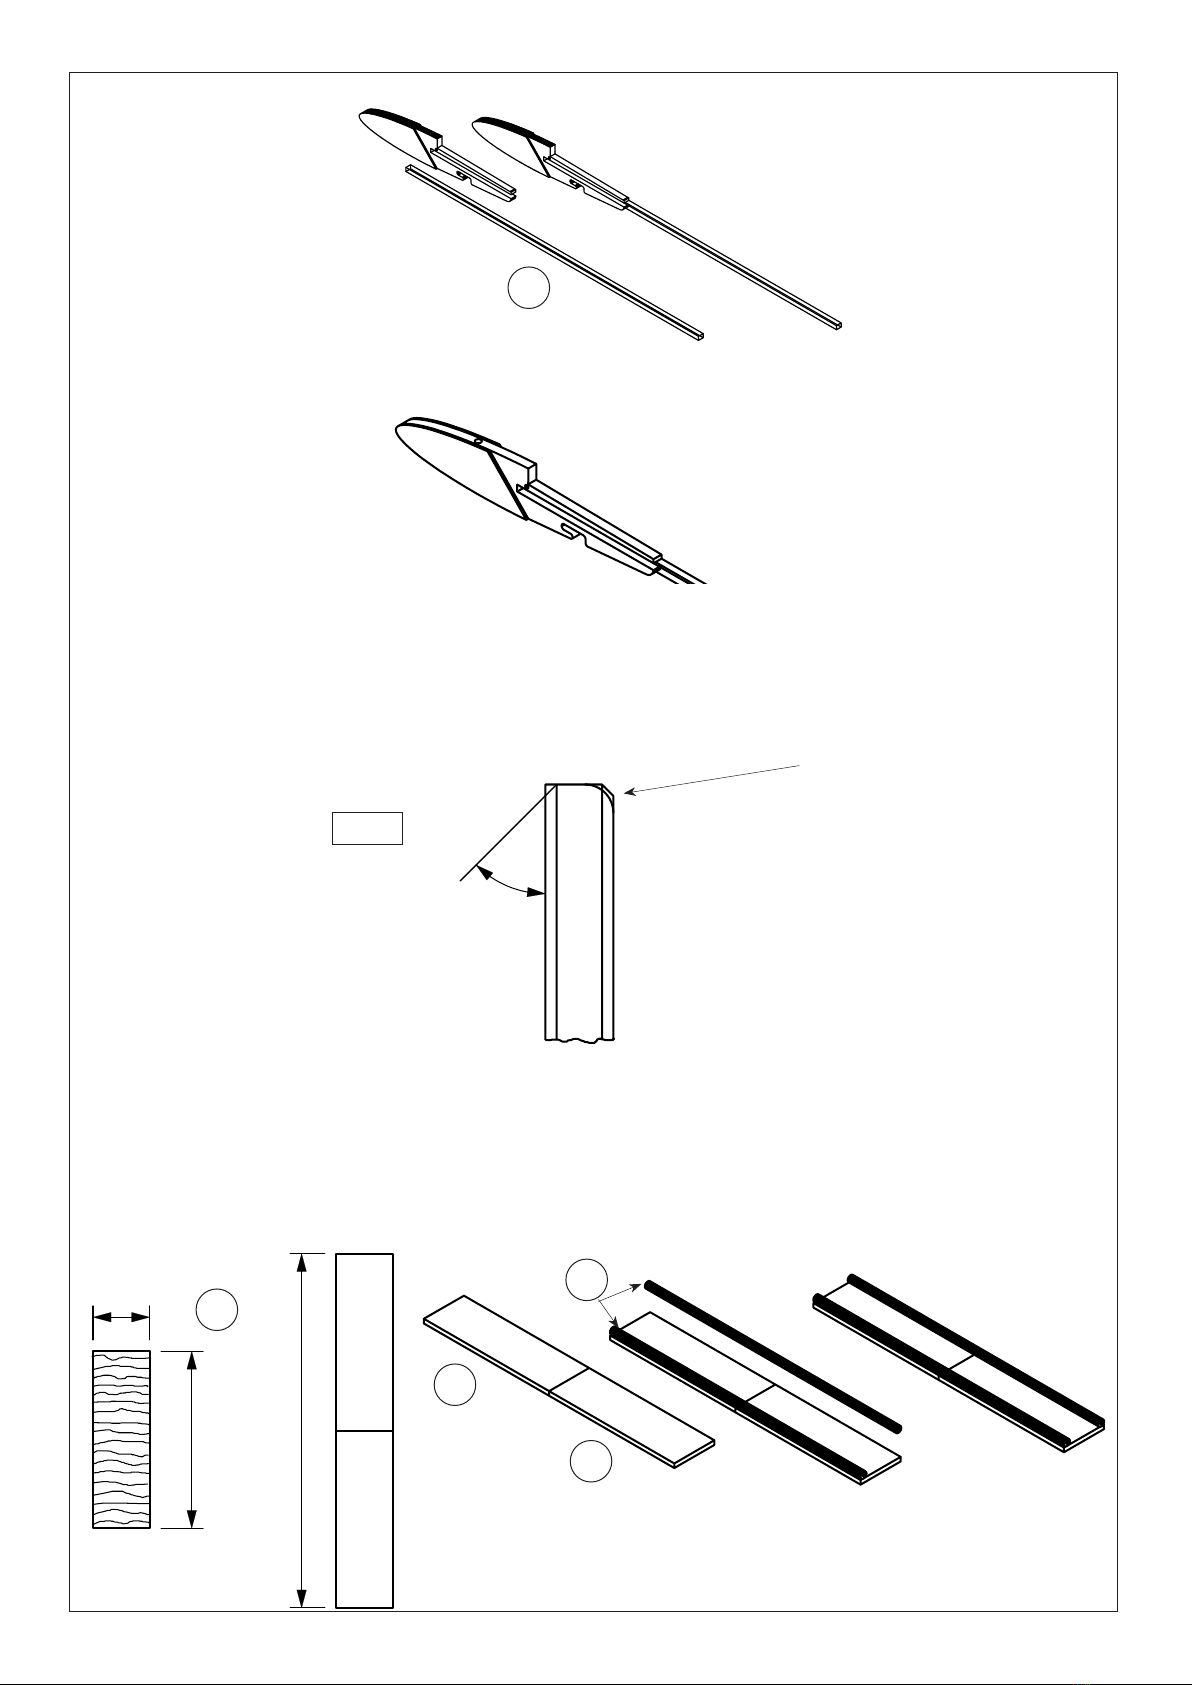
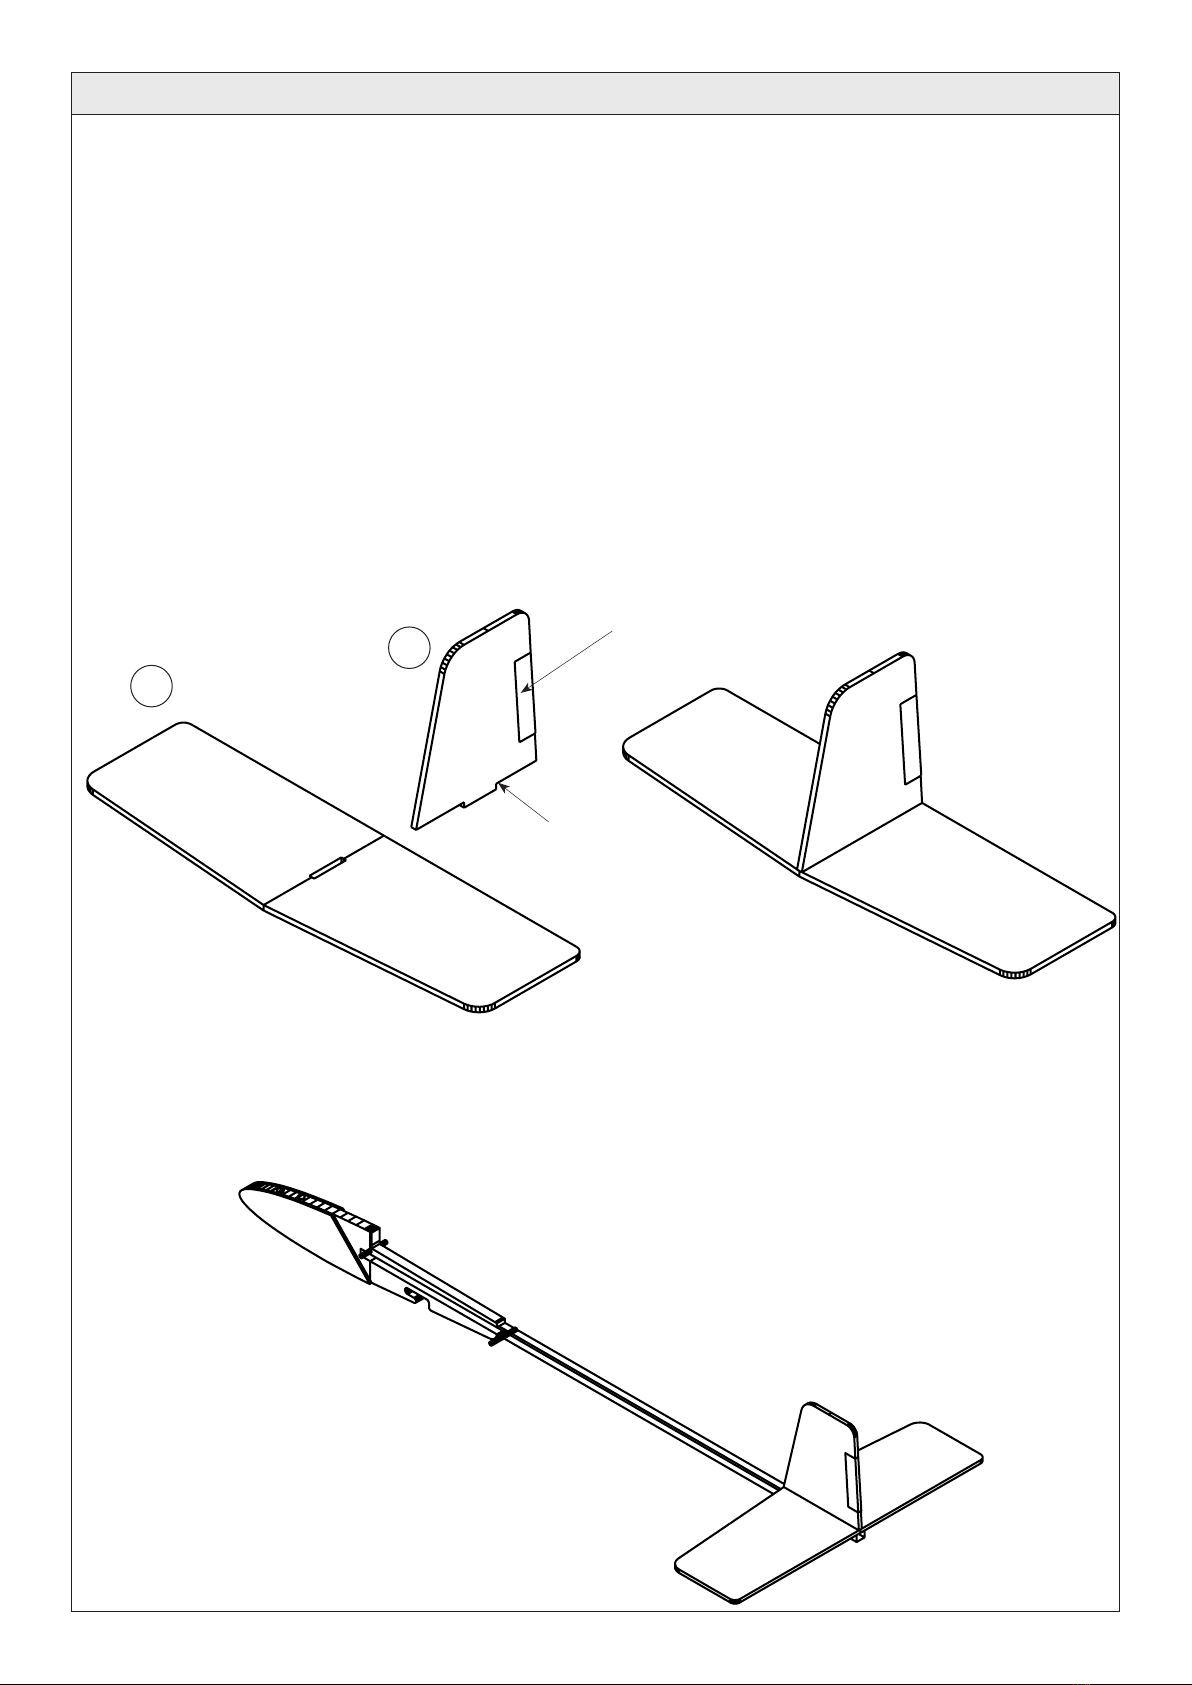
Opitec Windflyer II User manual
Other Opitec Toy manuals

Opitec
Opitec Hobbyfix User manual

Opitec
Opitec Solar Auto with gearbox User manual

Opitec
Opitec 116415 User manual

Opitec
Opitec Dragonfly 102.894 User manual

Opitec
Opitec Recycling Rowing Boat User manual

Opitec
Opitec Running worker with wheelbarrow User manual

Opitec
Opitec 106.809 User manual

Opitec
Opitec 104.689 User manual

Opitec
Opitec 117167 User manual

Opitec
Opitec 111.714 User manual

Opitec
Opitec Hobbyfix Flip User manual

Opitec
Opitec Easy-Line Wind Generator User manual

Opitec
Opitec Hobbyfix Cube User manual

Opitec
Opitec MANITOU 101.200 User manual

Opitec
Opitec Hobbyfix Stiletto 105.755 User manual

Opitec
Opitec 114.033 User manual

Opitec
Opitec Wind Machine User manual

Opitec
Opitec 113.141 User manual

Opitec
Opitec 115.305 User manual

Opitec
Opitec 120.852 User manual


Popular Toy manuals by other brands

FUTABA
FUTABA GY470 instruction manual

LEGO
LEGO 41116 manual

Fisher-Price
Fisher-Price ColorMe Flowerz Bouquet Maker P9692 instruction sheet

Little Tikes
Little Tikes LITTLE HANDIWORKER 0920 Assembly instructions

Eduard
Eduard EF-2000 Two-seater exterior Assembly instructions

USA Trains
USA Trains EXTENDED VISION CABOOSE instructions