7
véhicule et pour éviter le pincement du câble ou son endommagement par des bords tranchants. Le fusible en ligne du jeu de connecteurs à œillets
protège la batterie contre le court-circuitage accidentel des pôles positif et négatif. Remplacer un fusible sauté uniquement par un autre similaire de 15A.
BRANCHEMENT DU CHARGEUR A LA BATTERIE
1. Débranchez l'alimentation secteur avant d'effectuer un branchement CC/batterie ou de le débrancher.
2. Si vous chargez une batterie installée dans le véhicule avec les pinces pour batterie, avant les branchements, vérifiez d'abord que les pinces pour
batterie peuvent être positionnées en toute sécurité loin du câblage voisin, d'un tube métallique ou du châssis. Respectez l'ordre qui suit :
branchez d'abord la borne de la batterie non raccordée au châssis (normalement positive) puis, branchez l'autre pince pour batterie (normalement
négative) au châssis à un endroit bien éloigné de la batterie et du conduit de carburant. Débranchez toujours dans l'ordre inverse.
3. Lorsque vous chargez une batterie hors du véhicule avec les pinces pour batterie, placez-la dans un endroit bien ventilé. Branchez le chargeur à la
batterie : La pince ROUGE sur la borne POSITIVE (POS, P ou +) et la pince NOIRE sur la borne NÉGATIVE (NEG, N ou –).Vérifiez que les
branchements sont bien fixés. Un bon contact est important.
4. Si la batterie est complètement déchargée, retirez-la du véhicule et inspectez la batterie avant de brancher le chargeur pour une
tentative de récupération. Vérifiez visuellement la batterie à la recherche de défauts mécaniques tels qu'un gonflement ou un boîtier craquelé ou
encore de signes de fuite d'électrolyte. Si la batterie présente des bouchons de remplissage et que les plaques des cellules sont visibles de
l'extérieur, examinez soigneusement la batterie pour tenter de déterminer si certaines cellules semblent différentes des autres (par exemple, de la
matière blanche entre les plaques, les plaques qui entrent en contact). Si vous avez détecté des défauts mécaniques, ne chargez pas la batterie et
faites-la examiner par un professionnel.
5. Si la batterie est neuve, avant de brancher le chargeur, lisez attentivement les instructions d'utilisation et de sécurité fournies par le fabricant de
la batterie. Si besoin est, suivez attentivement et exactement les instructions relatives au remplissage de l'acide.
UTILISATION DE L’OPTIMATE 1 DUO: COMMENCER LA CHARGE
D’alimentation AC :GLOBAL, 100-240Vac 50-60Hz.
Pour des raisons de sécurité, la sortie de l’Optimate sera uniquement activée s’il est connecté à une batterie disposant d’un
minimum de 4V.
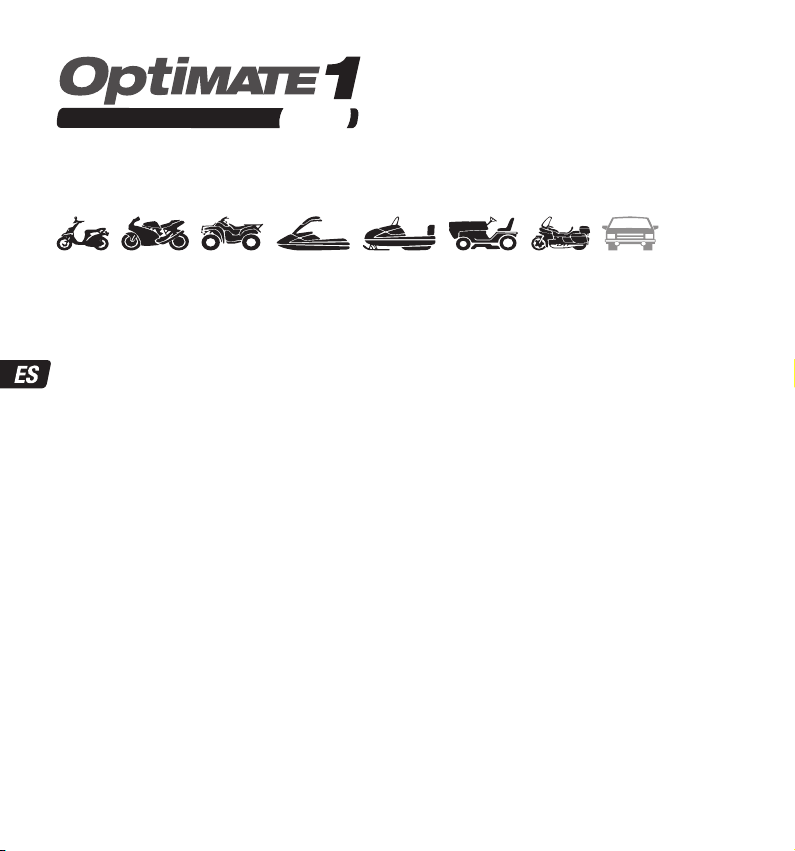
BATTERIES NÉGLIGÉES TRÈS DÉCHARGÉES : Tenir spécialement compte de ce qui suit, surtout pour les
batteries relativement petites comme celles des motos, tracteurs à gazon, jet ski, motoneiges et similaires :
Les cellules d’une batterie restée en décharge profonde durant une longue période peuvent être endommagées à titre permanent. Ces
batteries peuvent chauffer excessivement durant la charge à courant élevé.
Vérifier la température de batterie durant la première heure, puis chaque heure suivante. Vérifier la présence de signes inhabituels
comme des bulles ou fuites d’électrolyte, une activité plus importante d’une cellule par rapport aux autres, ou des sifflements. Si à un
moment quelconque, la batterie devient trop chaude au toucher ou si vous constatez des signes inhabituels, DECONNECTER
IMMÉDIATEMENT LE CHARGEUR.
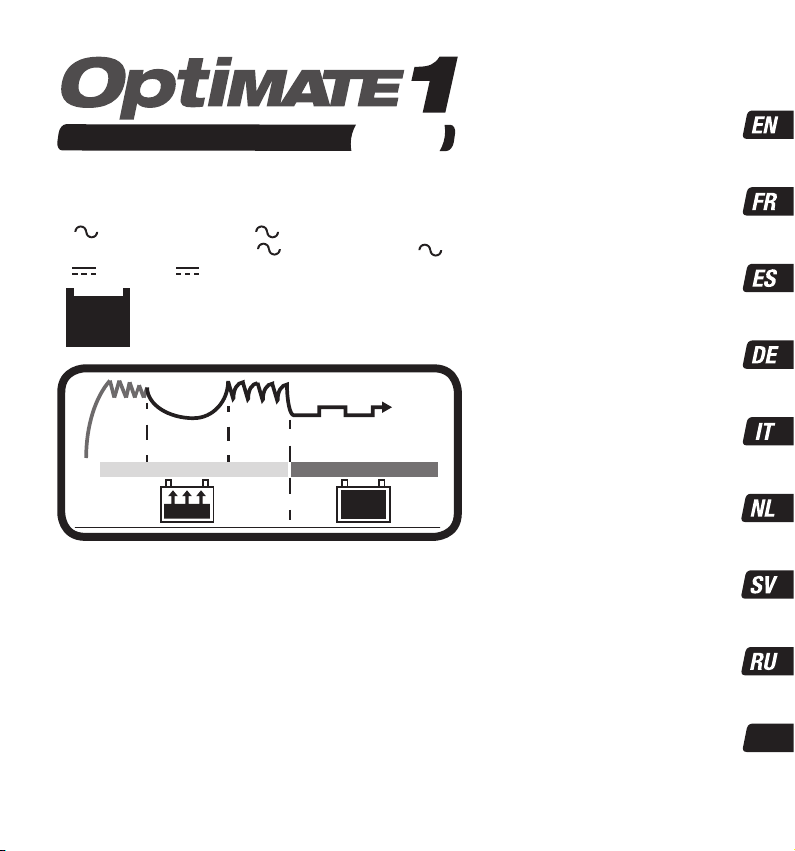
MODE ÉCONOMIE D'ÉNERGIE LORSQUE LE CHARGEUR EST CONNECTÉ A L'ALIMENTATION SECTEUR :
Le convertisseur d'énergie se désactive et passe en mode ECO lorsque le chargeur est déconnecté de la batterie, la puissance
consommée diminuant jusque 0,5W, l'équivalent d'une consommation d'énergie de 0.012 kWh par jour. Lorsqu'une batterie est
branchée au chargeur, la consommation d'énergie dépend de la demande en courant de la batterie et du véhicule/des circuits
électroniques raccordés. Une fois que la batterie est chargée et que le programme de charge est en mode de charge d'entretien à long
terme (pour garder la batterie chargée à 100 %), la consommation d'énergie totale est estimée à 0.060 kWh ou moins par jour.