manuals.online logo
Brands
  1. Home
  2. •
  3. Brands
  4. •
  5. OPTO-EDU
  6. •
  7. Microscope
  8. •
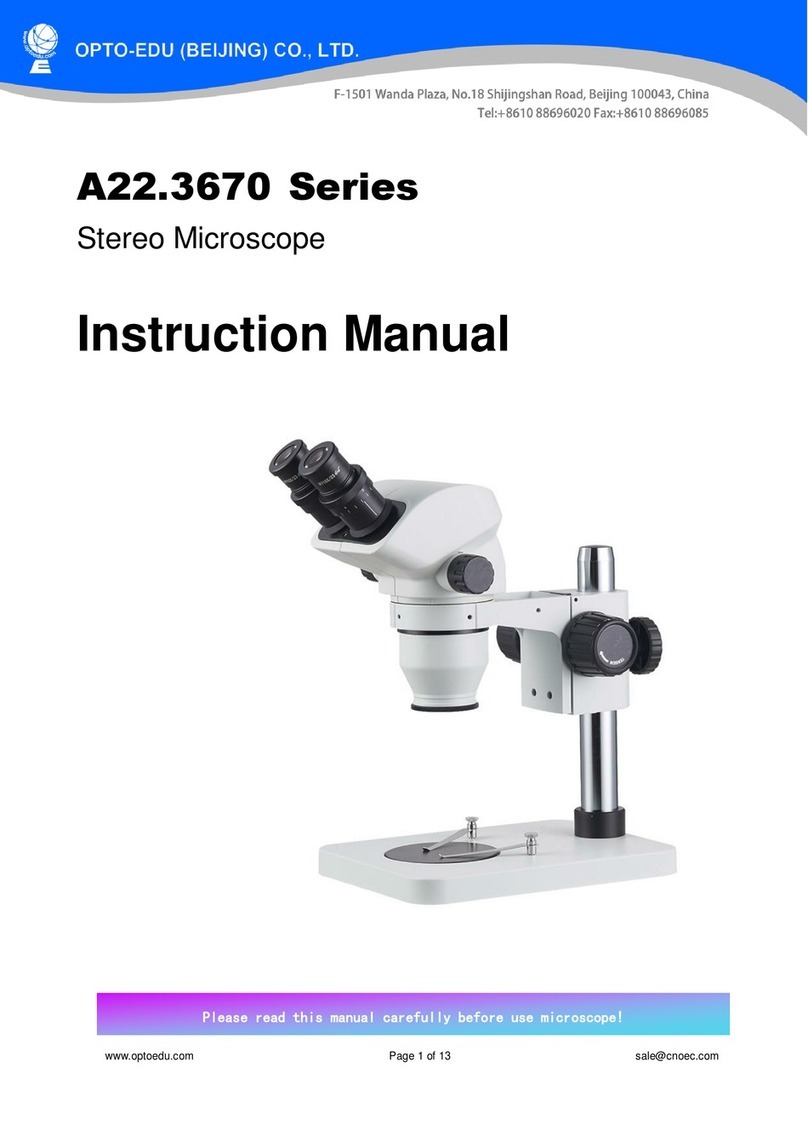
  9. OPTO-EDU A15.1302 User manual

OPTO-EDU A15.1302 User manual

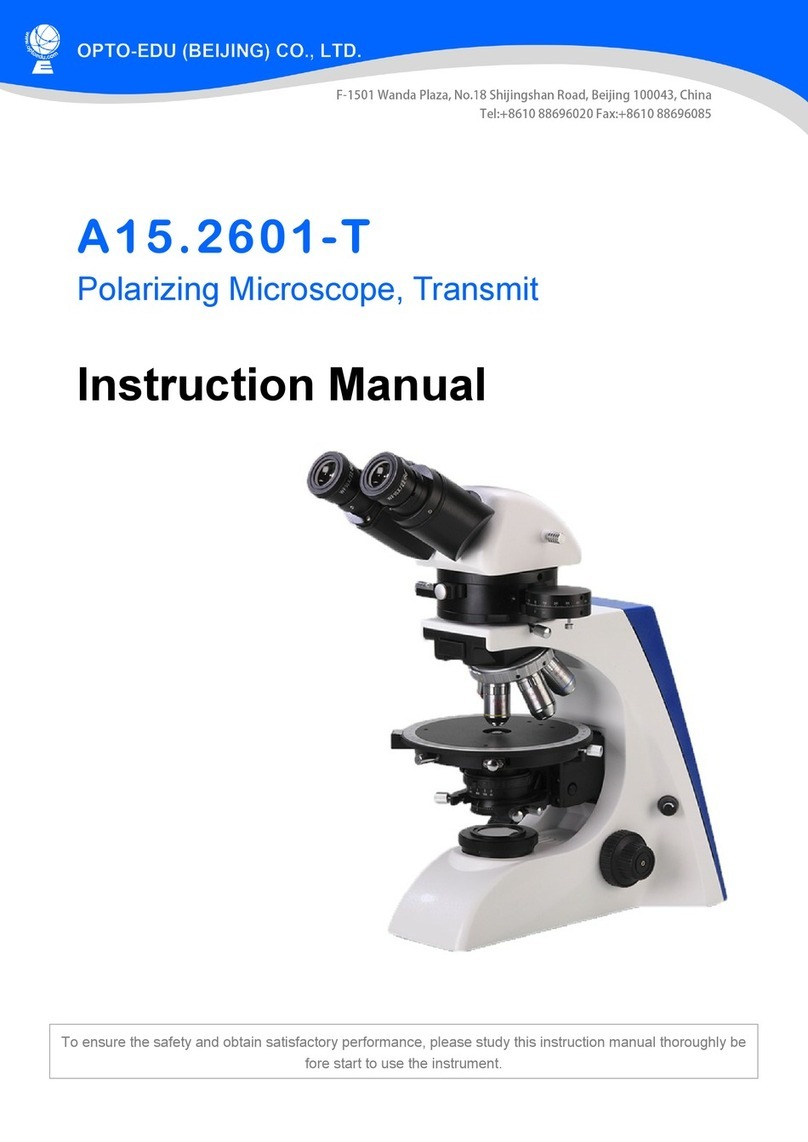
A15.13 02
Polarizing Microscope
Instruction Manual
To ensure the safety and obtain satisfactory performance, please study this instruction manual thoroughly be
fore start to use the instrument.
Attention
Read it carefully before operating and keep it with the microscope
Dear Sir or Madam:
Thank you for using A15.1302 series transmission polarizing microscopes. As
one of the professional designers, manufacturers and distributors for optical
instruments in China, since 1978, we have been working for supplying the new or old
customers worldwide with high-quality and low-cost products. We wish that our
products could bring you success and satisfaction. We enjoy offering you the most
suitable products and the best service.
This manual gives a minute description of the structure, principle, configuration
operating guide, troubleshooting, maintenance and some attention for A13.1502
series transmission polarizing microscopes. Please read it carefully before you use,
and keep it for long time.
In particular, the following notes must be understood thoroughly and obeyed
strictly:
1. Permitted use:
Being high-precision laboratory apparatus, this microscope is not only used for
polarizing microscopy observation, but also used for general biological
microscopy observation.
2. No dismantle the equipment:
Unless you are a microscopic expert, or there is a special guide about doing
so in the manual, please don’t dismantle your microscope. Otherwise, it will
damage the microscope seriously, and reduce greatly its accuracy and using-life.
When you identify some troubles, and can’t troubleshoot them by yourself
according the manual, please contact us or our representative in you area.
3. Safety
----Before change a bulb, or need to open the base, ensure that the microscope
has been disconnected with the power source. The new bulb must be the same
specifications as the old one.
----When the illuminator is halogen lamp or incandescent lamp, the base near the
lighting source may be very hot. Don’t worry about it, but it must be treated
carefully. Please take the combustible material (such as gasoline, paper, plastic
and cloth) far away from the microscope.
----When change incandescent bulb or halogen bulb, wait until it is cool enough,
otherwise the hot bulb will burn your fingers.
4. Use the correct power supply voltage
The power supply voltage must be fitted to the microscope; otherwise it will
damage the circuit and bulb, even lead to insecurity.
5. Protecting optical parts
Never try to contact directly the optical surface of objectives, eyepieces and
other optical parts with your finger. Fingerprints will seriously affect your
observation results.
6. Don’t leave any dust and fingerprints on the bulb, otherwise it may affect its life
and illuminating efficiency.
7. Working surroundings requirements
Room temperature: 0°C-40°C
The highest relative humidity: 85%
High temperature and humidity can cause mildew and damage the instrument.
8. Microscope is a precision instrument, soft and gentle operation is necessary.
Any rude action or hard shake may damage it.
INDEX
A) Application of Microscope P.1
B) Structure and Specification of Microscope P.1
1. Picture of Microscope P.1
2. Structure Diagram of Microscope P.2
3. Functions and Specifications of Parts P.2
1) Micro-camera Components(Option Accessories) P.2
2) Eyepiece P.3
3) Viewing Head P.3
4) Analyzer Part P.3
5) Objective P.3
6) Round Stage P.3
7) Condenser P.4
8) Plate for Numerical Aperture P.4
9) Polarizer P.4
10) Illumination System P.4
11) Focusing System P.4
C) Standard Outfit of Microscope P.5
D) How to Use and Assemble P.5
E) Maintenance and Care of Microscope P.6
A) Application of Microscope:
As the science and technology develops day and day, the technology applied in
microscope is also more and more perfect. The application scope of the microscope is
also continuing to expand.
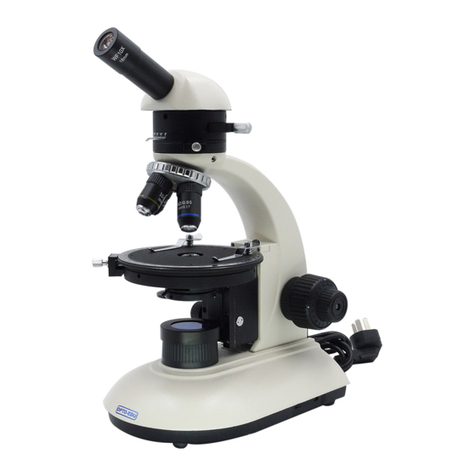
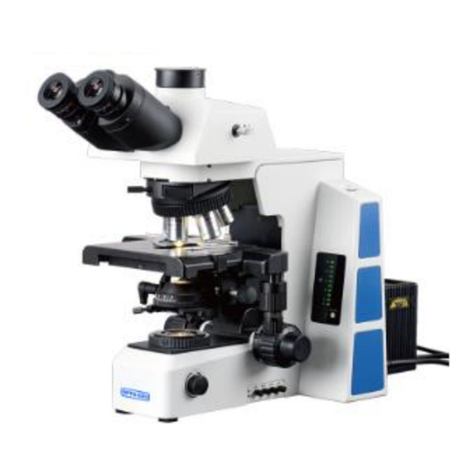
A13.1502 series is a simple polarizing microscope with advanced multifunction. It can
observe mineral crystal figure, color and interference color and also identify its optical
performance. It is a good microscope used in geology, petroleum, coal, Chemical fiber,
medical treatment and physic inspection. It is also widely used in academic demonstration
and research.
λ Slip (first class red),and1/4λ Slip make the microscope more perfect.
B) Structure and Specification of Microscope:
1.Picture of Microscope:
Fig.1 A15.1302
Fig.2 Monocular Fig.3 Dual Fig.4 Trinocular
P.1
2. Structure Diagram of Microscope:
75
70
65
55
75
70
65
55
1
5
4
7
6
9
8
11
10
12 13 14 15 16 17 18
2
19
20
21
22
23
24
25
326
27
28
29
1. Eyepiece 2. Viewing Head 3. Nosepiece
4. Objective 5. Clips 6. Round Stage
7. Vernier Scale for Stage 8. Fix Screw for Condenser 9. Centering Screw
10.Plate for Numerical Aperture 11. Filter Frame 12. Light Collector
13. Polarizer Plate 14. Screws for Stopping 15. Support for Stage
16. Body 17.Plastic Cover 18. Rubber Foot
19. Brightness Adjusting Plate 20. Focusing Tension Knob 21. Coarse Focusing Knob
22.Fine Focusing Knob 23. Knob for Condenser Up/Down 24. ABBE Condenser
25. Lock Screw 26. Compensator(λ、λ/4) 27. Rod for Analyzer
28. Lock Screw for Head 29. Analyzer
Fig.5 Structure Diagram of Microscope YJ-2005BP
3. Functions and Specifications of Parts:
1)Micro-camera Components(Option Accessories, Only for Trinocular Head):
If need, you may order from us:CCD Camera,or 1.3/3 million electronic eyepiece.
It is used to put in micro-camera components or eyepiece. Its height is adjustable.
P.2
2)Eyepiece(1):
Type Magnification Diameter of Viewing Field(mm)
Quantity
Wide Field Eyepiece 10 18 2
Wide Field Eyepiece 16 13 (Optional)
3)Viewing Head(2):
It is a monocular, or dual, or binocular or trinocular head. Binocular or trinocular head is
separated from the microscope body for transport safety. It is only fixed on the analyzer
part with screw (28) before using. It is 30° /45° inclined and 360° rotatable. Its
interpupillary distance can be adjusted from 55mm to 75mm to suit for the different
viewers. There is a rod for prism transition in the trinocular head. It is used to change the
distribution of light. a) In: Light is totally transmitted in binocular tube, to ensure enough
brightness when viewing. b) Out: The Spectroscope built-in divides the light into two parts.
This moment, you may use the device in the vertical tube, such as CCD camera,
electronic eyepiece, etc.
4)Analyzer Part:
It is comprised of analyzer and compensator. It is separated from the microscope body
for transport safety. It is only fixed on the microscope body (16) with screw (25) before
using.
When the microscope is only used for biological microscopy observation, put the
compensator (26) on the middle position, and move the analyzer (27) out .
Insert the analyzer(27) in and drive the analyzer around the optical axis. Scale on the
graduated ring and the vernier will tell you the angle analyzer turned.
You may select λ Slip (first class red),or 1/4λ Slip to finish your special task.
5)Objective(4):
Normally,the objectives in this microscope are non-stress achromatic objectives:
Magnification
Numerical Aperture(N.A.)
Thickness of Cover Glass(mm)
Quantity
4 0.10 1
10 0.25 1
40 0.65 0.17 1
100 1.25 0.17 1
Total magnification after grouping eyepieces and objectives:
Objective
Total Magnification
Eyepiece
4 10 40 100
WF10X 40 100 400 1000
WF16X 64 160 640 1600
6)Round Stage(6):
It is a revolving round stage, its diameter is 120mm, and it can 3600 rotate freely. It is
graduated in 3600 area with 10 minimum increments. When vernier scale (7) is used, the
revolving angle precision of the stage is 0.10,.
P.3
Usually, the sample is put on the stage under the clips (5).
7)Condenser(24):
Revolve the knob (23), the gear-rack mechanism makes the condenser up or down to
suit for the different objectives.
8)Plate for Numerical Aperture(10):
The numerical aperture of the iris diaphragm built-in can be adjusted from Ø2mm to
Ø30mm by turning the plate (10). When the diameter of iris diaphragm is 70-80% of the
objective’s numerical aperture, the image observed is sharp in contrast. This moment,
look into the tube without eyepiece, and you can see the image of iris diaphragm. The
center of the diaphragm can be adjusted by rotating the black-head screws (9) without any
tools as following steps:
a) Turn the 4X or 10X objective in working;
b) Turn the plate (10) to small the diaphragm diameter;
c) Lower the diaphragm to make its image sharp by rotating the knob (23);
d) Rotate the screws (9) to concentre the image of the diaphragm with the eyepiece
viewing field.
Usually, it is adjusted coaxial before the microscope is finished.
9) Polarizer Plate (13):
The position of the polarizer in microscope is fixed. Turn the plate (13), the deflexion
angle of the polarizer will change. Scale on the graduated ring will tell you the angle the
polarizer turned.
10)Illumination System:
The input voltage for the microscope may be 220V/50Hz, or 110V/60Hz. So you should
make sure which voltage is used during purchasing. At same time you should tell us the
plug type of the electrical wire.
The illuminator is normally 6V/20W halogen lamp. If you need, we also provide you
3.5V/1W high brightness LED lamp.
Caution:
----Before change a bulb, ensure that the microscope has been disconnected
with the power source;
----The bulb must be the same specifications as the old one;
----When the illuminator is halogen lamp, the body near the lighting source may
be very hot. Don’t worry, but it is necessary to take the combustible material (such
as gasoline, paper, plastic and cloth) far away from the microscope. When change it,
wait until it is cool enough. Otherwise the hot bulb will burn your fingers.
----Don’t leave any dust and fingerprints on the bulb. Otherwise it may affects its
life and illuminating efficiency.
11)Focusing System:
It is coaxial coarse and fine focusing system with rack and pinion mechanism. Its
focusing range is 15mm. Decelerate through the multistage precision gear box, its
precision of fine focusing is 0.01mm/scale.
P.4
Rotate the coarse focusing knob (21) to raise the stage (6) up/down quickly. Rotate the
fine focusing knob (22) to raise the stage (6) up/down slowly. The knob (20) is used to
adjust the coarse focusing moment. It will avoid the stage dropping automatically because
of its deadweight and provide comfortable operating.
C) Standard Outfit of Microscope:
No.
Item Quantity
Remark
1 Main body of A13.1502 transmission
polarizing microscopes 1Set
2 Viewing head 1Set
3 Analyzer part 1Set
4 Polarizer Plate 1Set
4
Non-stress achromatic objective
4X/0.10 1Pcs
10X/0.25 1Pcs
40X/0.65 Spring 1Pcs
100X/1.25 Spring 1Pcs
6
Wide field Eyepiece
WF10X/18 Wide field Eyepiece 2Pcs
WF16X/13 Wide field Eyepiece Optional
7 λ Slip (first class red) 1Pcs
8 1/4λ Slip 1Pcs
9 Blue filter 1Pcs
10 Fuse 1Pcs
11 Dust cover 1Pcs
12 Service Manual 1Copy
13 Spare bulb 1Pcs Only for Halogen Lamp
D) How to Use and Assemble:
1. Working surroundings requirements:
1) Room temperature: 0°C-40°C, The highest relative humidity: 85%
2) High temperature and humidity can cause mildew and damage the instrument.
3) Keep the microscope away from dust. When it’s not used, put the dust cover over it;
4) keep the microscope away from vibration;
2. Unpack the microscope and its parts carefully, check and sort out all parts according
to the packing list. Finally install the analyzer part, viewing head, objectives and eyepiece
to the main body as the structure diagram of Microscope.
3. Connect the microscope to the power source according to its input requirement.
Turn on the switch,
P.5
Caution:
If the power supply voltage is not fitted to the microscope, it will damage the
circuit and bulb, even leads to insecurity.
4. Focusing:
Put the sample on the stage, and place a lower objective (4X) into position. Raise
the stage close to the sample by rotating the coarse focusing knob (21) in the
anticlockwise direction. Then rotate the coarse knob (21) slowly in the clockwise direction,
until the image appears in the eyepiece. At last, use the fine focusing knob (22) to make
the image in focus. Rotate the nosepiece (3) to other objectives and focus. Since the
optical system in the microscope is par-focal and par-centered, only slightly turn the fine
focusing knob (22) to make the image in focus.
5. How to adjust the center of the Numerical Aperture:
Place the lower objective (4X) into position, and insert a eyepiece with crosshairs.
Turn the plate (10) to small the diameter of the diaphragm, and rotate the knob (23) to
move the diaphragm up or down until the diaphragm in focus. Adjust the black-head screw
(9) to concentre the image with the center of the eyepiece viewing field.
7. How to observe in orthogonal polarizing condition:
1) Make the analyzer is orthogonal with the polarizer. The analyzer is in south-north,
and the polarizer is in east-west.
2) The condenser is usually in lower position when 4X or 10X objectives is used; and
higher position when 40X , or 100X objective is used.
3) Select λ Slip (first class red),or 1/4λ Slip,
E) Maintenance and Care of Microscope:
1. Unpack the microscope carefully to prevent the accessories such as lens from
falling down and damaging.
2. All lens are calibrated, don’t try to dismantle then apart by yourself.
3. Nosepiece and focusing system are advanced and precise in construction. Don’t try
to dismantle them apart by yourself. Please connect with an authorized technician when
they are in trouble.
4. Keep the mechanical parts from dust, and add a few no-corrosiveness lubricating
grease into the sliding sections at regular intervals. Keep the optical elements clean when
wipe the microscope.
5. Keep the microscope in dry and cool place. Disconnect it with the power source and
put the dust cover over it after using. If it will be not used for a longer time, it is the best
way to screw the objectives out and place them into the lens-bottles, and screw the dust
covers on the nosepiece.
P.6

Other OPTO-EDU Microscope manuals

OPTO-EDU A13.0905 User manual

OPTO-EDU

OPTO-EDU A13.0905 User manual

OPTO-EDU A14.1065 User manual

OPTO-EDU

OPTO-EDU A14.1065 User manual

OPTO-EDU A22 3660N Series User manual

OPTO-EDU

OPTO-EDU A22 3660N Series User manual

OPTO-EDU A15.2604 User manual

OPTO-EDU

OPTO-EDU A15.2604 User manual

OPTO-EDU A59.4231 User manual

OPTO-EDU

OPTO-EDU A59.4231 User manual

OPTO-EDU A11.1323 User manual

OPTO-EDU

OPTO-EDU A11.1323 User manual

OPTO-EDU A15.1016 User manual

OPTO-EDU

OPTO-EDU A15.1016 User manual

OPTO-EDU A16.2615-L User manual

OPTO-EDU

OPTO-EDU A16.2615-L User manual

OPTO-EDU A11.1009 Series User manual

OPTO-EDU

OPTO-EDU A11.1009 Series User manual

OPTO-EDU A17.1091 User manual

OPTO-EDU

OPTO-EDU A17.1091 User manual

OPTO-EDU XD Series User manual

OPTO-EDU

OPTO-EDU XD Series User manual

OPTO-EDU A33.1511 User manual

OPTO-EDU

OPTO-EDU A33.1511 User manual

OPTO-EDU A63.7069 User manual

OPTO-EDU

OPTO-EDU A63.7069 User manual

OPTO-EDU A15.2601-T User manual

OPTO-EDU

OPTO-EDU A15.2601-T User manual

OPTO-EDU A12.1061 User manual

OPTO-EDU

OPTO-EDU A12.1061 User manual

OPTO-EDU A15.1018 User manual

OPTO-EDU

OPTO-EDU A15.1018 User manual

OPTO-EDU A13.2603 User manual

OPTO-EDU

OPTO-EDU A13.2603 User manual

OPTO-EDU A14.1063 User manual

OPTO-EDU

OPTO-EDU A14.1063 User manual

OPTO-EDU A24.1001 User manual

OPTO-EDU

OPTO-EDU A24.1001 User manual

OPTO-EDU A41.1950 User manual

OPTO-EDU

OPTO-EDU A41.1950 User manual

OPTO-EDU A12.0911 User manual

OPTO-EDU

OPTO-EDU A12.0911 User manual

OPTO-EDU A33.5121 User manual

OPTO-EDU

OPTO-EDU A33.5121 User manual

OPTO-EDU A15.2603 User manual

OPTO-EDU

OPTO-EDU A15.2603 User manual

OPTO-EDU A12.1095 User manual

OPTO-EDU

OPTO-EDU A12.1095 User manual

Popular Microscope manuals by other brands

Swift M6001CL manual

Swift

Swift M6001CL manual

ViTiny DiGi UM06 user guide

ViTiny

ViTiny DiGi UM06 user guide

Nikon ECLIPSE Si instructions

Nikon

Nikon ECLIPSE Si instructions

Fisher Scientific 11350119 instruction manual

Fisher Scientific

Fisher Scientific 11350119 instruction manual

Optika Italy B-1000 Series instruction manual

Optika Italy

Optika Italy B-1000 Series instruction manual

Zeiss Axiovert 200 operating manual

Zeiss

Zeiss Axiovert 200 operating manual

Olympus FV5-LD405 user manual

Olympus

Olympus FV5-LD405 user manual

KERN Optics OSF-4G User instructions

KERN Optics

KERN Optics OSF-4G User instructions

Levenhuk DTX 700 LCD user manual

Levenhuk

Levenhuk DTX 700 LCD user manual

Bresser Digitalmicro Bowl operating instructions

Bresser

Bresser Digitalmicro Bowl operating instructions

Nikon ECLIPSE Ni-E instruction manual

Nikon

Nikon ECLIPSE Ni-E instruction manual

Precipoint M8 operating manual

Precipoint

Precipoint M8 operating manual

Motic BA210 series instruction manual

Motic

Motic BA210 series instruction manual

premiere MRJ-01 manual

premiere

premiere MRJ-01 manual

Olympus Discover FV10i System features and benefits

Olympus

Olympus Discover FV10i System features and benefits

Bruker HYPERION user manual

Bruker

Bruker HYPERION user manual

VEVOR LP043 user manual

VEVOR

VEVOR LP043 user manual

Allied Vision Goldeye CL quick start guide

Allied Vision

Allied Vision Goldeye CL quick start guide

manuals.online logo
manuals.online logoBrands
  • About & Mission
  • Contact us
  • Privacy Policy
  • Terms and Conditions

Copyright 2025 Manuals.Online. All Rights Reserved.